Installing a Bolt Kit
Installation of the Bolt Kit
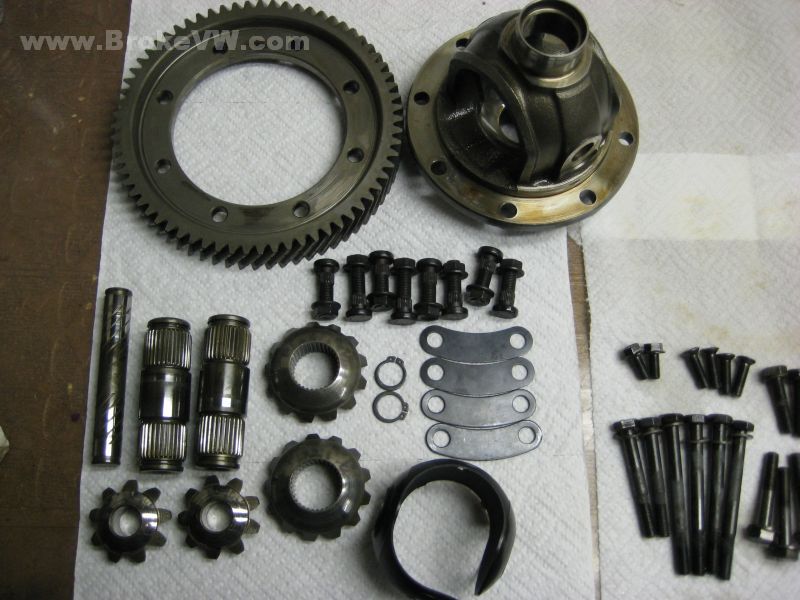
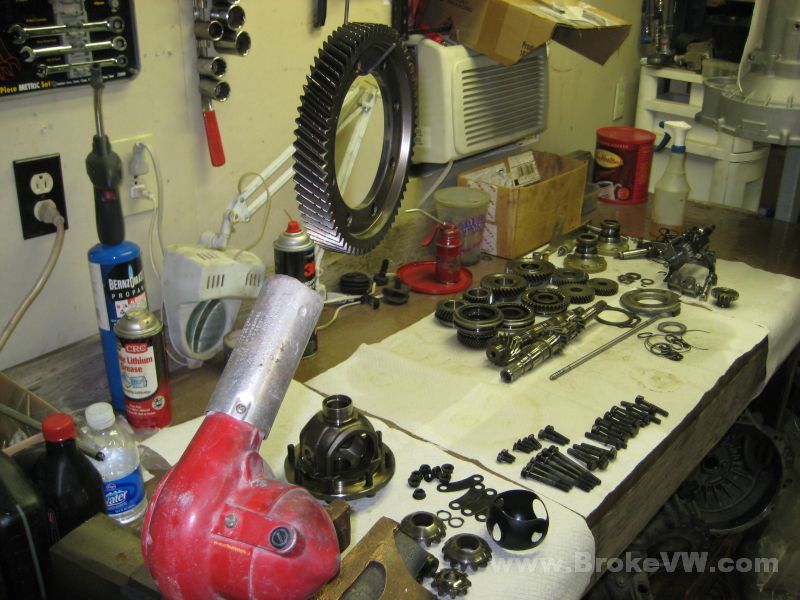
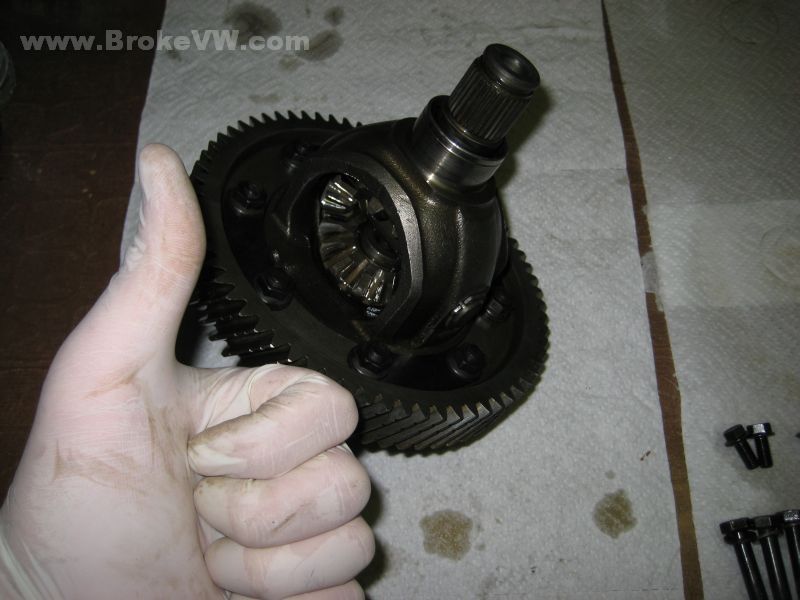
This shows what is needed to build the diff... nearly. I forgot to get pics of the 2.3mm circlips that are installed into the diff to hold the stub axle shafts in. They come from VW with 2.0mm thick circlips, and they offer a 2.3mm clip. You want to fit the largest possible, and nearly every trans will have enough play that the 2.3mm clips can be fit in.
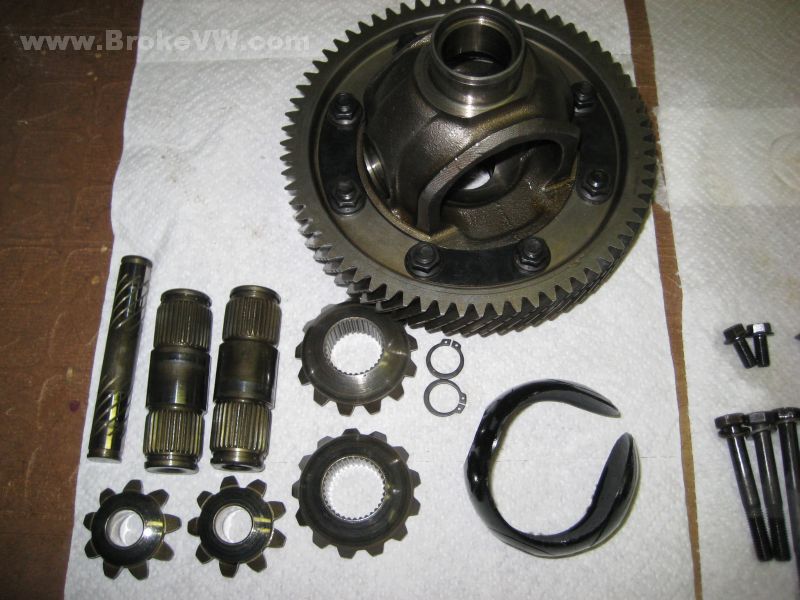
Pictured are the ring gear, diff carrier, stub axles, pinion gear set, cross shaft, one piece plastic thrust washer, and a Peloquin bolt kit. Everything should be wet with oil as you install it. The bolt kit comes with 2 pairs of snap rings for the cross shaft. Both are the same ID, to fit the shaft, but one pair is larger and stiffer. Either pair can be used, I use the bigger pair. The smaller pair are pictured below...
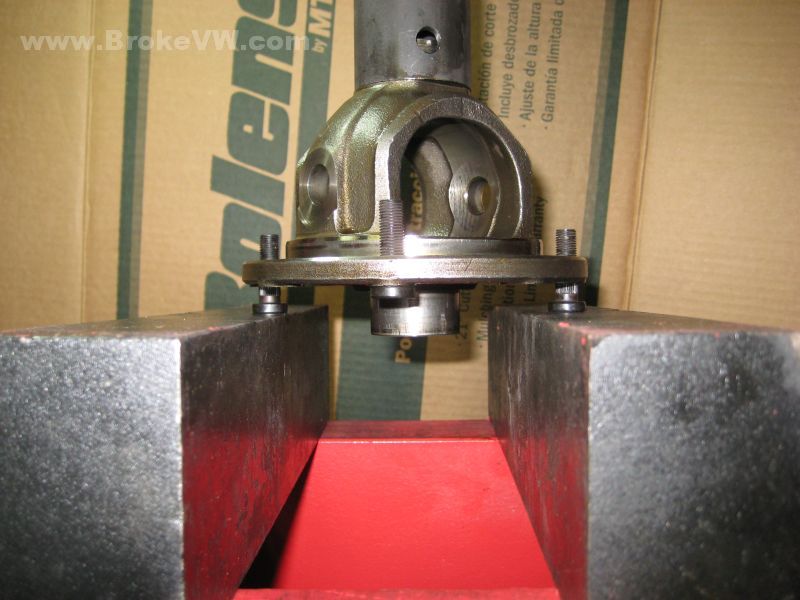
Tap in 2 of the bolts opposite of each other, and press them in...
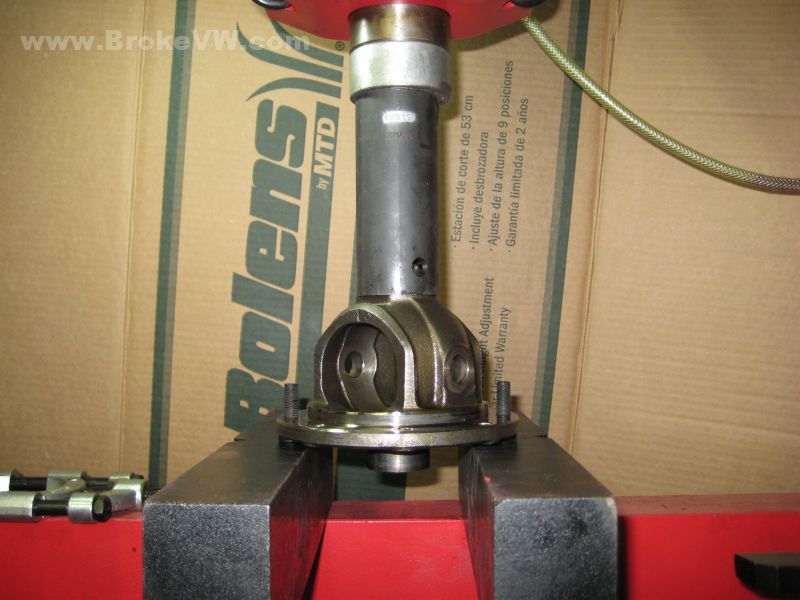
Repeat for all 8 bolts, pressing them in 2 at a time, opposite of each other...
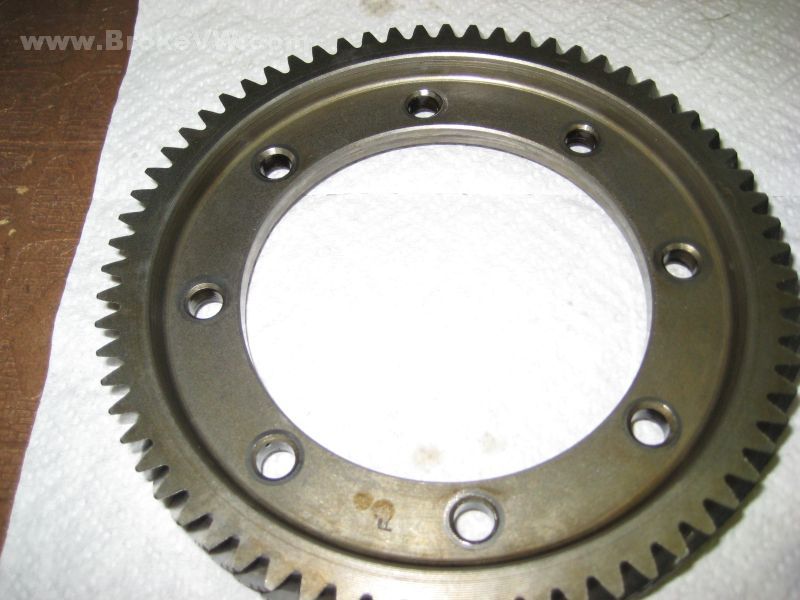
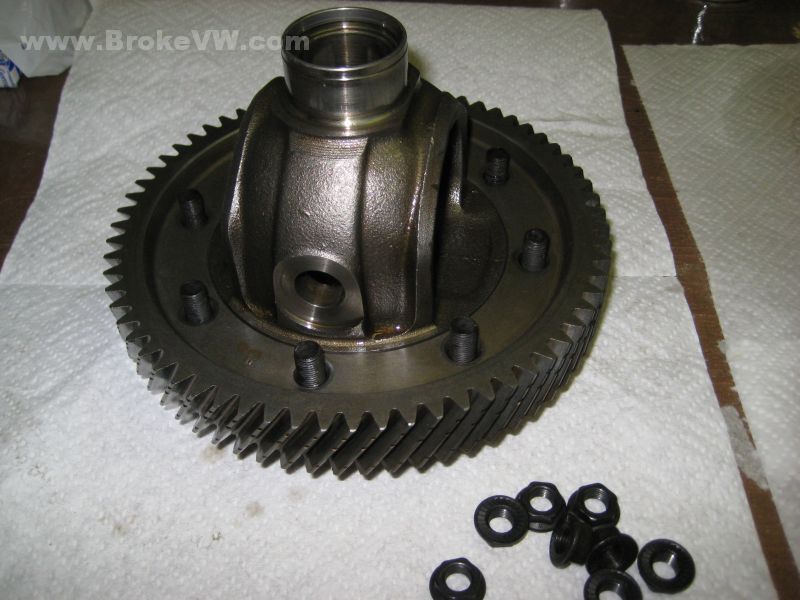
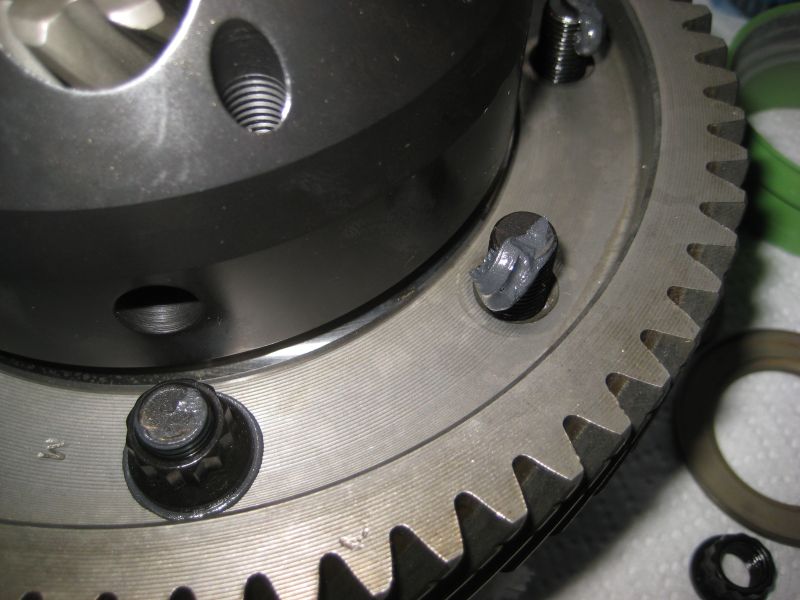
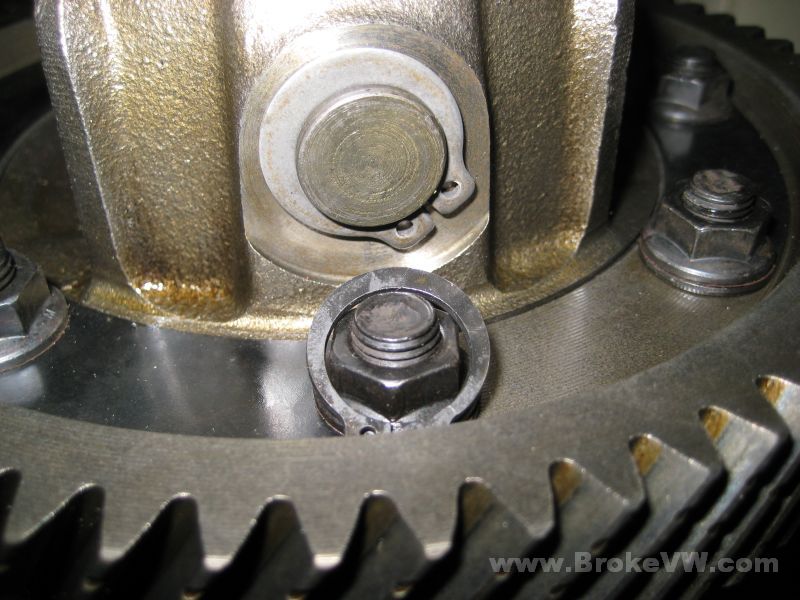
Make note of the ring gear as mentioned before. With an old gear, the rivet head marks will be easy to see. With a new gear, the marks won't be there. Be sure the side of the ring gear with the groove around the edge is against the carrier. The nuts of the bolt kit tighten against the side without the groove. The first pic is of the grooved side, the 2nd pic is the side the nuts tighten against...

Heat the ring gear to 212F or 100C before installing it. Often the ring will simply drop onto the diff carrier with no heat. Heat the gear anyway, drop it on, and let it cool. This will very slightly shrink the ring gear and it'll tighten up on the diff and be a press fit once again. This works with any heated part, like the 2nd gear needle bearing race on the output shaft.
This pic shows the carrier with all 8 bolt pressed in, and it shows the ring gear being heated by a hot air blower. Keep turning the gear so it heats evenly.
Ring gear pressed into place over the 8 bolts...
Add the washers and the nuts. Make note that the nuts in the Peloquin kits are not metric, they are 1/2" SAE. Allow the ring gear to cool fully before tightening the nuts to the proper torque of 52 ft-lbs. Mount the ring gear in a soft jaw vise, and tighten the bolts evenly in a star pattern, working them up to the proper torque.
UPDATE: Today the ARP bolt kit is the most commonly used, so I'm adding a pic and some info to reflect that.
The ARP kits do NOT come with the 2 cross shaft snap rings that the other kits came with. You will have to reuse the rings in your diff if your diff has them. Not all factory diffs will have them, unfortunately, so if you need a pair contact me. Some factory diffs will use ONLY the large head rivet to secure the cross shaft. The ARP kits also do not use the curved washers the other kits used, they are not needed .
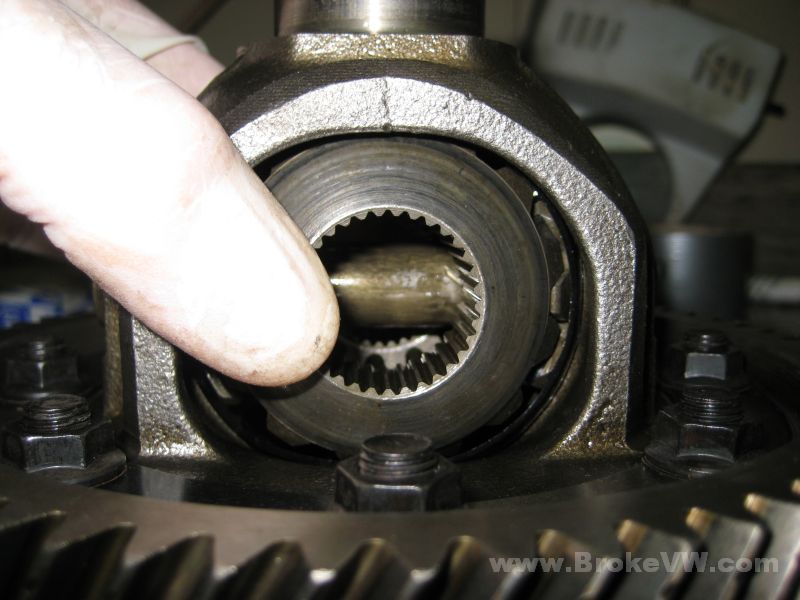
The ARP kits do use metric nuts, they are an 11mm 12-point, the socket you will need is pretty common in most basic socket sets, it is not a specialized socket. The ARP bolts use a thread lubricant, I run a bead up the side of the bolt and over the top to ensure the threads are lubed as well as under the head. The friction under the fastener head constitutes a good bit of the friction that needs overcome by the install torque, so with the ARP lubricant the install torque drops from the 52 ft-lbs VW specifies to the 40 ft-lbs ARP specifies Flex in the one piece plastic thrust washer, and get the
cross shaft started in one side. Fit one of the smaller pinion gears in, and
press the shaft further, then fit the 2nd small pinion gear, and push the
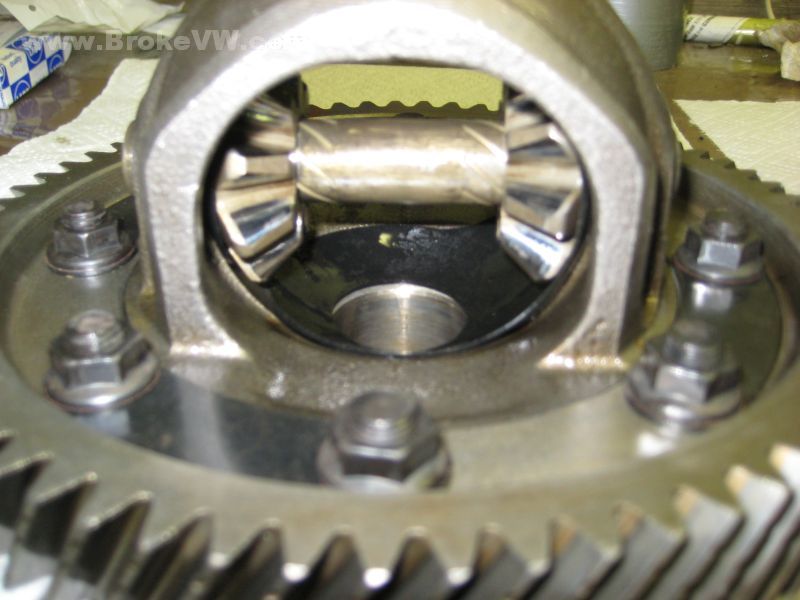
shaft in the carrier the rest of the way... Take the 2 larger pinion gears, and put them both in the
carrier at the same time, one on each side. They must be evenly spaced so
they are directly opposite of each other. While holding both gears in place,
roll one gear down, and the other gear will ride up as the other one slides
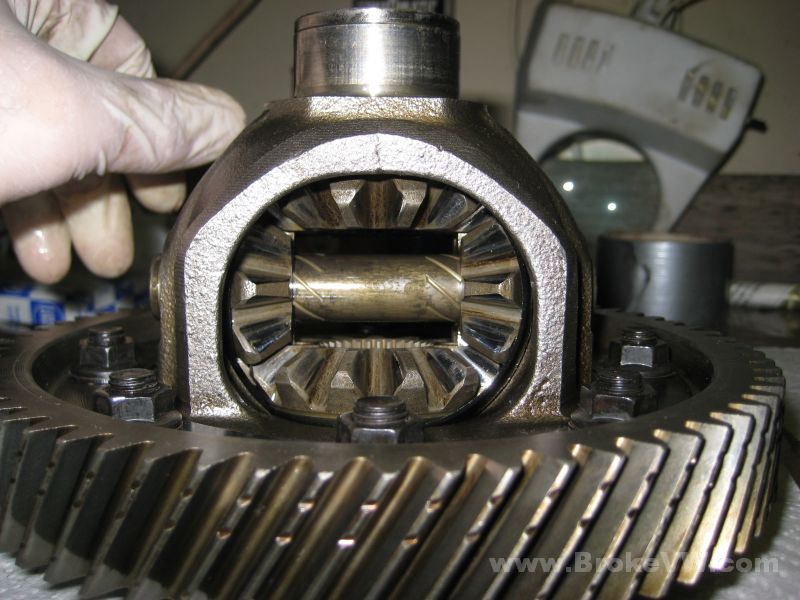
down... Install the stub axle shafts, making sure to put the
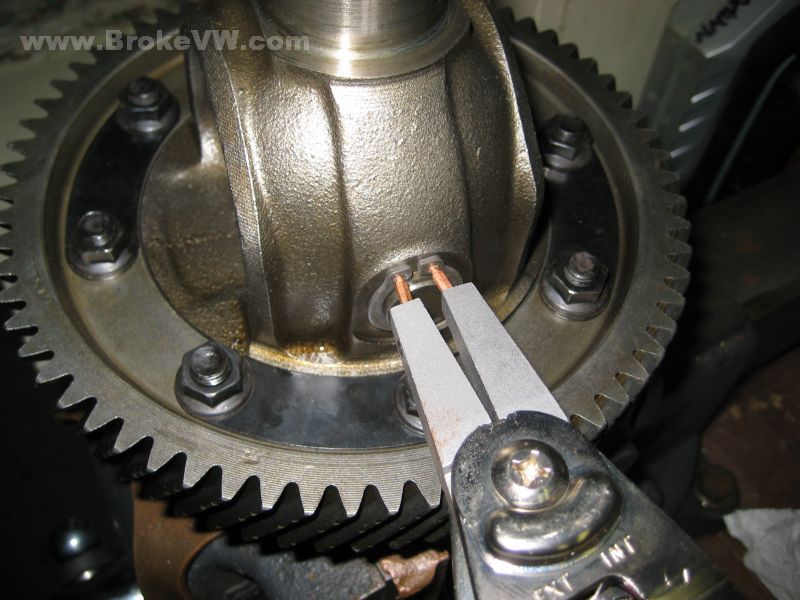
threaded end sticking out... Here is a pic showing the install of the snap ring on the
cross shaft, and it also shows the 2 sizes of snap ring in the Peloquin bolt
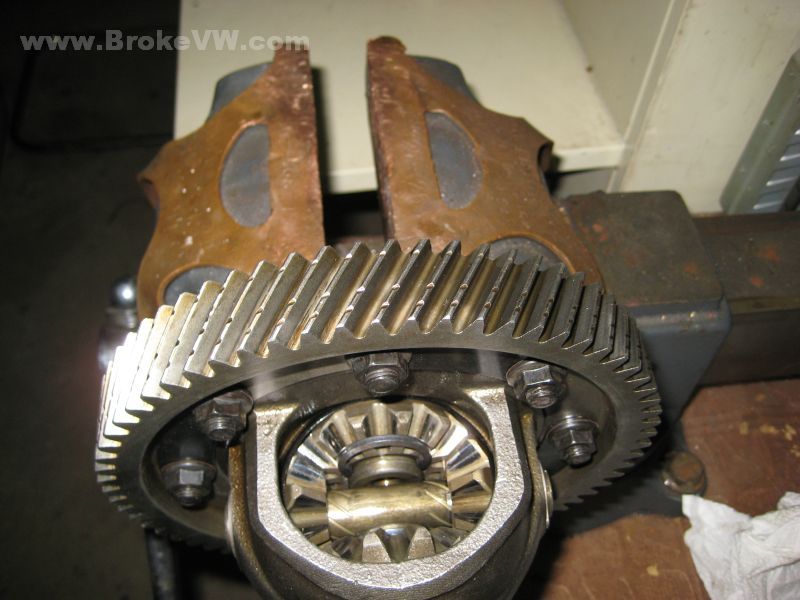
kit.. Mount the diff in a vise, holding one of the stub axles.
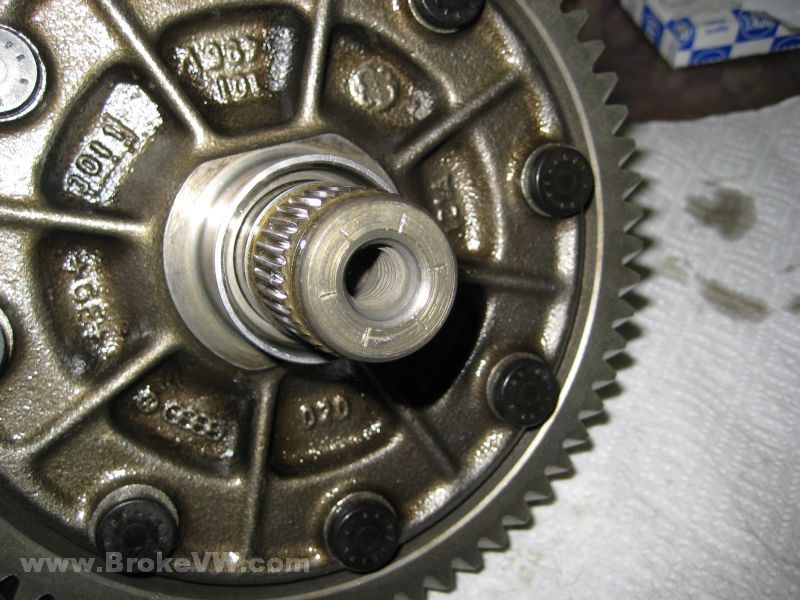
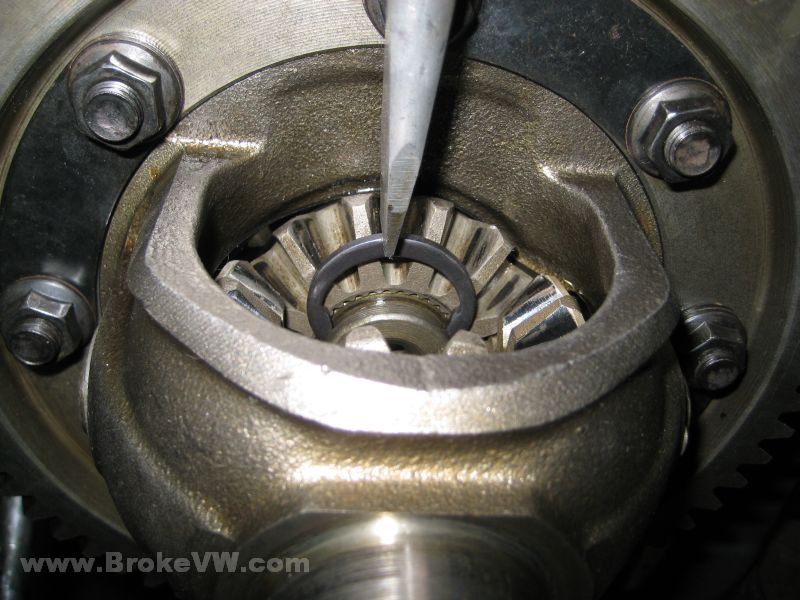
This keeps it from spinning as we press on the 2.3mm circlips... Center the circlip in the groove, so that the middle of
the clip is over one of the gaps between the teeth of the large pinion gear.
Press down and the clip will begin to spring open and over the shaft.
Pushing it down, it'll stick, then turn the screwdriver so you can slide
along the large pinion gear, and fully seat the clip... The diff is complete, and SMS (Self Machining Syndrome) is
no longer a concern. To see what can happen with the rivets, the trans used
on the Teardown pages had rivet failure, and
nearly put a hole in the case of the trans, which is what they normally do.
If one of the small rivets fails, it gets spun around tearing things up then
spit out of the case. If one of the big head rivets fail, it can do the
same, plus it can let the cross shaft slide out and knock big chunks out of
the case. Finally, the cross shaft can slide back and forth,
beating the rivet heads away, and when it
slides out, it knocks big chunks out of the case. All are failures due to
rivets. With the bolt kit and snap rings (instead of the big head rivets),
you've eliminated the big weak point in the trans!
Once the ring gear has cooled, the nuts are torqued to ARP specs....

