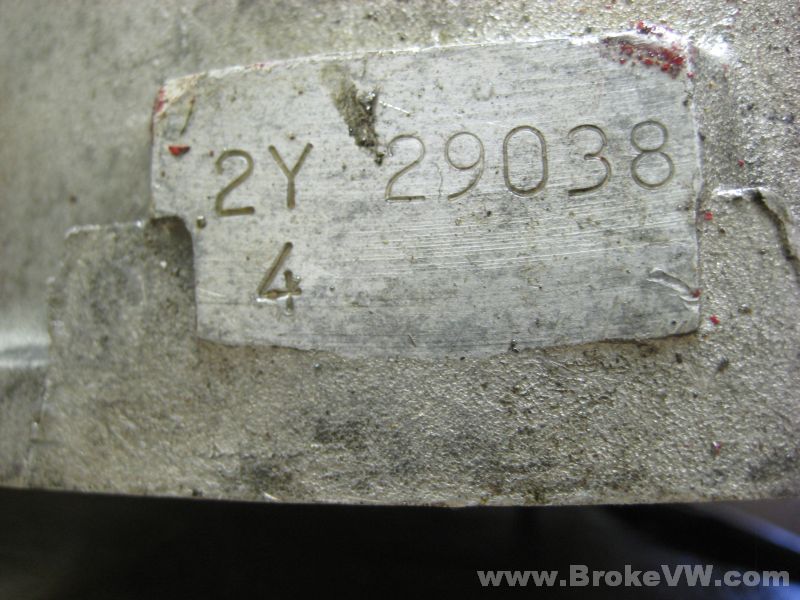
2Y 29038
Arrived 04/19/10 Done 8/31/10
As it arrived...
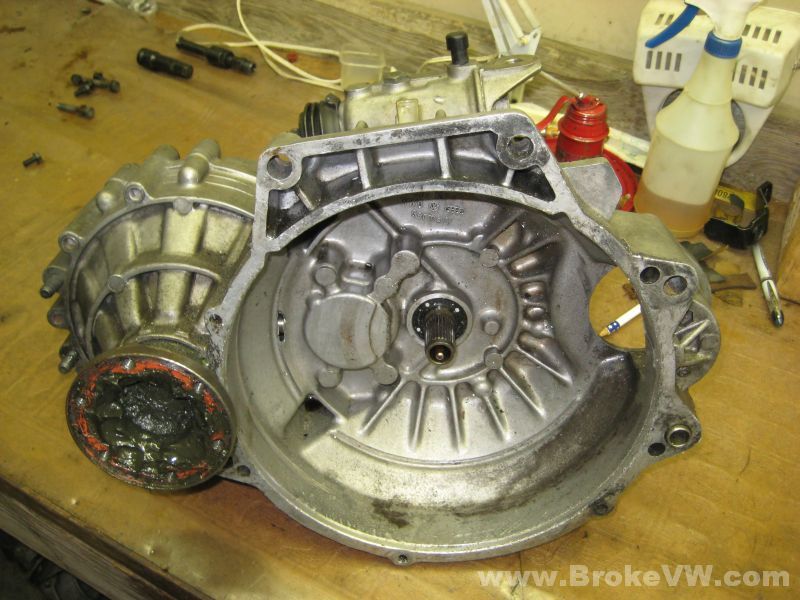
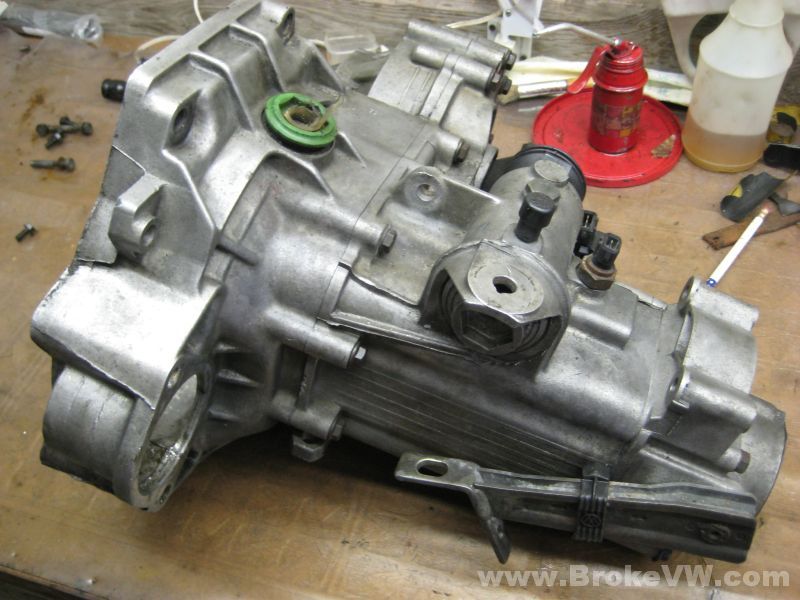
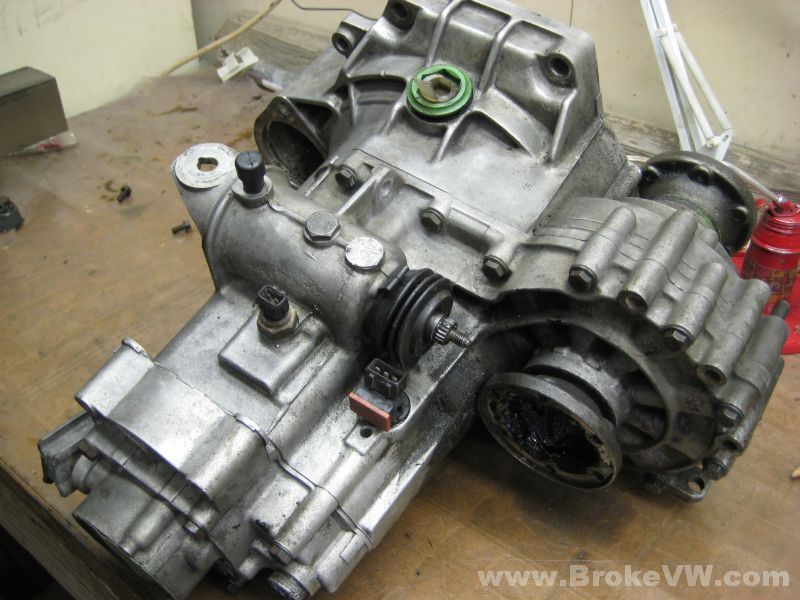
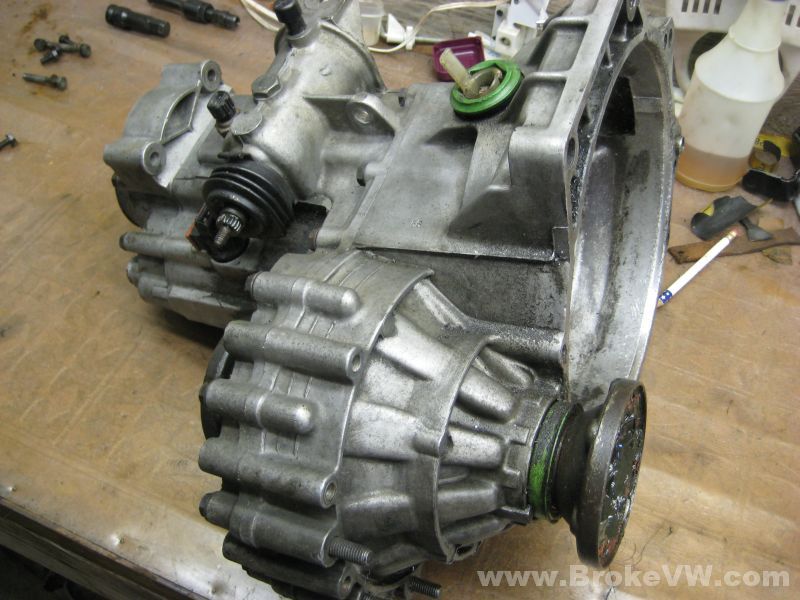
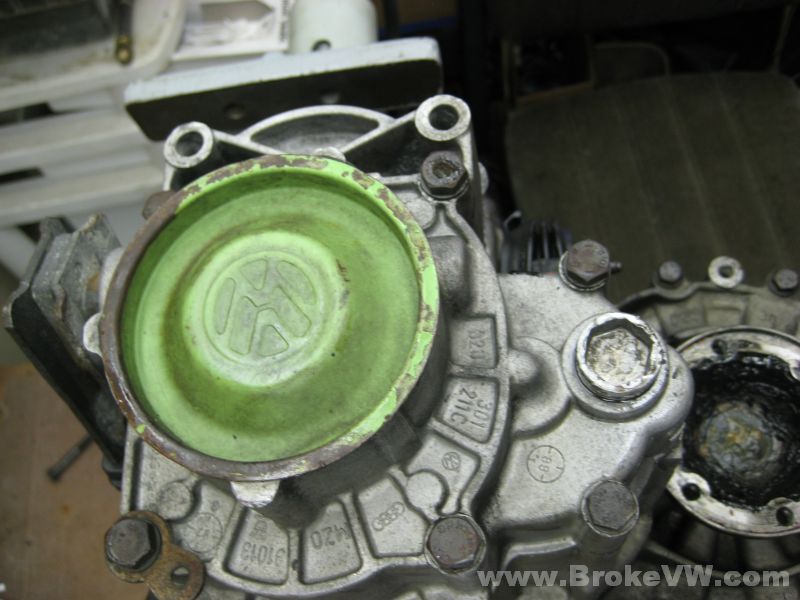
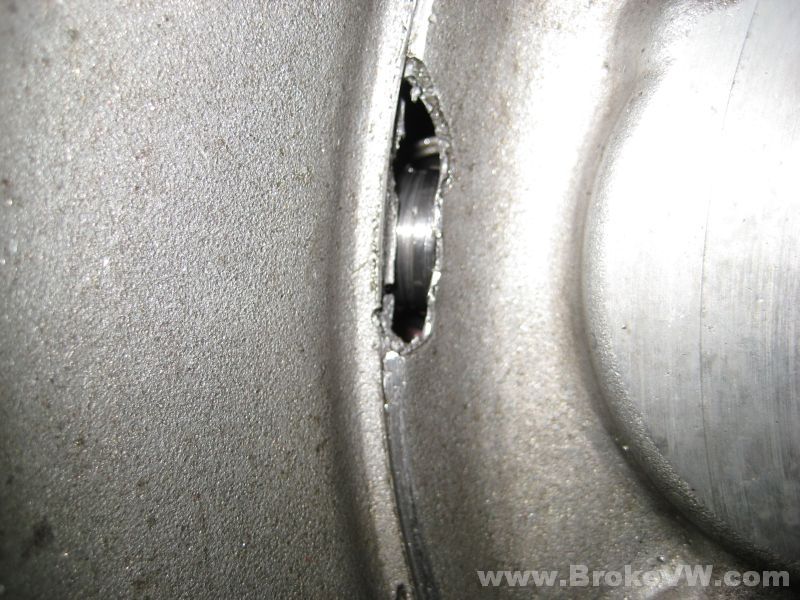
The hole from the failure of the cross shaft...
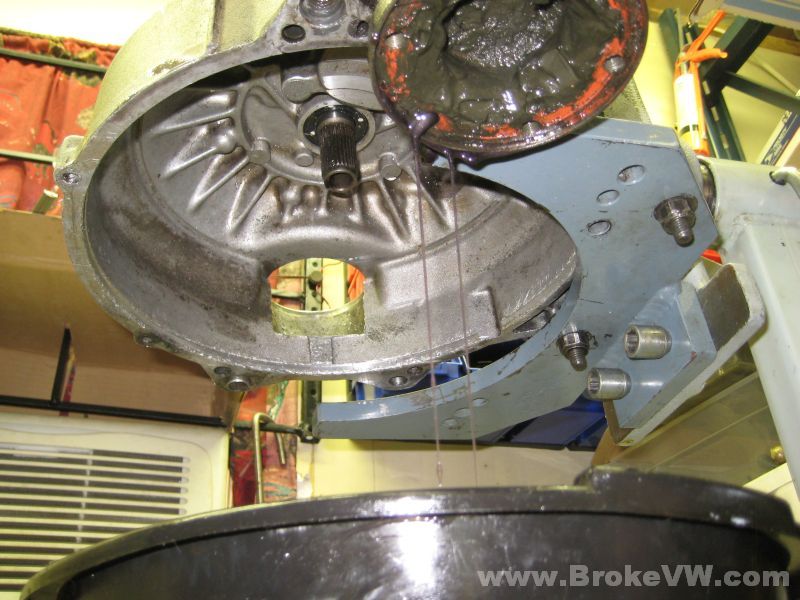
Mounted on the rotisserie to crack it open...
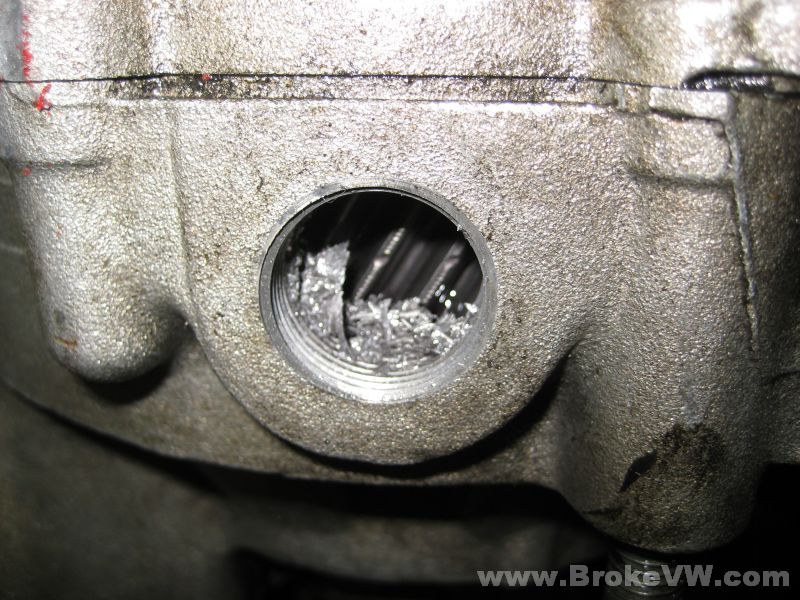
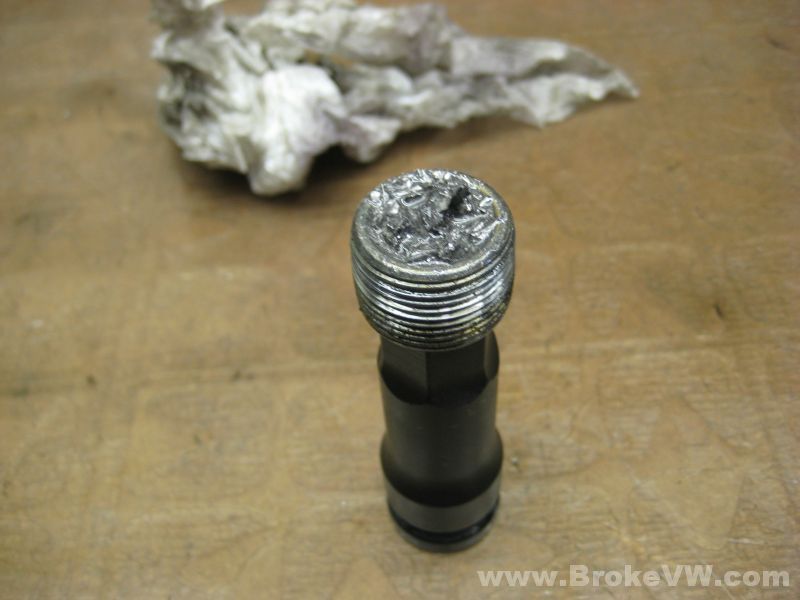
The drain plug removed shows lots of debris inside...
Some recent fresh scratches on the casing, possibly from removing it from the vehicle?
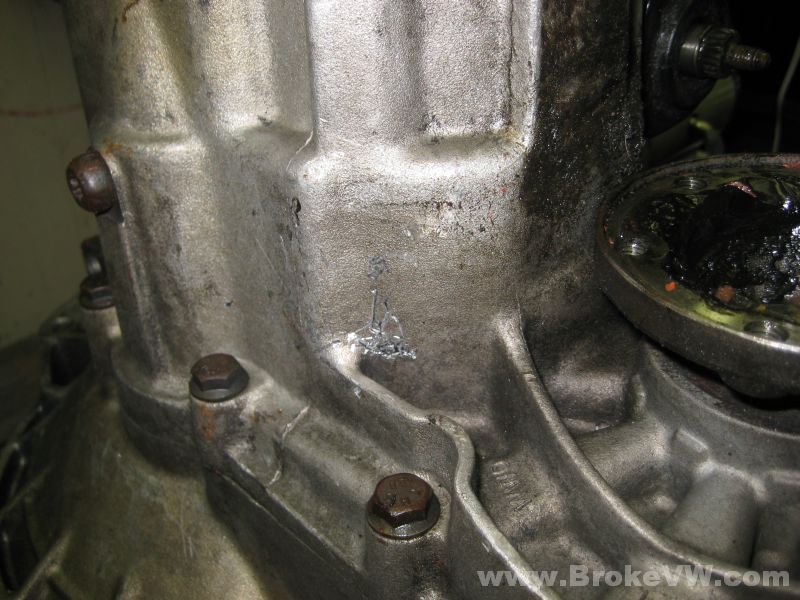
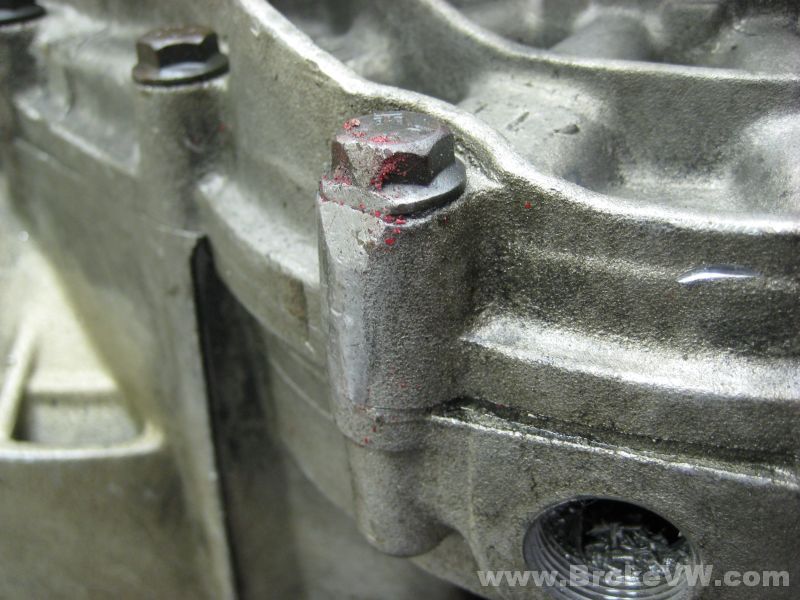
A little damage to the bolt head, nothing to worry about though...
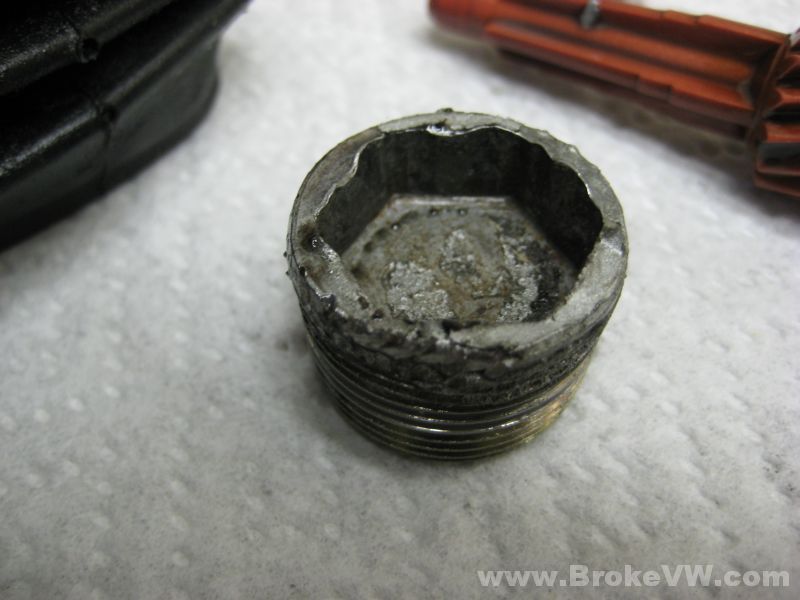
This plug has seen better days, I will replace it...
Well, the 5th gears aren't missing any teeth, so far, so good....
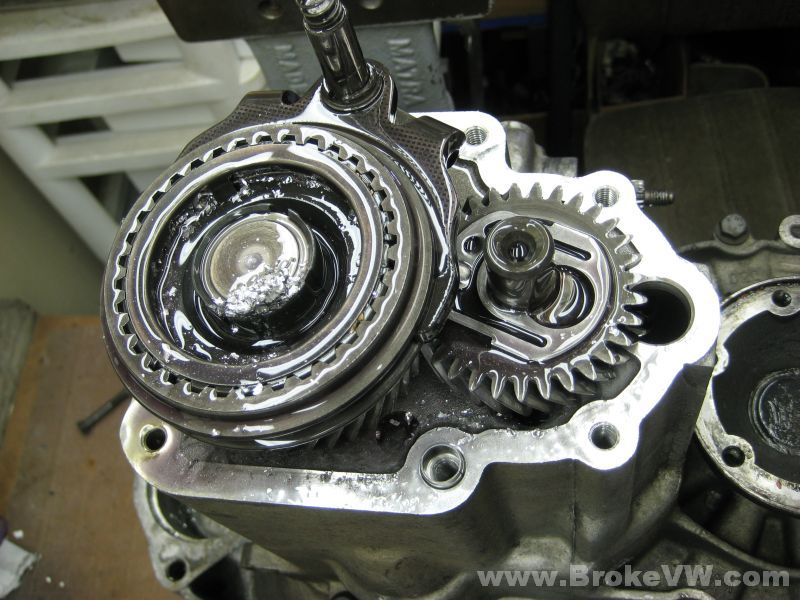
Clean inside the 5th end housing tells me the oil was changed fairly regular in this trans, they often are stained black inside from old oil. Other than the metal debris inside, it looks clean, same with the gearbox half of the casing, it is also pretty clean inside other than the metal flakes all over...
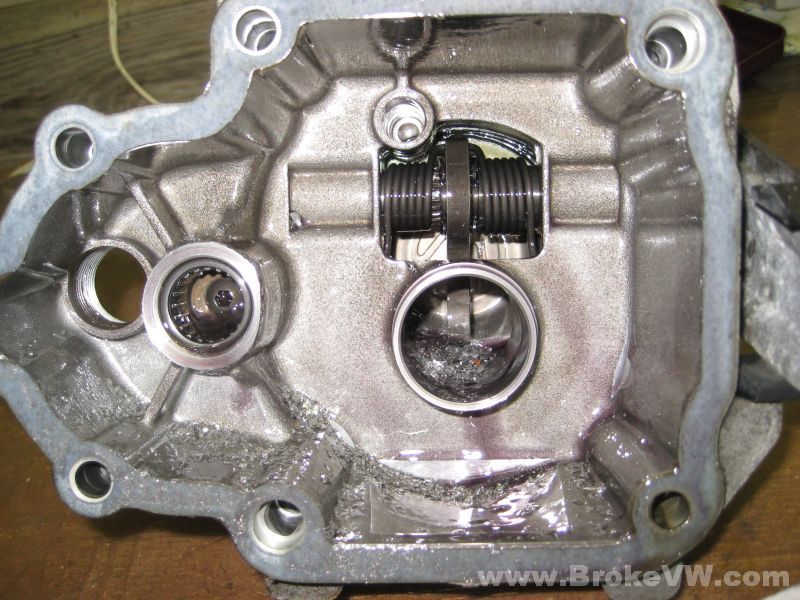
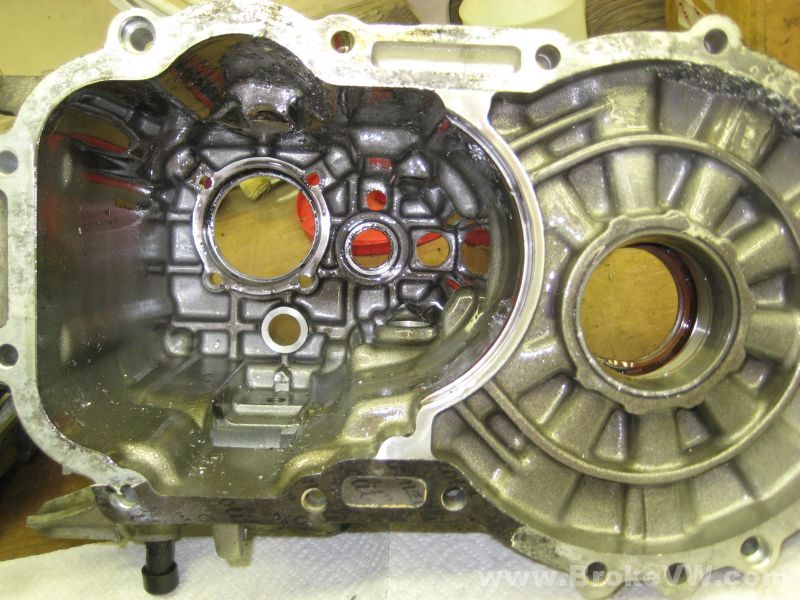
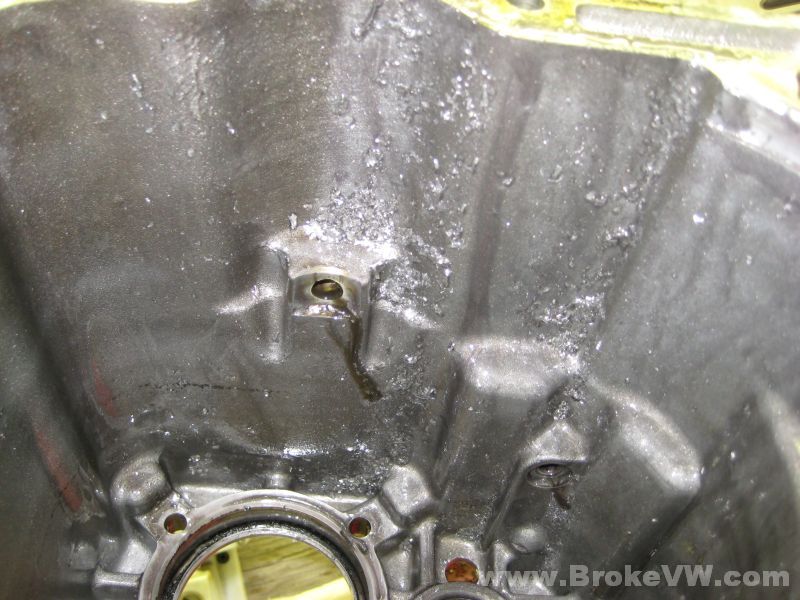
The magnet is fully loaded with ferrous steel...
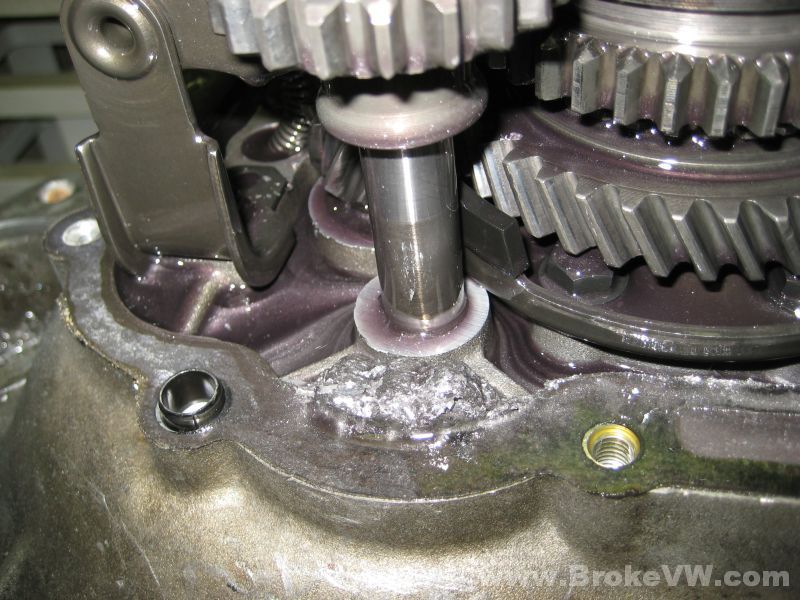
The reverse idler gear looks good as well, someone made sure to keep the clutch operating properly, and they never shifted the car into reverse while in motion, as the teeth look too nice, so that is good news....
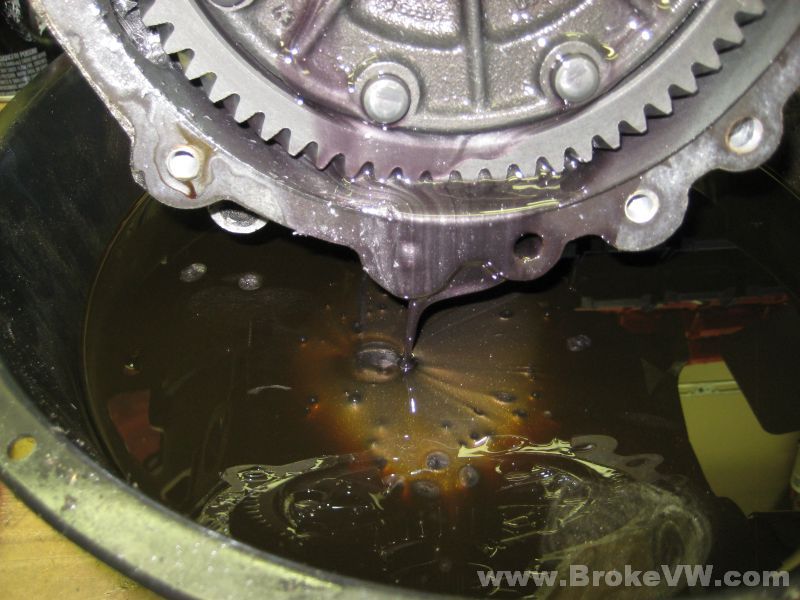
Draining the last bit of oil out of the trans before removing the R&P set....
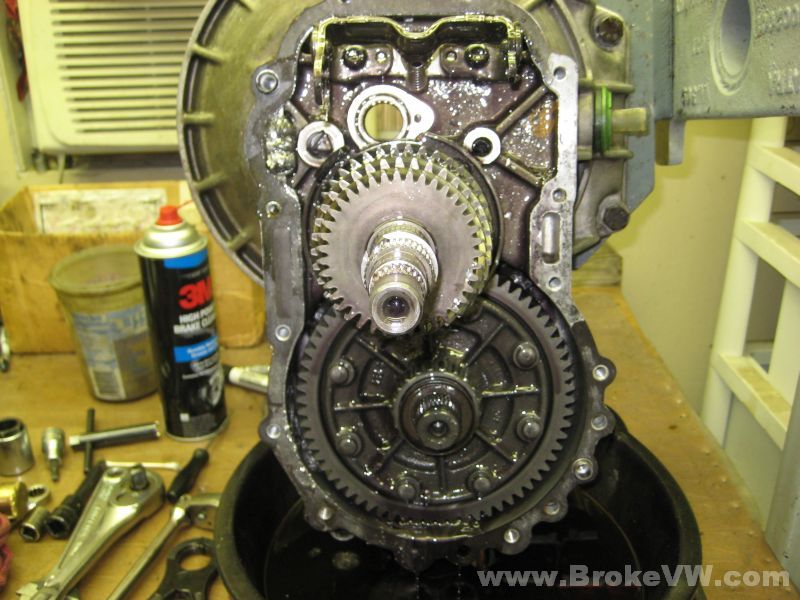
The trans has eaten a speedo gear at some point, the orange plastic was found in various places. The gears munch the plastic speedo gears easily enough, but then the pieces get into bearing rollers, behind key keys, etc., and can cause problems... the most common of which is being stuck in or out of reverse when the big chunk of plastic settles to the bottom of the trans...

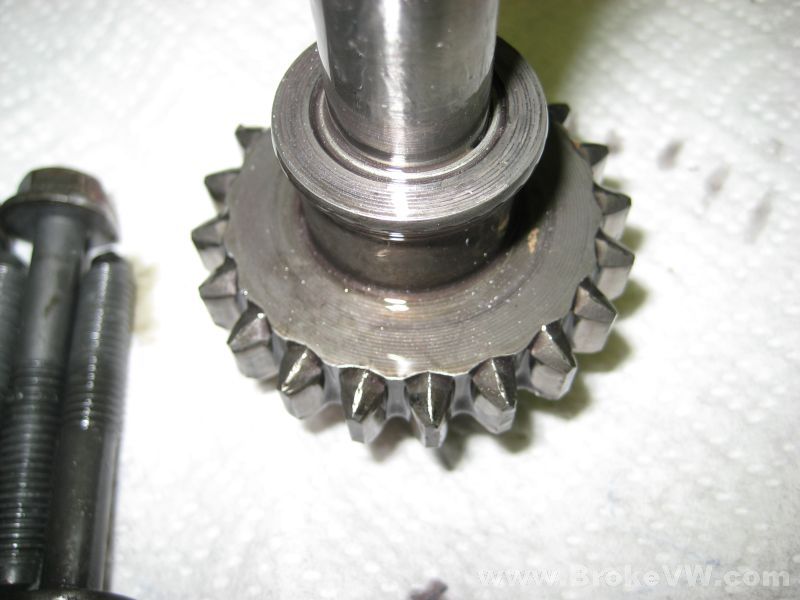
More plastic between the pinion gear and the tapered bearings.... but the gear looks OK!

The splines for 5th that are easily damaged by low oil look great, I think your 5th gear is fine to use!
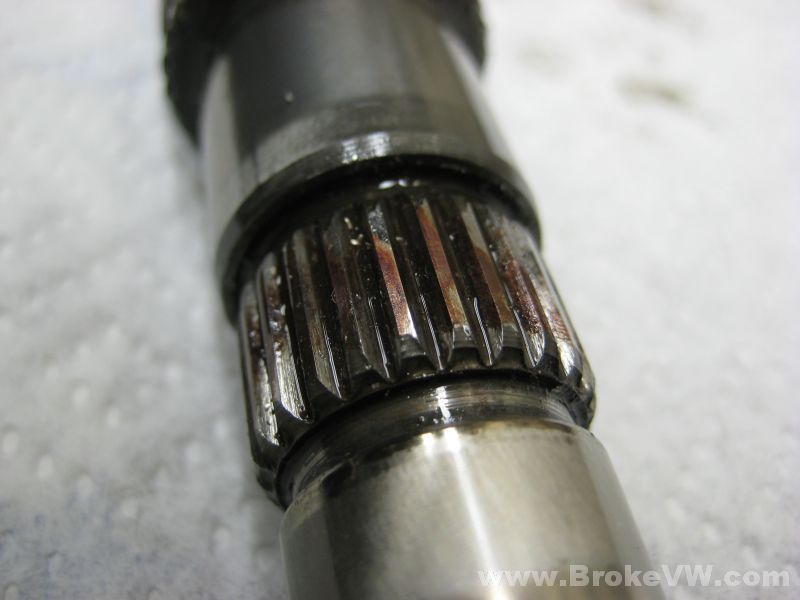
The splines on the small 5th gear, it looks nice like the shaft pic above...
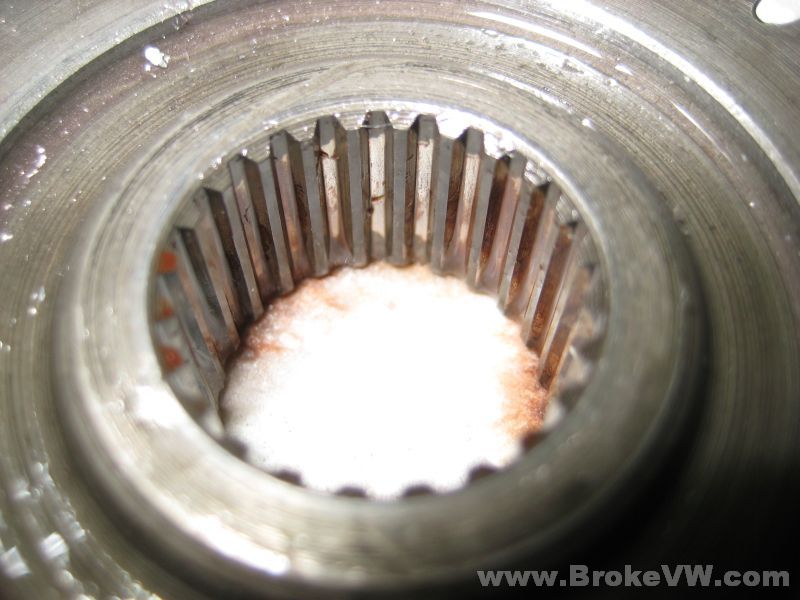
Wow. That's a new one for me. I've not had an 020 in that has not only split the cross shaft into 2 pieces, but then also forced a snap ring OUT of the groove, and THEN knocked a large-head diff rivet out of the way!
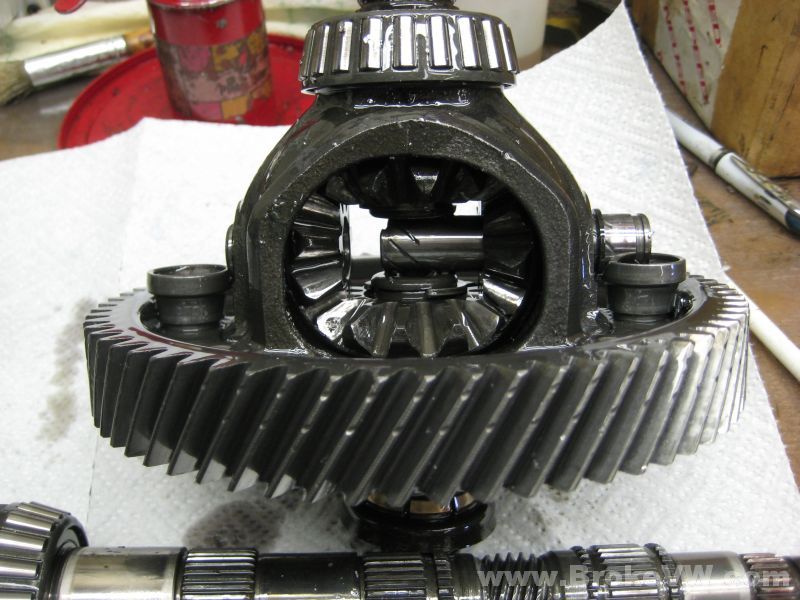
Some trans use just a snap ring to hold the shaft in place, some use just the large-head rivets, and some, like yours, used BOTH. It didn't matter, because it was spit out of the side of the diff carrier, forcing the large-head rivet out of the way while it spun and drilled through the side of it, shoving the snap ring out of the groove and sliding it along the shaft.
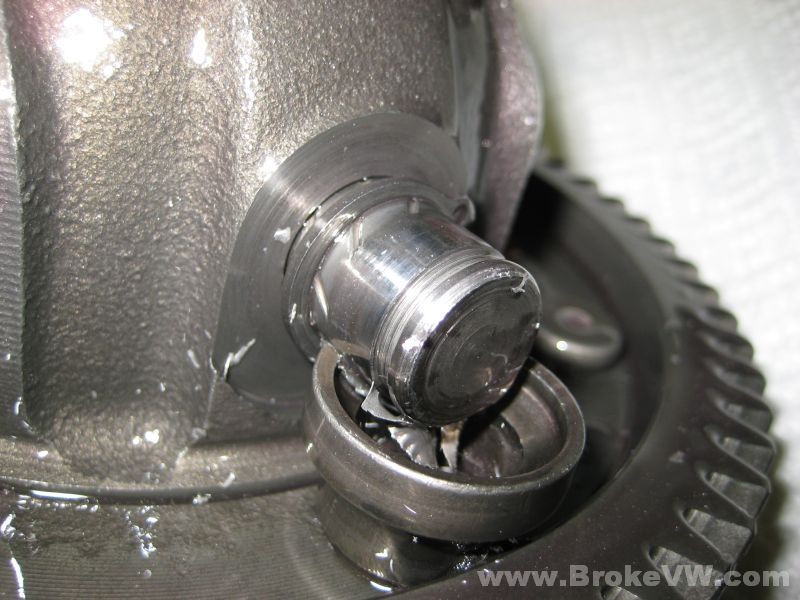
As you can see, the shaft has been spun on and has broken, and both sets of spider gears have considerable cavitation on the faces, and will need relpaced.
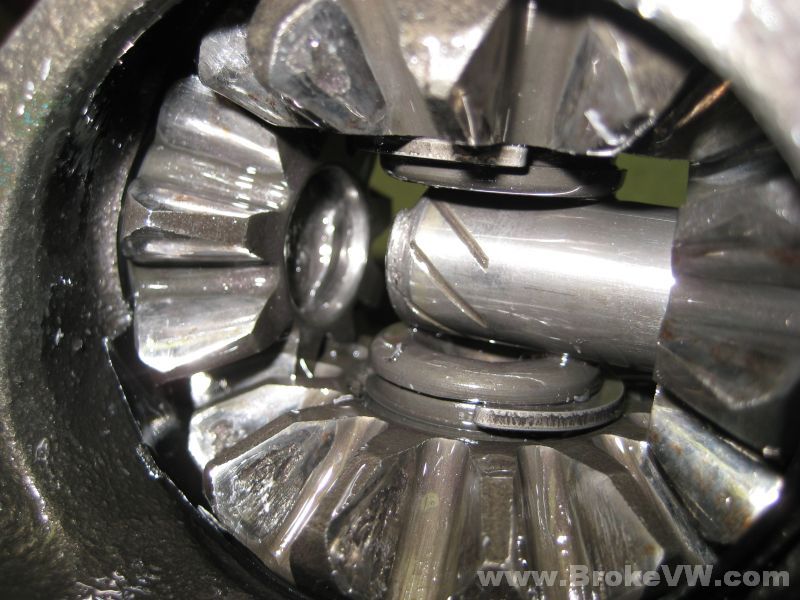
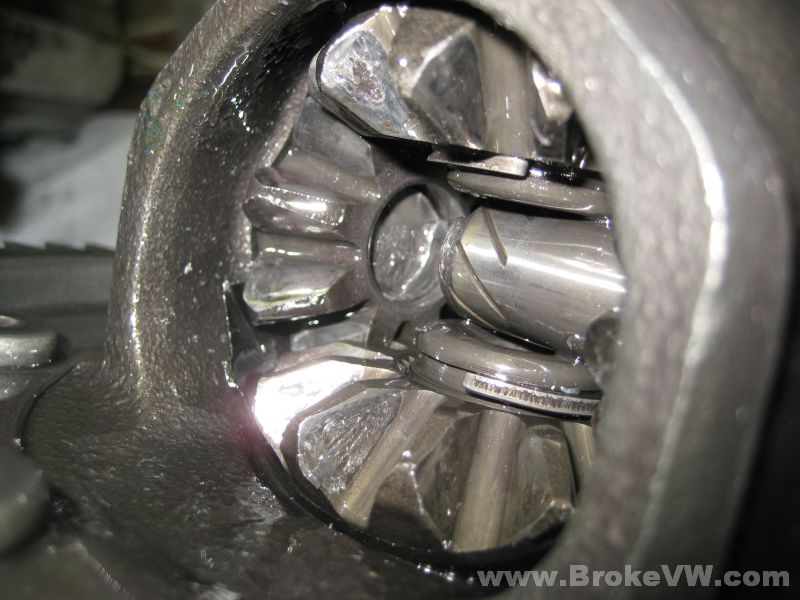
The cross shaft spun around inside, machining the soft aluminum casing out of the way until it made a hole...
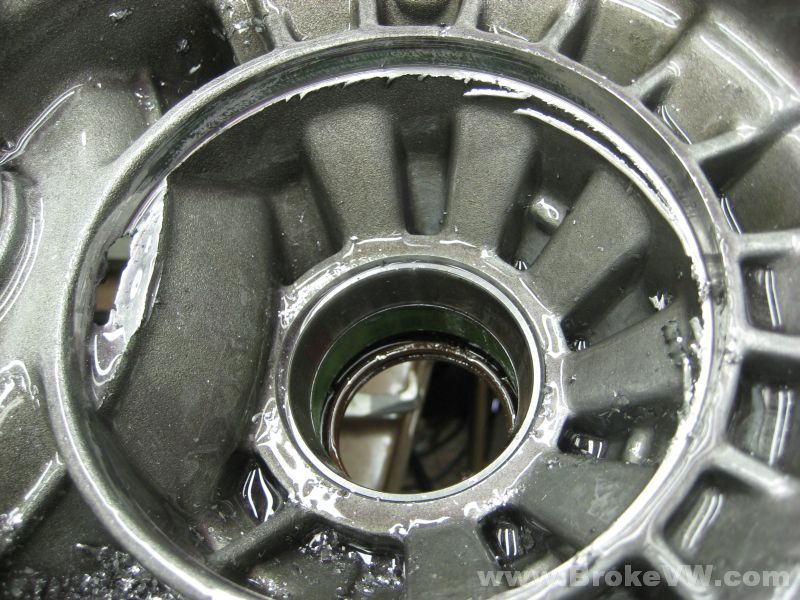
More orange plastic beside the input shaft bearing...

The bearings are all shot after being lubed with the metal-flake oil, which is to be expected....
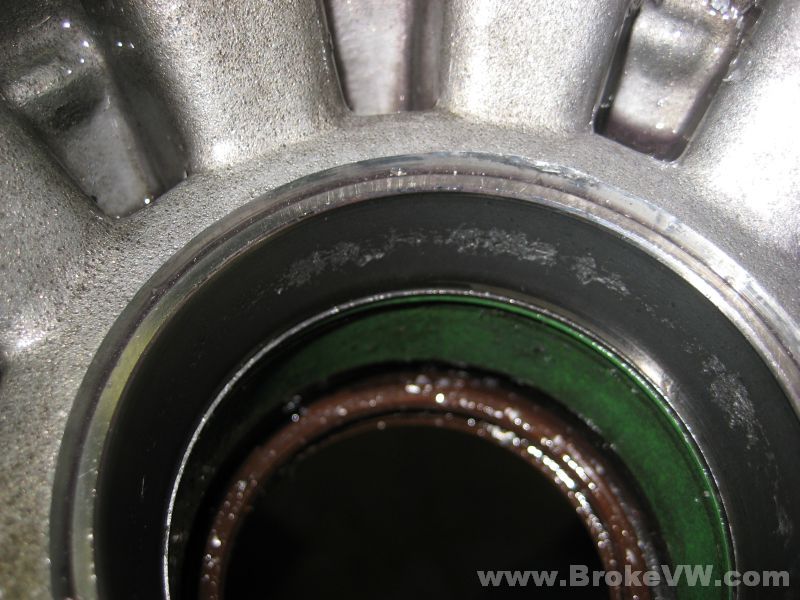
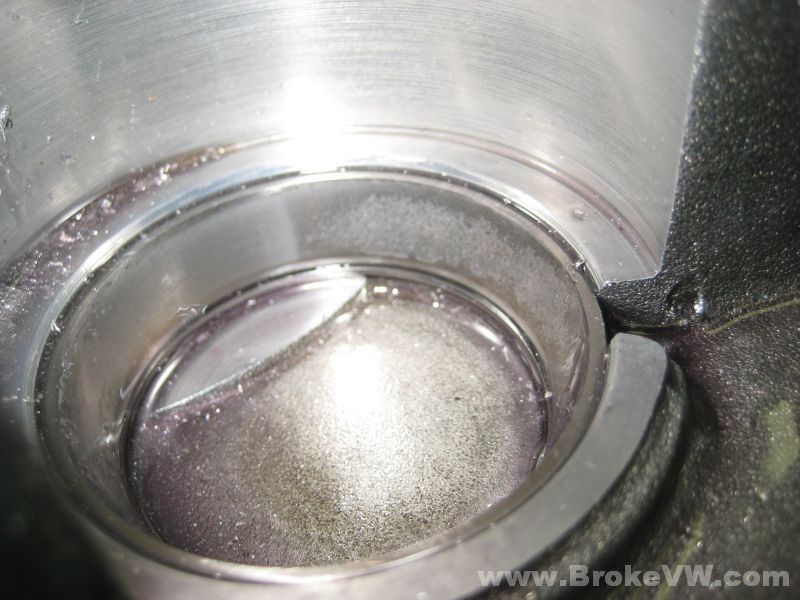
The trans is stripped partially, and so far it looks like you don't have to worry about 5th gears, and the R&P gears are also OK, which is great, and quite rare when the trans machines itself... but you just got very lucky it seems!
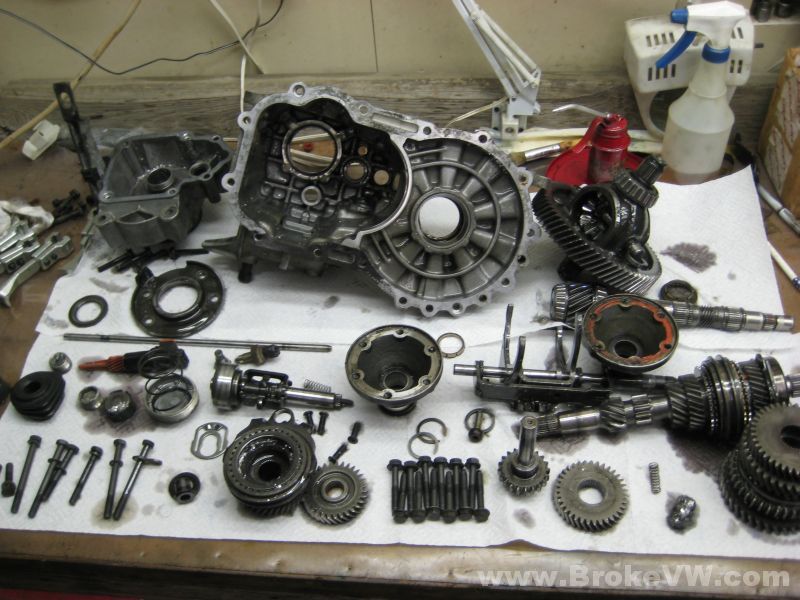
I am planning on having the case repaired, as I don't have any 2Y bellhousings, and if possible, I like to keep the case halves matched to each other, and it will save money over replacing the casing.
Update 04/20/10
I've stripped the input shaft and have cleaned the case up a little where it was jagged aluminum from the failure.
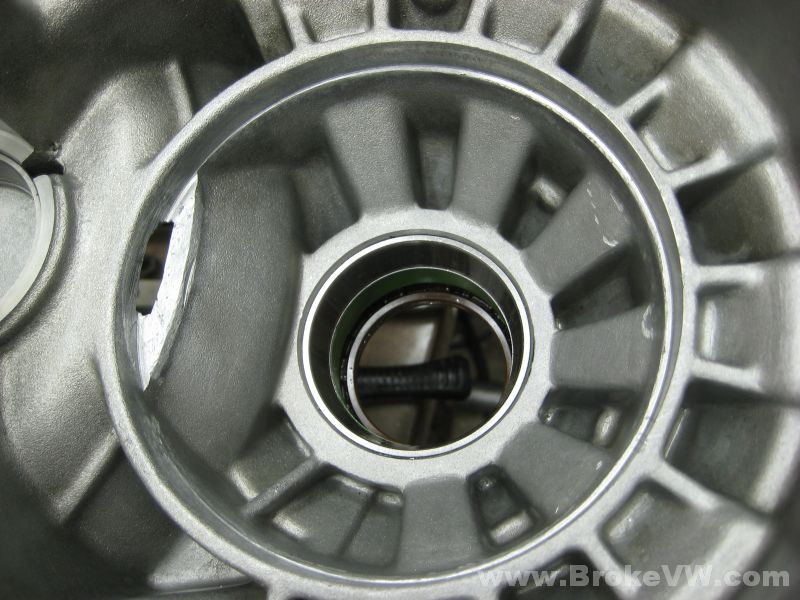
Here is a pic of what the casing should look like...
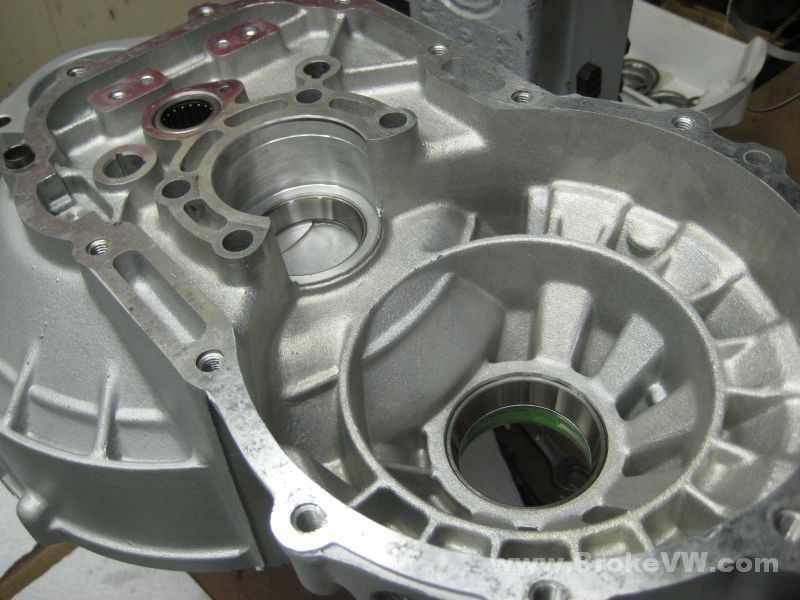
Here is the pic of yours to compare to...

I removed the jagged edges and smoothed those out where the cross shaft spun around, then took a file to the actual hole to remove any thin material around the edges, to give a base of thicker metal for the weld. This is what it looks like now...
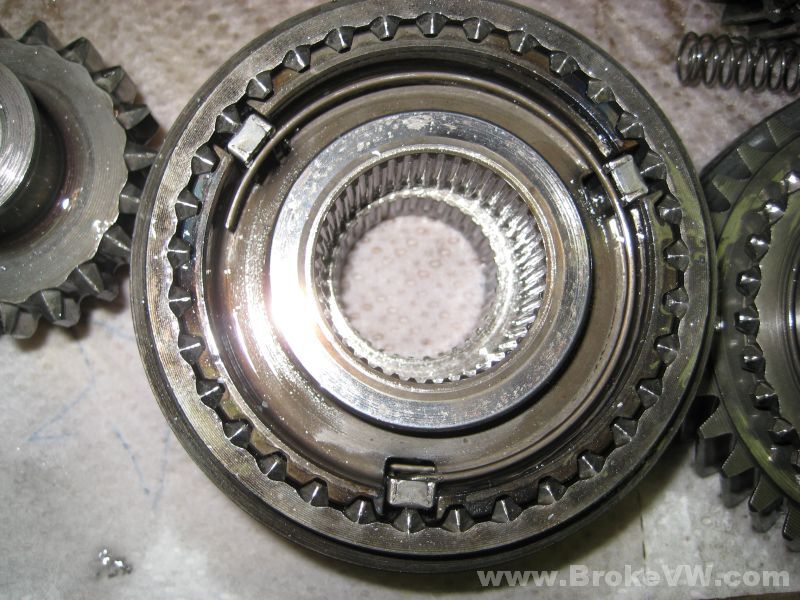
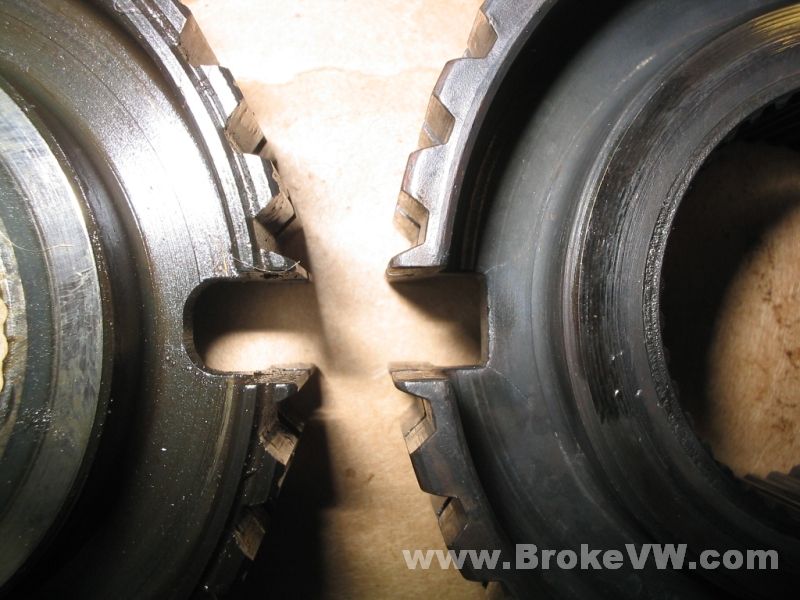
This is the sync hub for 3rd and 4th gears, VW has 2 styles, the early style like yours, which uses squared holes behind the sync keys, and then a new style with rounded holes. They did this because the square holes resulted in stress points in the corners of the cuts, and they would develop hairline cracks in the hubs as a result. When they added a radius to the cut to make it rounded, it spread the load and they no longer had problems with cracking.
Your hub doesn't appear to have any cracks, but it needs cleaned and inspected to be sure, but at first glance, it looks like it might be OK...
This pic shows the difference between the old and new style 3/4 hubs, you can see the one on the right is cracked...
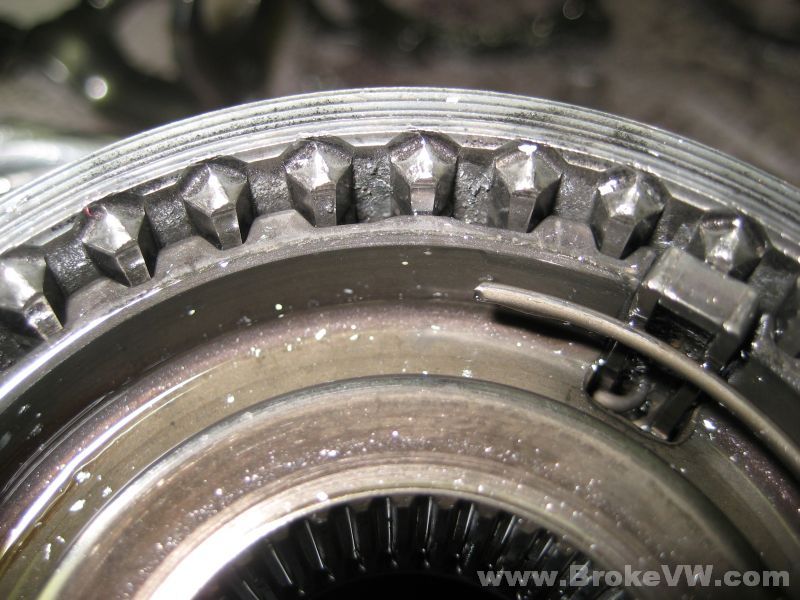
I found rust under the 5th gear hub, I don't see any signs of rust anywhere else, so it is possible this was on the part originally, but I will keep an eye out for any other spots of rust. This is on a non-critical surface, so it never has hurt anything, but I will remove it prior to the rebuild. You can also see more chunks of the speedo gear plastic in this pic, with a chunk in the sleeve teeth, which can cause difficult shifting...

This is a pic of the small teeth for 2nd gear that lock to the sync sleeve when the gear is actually selected. When you hear grinding during a fast shift or a missed shift, it is the sound of these small teeth skipping and clashing. They should be nice and pointed on top, with a smooth slope on each side. You can see the smooth slope is a little beat up and the tips aren't as sharp as they were when new. With new sync rings installed, this shouldn't cause a problem, but the teeth should be pointed on top so there is less of a chance of a point-to-point contact between the parts as they slide past each other. With flattened out tops, if they DO hit point-to-point, rather than pushing each other to one side and continuing to slide past each other, if they hit flat-to-flat, they might not slide past each other as smoothly.
The only repair for this is to replace the gear, which means replacing the mating gear in the 2nd gear set, which is the input shaft... which also is the mating gear to 1st gear. You're basically looking at a complete set of 1st gear, 2nd gear, and the input shaft if they were to be replaced, but I think with new rings, they should be OK. I would consider using German OEM rings for 2nd and 3rd, and you could then use the cheaper aftermarket rings on the rest of the gears, as they aren't under as much duress during daily driving as 2nd and 3rd.
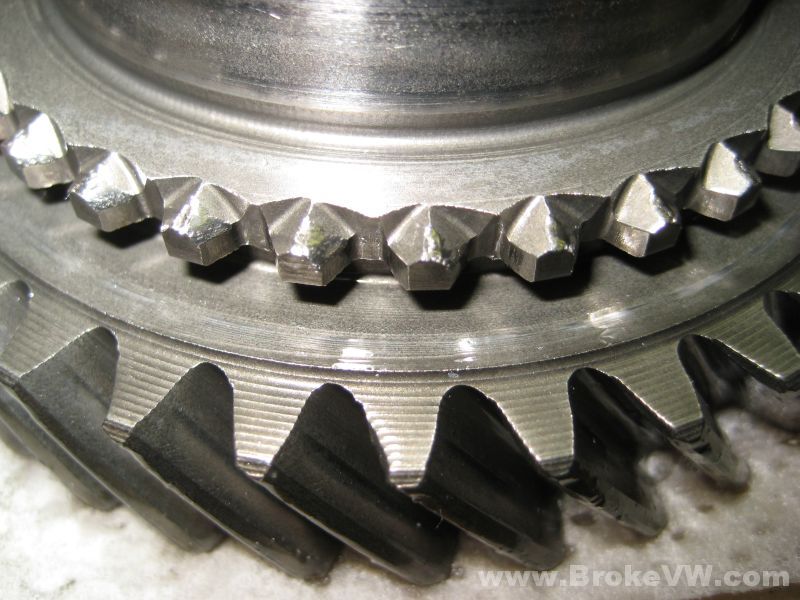
This is 1st gear, it is also worn, but since it is usually only shifted into at a near stop, this isn't as much of a problem...
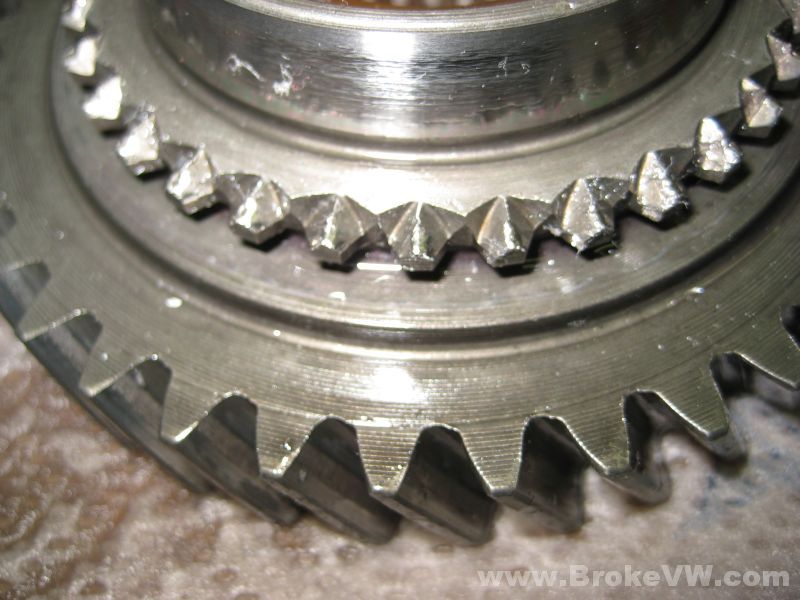
These are the small teeth that slide past the teeth on the gears when you select each gear... these are what skips over the small teeth on the gear and causes the noise and damage...
Update 04/26/10
The case is repaired now, and I have the diff taken apart and soaking in the parts washer. The hole was welded closed and re-shaped on the inside and outside...
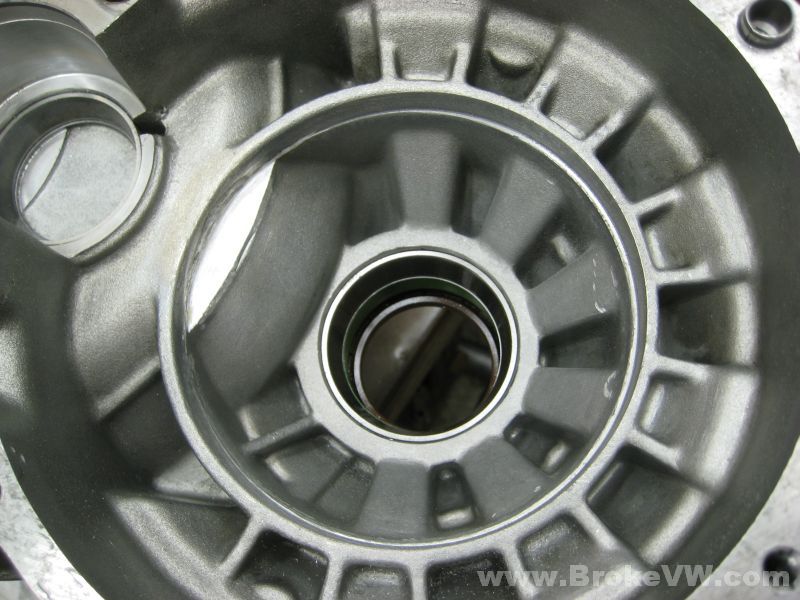
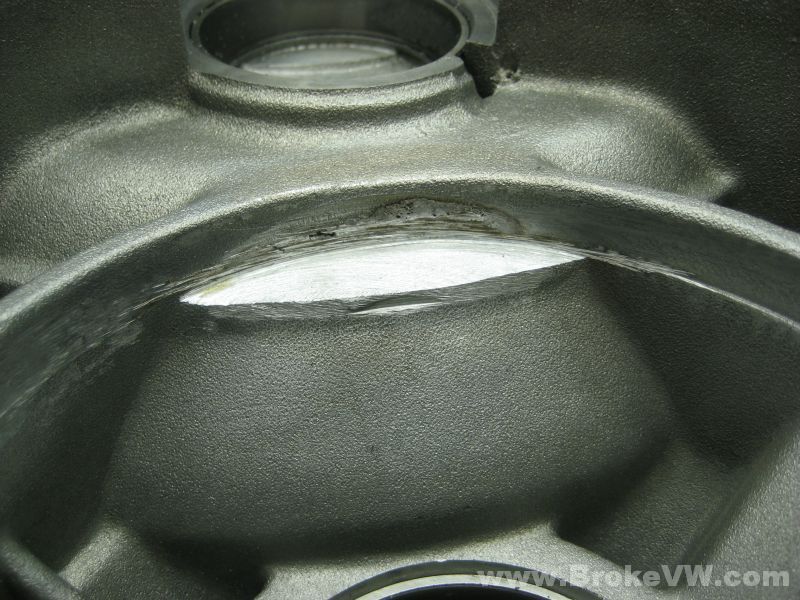
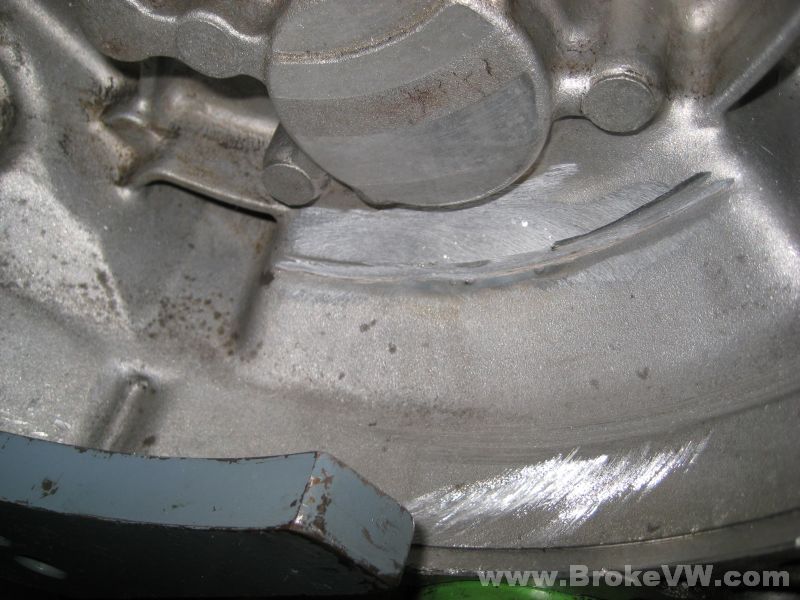
More speedo gear and debris behind the green end cap...

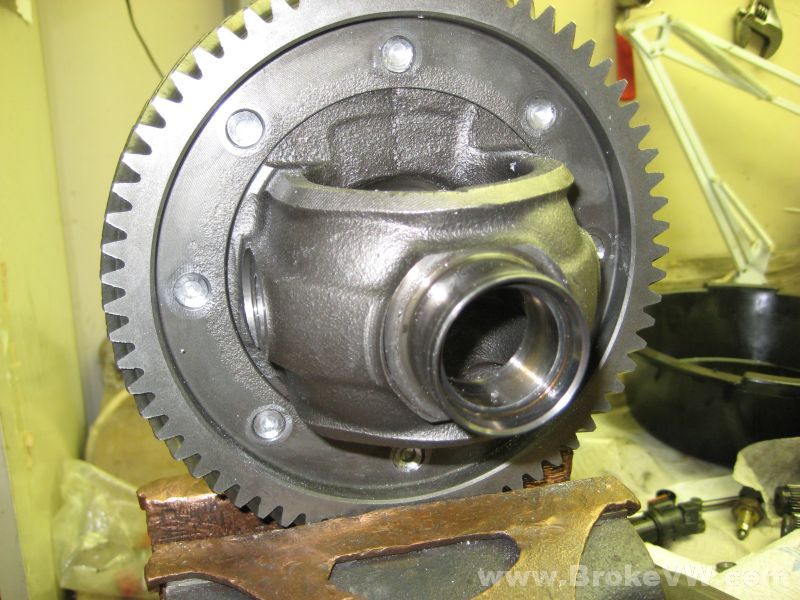
Drilling the diff rivets out so the bolt kit can be installed later. I found out while stripping the diff down, the cross shaft did not break into TWO pieces... it broke into THREE. Here is the diff with the rivet heads drilled out with the 6mm pilot hole for the 12mm drill bit...
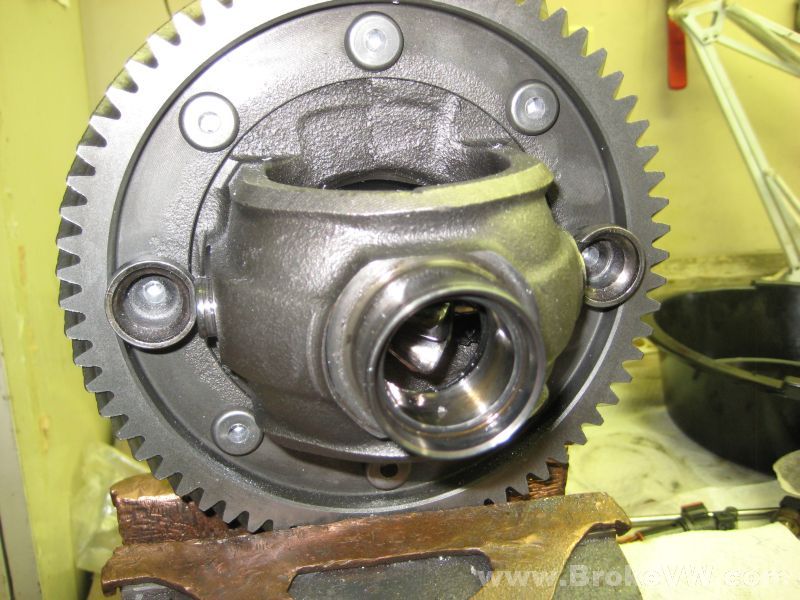
Once drilled with the 12mm bit, the heads are removed, and the rivets can be pressed out. Once out, the ring gear can be removed...
Update 06/20/10
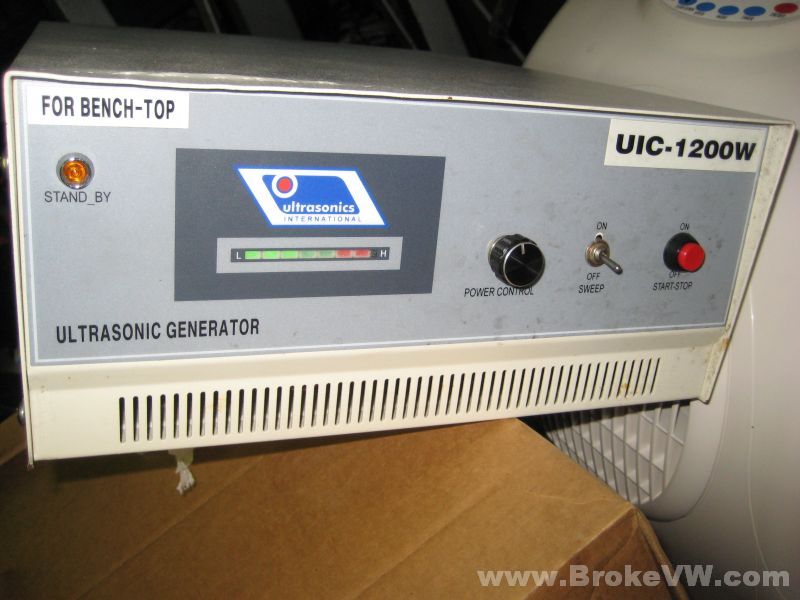
I've started working on your trans again and I'm using a new piece of shop equipment for me... an ultrasonic cleaner. I've started cleaning the smaller parts today, and will get the case done so it can be powder coated.
The ultrasonic generator, a 1200 watt unit operating at 38 KHz...
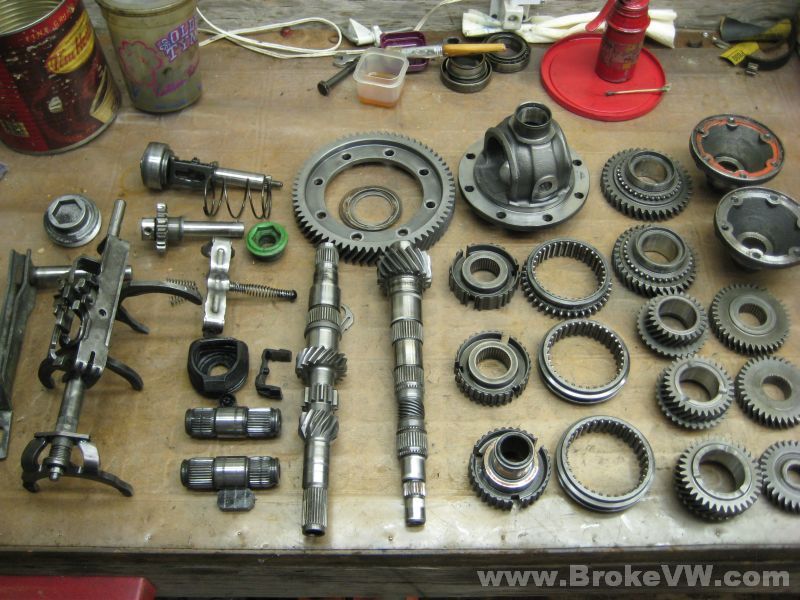
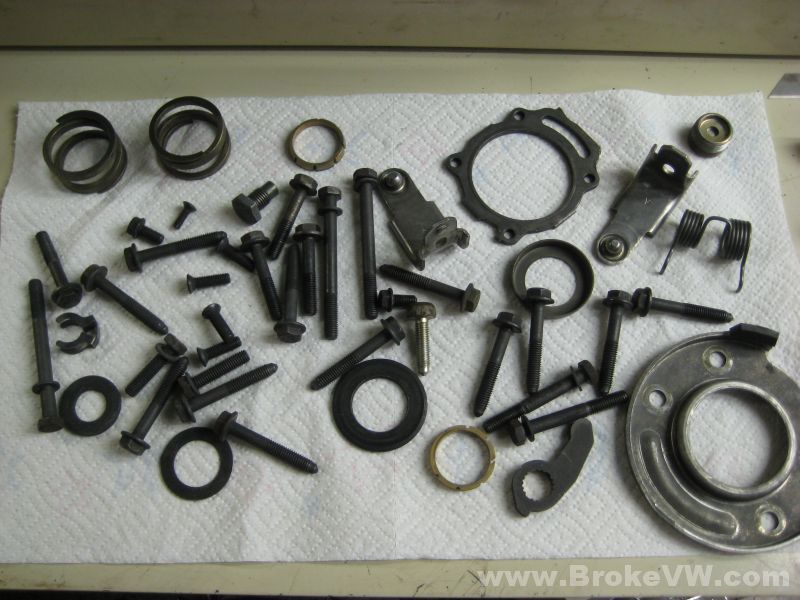
The parts laid out for cleaning...
The 5th housing has been cleaned, I can see a difference in the color of the aluminum now...
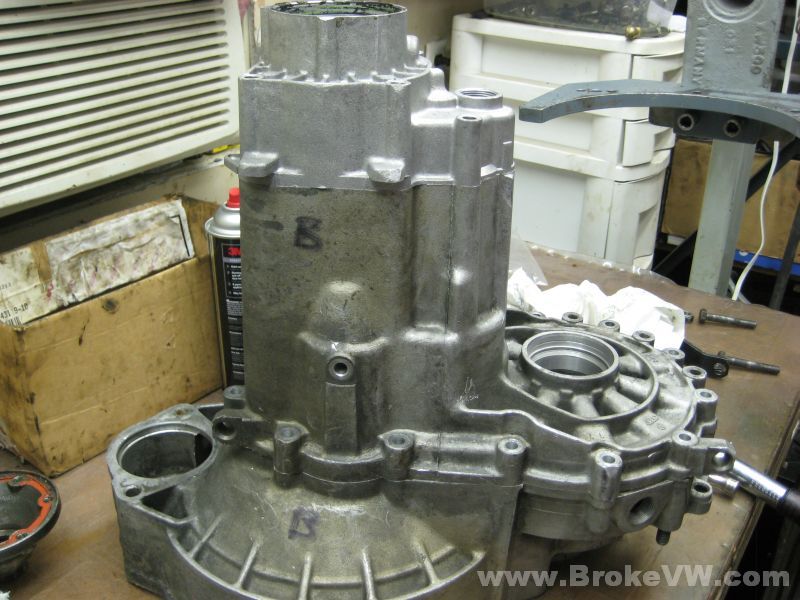
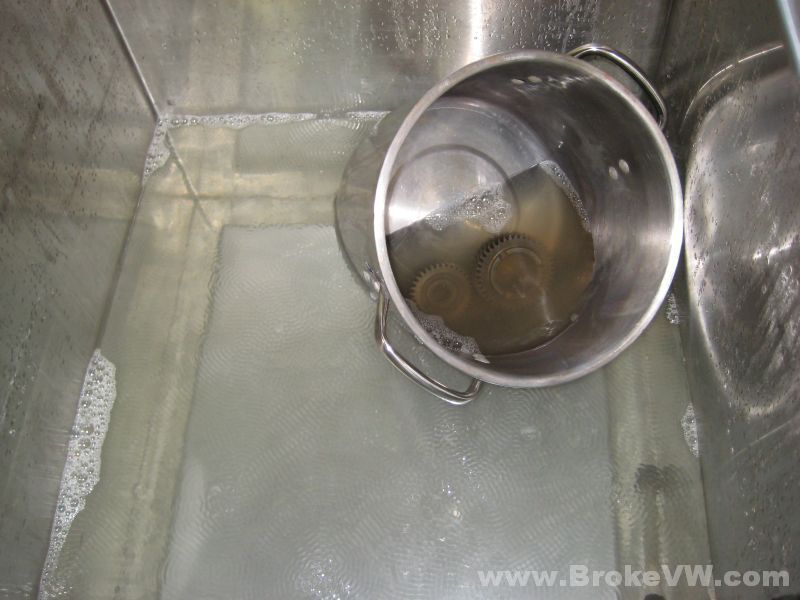
The tank is large enough to fit the trans casing pieces, but for smaller parts, I float them in a smaller container to keep from getting the bath dirty so I don't have to change out as much solution each time...
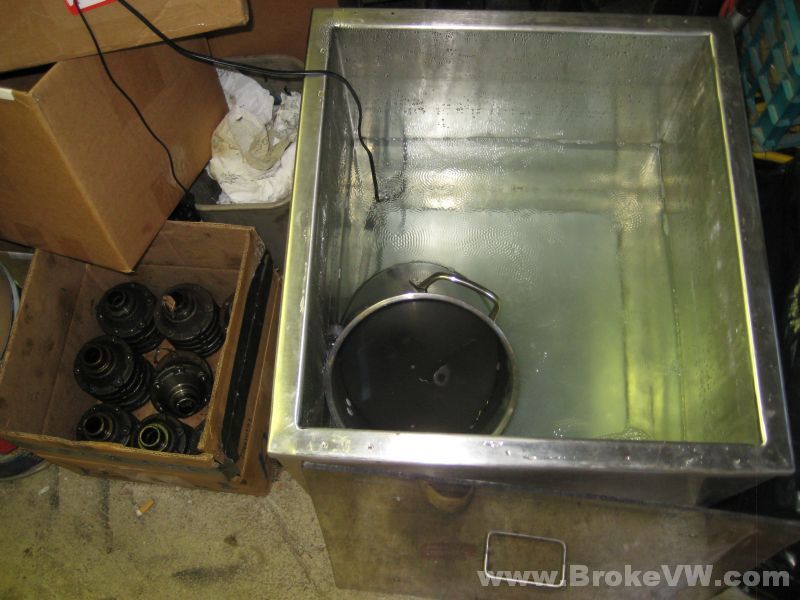
After the parts come out of the cleaner and are then rinsed and dried, they're as clean as I'll ever be able to get them! Once dried, they're oiled and bagged and put away until needed for the rebuild...
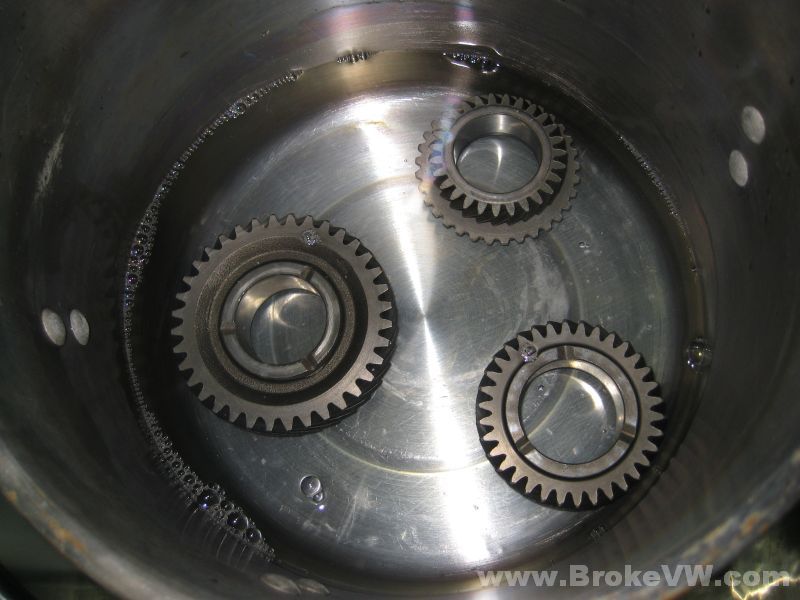
A few pics showing some gears being cleaned. The 1st pic is prior to turning the machine on. The 2nd pic is after about 3 seconds of cleaning. The 3rd pic is after 15-20 seconds of cleaning...
You can see the ultra fine dirt particles being blasted from the surface. They are so fine, they look like smoke swirling away from the part under the water surface.
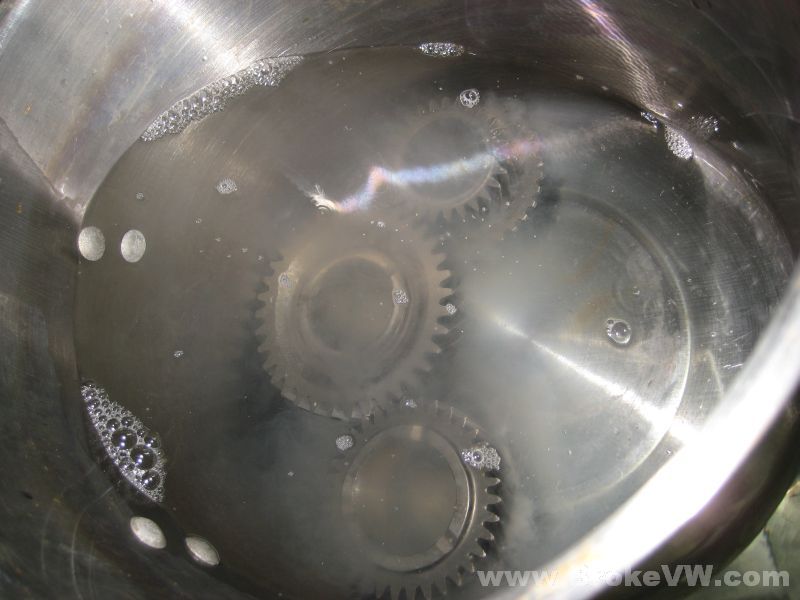
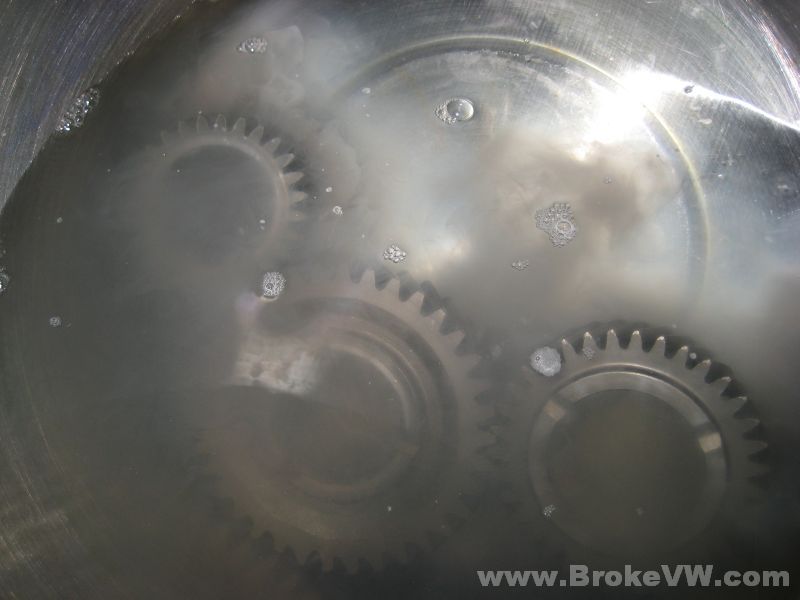
Another pic showing the "smoke" coming from some parts being cleaned...
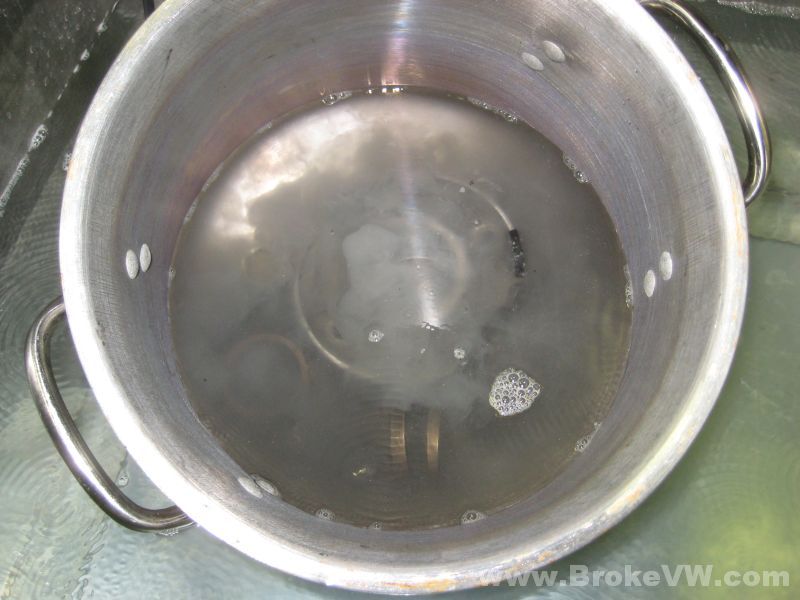
I'll start gathering your new parts and will carry on cleaning the casing to prep it for coating, I'll email when I upload more pics.
Update 7/26/10
I've got your case sand blasted and will be having it powder coated gloss black soon. I will be taking it to them in the next few days.
I've finished cleaned and oiling the internal parts now, including the 0.80 5th gear you had shipped here. Here are the shafts and the diff carrier waiting to be oiled after being cleaned and dried...
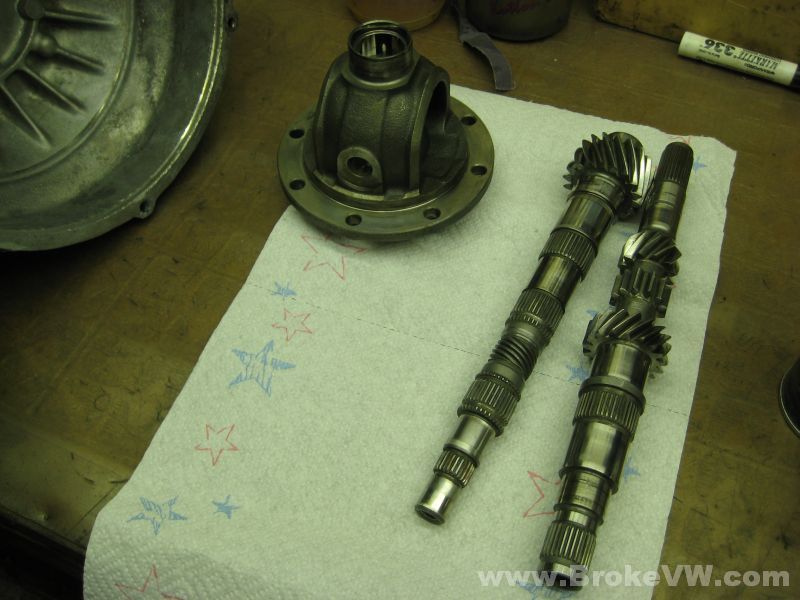
The parts are all now oiled, bagged up, and put away, ready for use when I rebuild the trans after having the case coated. This is the 0.80 5th gear being cleaned in the ultrasonic cleaner...
The case is assembled and all of the holes sealed up. Inside I run bolts into the threaded holes (output shaft bearing plate and reverse uprights) to keep any sand from getting into them that gets inside the casing. I use rubber discs cut to fit the holes and they are then held in place with old oil seals. It will keep most of the sand out of the inside, but there is always some that makes it in. The case is rinsed and dried several times over to ensure there are no grains of sand left inside the trans. I will clean and rinse it all before taking it to be coated, then they will also clean and rinse it before coating...
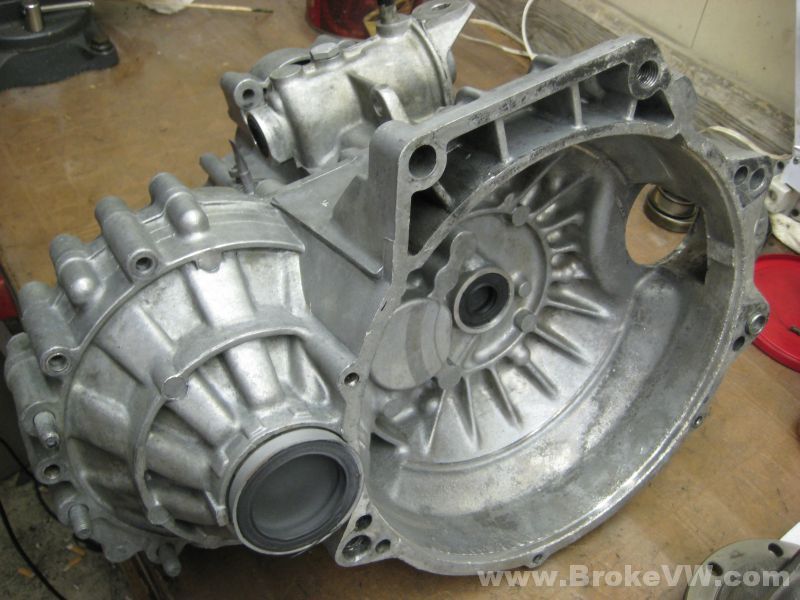
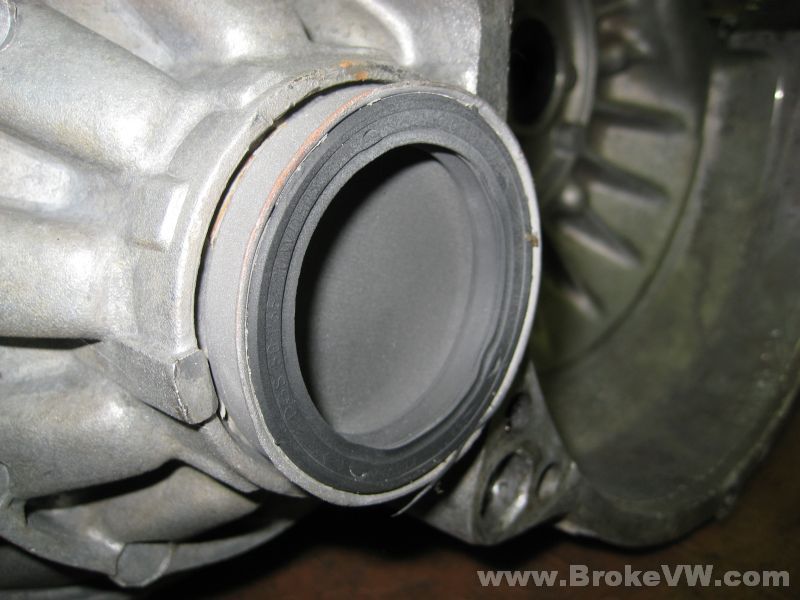
A pinched-off speed cable end works well to seal up the speedo hole...
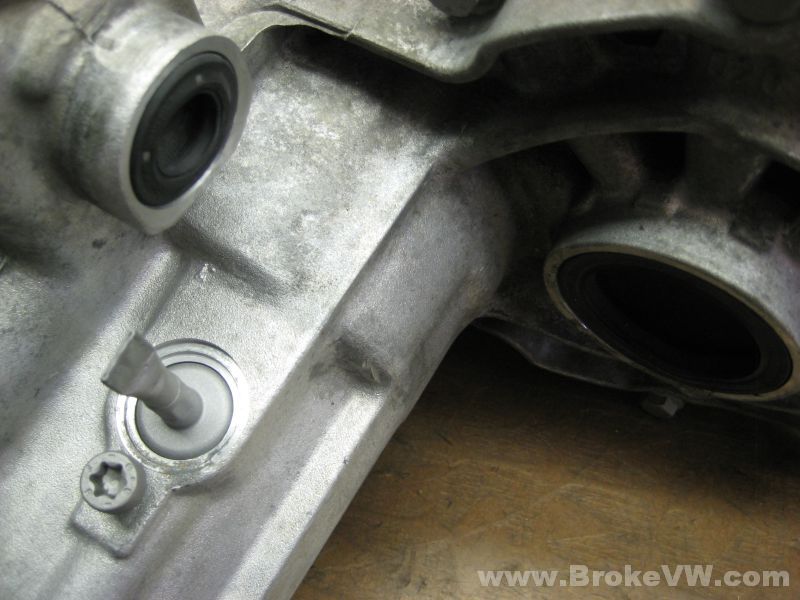
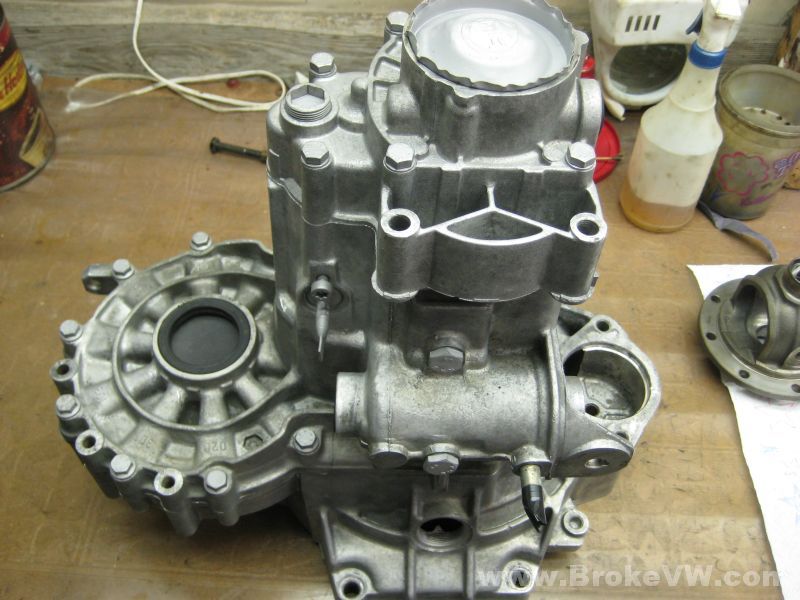
Here is the trans during blasting. You can see the top of the 5th housing isn't done, and the bottom of the bellhousing isn't done on the left, but it is done on the right side...
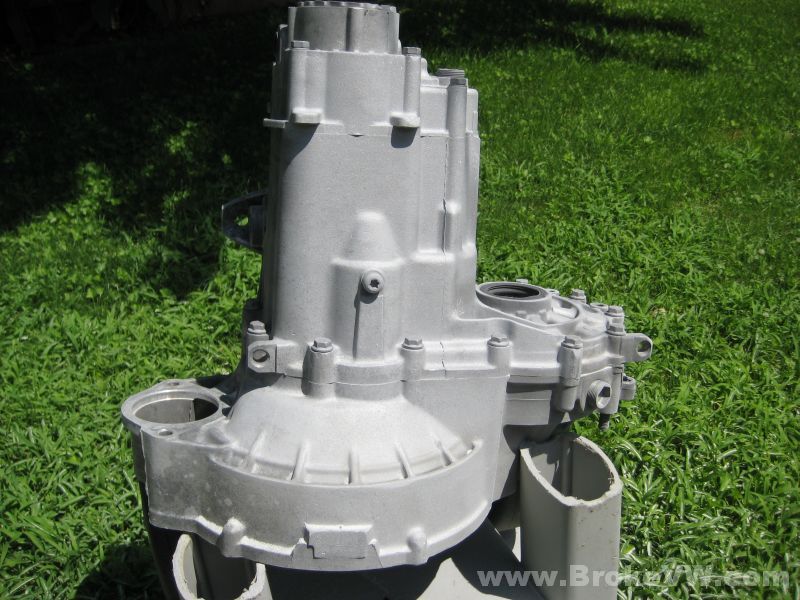
The side in the shadow hasn't been done, you can see the inconsistency in the finish....
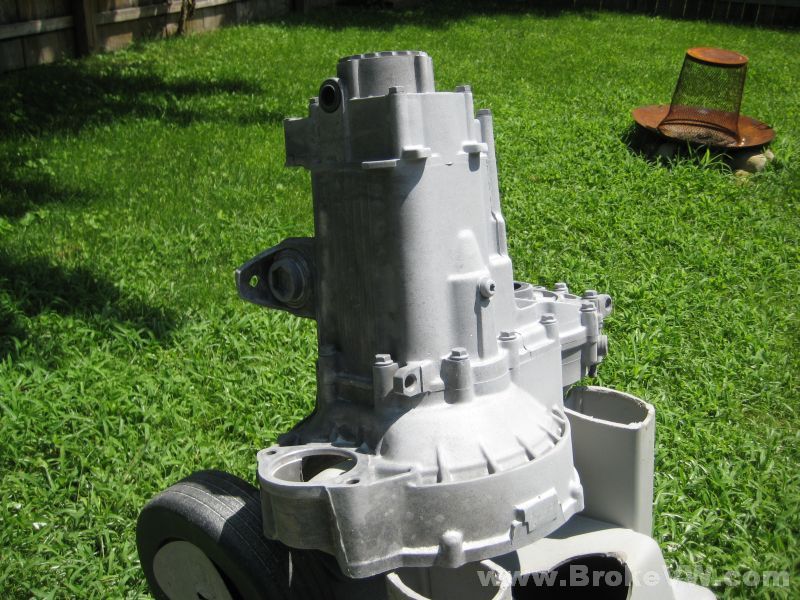
The trans is done being blasted and most of the staining has been removed. After this I would normally blast it again using glass bead to finish removing any spots left if possible (if they are badly oxidized the blasting won't get it off unless you really cut into it) and the glass also leaves a very nice finish to it. The powder coating shop stated they don't want that done because the glass is non-conductive....
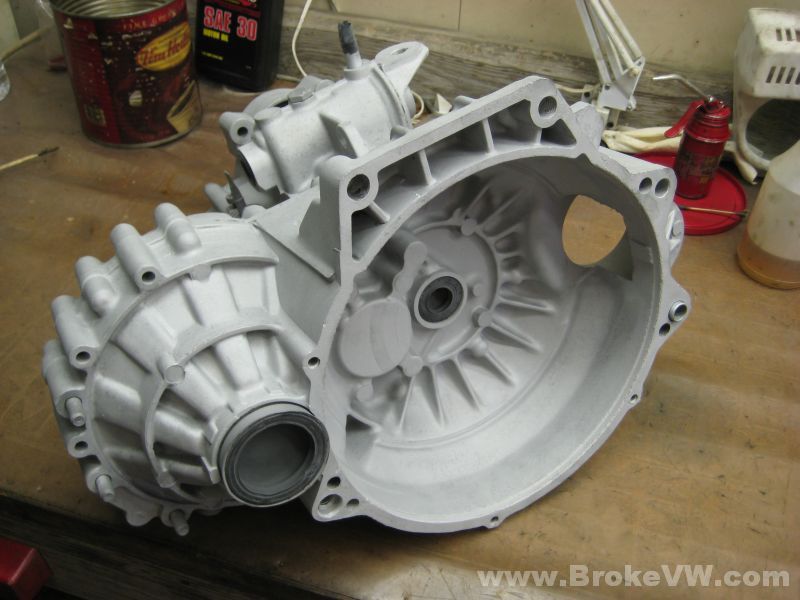
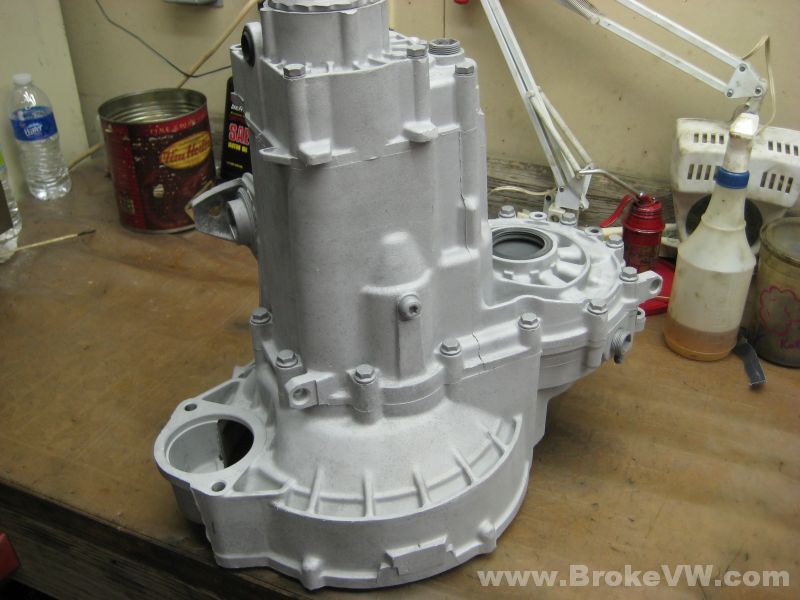
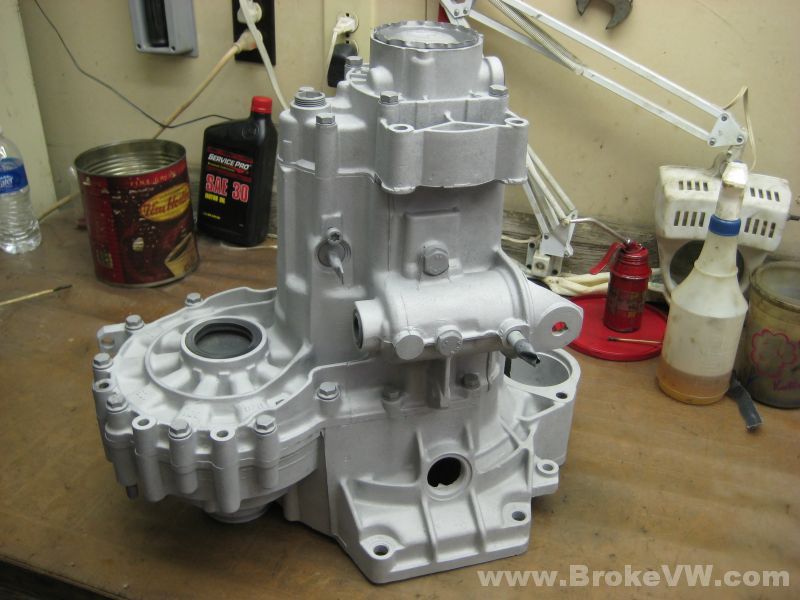

The trans is taken apart now and needs rinsed off several times, but soon it will be heading to the powder coaters to be coated and I'll upload more pics then....
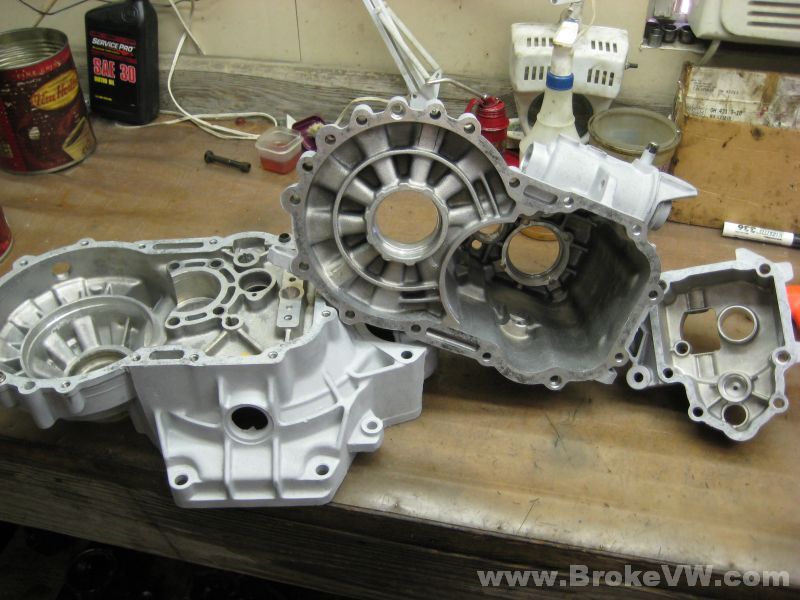
Update 8/24/10
I have the case back from being powder coated. It took longer than expected because of a slight problem that was experienced after coating it. The shop that did the work coated the case with the 27mm selector cover threaded in place. They actually threaded it al the way in to cover the threads and then coated it. The problem came when I went to remove the cover. The coating itself was perfectly fine... tough, shiny, smooth, and it looks really nice.... but the cover seized up.
I ended up using a chisel to break the center of the 27mm cover out, so I could remove it without needing to unscrew it. It broke easily enough and peeled right out, but the threads were damaged.
I went back to the shop and it was basically my word against his, and we were going nowhere. I told him he'd have to coat another selector cover, assuming I could repair the damage.
I know they installed the cover fully, because it was screwed in all the way and it wasn't when I dropped it off. They either got something in the threads while threading it in and killed the threads, or during the baking phase something happened with the difference in thermal expansion between the small cover and the heavy casing, and they shouldn't have been baked together.
I have a box of the 27mm selector covers, so I wasn't worried at all about replacing the cover, but the threads in the gear box casing were damaged, and nobody makes a 60mm diameter tap that I could find. The good news was that it was portions of the threads damaged, and portions that were fine, and the first several threads were fine, so I could get a new cover started, but not threaded all the way in.
I started by running a new 27mm cover into the casing, using it as a tap to try to repair the treads in the case. The soft aluminum cover threads simply aren't strong enough to do much before they are damaged, so I use a Dremel and a cut-off wheel to remove the portions of mangled aluminum in the threads of the casing; those sections too damaged to be repaired by having a cover run through them.
I ended up using 4 covers after cutting the damaged threads away with the Dremel, winding one in and out a few times, then cleaning all the debris out of the casing, and starting a fresh cover in. Each time it got a little better, going in a little further, and getting a little smoother.
I then took the last cover, which threads in fully and seals fine, and took it back to the shop to have them coat it, so it is coated and the threads are repaired well enough to work, but it was a delay in the process and a lesson learned with this being the 1st trans I've had coated. I'll know to stress to the new shop to NOT coat the parts assembled.
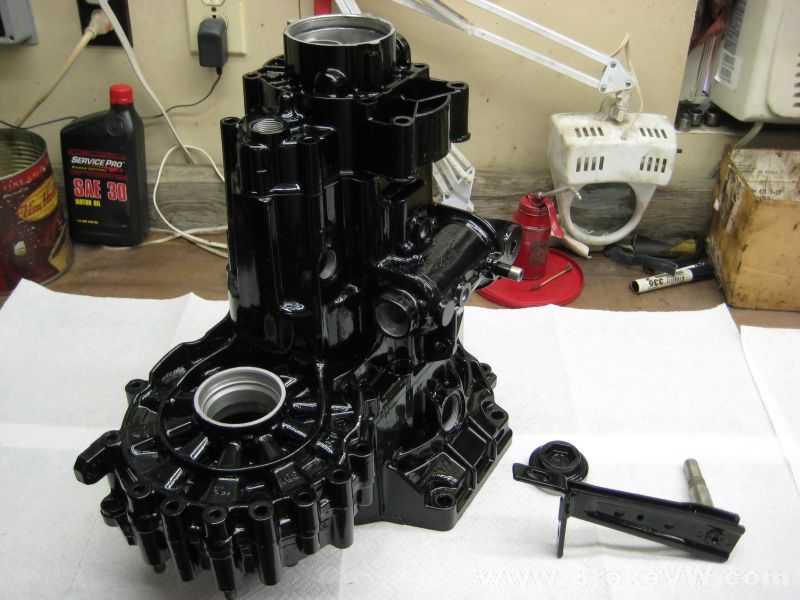
Here is the case after I got it back. I rinsed it fully and dried it off, and other than the problem with the 27mm cover, everything else is fine. They covered any threaded holes, covered the seal holes, and it looks good...
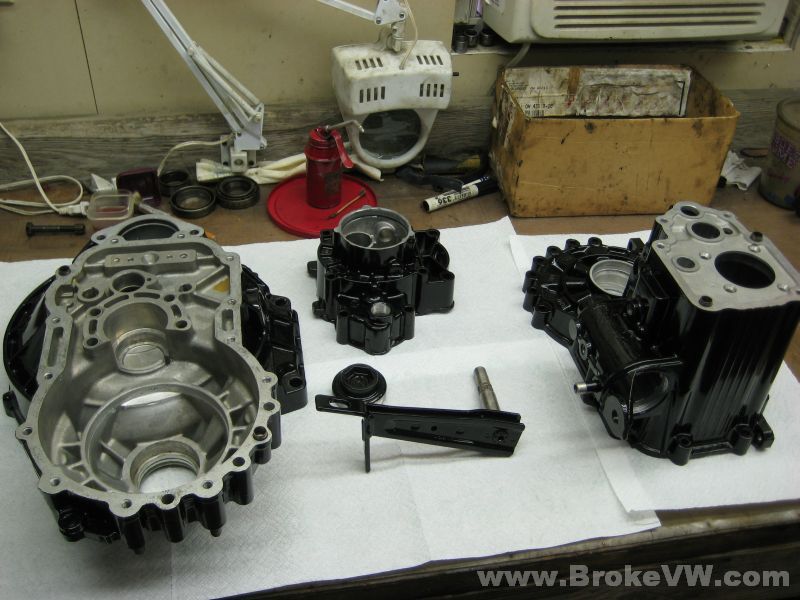
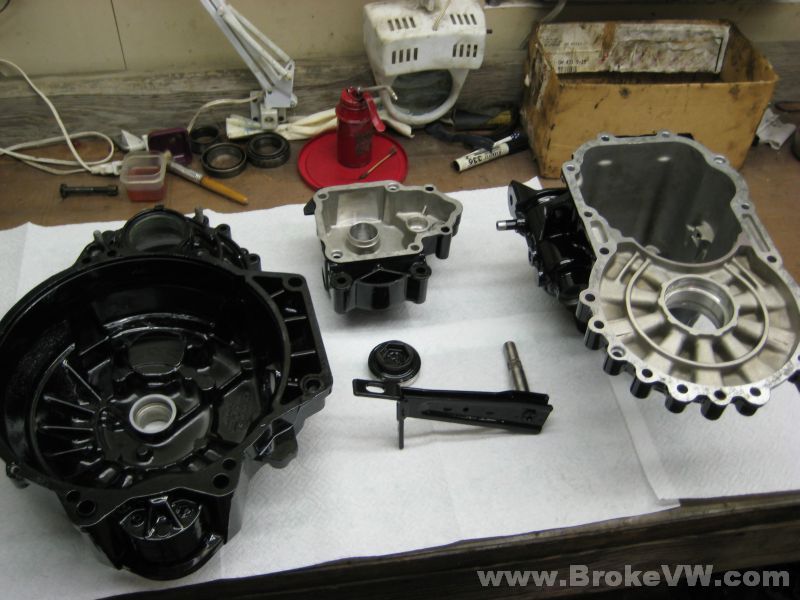
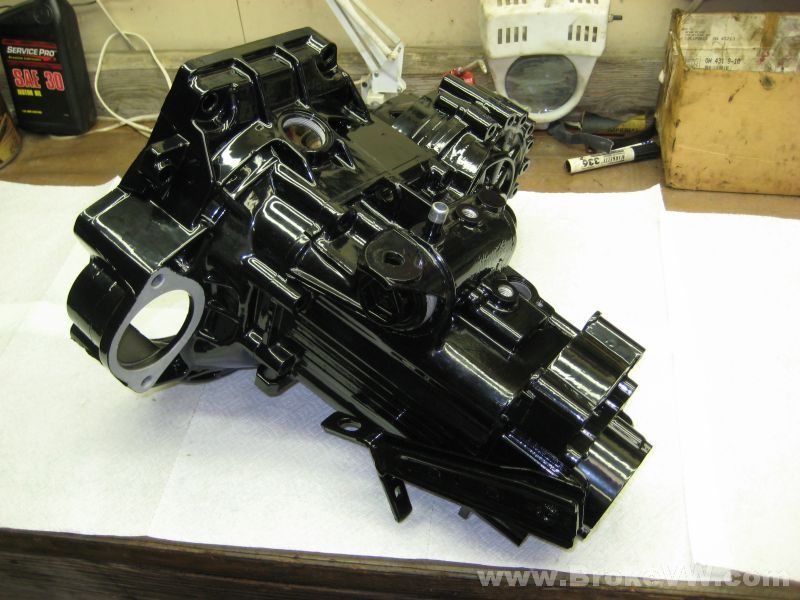
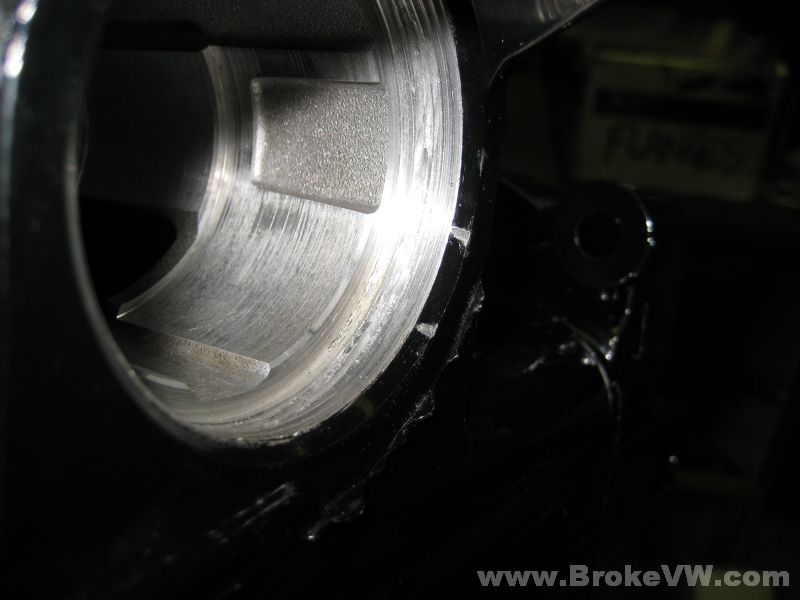
Here you can see places where I had to hit the threads with the Dremel to remove the aluminum that simply wouldn't allow the cover to thread in. The cap now threads in fully, although not as smoothly as one not damaged. You can feel spots where it is tougher than other spots to spin, but it seats fully and seals up and to make sure there are no leaks, I'll coat the threads with the VW sealant paste, which is pretty awesome stuff...
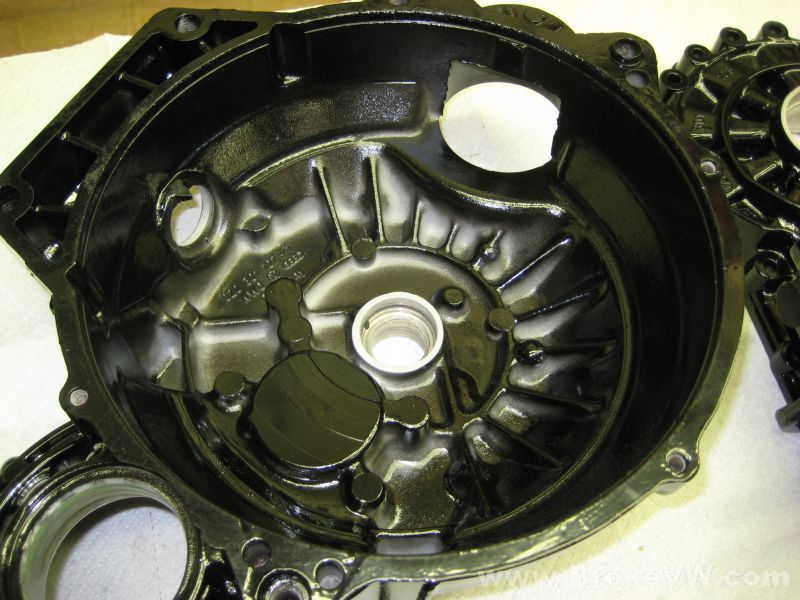
They didn't coat inside the starter hole at all, and just dusted inside the bellhousing since it is never seen once installed, so there are places inside the bellhousing that are not covered, but that is ONLY inside the bellhousing. Everything on the outside is properly coated, much thicker than the light dusting inside the bellhousing, and there are no bare spots...
Here are the new parts going into the trans... all the gear needle bearings, the 2 shaft roller bearings, the input big ball bearing, the TO bearing, the 4 tapered bearings, full sync ring kit with springs and keys, full circlip kit, ARP bolt kit, full seal kit, and the small misc. parts like the 5th bolt, 5th lock plate, thrust pieces, starter bushing, etc...
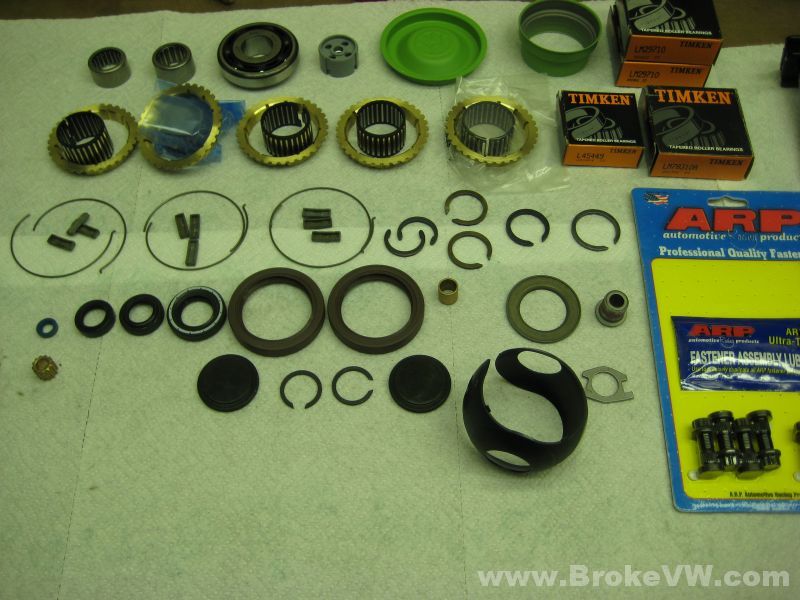
Here are the parts cleaned, oiled, and ready to be assembled...


The parts stay covered or bagged when I'm not there working on it to prevent any dust from getting onto the oiled parts...
I'll start building the sub-assemblies tonight, like bolting the ring gear to the diff, building the input shaft, etc., then will start on the bearing preloads once the sub-assemblies are done.
8/25/10
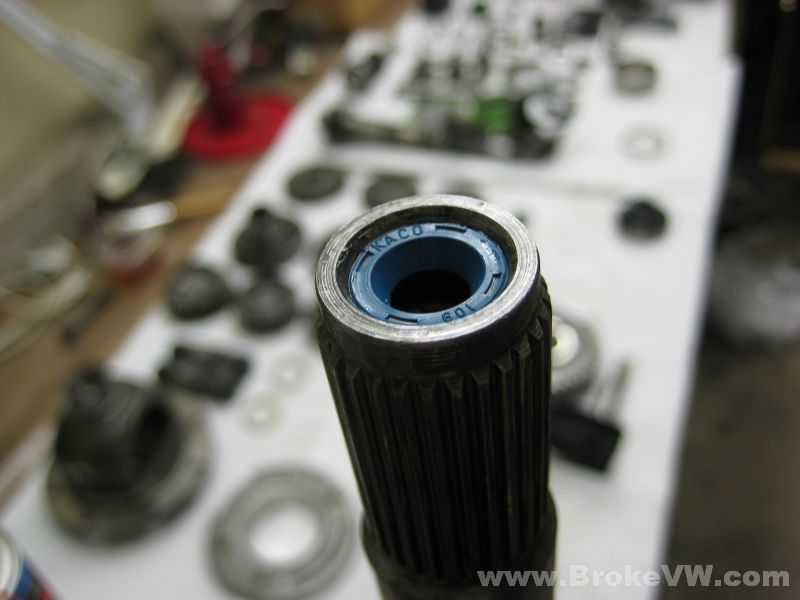
Starting with the input shaft, the new pushrod bushing is installed...
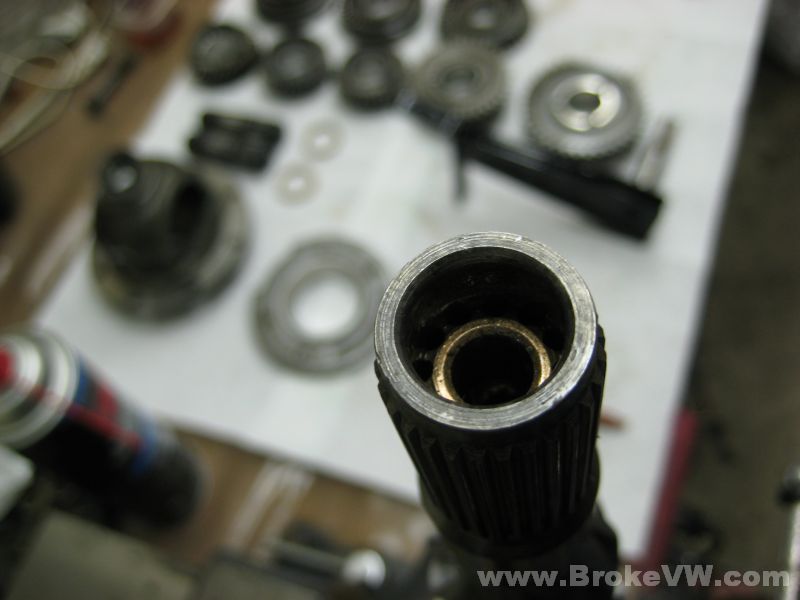
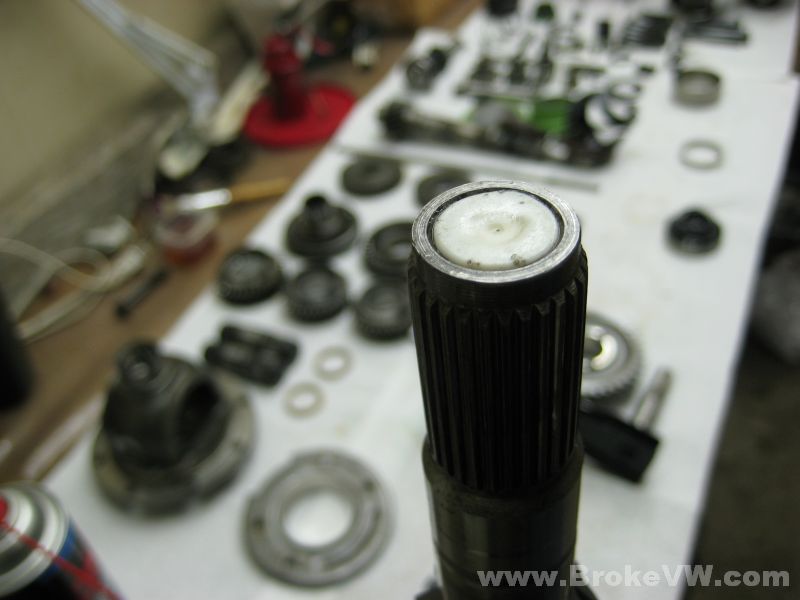
The pushrod seal is installed with a plastic plug which is used as a depth gauge. The plug is driven in flush with the end of the input shaft, which will put the seal the correct depth into the end of the shaft once removed...
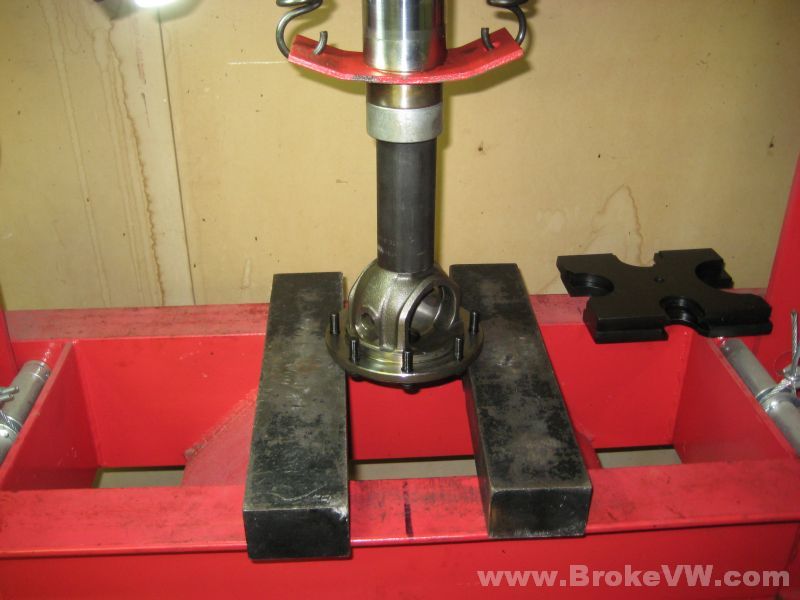
Pressing in the ARP bolts for the ring gear...
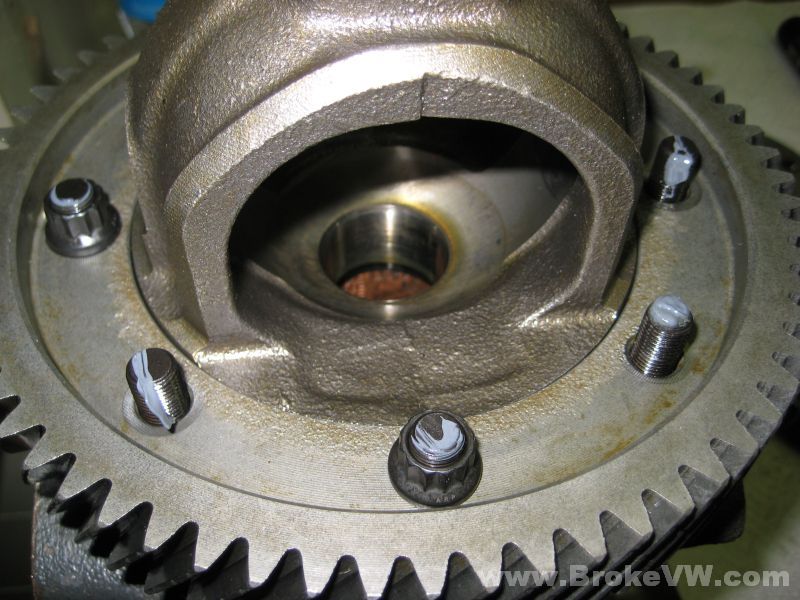
The heated ring gear is installed to the diff carrier....
ARP assembly lube is used on each bolt, and the nuts installed to 40 ft-lbs once the ring gear has cooled.
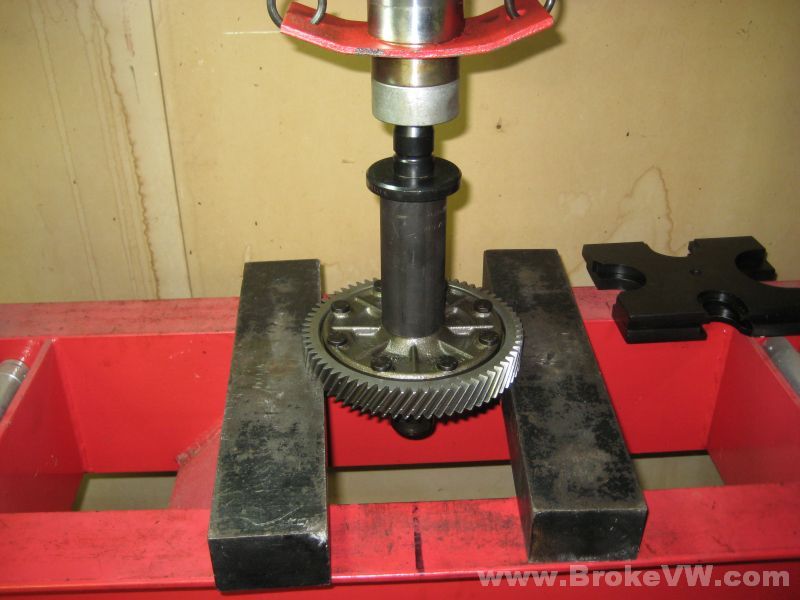
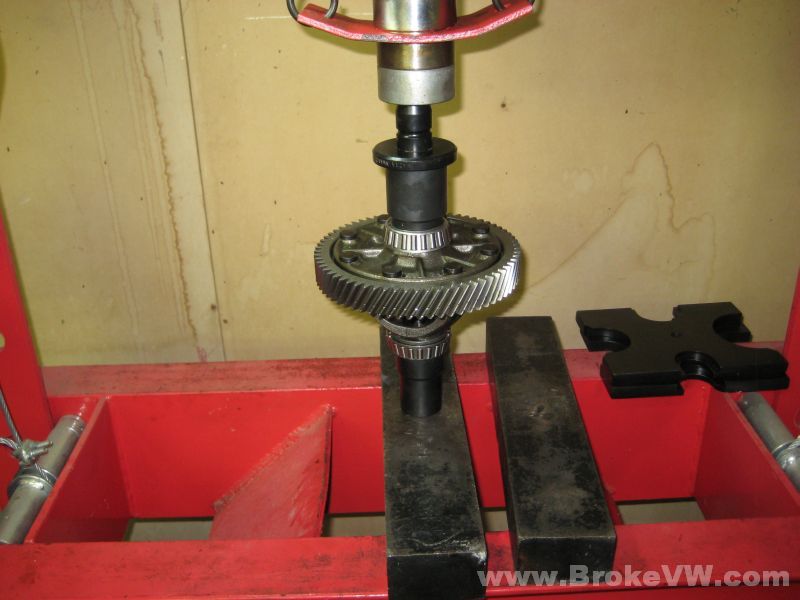
Pressing on both bearings at the same time after they have been heated to 212F....
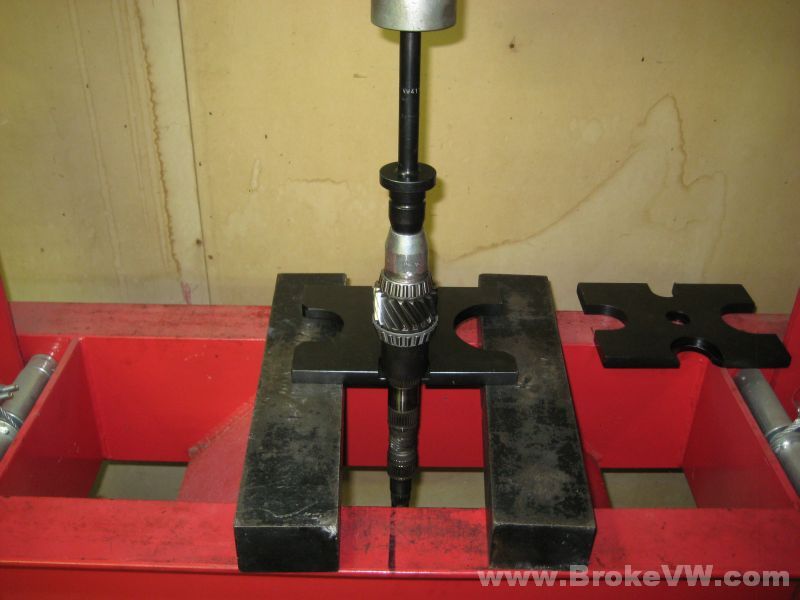
The same is done to the output shaft, the bearings are heated to 212F and pressed on at the same time...
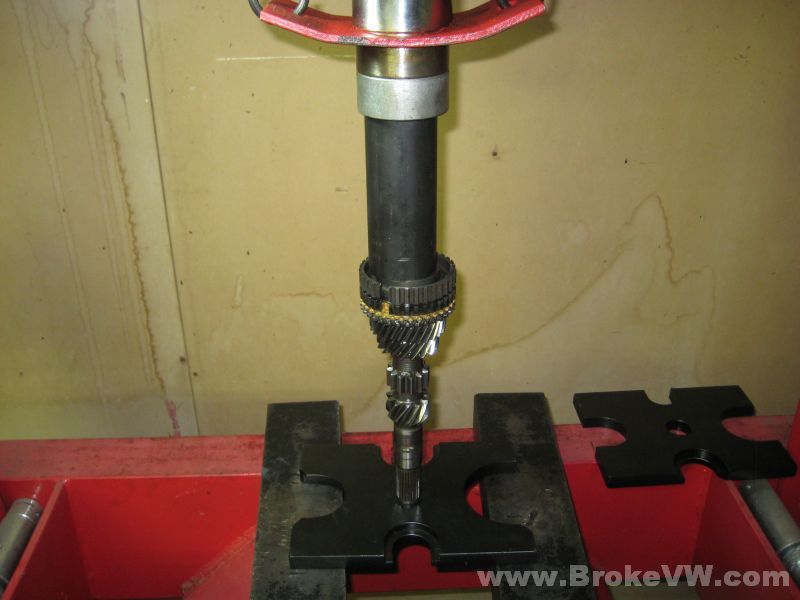
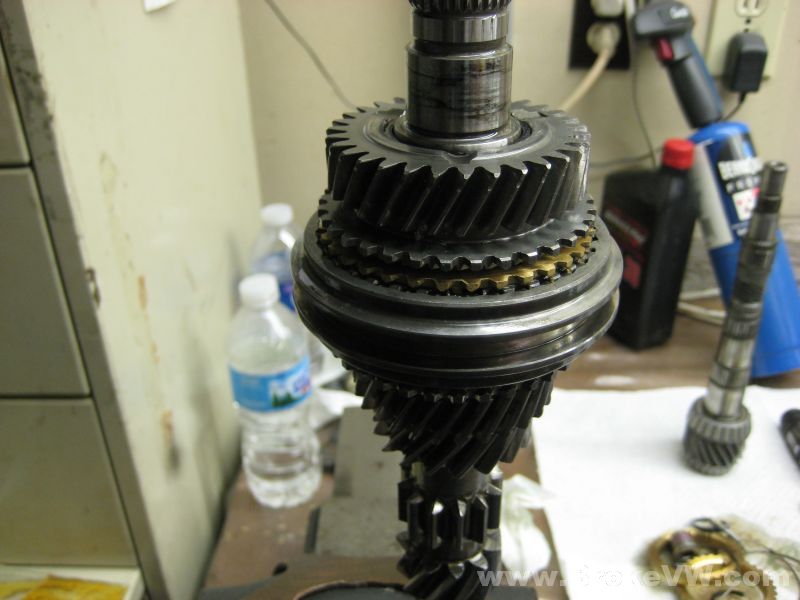
The 3rd/4th sync hub, also heated, pressed onto the input shaft...
New bearings, sync rings, keys, and springs as well as a new circlip and 4th is ready to install...
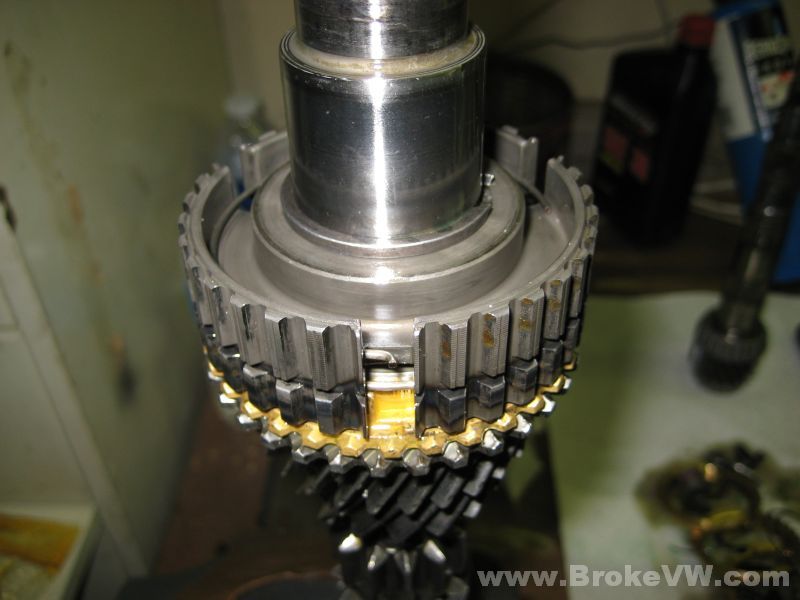
The input shaft completed at this point in the rebuild, it will be installed into the trans later as it is...
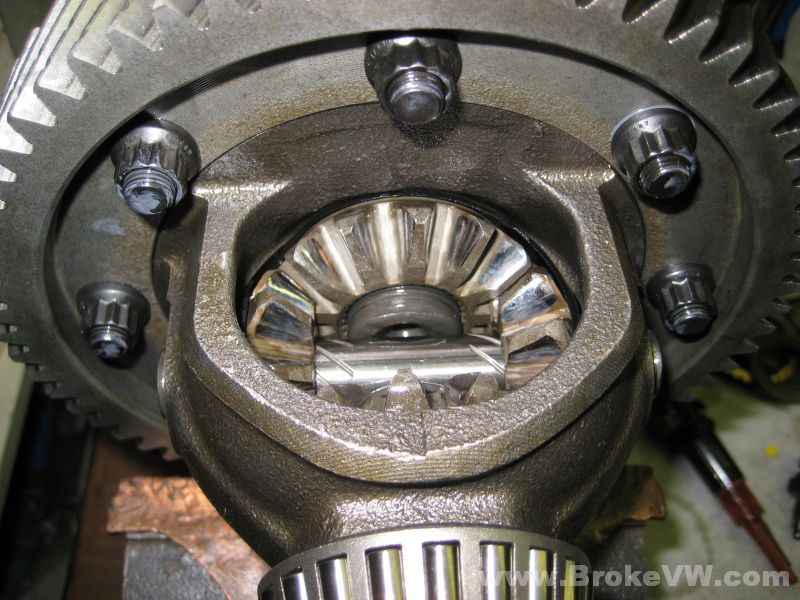
The spider gears and cross shaft have been replaced with a good used set, along with a new thrust washer behind them. The stub axles are secured with thicker 2.3mm snap rings to take up any slop in the parts. I had forgot about the spider gears when I laid all the parts out for the pics, I had to grab them out of the parts washer tonight when assembling the diff, but the diff is built and done...
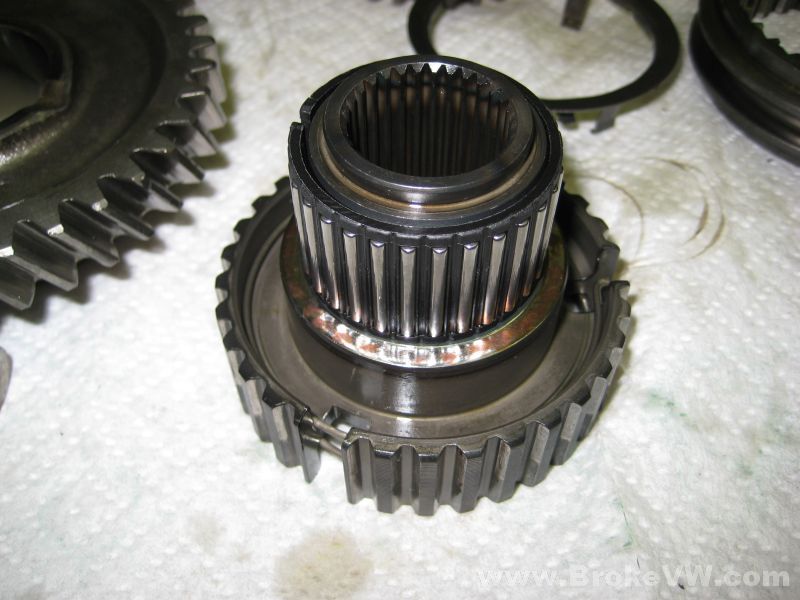
The 5th assembly with the new bearing installed...
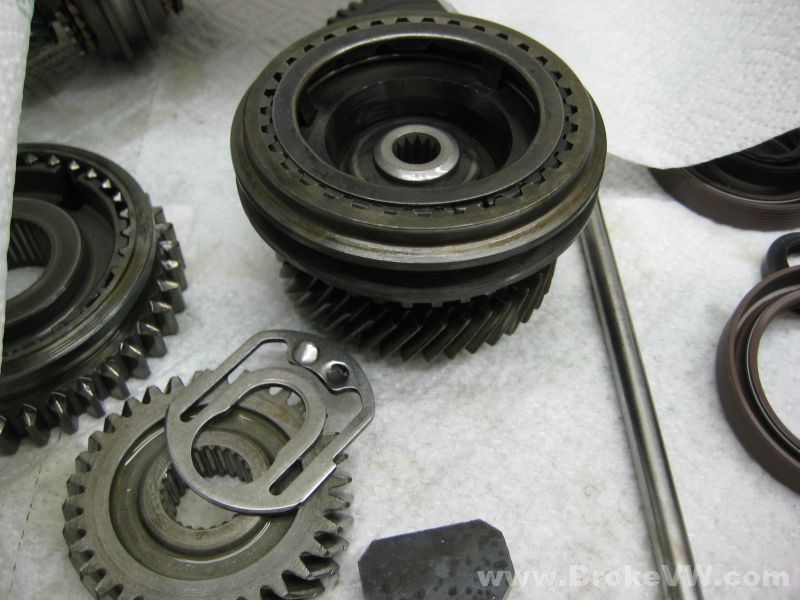
The 5th assembly completed and ready when it is time to install into the trans...
The 5th housing is complete and built, I can see where the powder didn't get all the way into the nooks of the 5th housing...
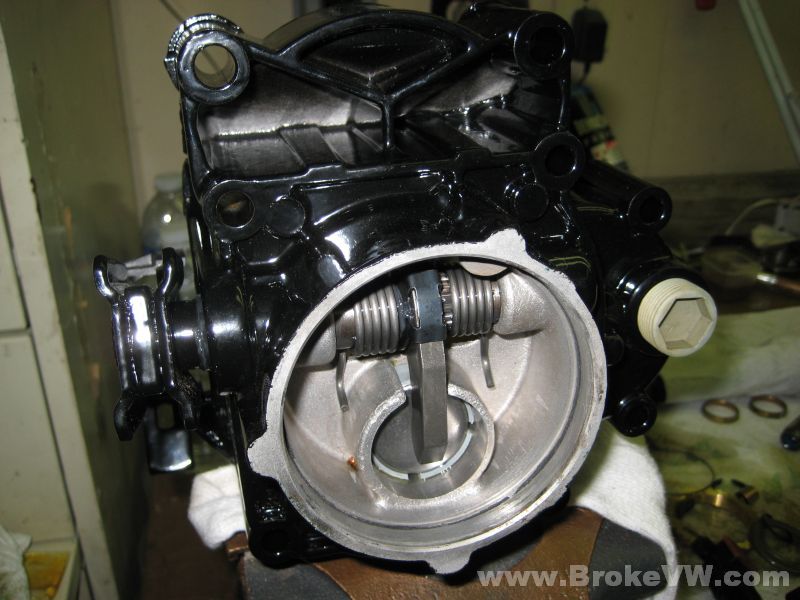
Next will be to install the bearing races into the bellhousing, and then I can begin the adjustment of the bearing preloads. Once those are done, THEN the parts can finally start going into the trans and it can get assembled.
Update 8/26/10
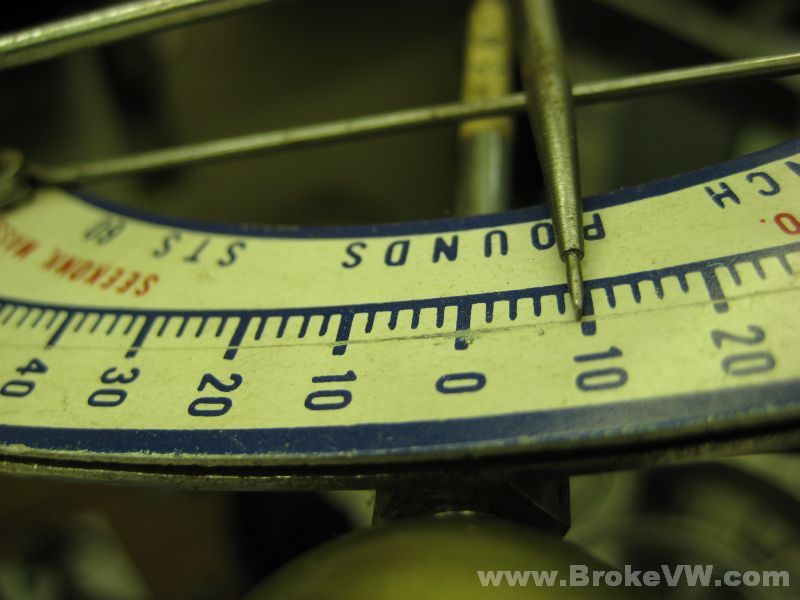
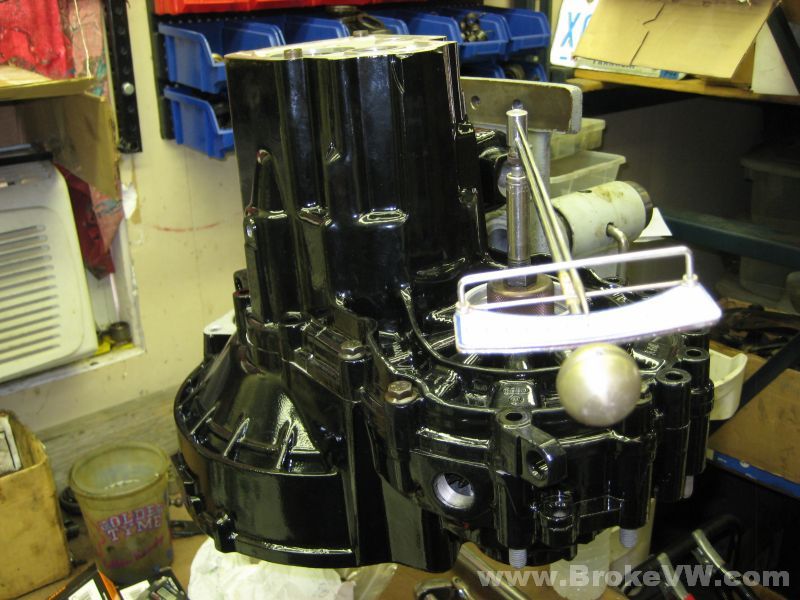
The output shaft turning torque being checked for the bearing preload...
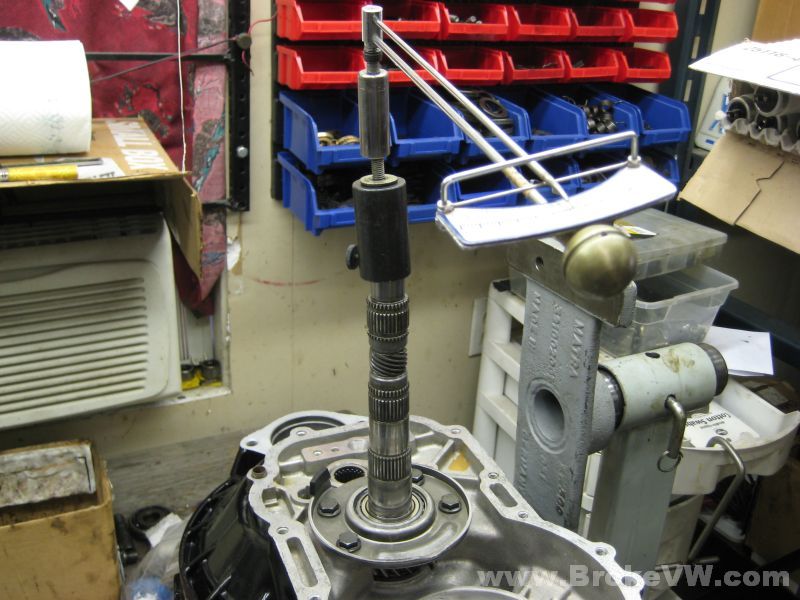
Spec is 4.4 to 13.3 in-lbs, so the output shaft is adjusted properly...
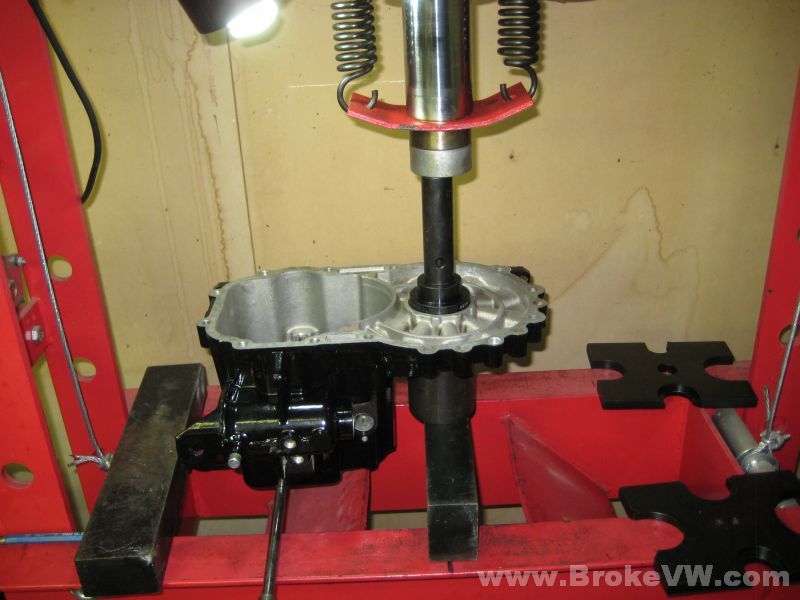
The bearing race for the diff being installed into the gearbox half of the casing...
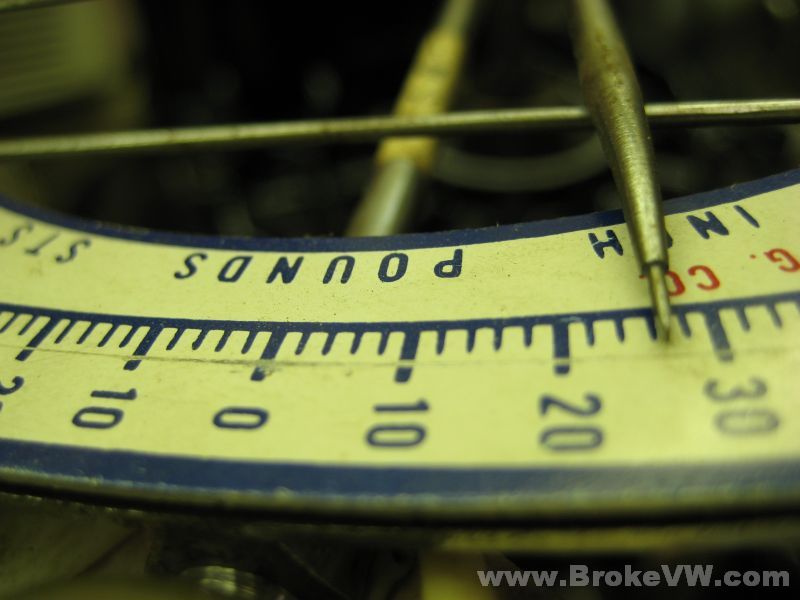
The diff bearing preload is checked by measuring the turning toque for the diff....
Spec is 11 to 31 in-lbs, so the diff is adjusted now...
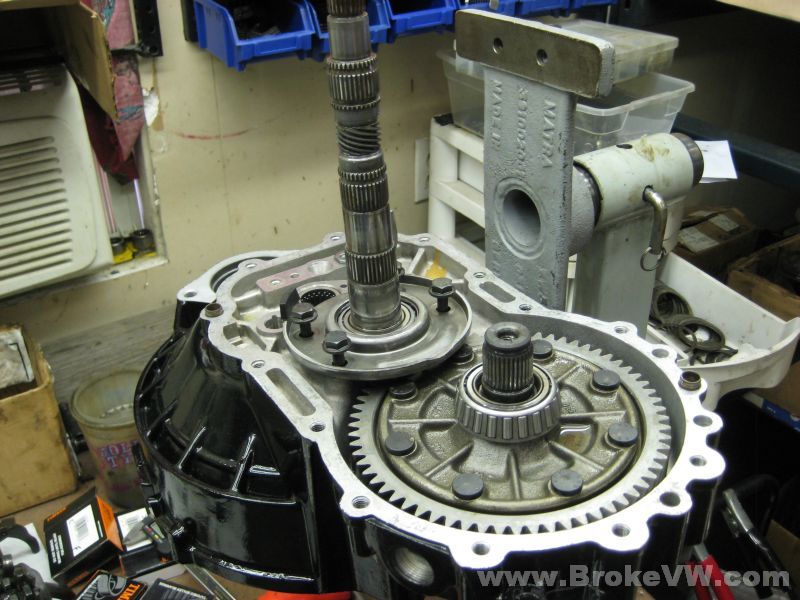
Once the preloads are done, the parts can start being assembled into the casing. The output shaft is bolted in over the diff...
The reverse relay brackets are bolted in and torqued to 18 ft-lbs...
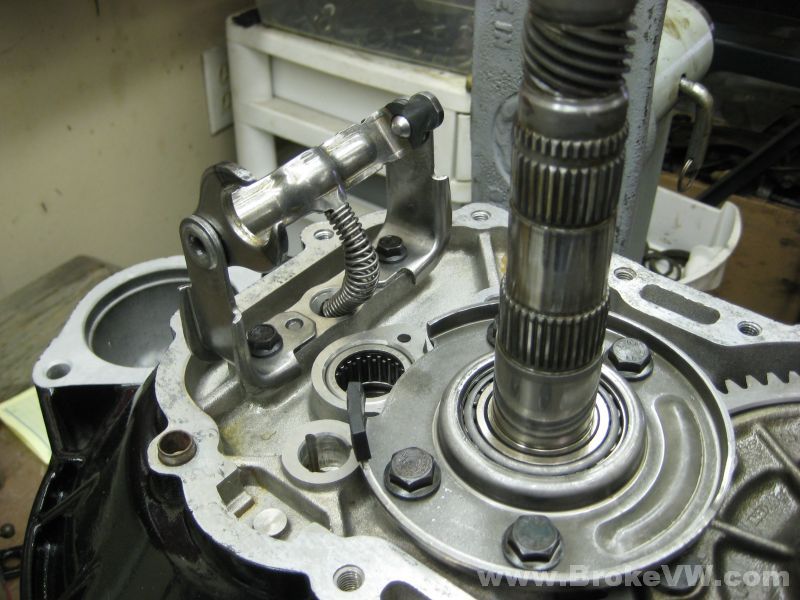
The new output thrust washer along with the 1st gear assembly is installed...
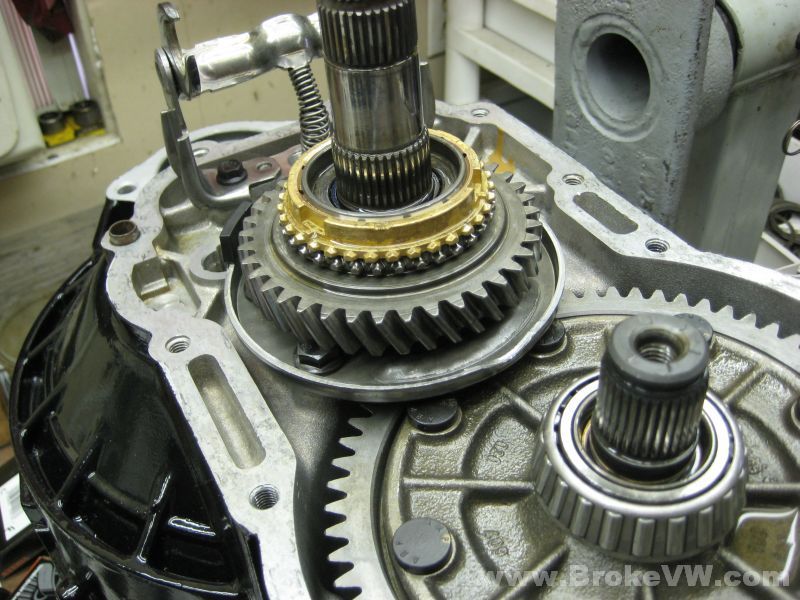
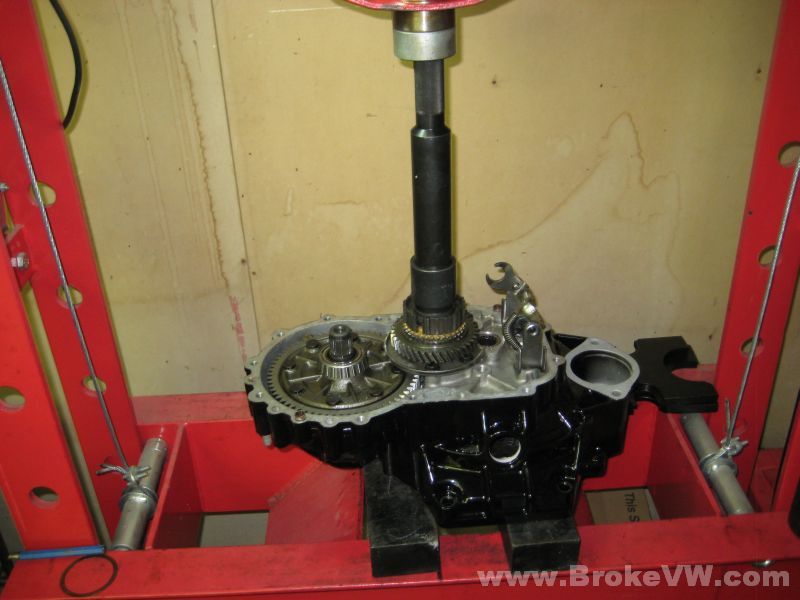
After heating to 212F, the 1st/2nd sync hub is pressed into place...
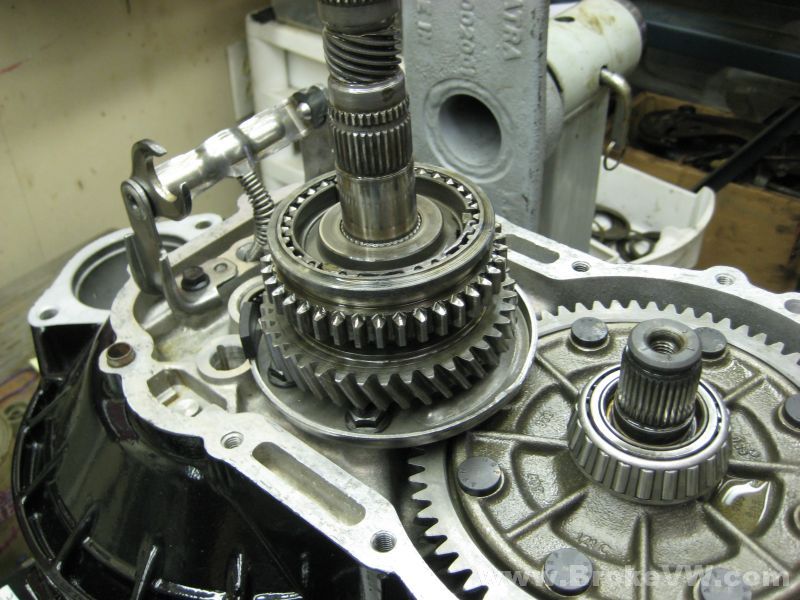
The completed hub assembly is built onto the shaft...
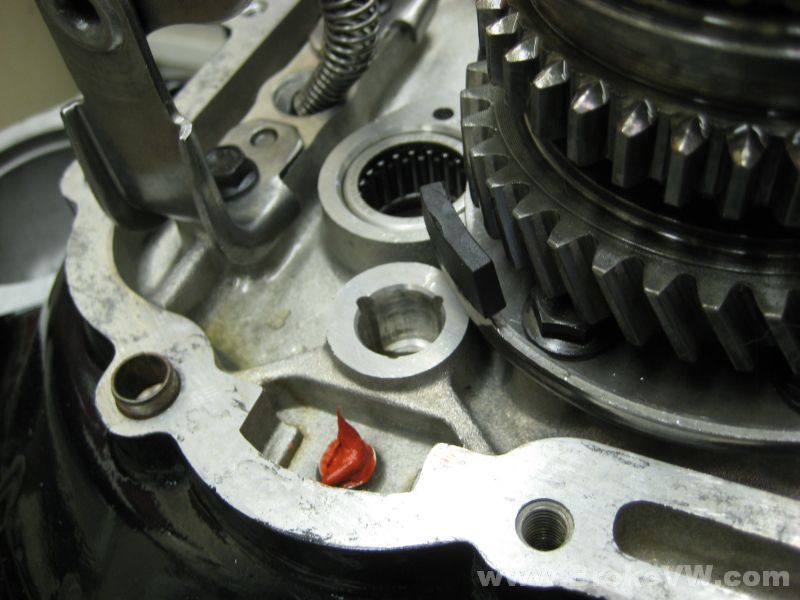
A blob of RTV silicone to hold the magnet in place...
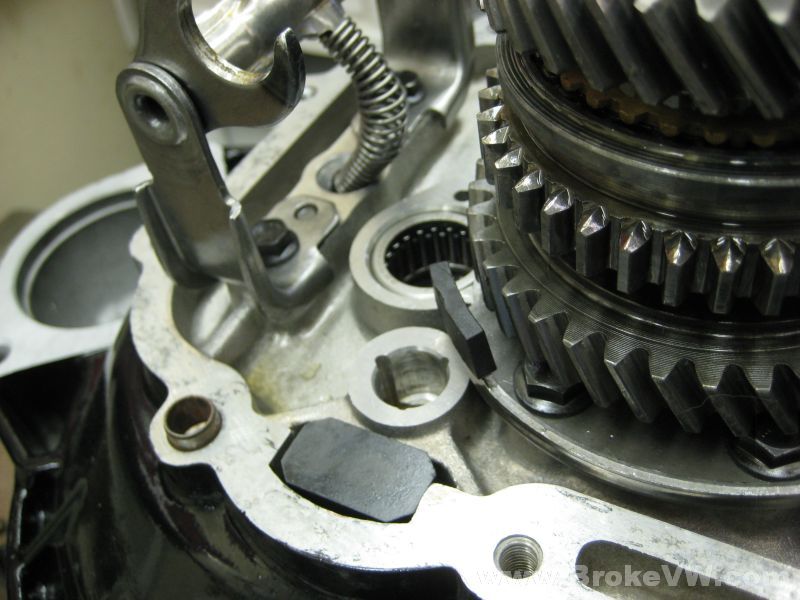
3rd gear being installed to the output shaft...
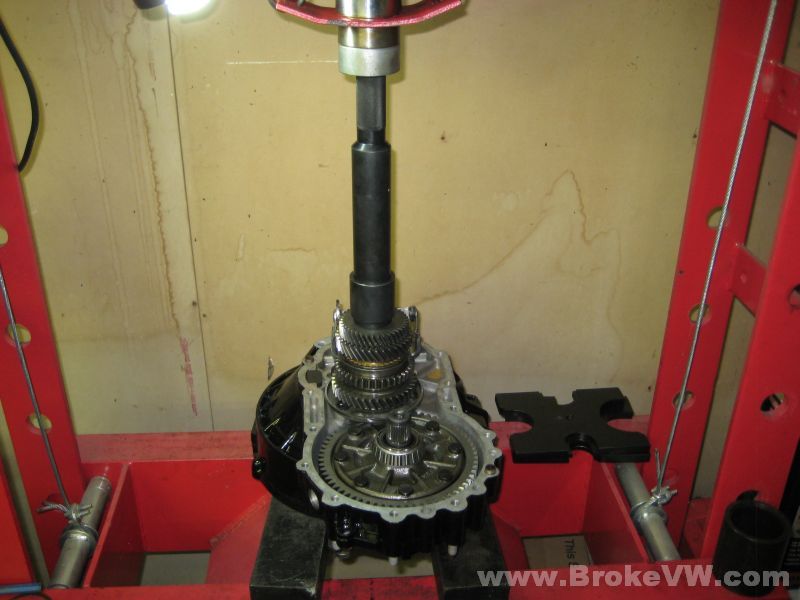
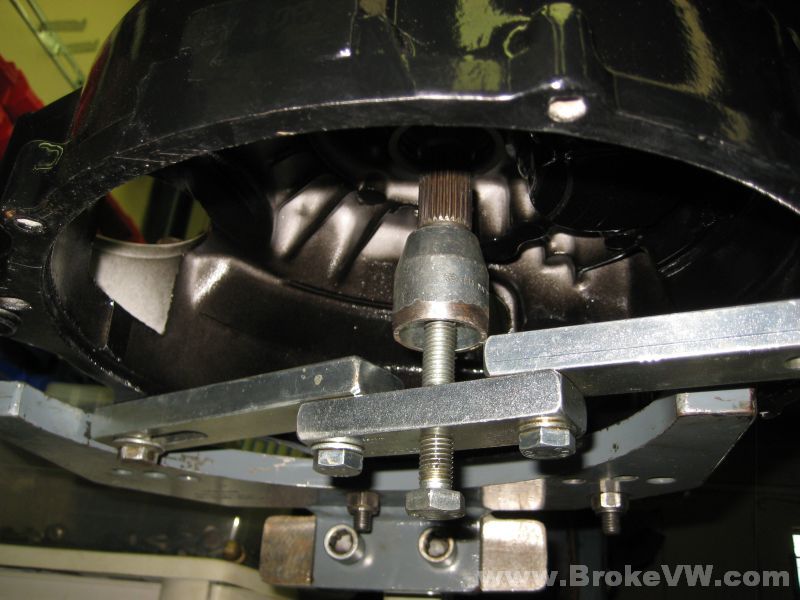
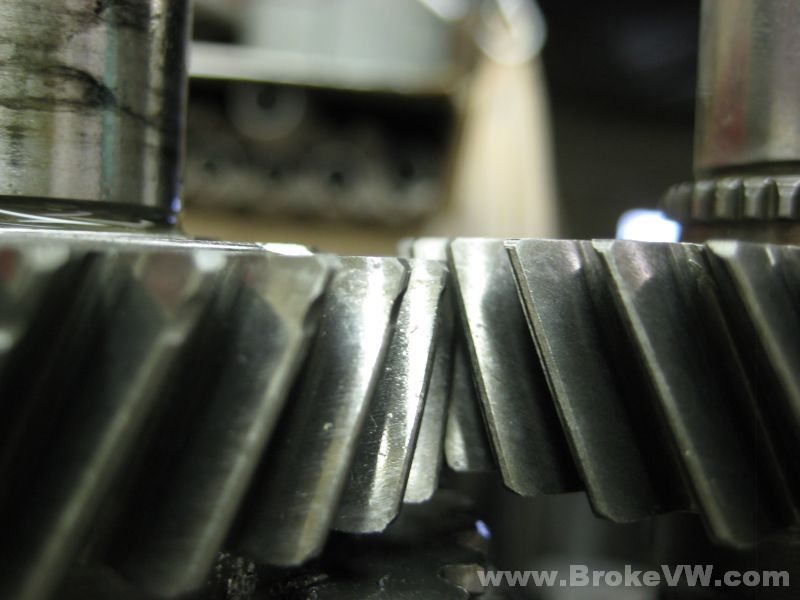
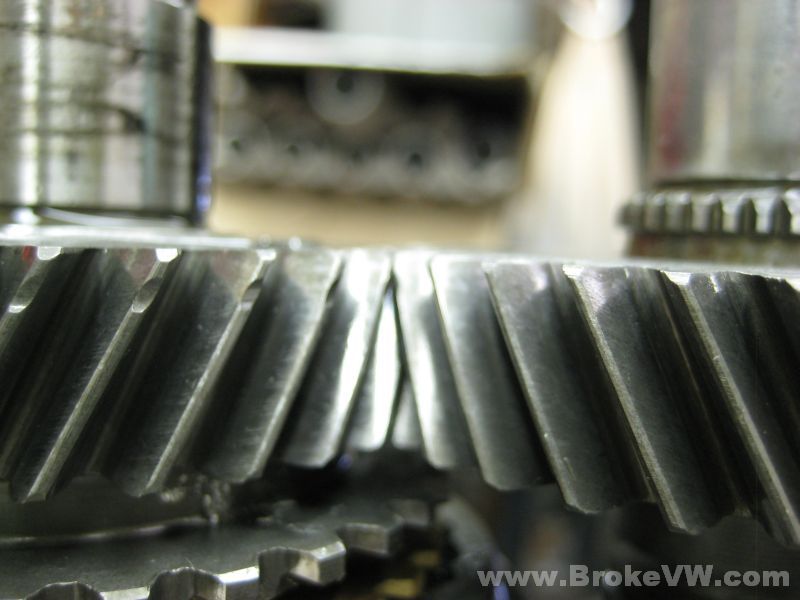
The input shaft is installed, but without any support, it will sit too low in the box, and the gears won't align fully...
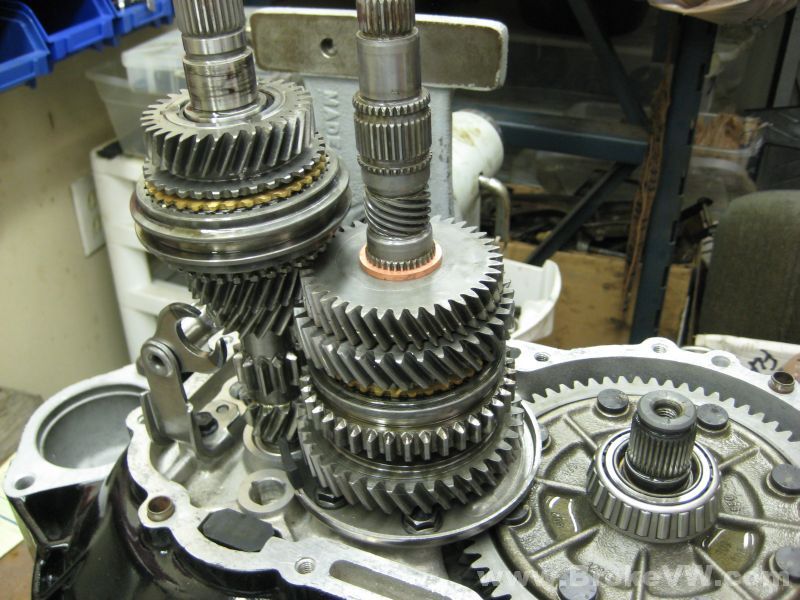
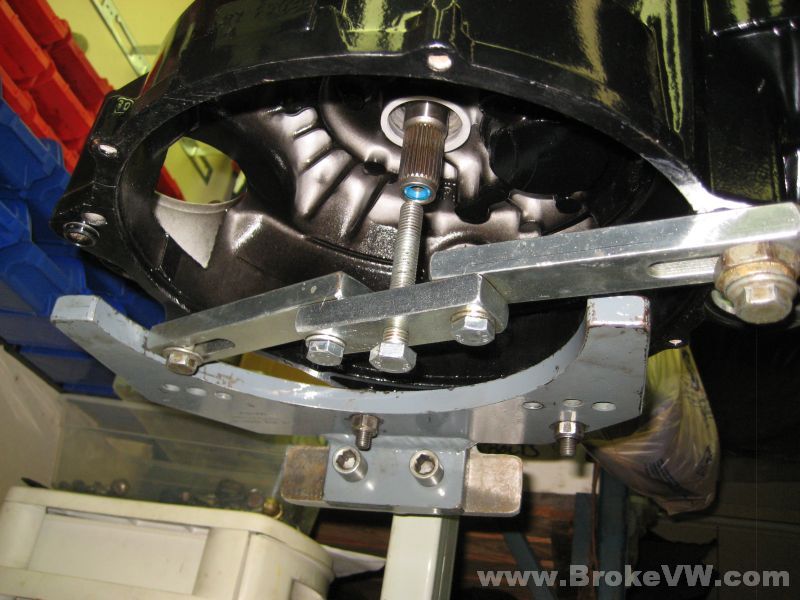
The support bar is adjusted to support the input shaft from this point on through the rebuild process...
The gear alignment before support and then after...
The shafts are installed, the preloads are done, the shift forks are installed, and now the trans casing can be assembled, and the rest of the build carried out...
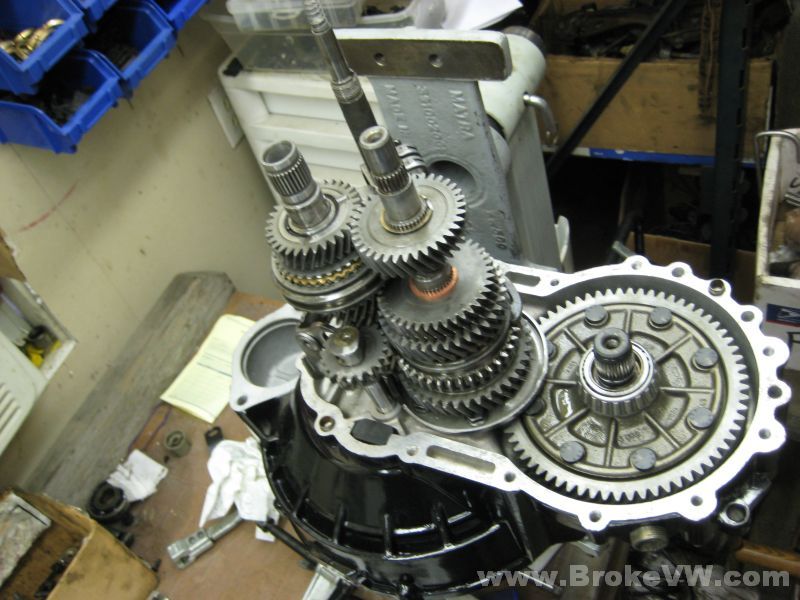
The seal surfaces need cleaned and then the VW sealant paste will be applied and the casing closed up. The rest of the seals for the flanges and selector shaft will be installed, 5th gears will be installed, and then the selector itself, followed by the axle flanges.
Update 08/30/10
I've got the trans mostly assembled...
Pressing the case together....
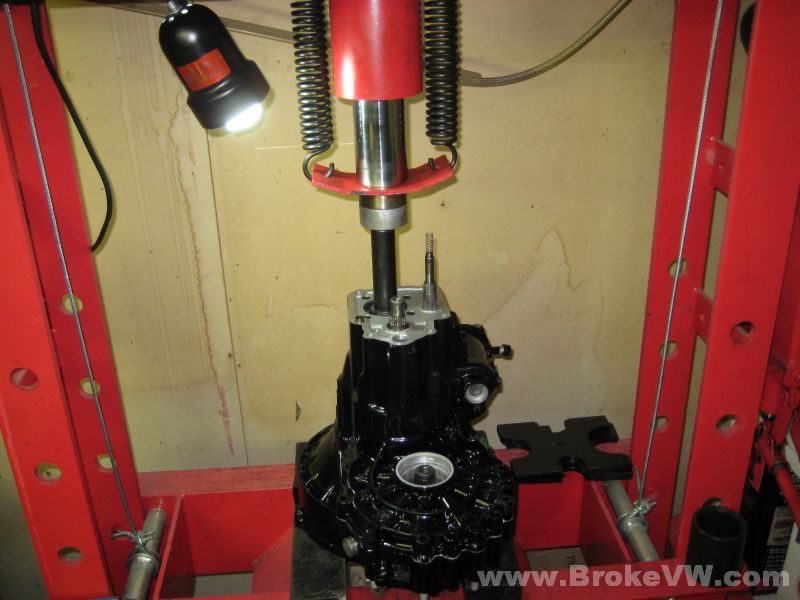
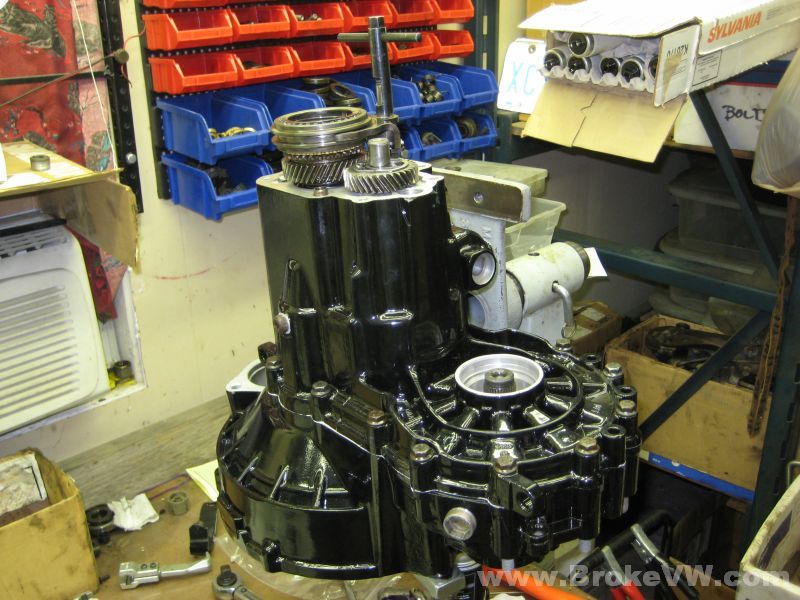
The case together and 5th gears installed, the 5th fork tube is adjusted....
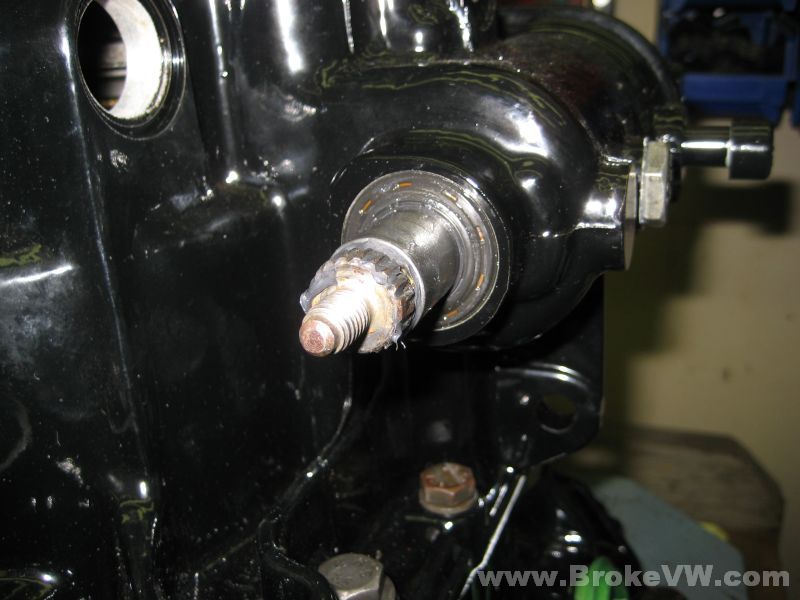
The new selector shaft seal is installed...
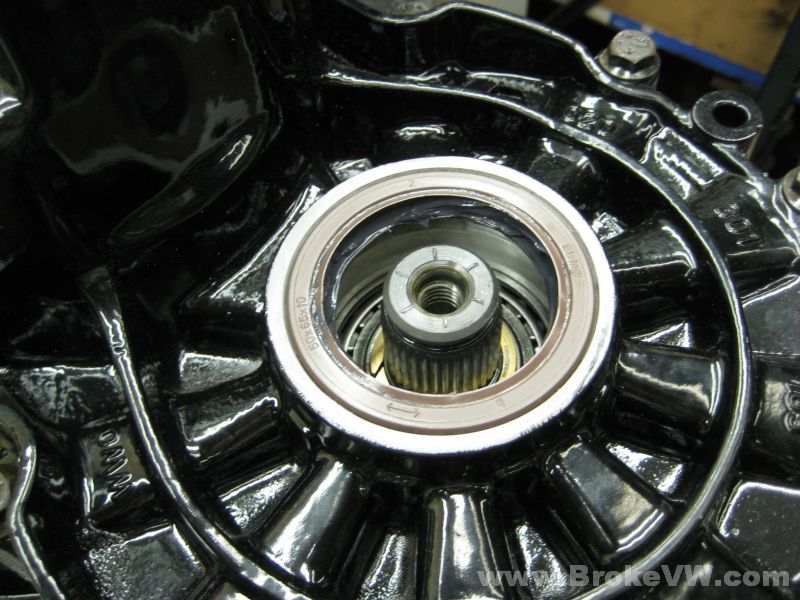
The bronze rings and new flange seals are installed along with the axle flanges...
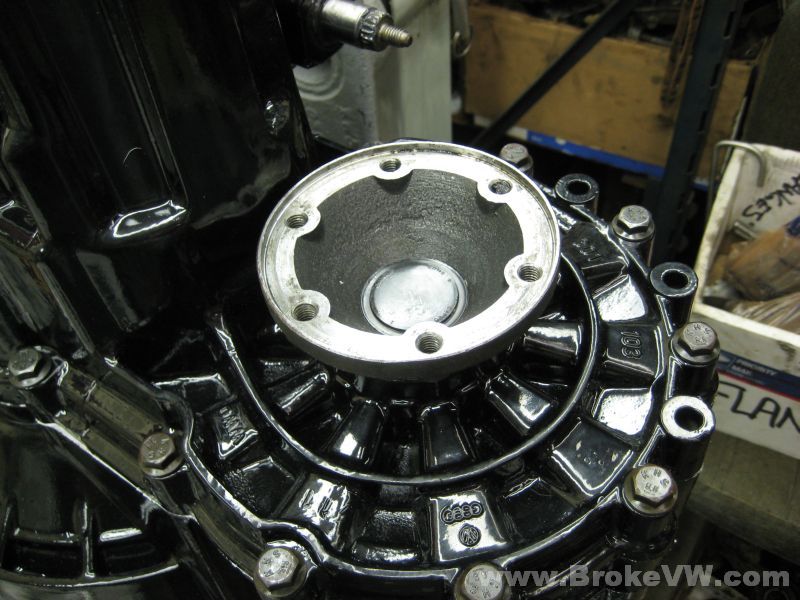
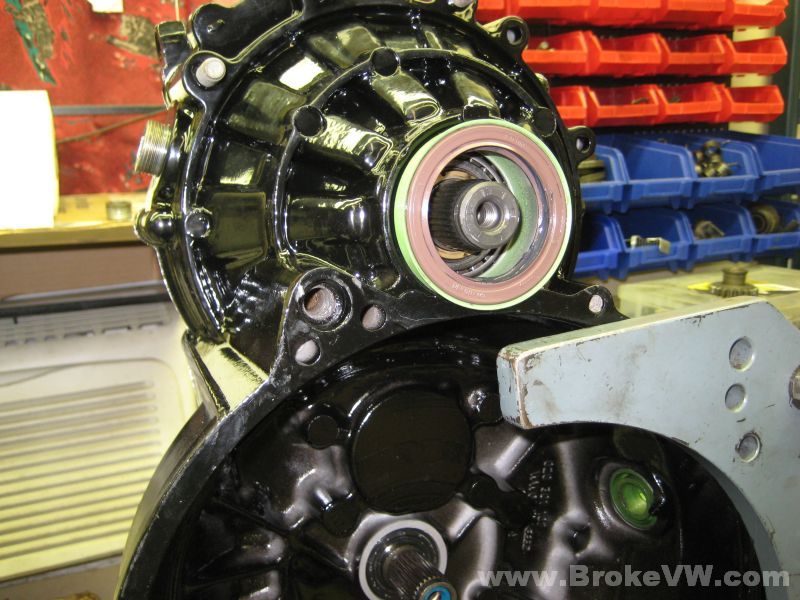
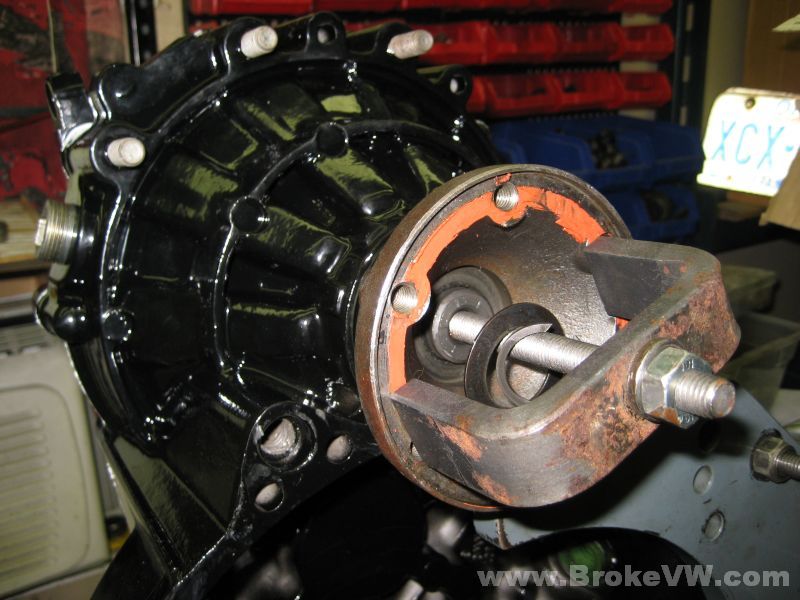
The selector boot is coated inside with grease, as well as the trans case where it slips on. This is to prevent any debris from reaching the bare steel shaft, and to prevent it from rusting. They come this way from VW and as long as they are kept greased there, the shafts stay looking new...
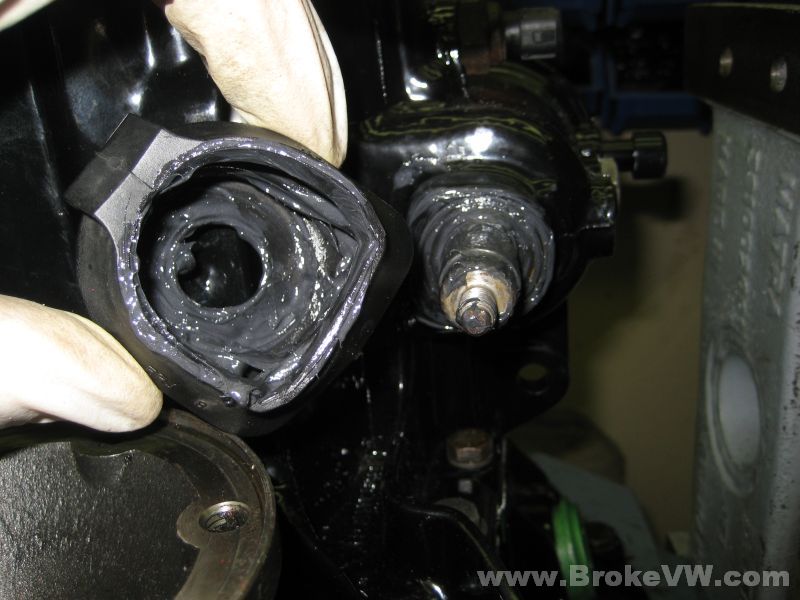
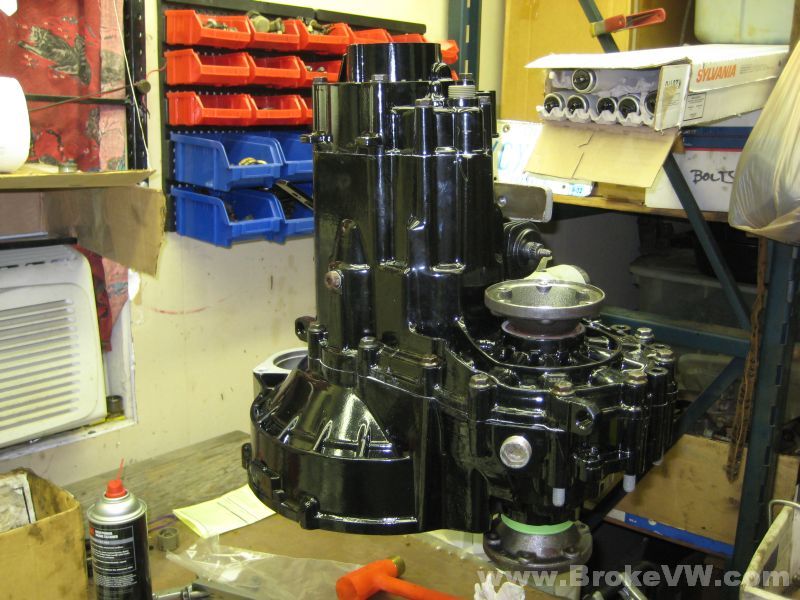
The trans pretty much assembled... I have a few spots of case sealant I'm going to clean up around the seam, but it is done...
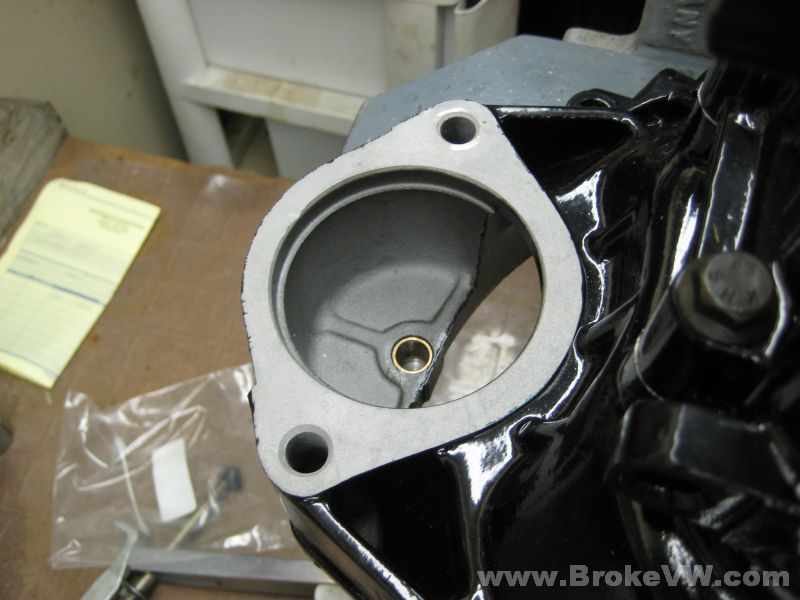
The new starter bushing is installed...
The new green end cap is installed...
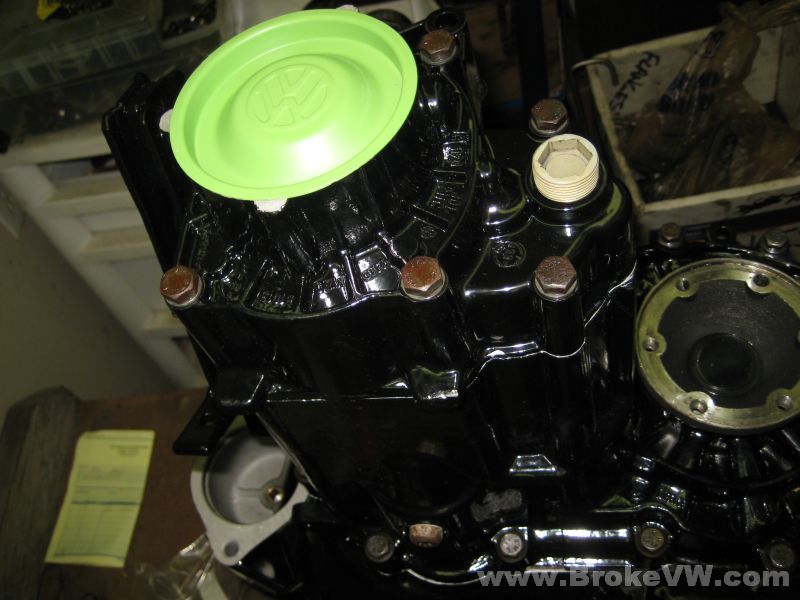
The drain plugs will be loose, only hand tight so the trans can be filled with oil.
Done and ready to go...
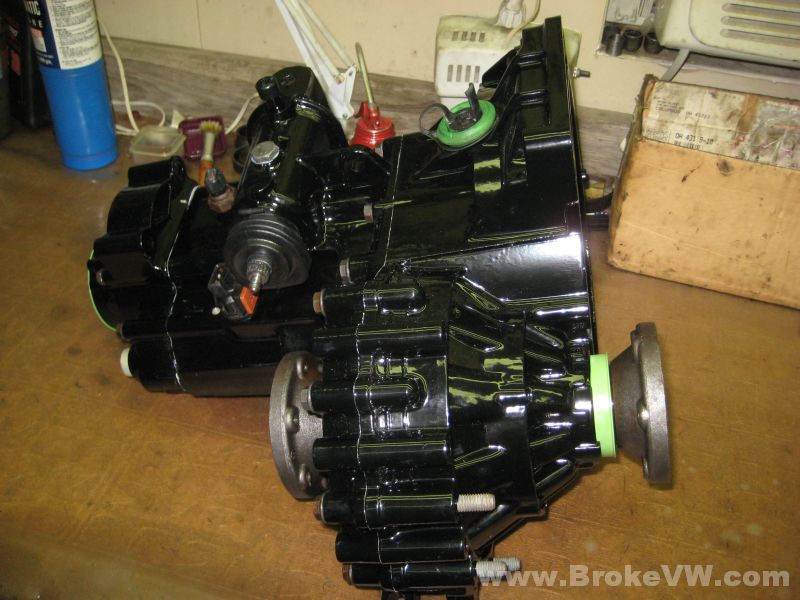
Over to the far right in this pic is the bag containing the stock 0.91 5th gears...
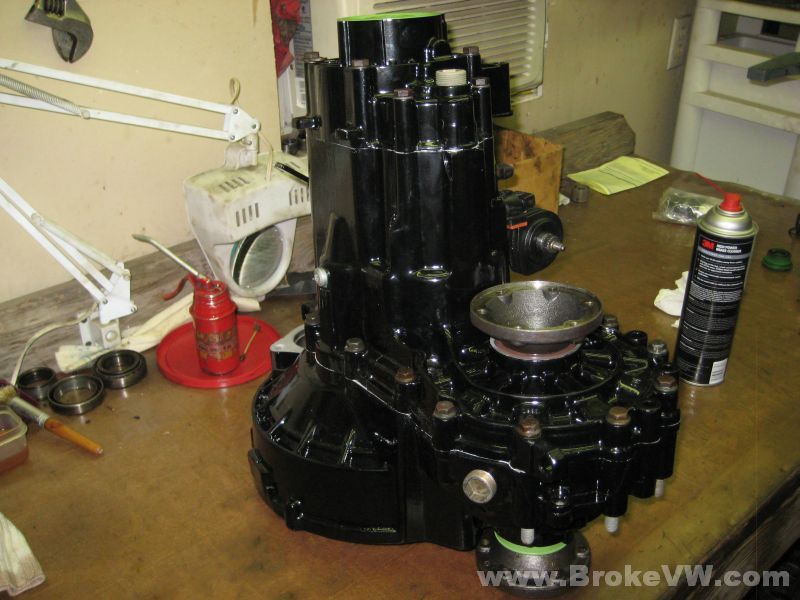
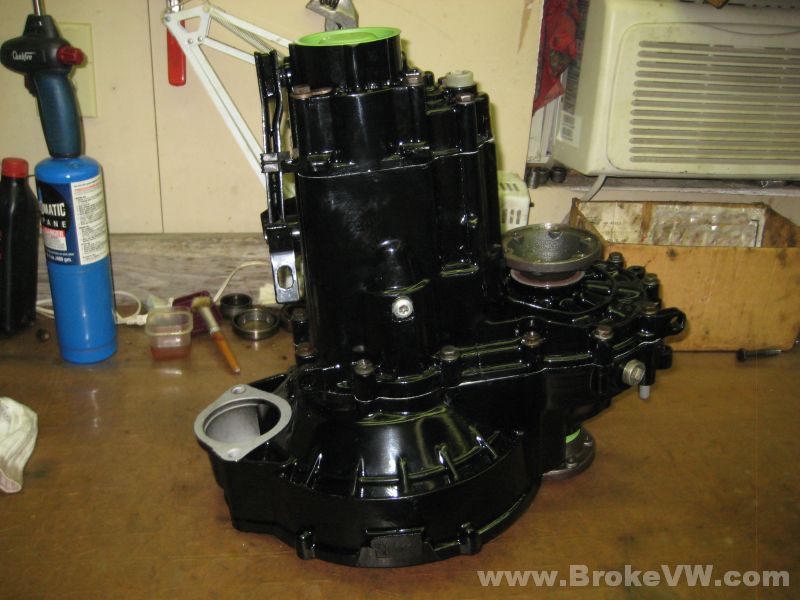
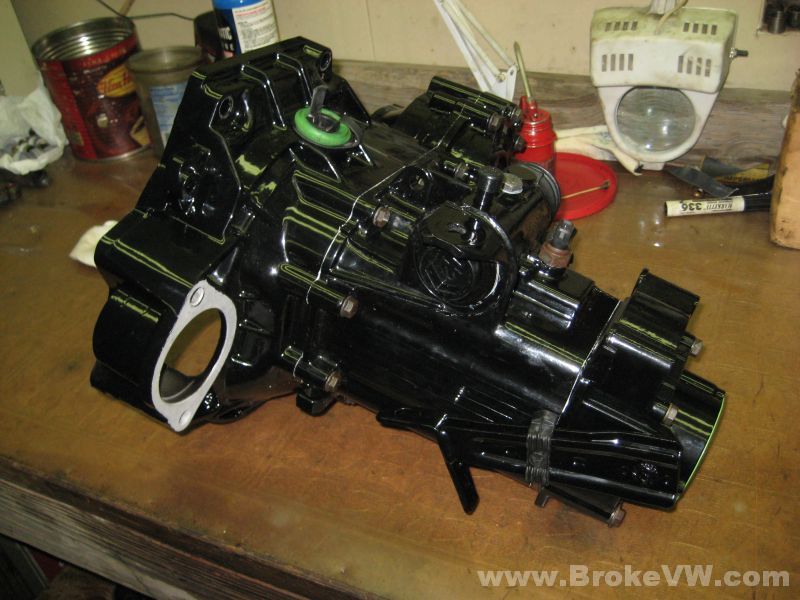
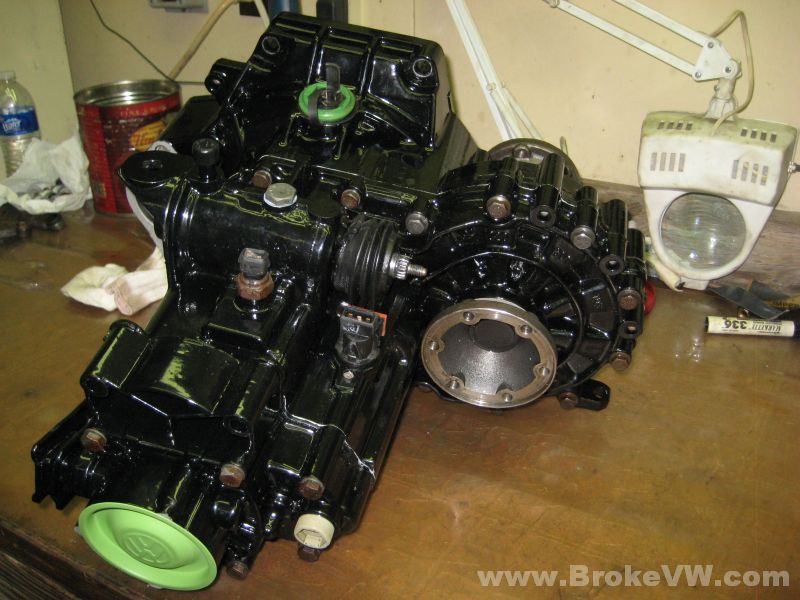
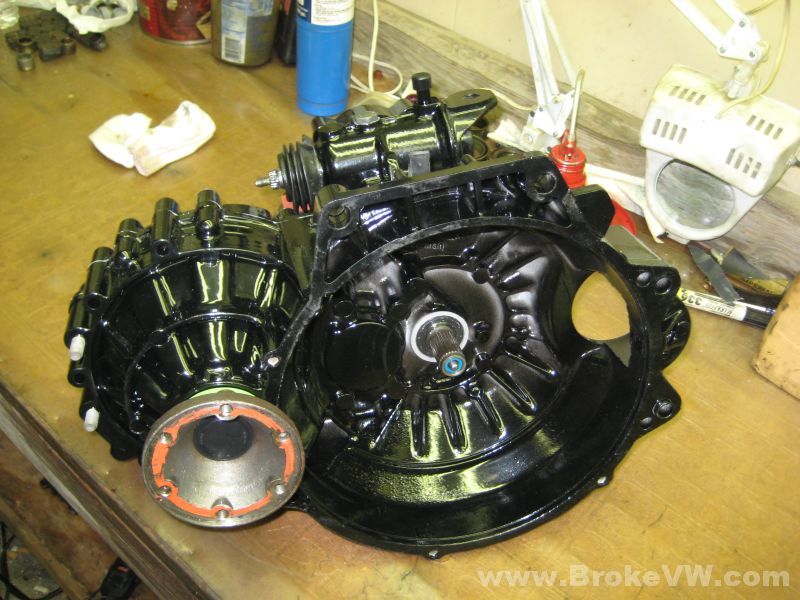
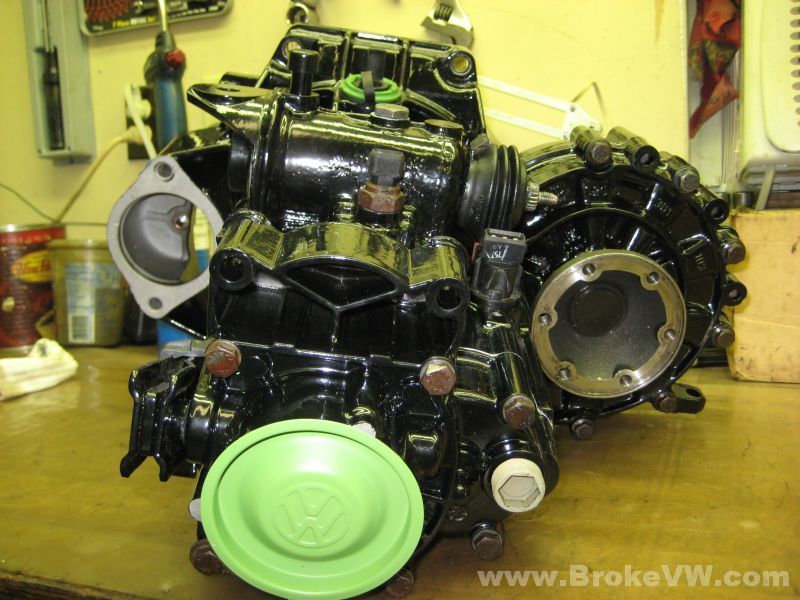
Bagged up and completed...
