Don Peare 4K
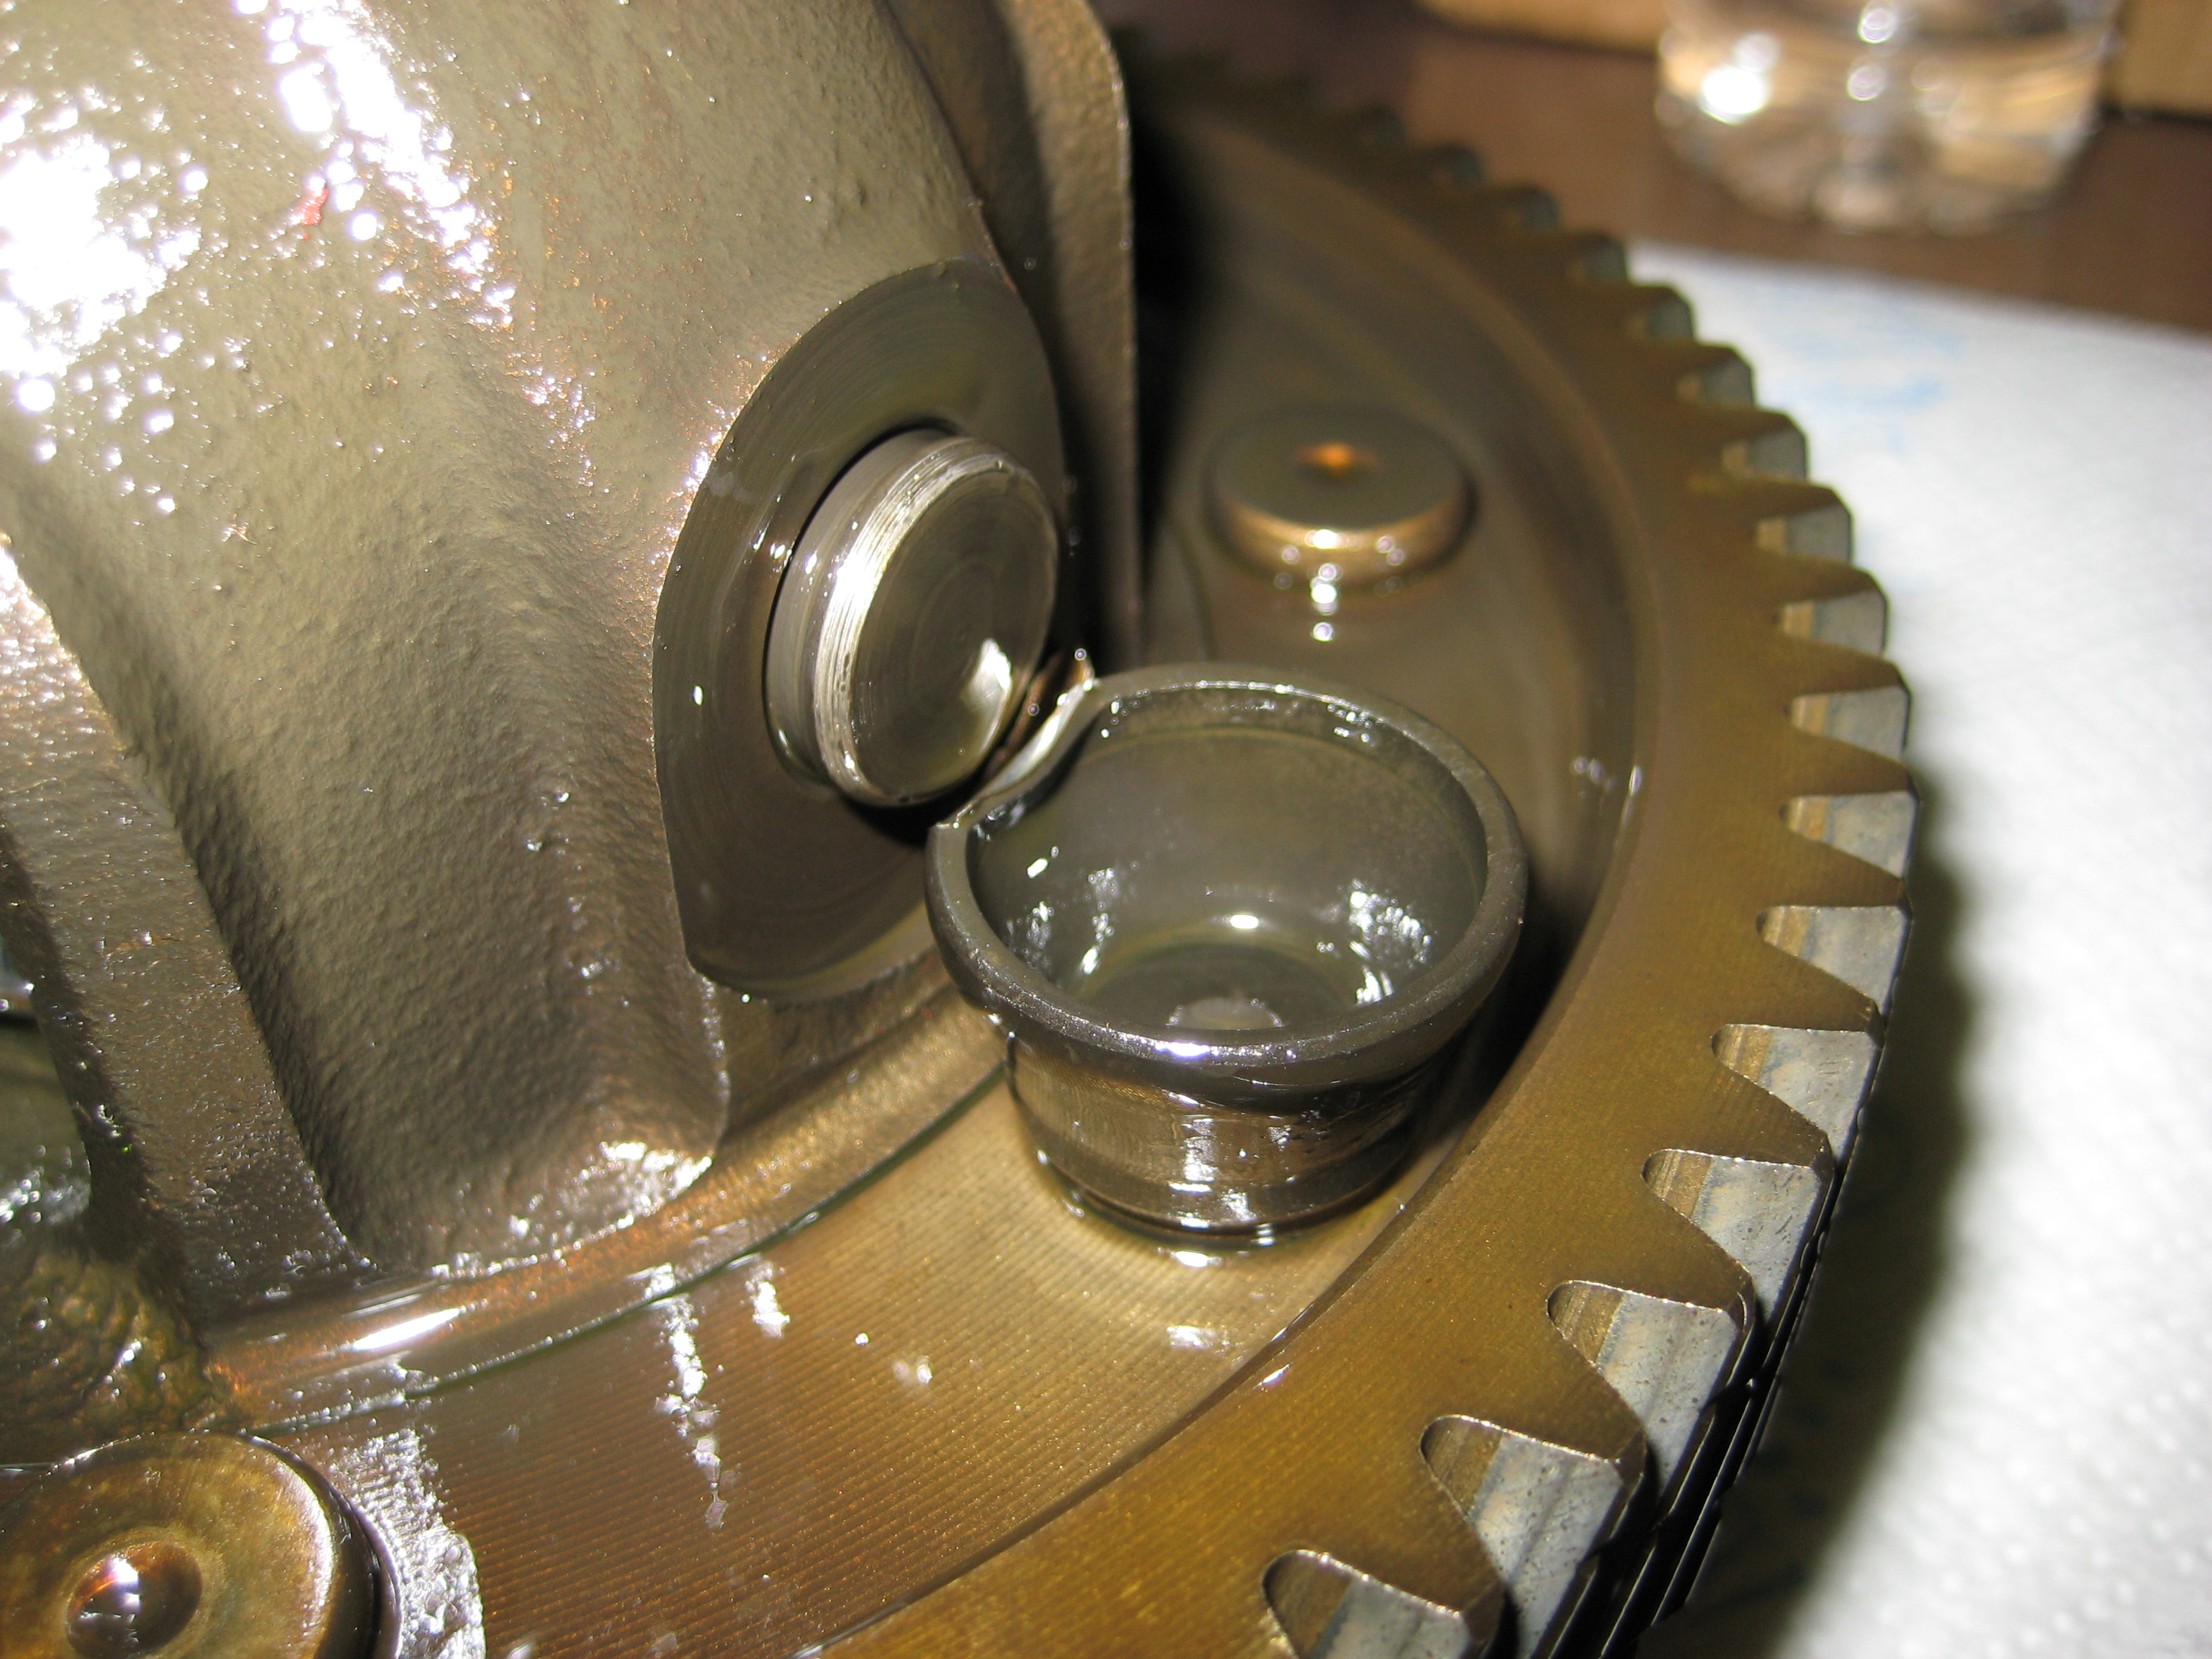
Sand in the selector cap, build up in 12
o'clock location in pic...
Glass bead on spring and inside selector
area...
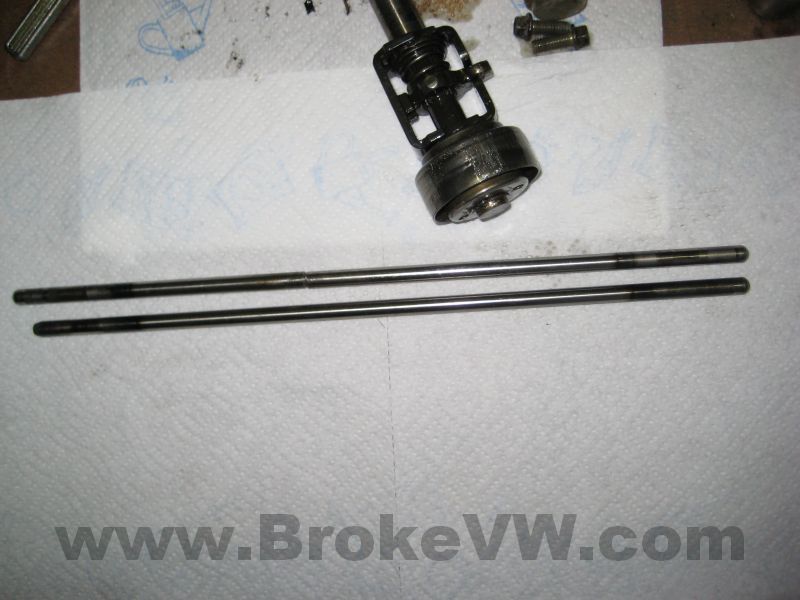
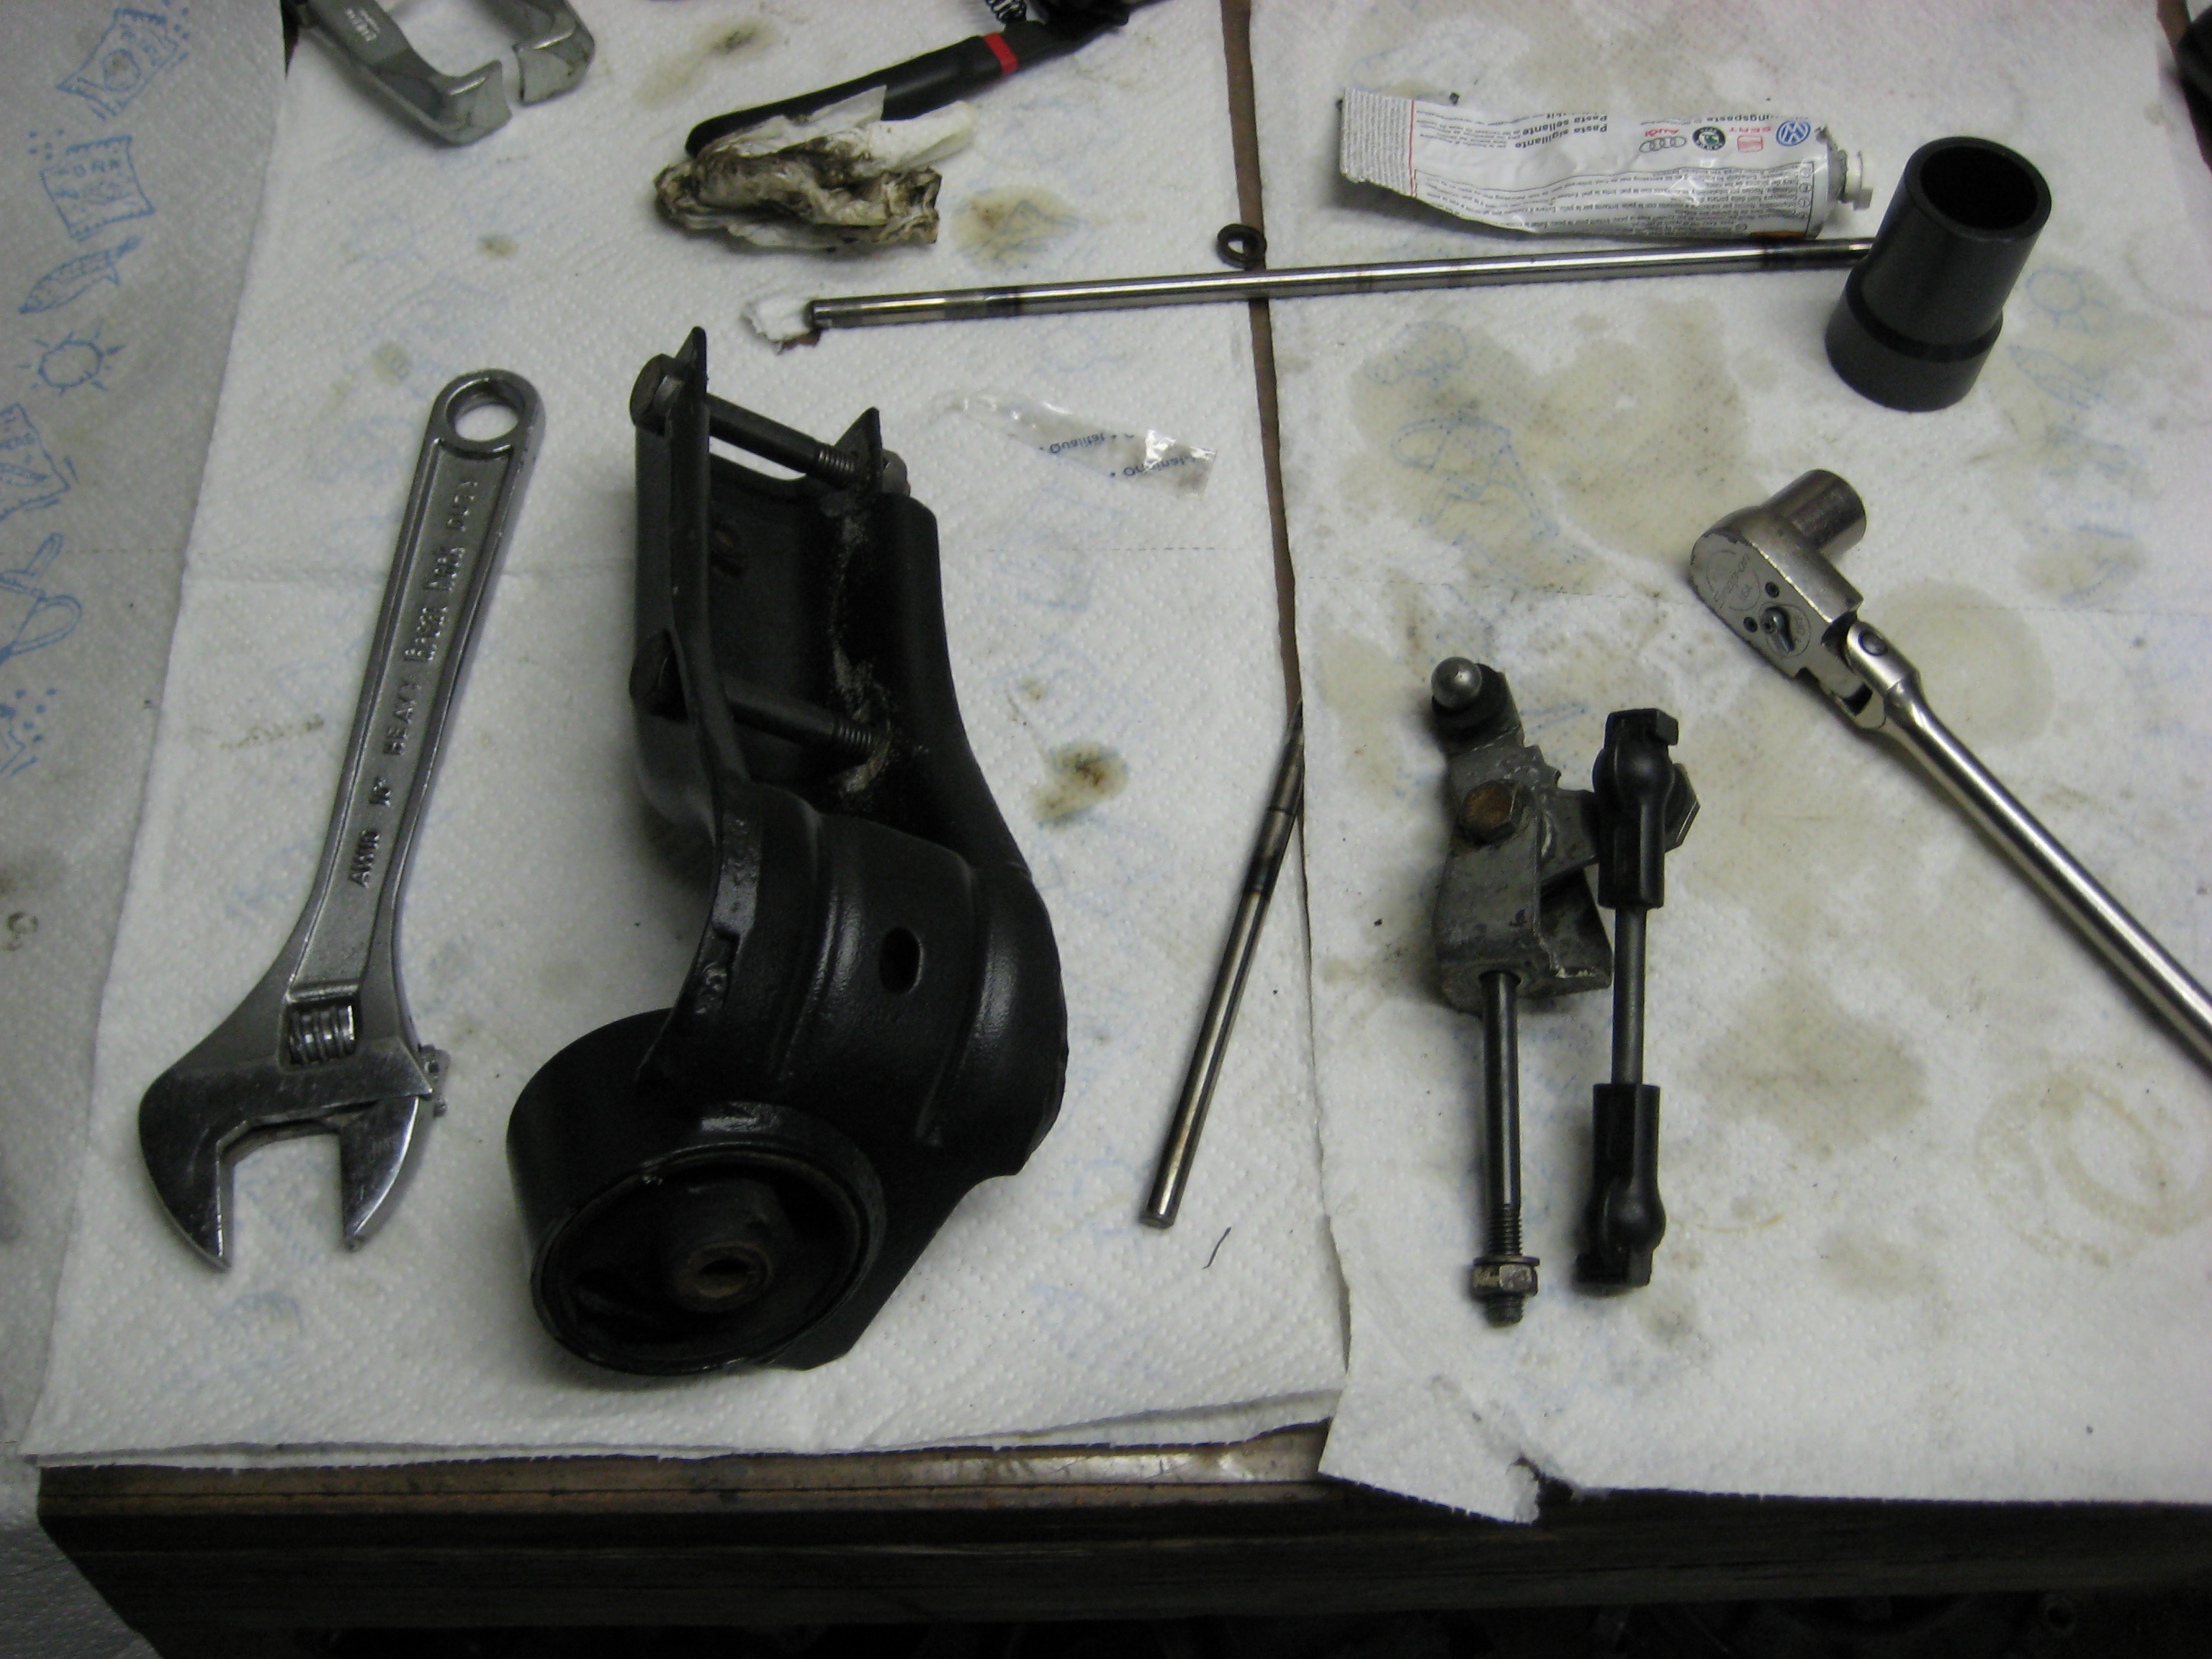
Your pushrod is made from 2 rods, and it is
3/8" longer than normal...
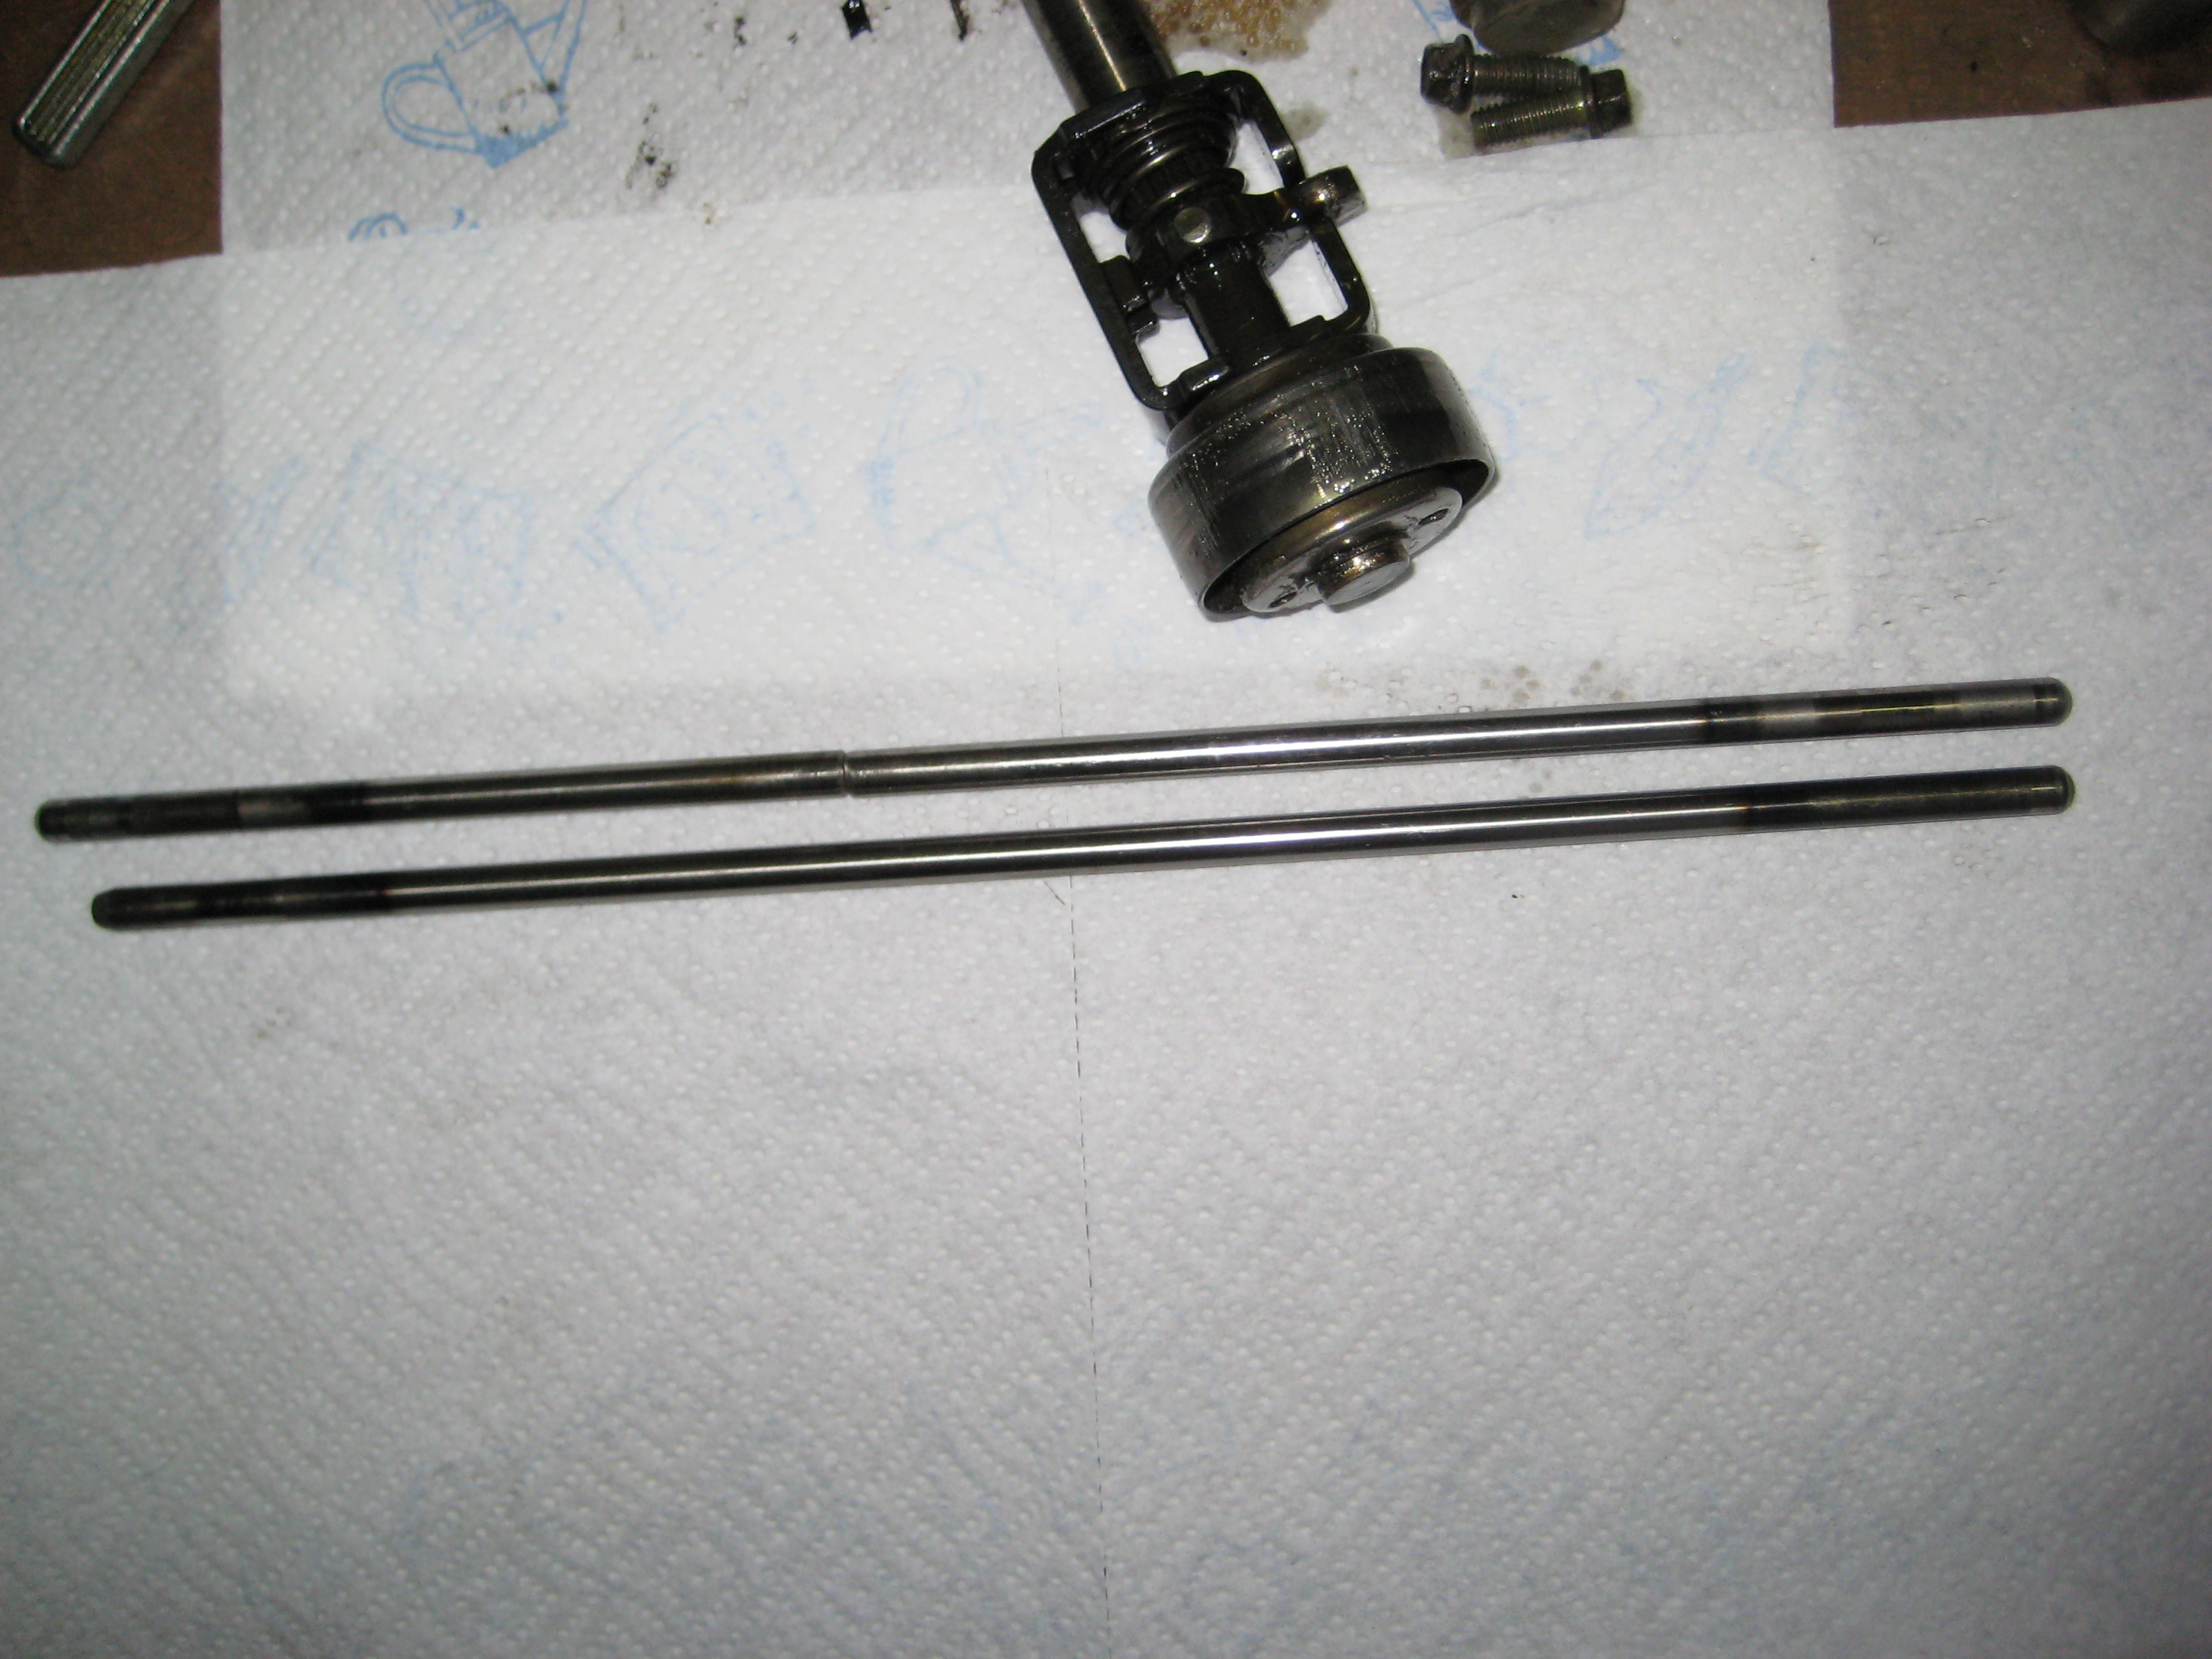
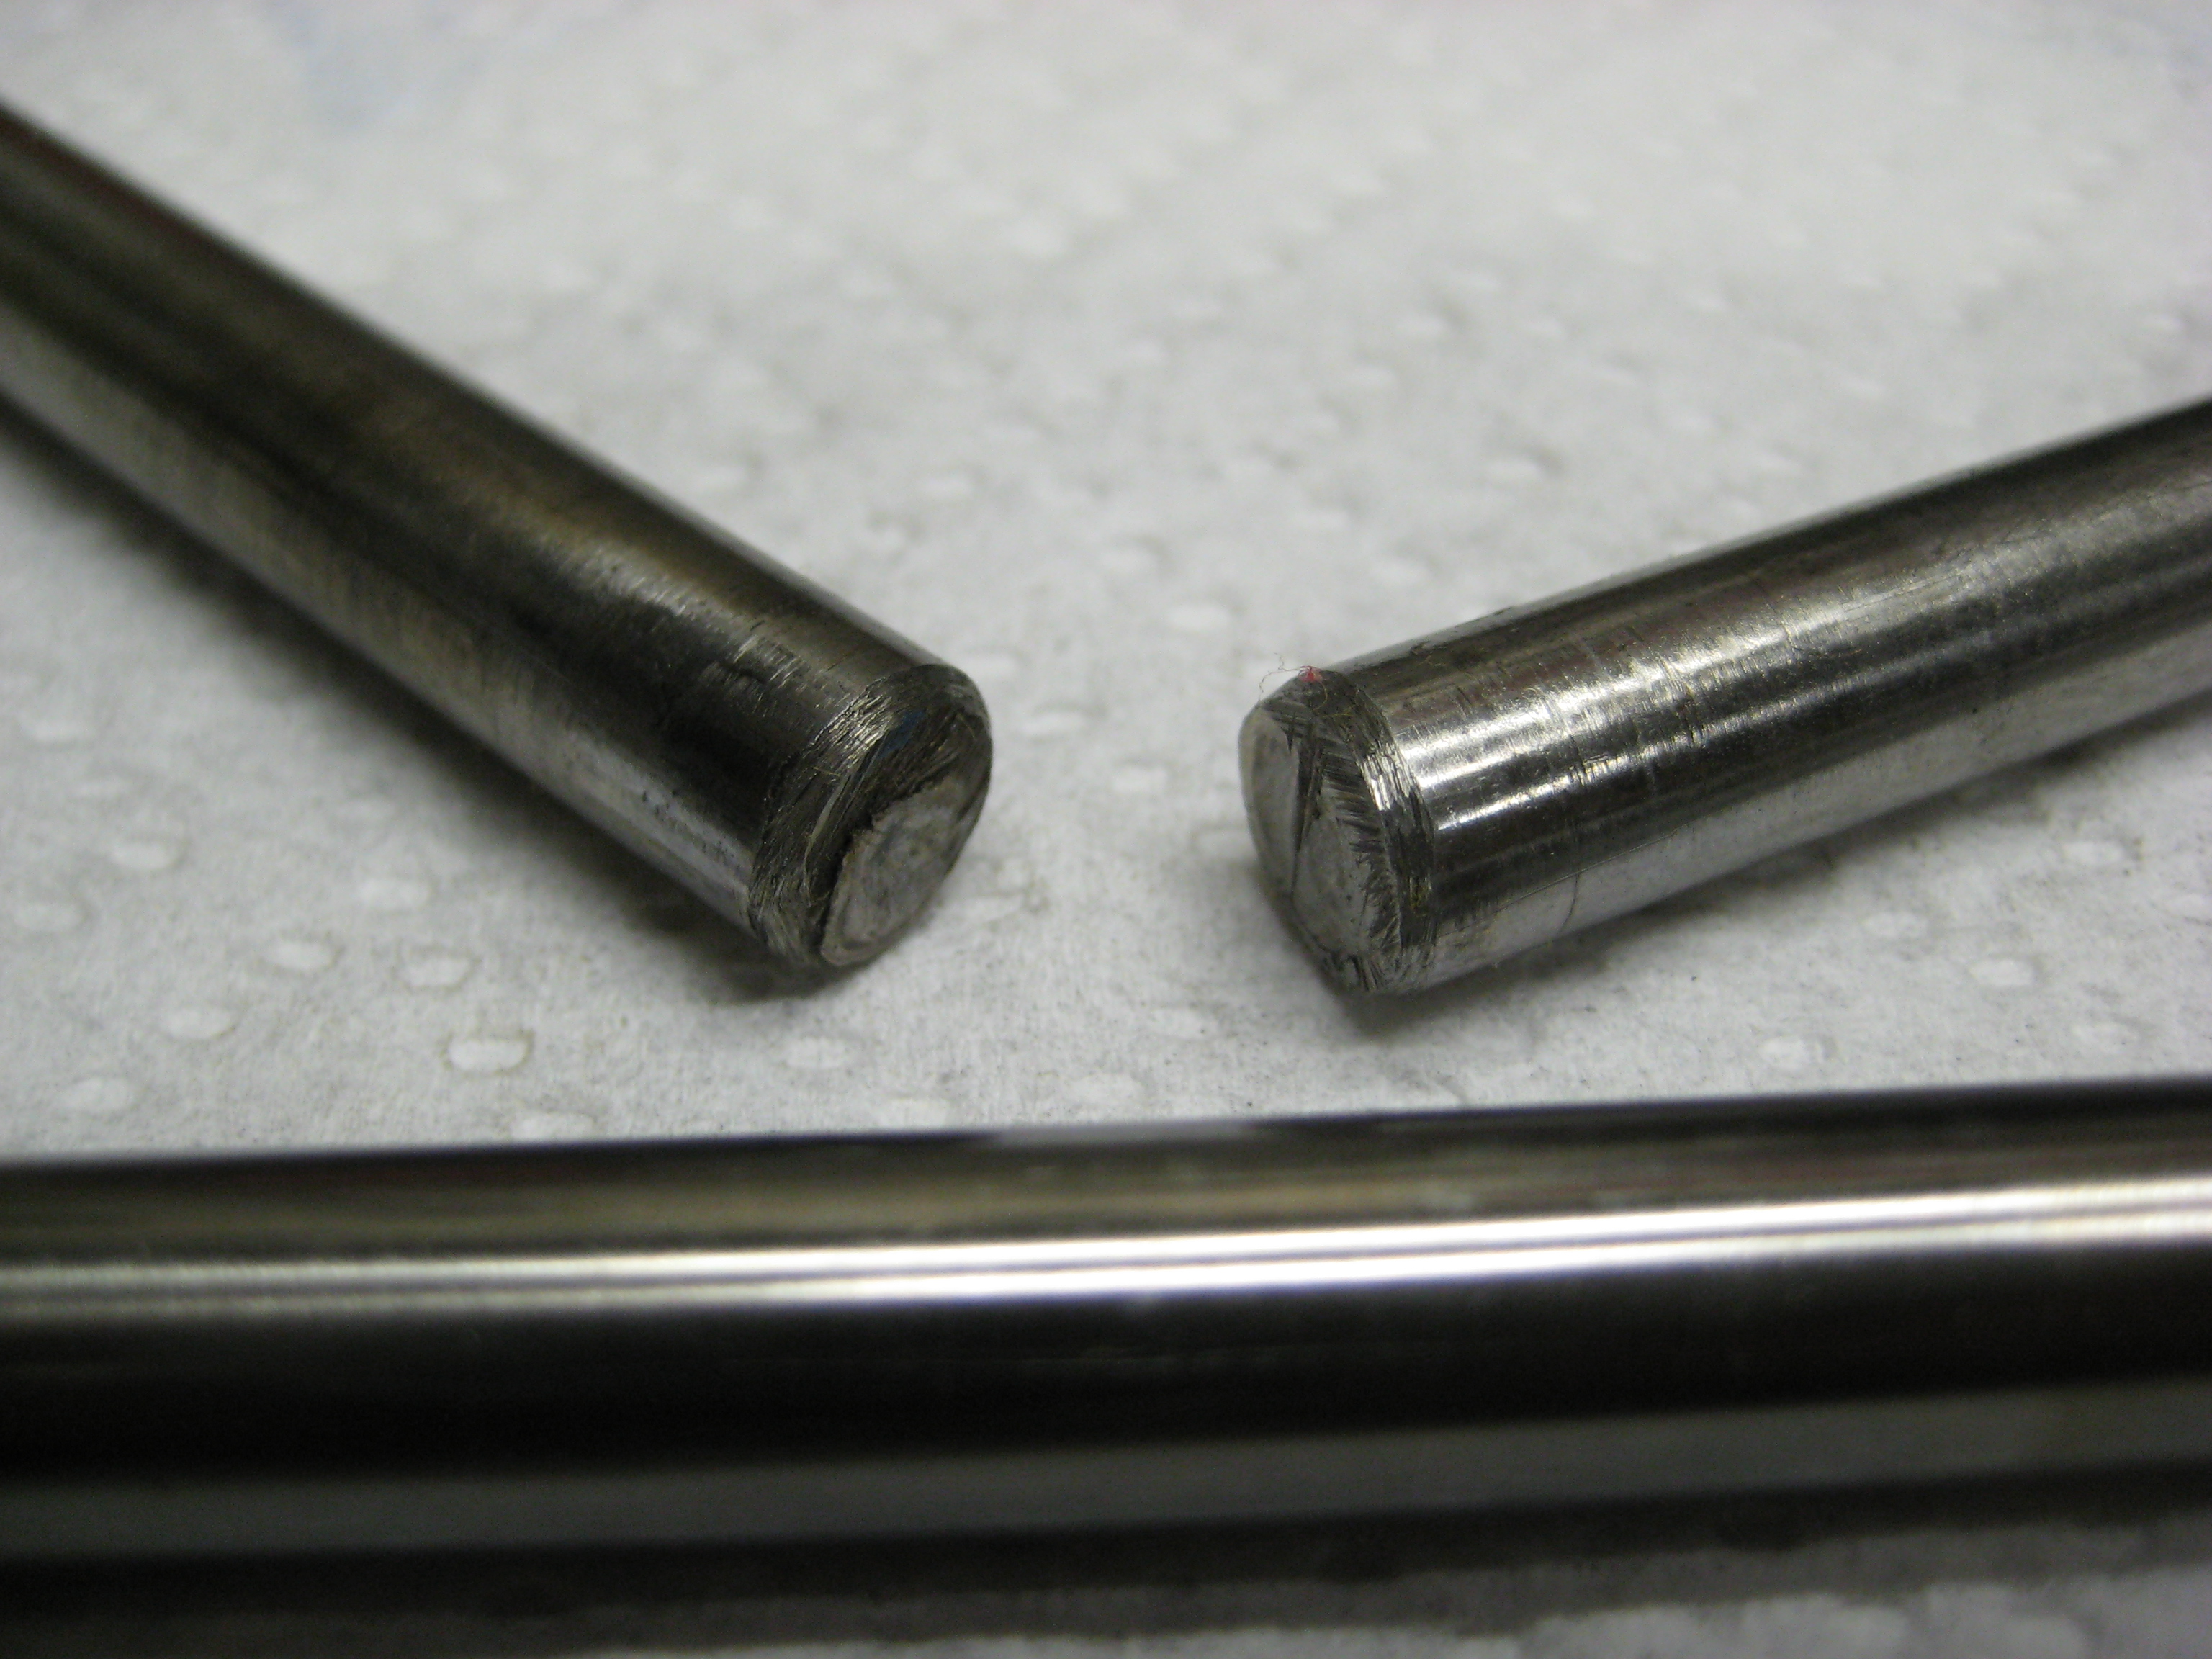
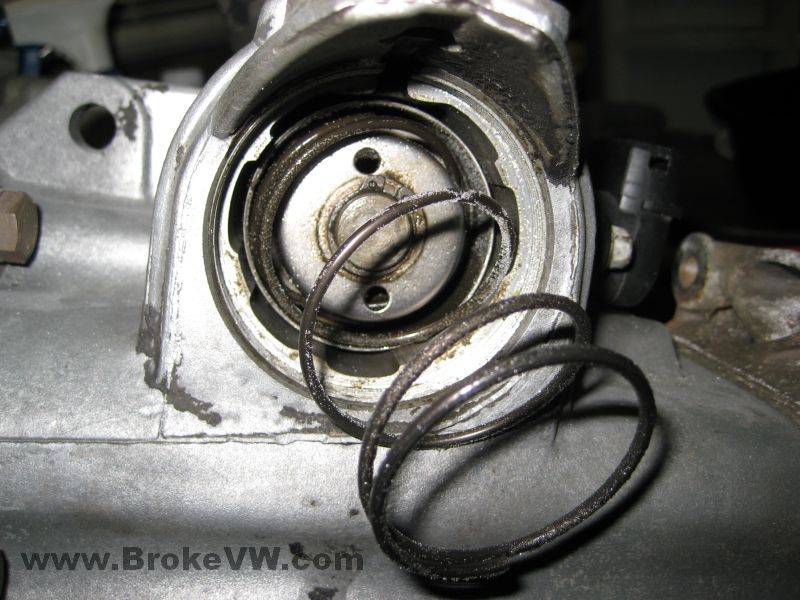
Your pushrod seal was as hard as plastic, it
was very old. The bushing was worn to 10+mm ID...

Sand and general grime and dirt in the
speedo area...
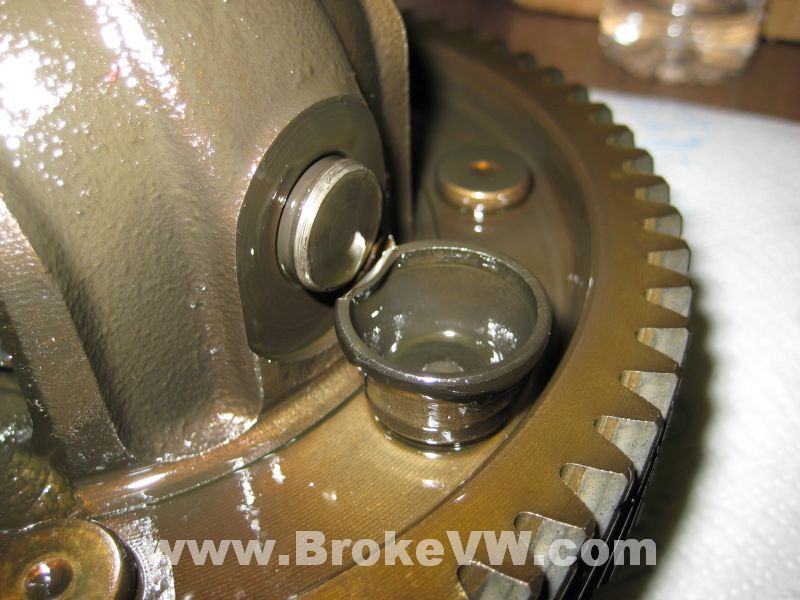
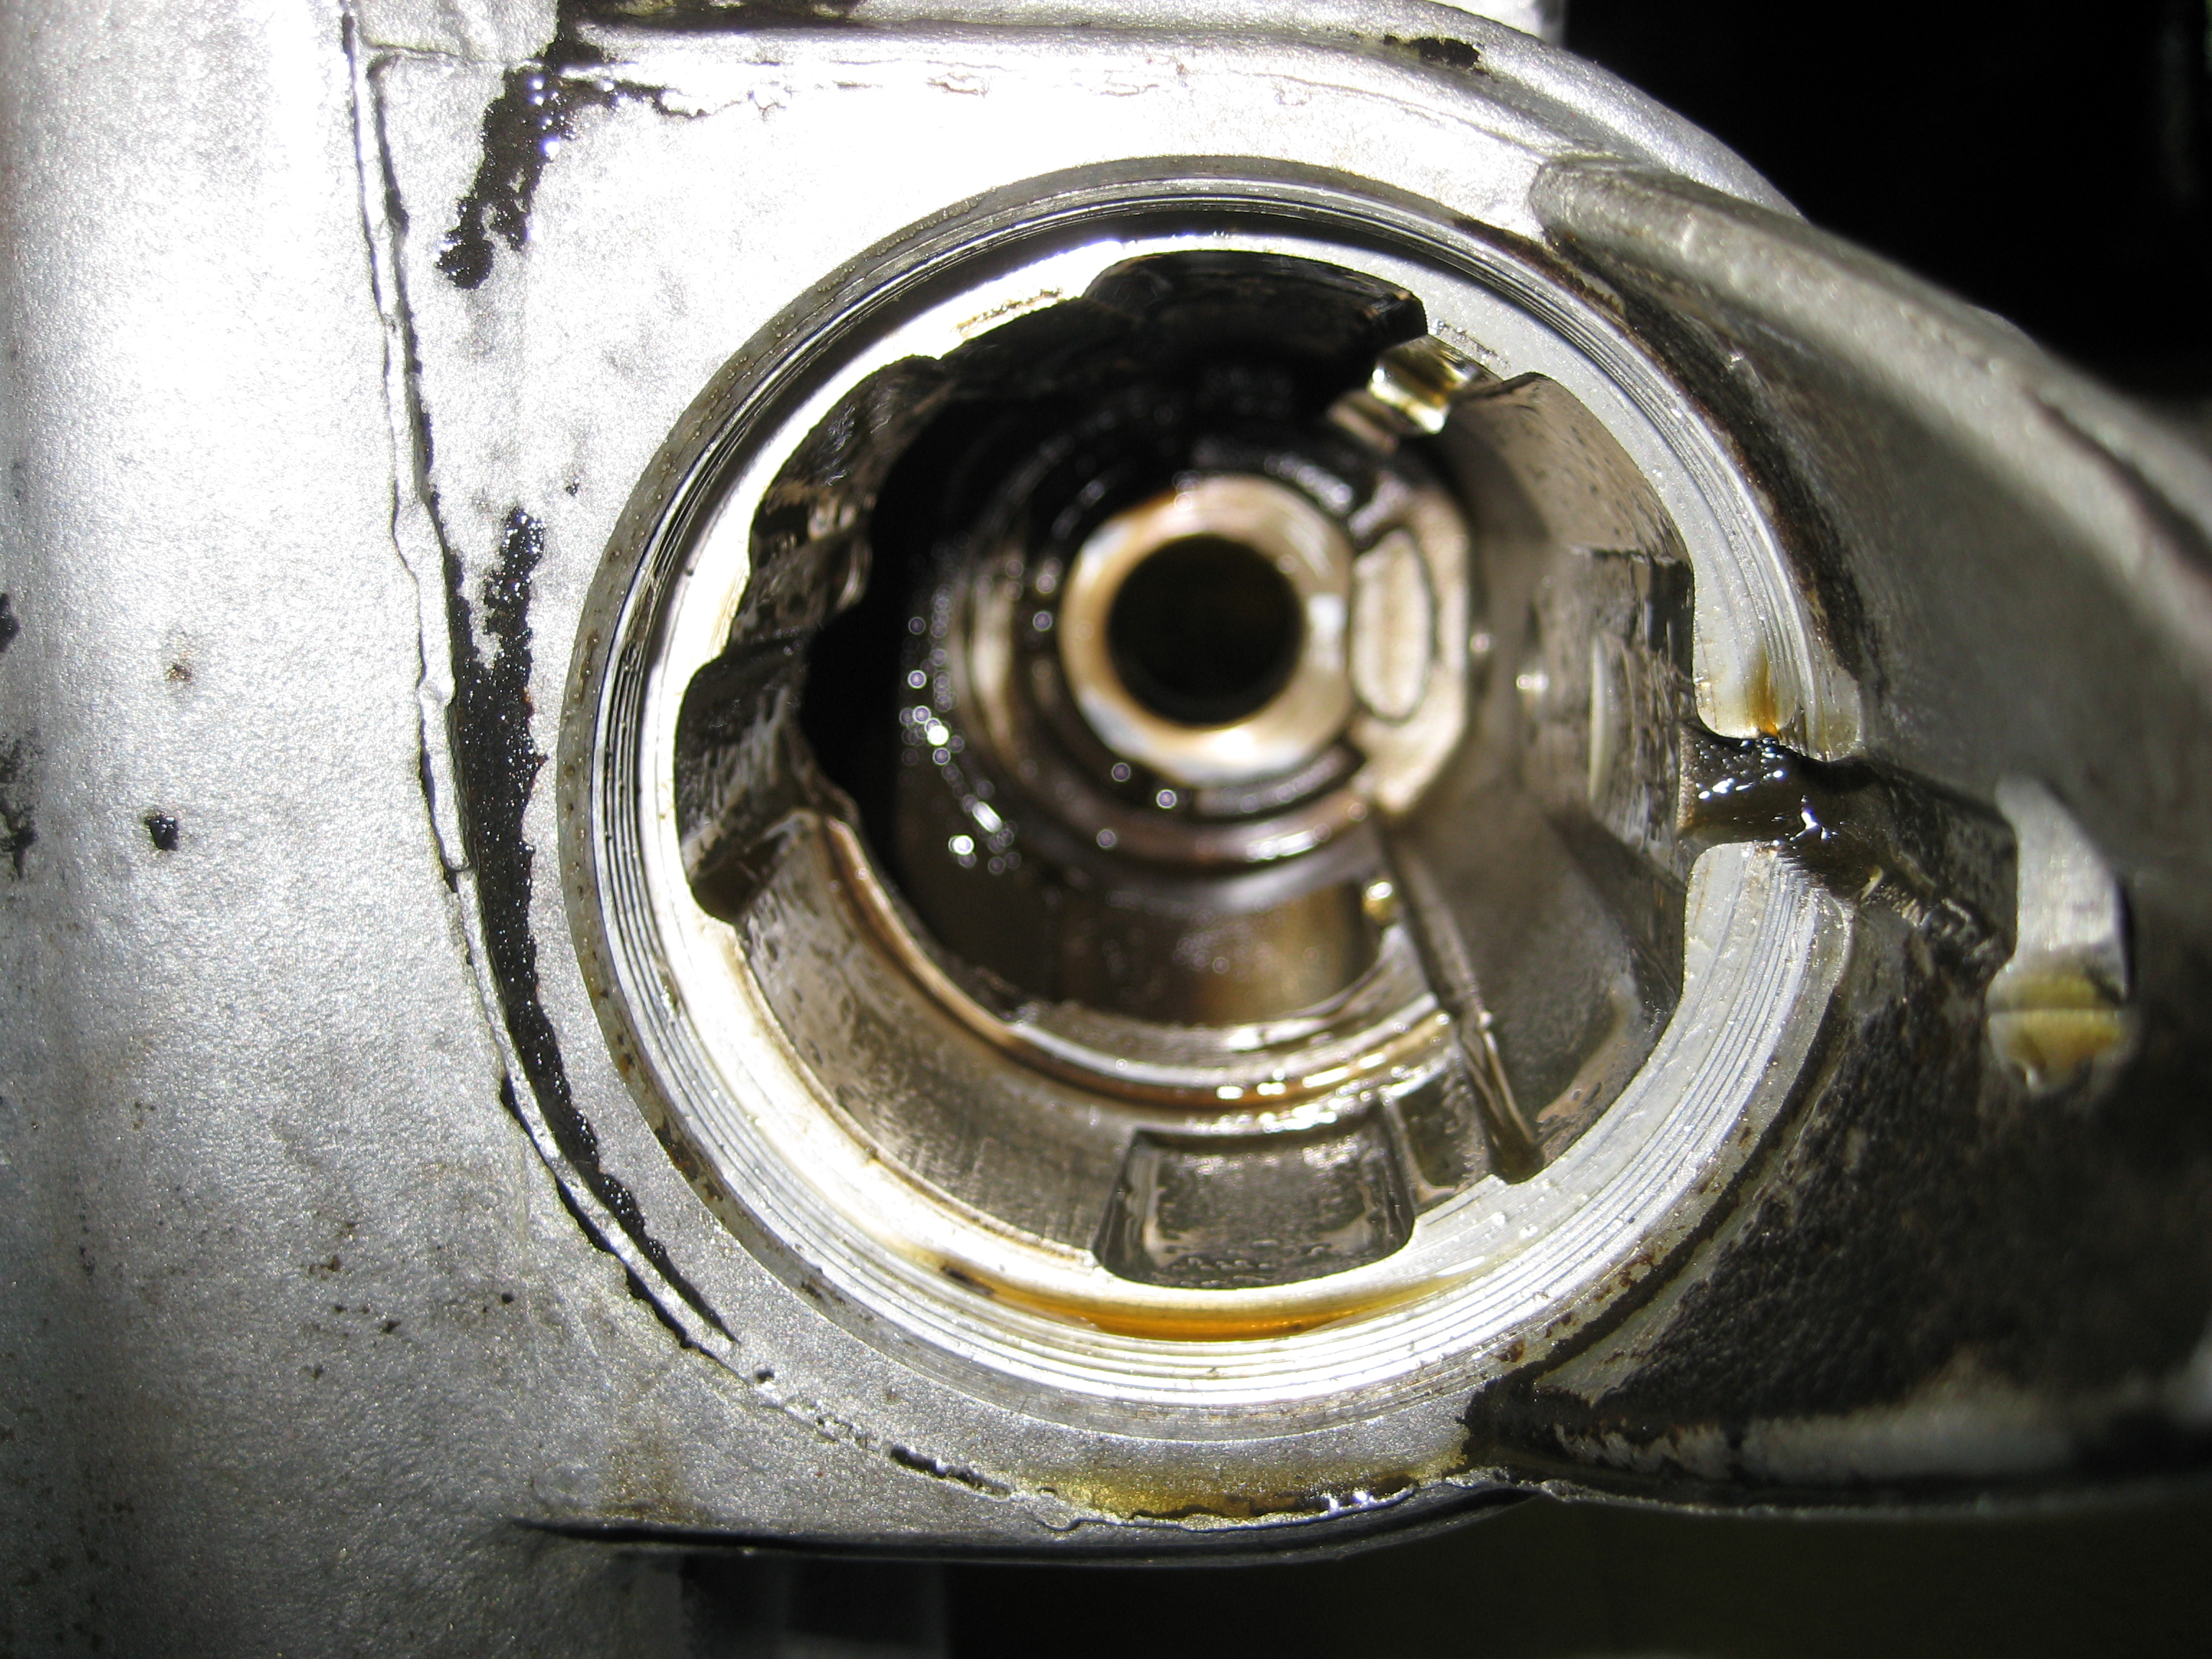
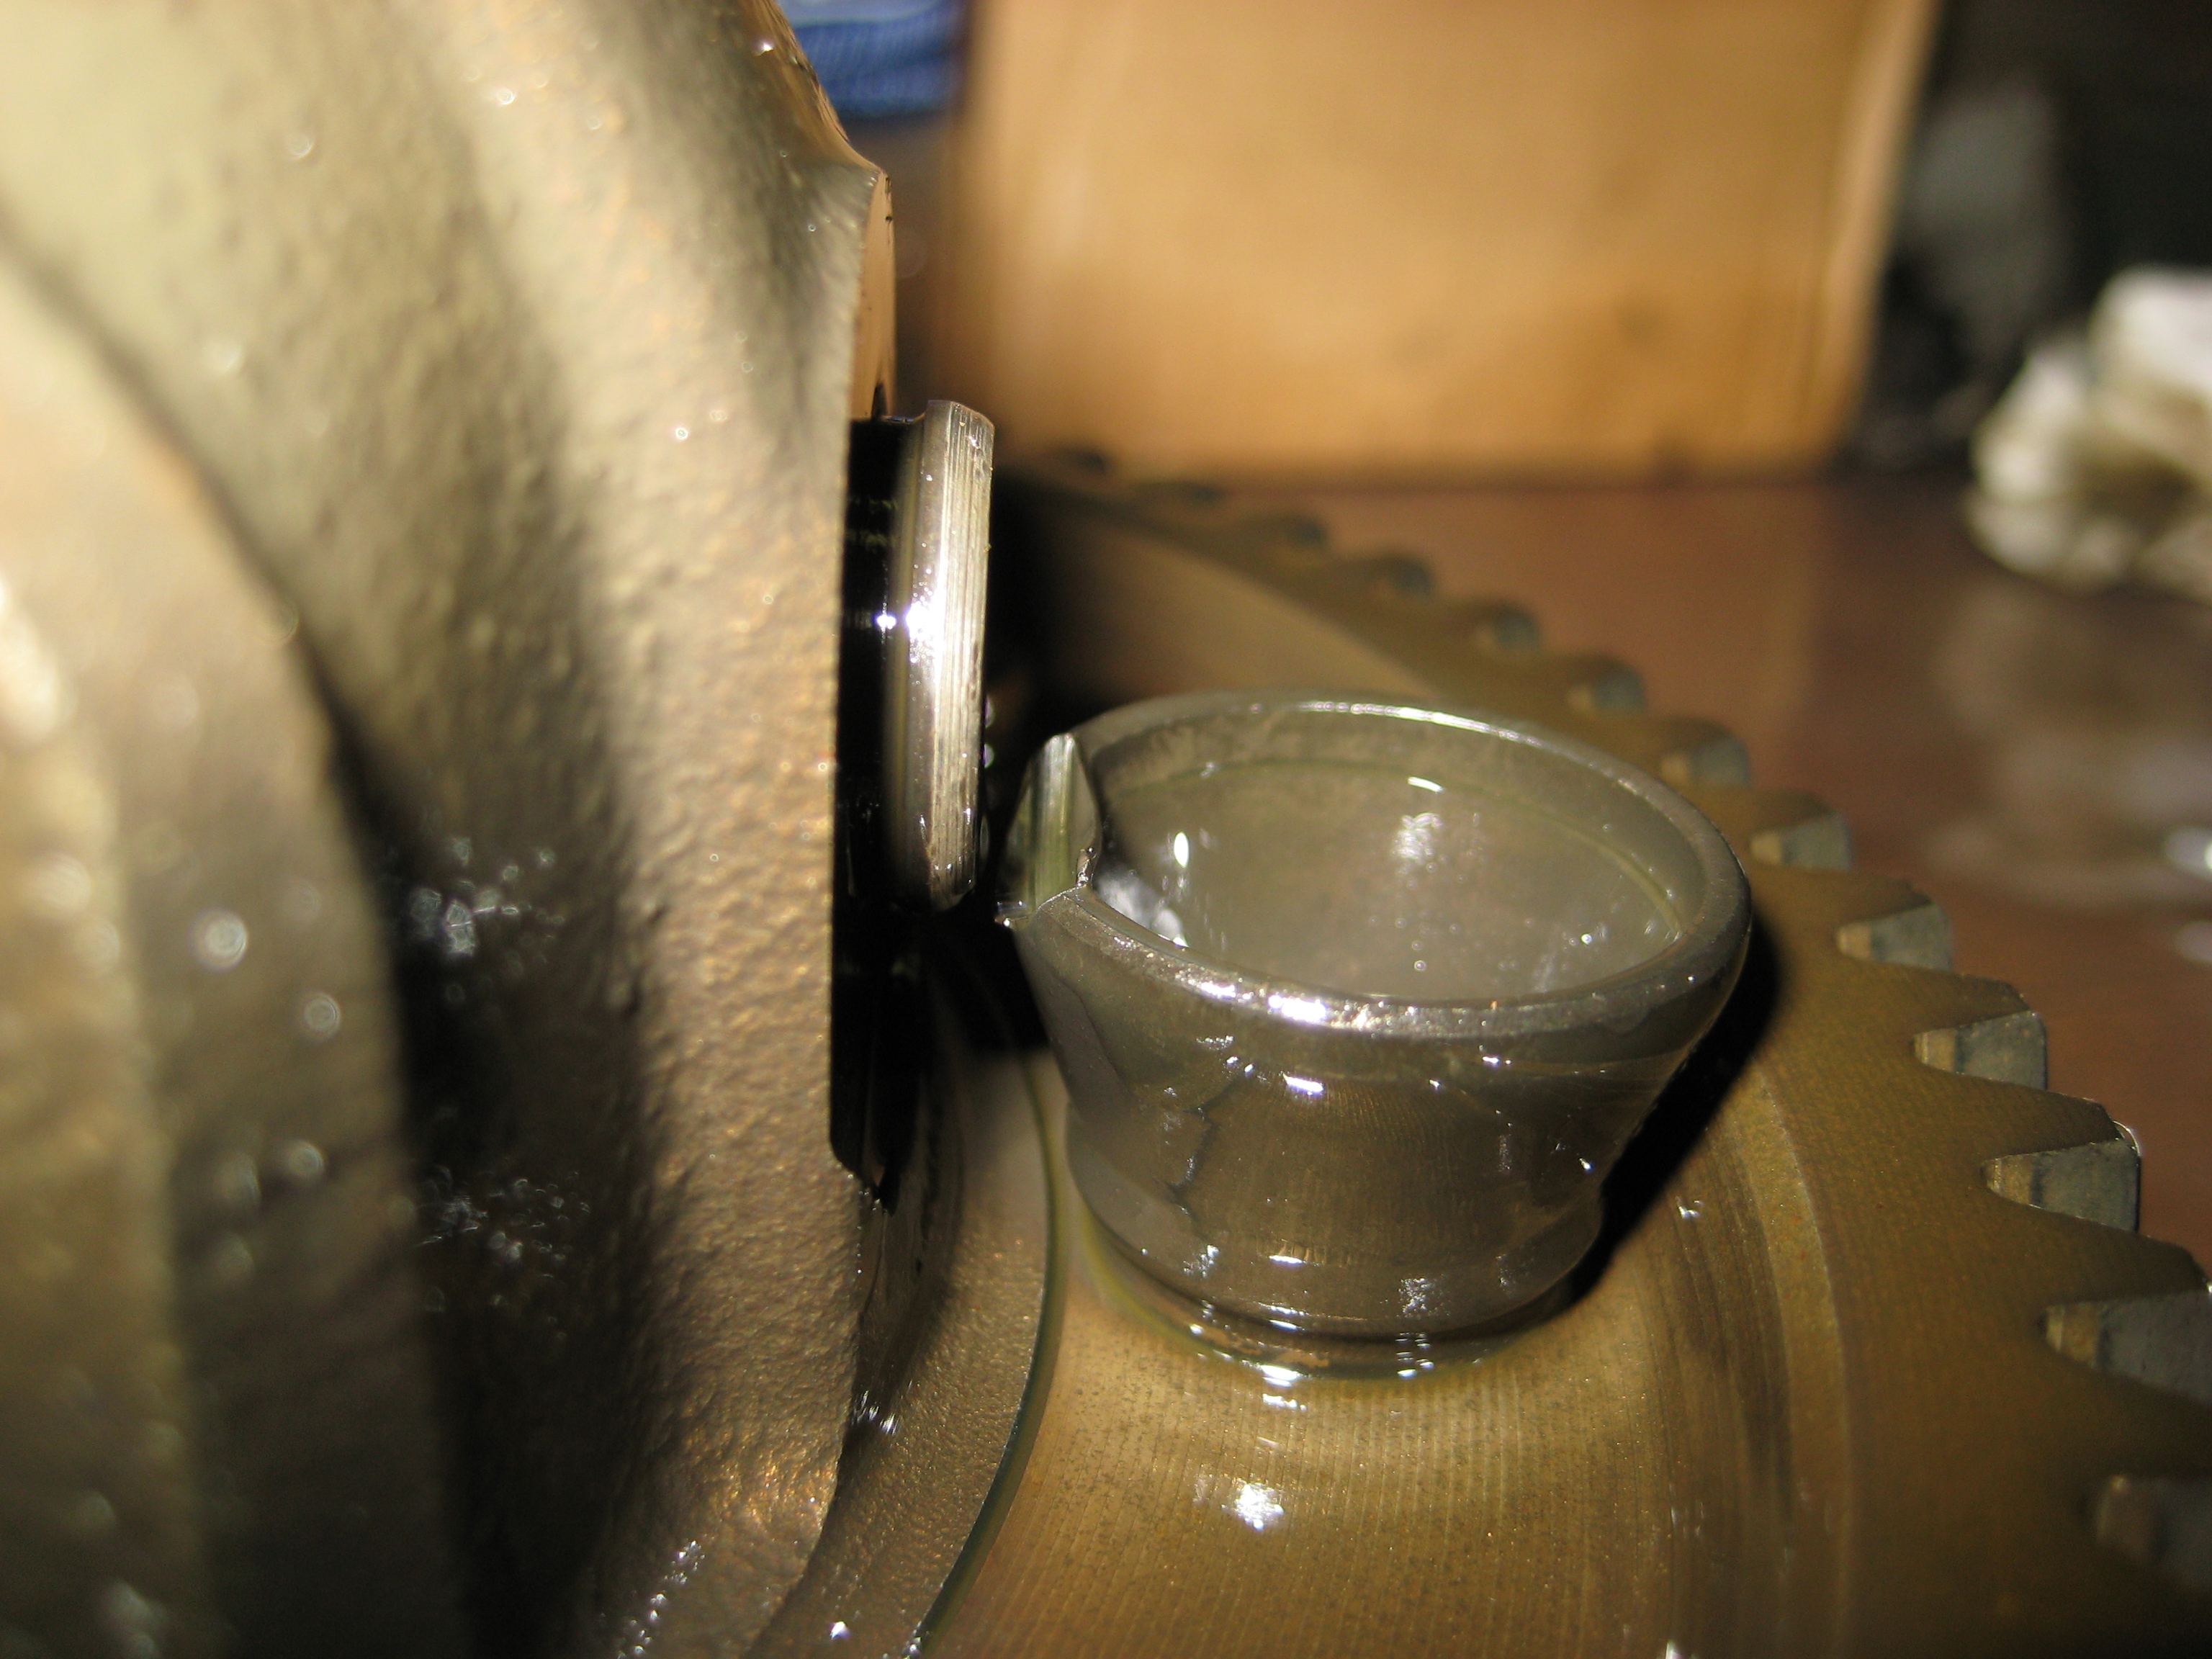
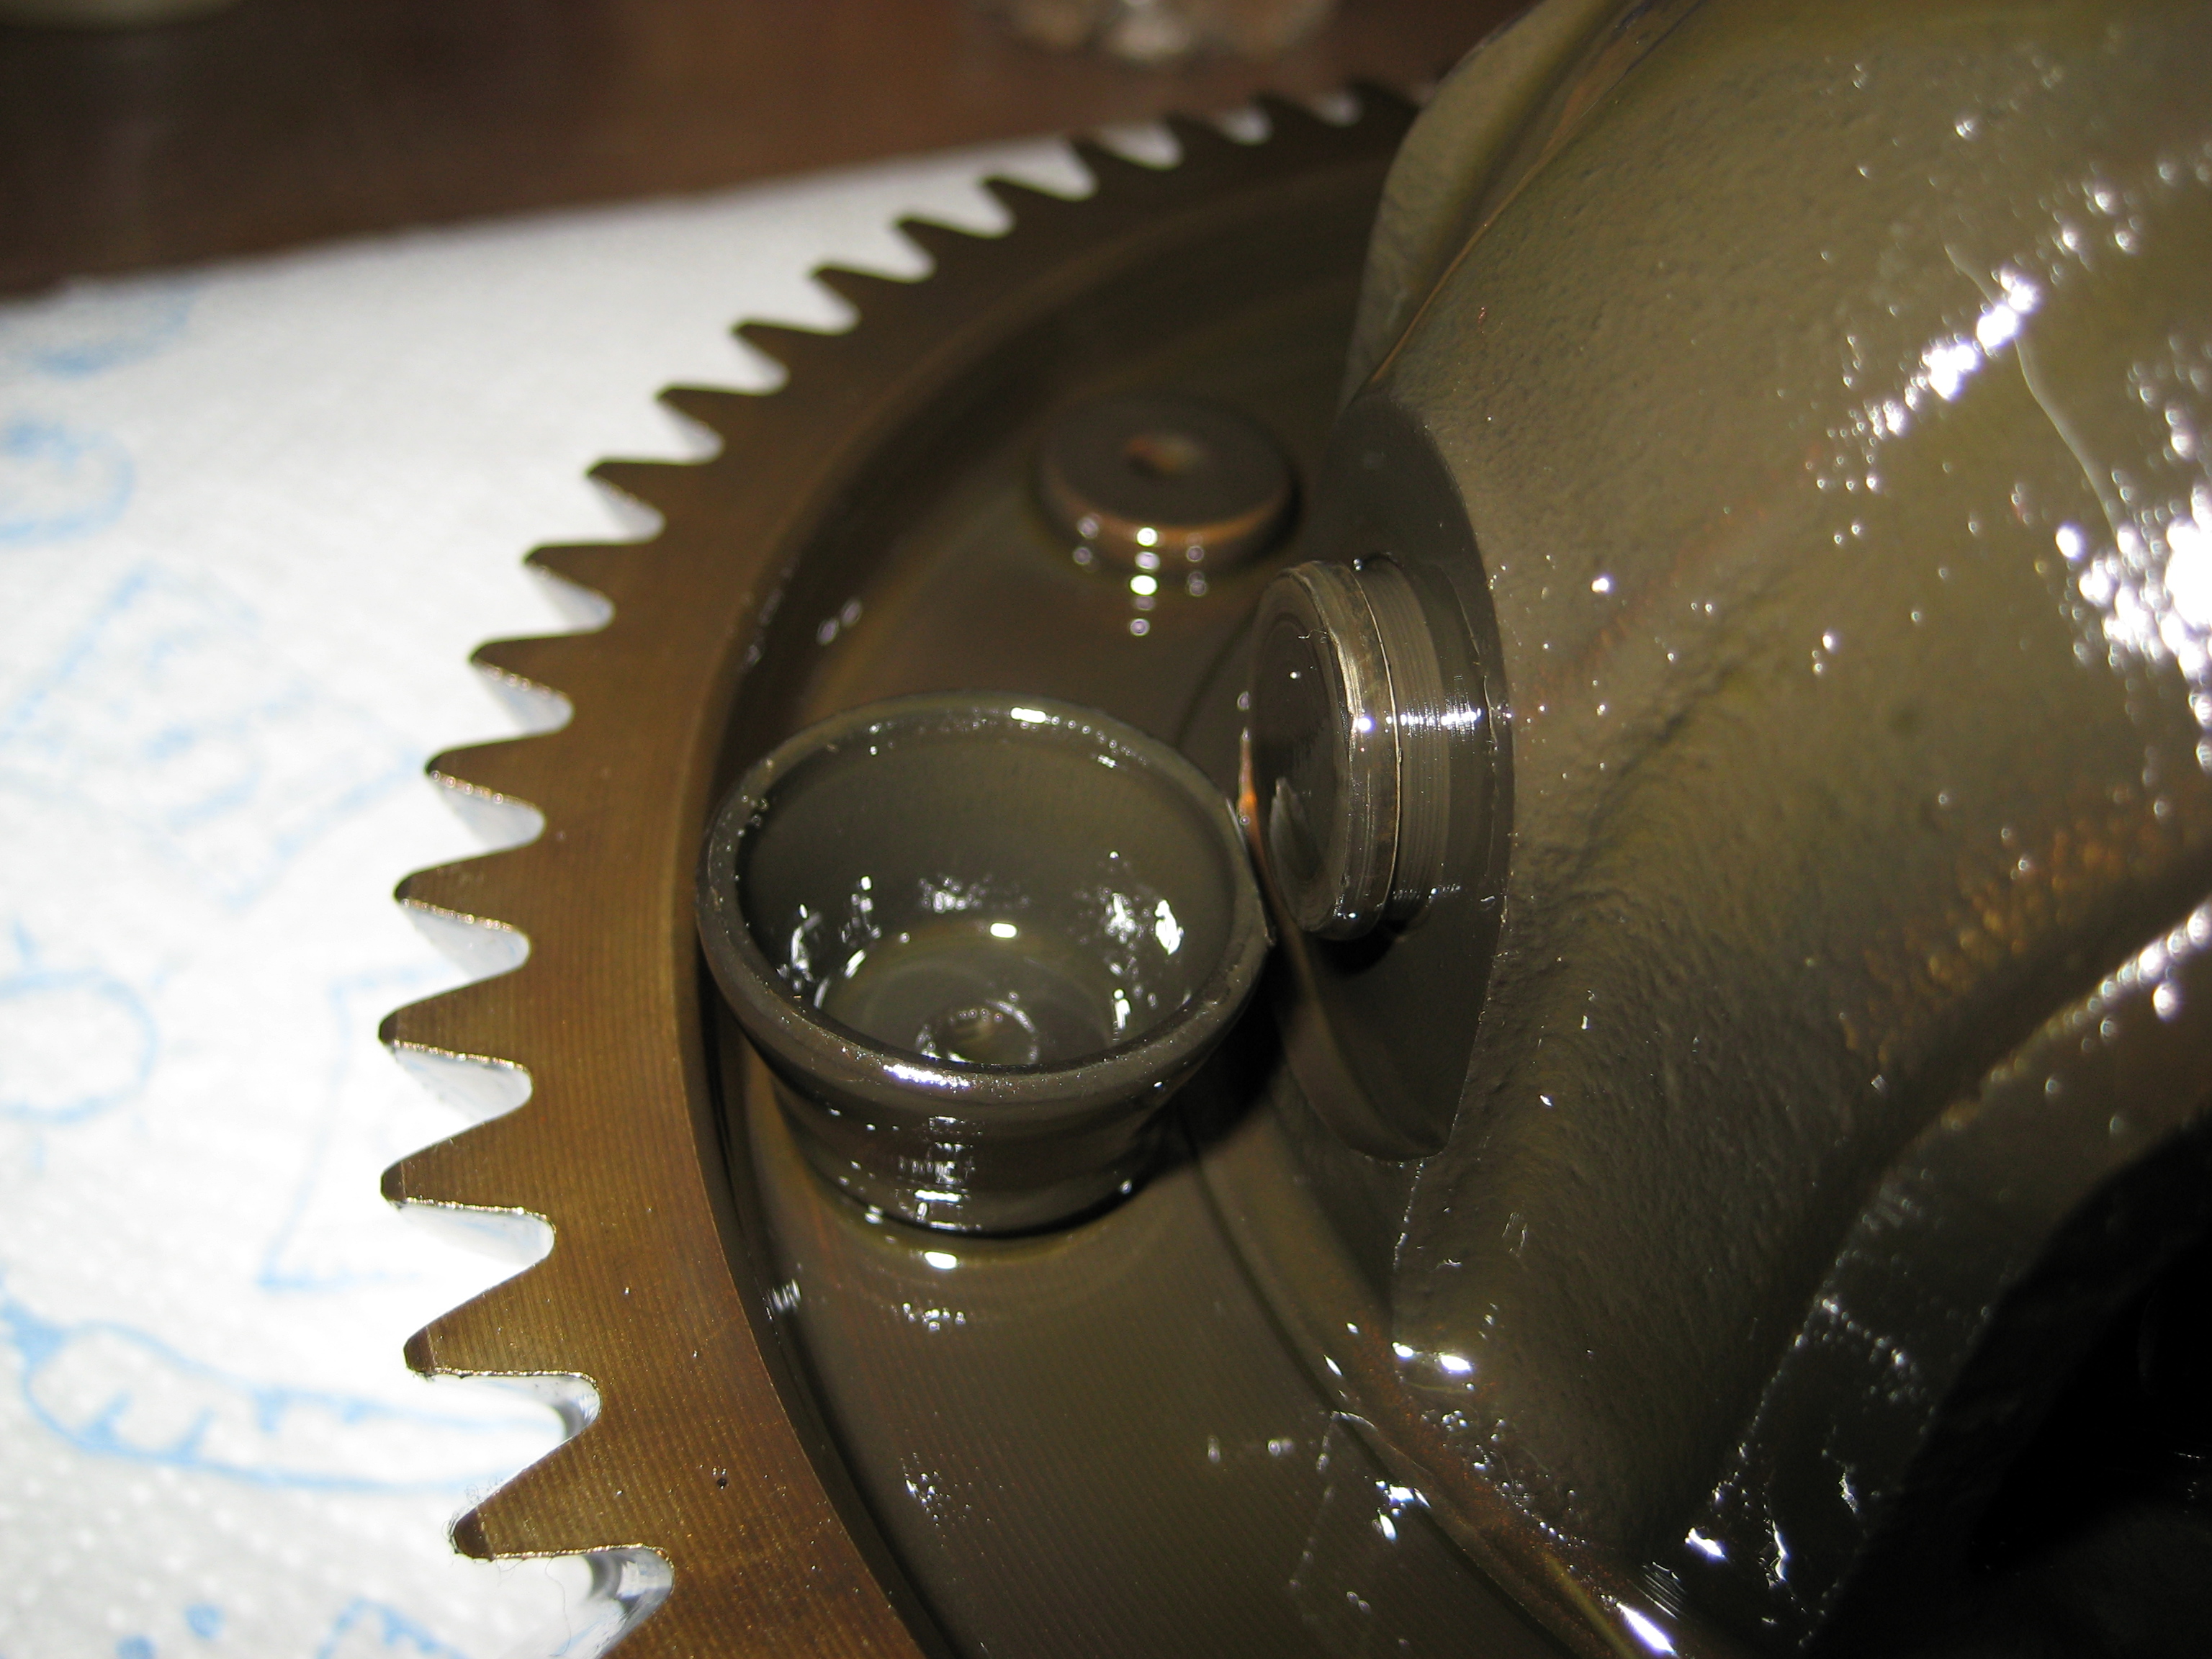
A better view of the groove in the selector cover threads used as
the trans vent and glass entrance...
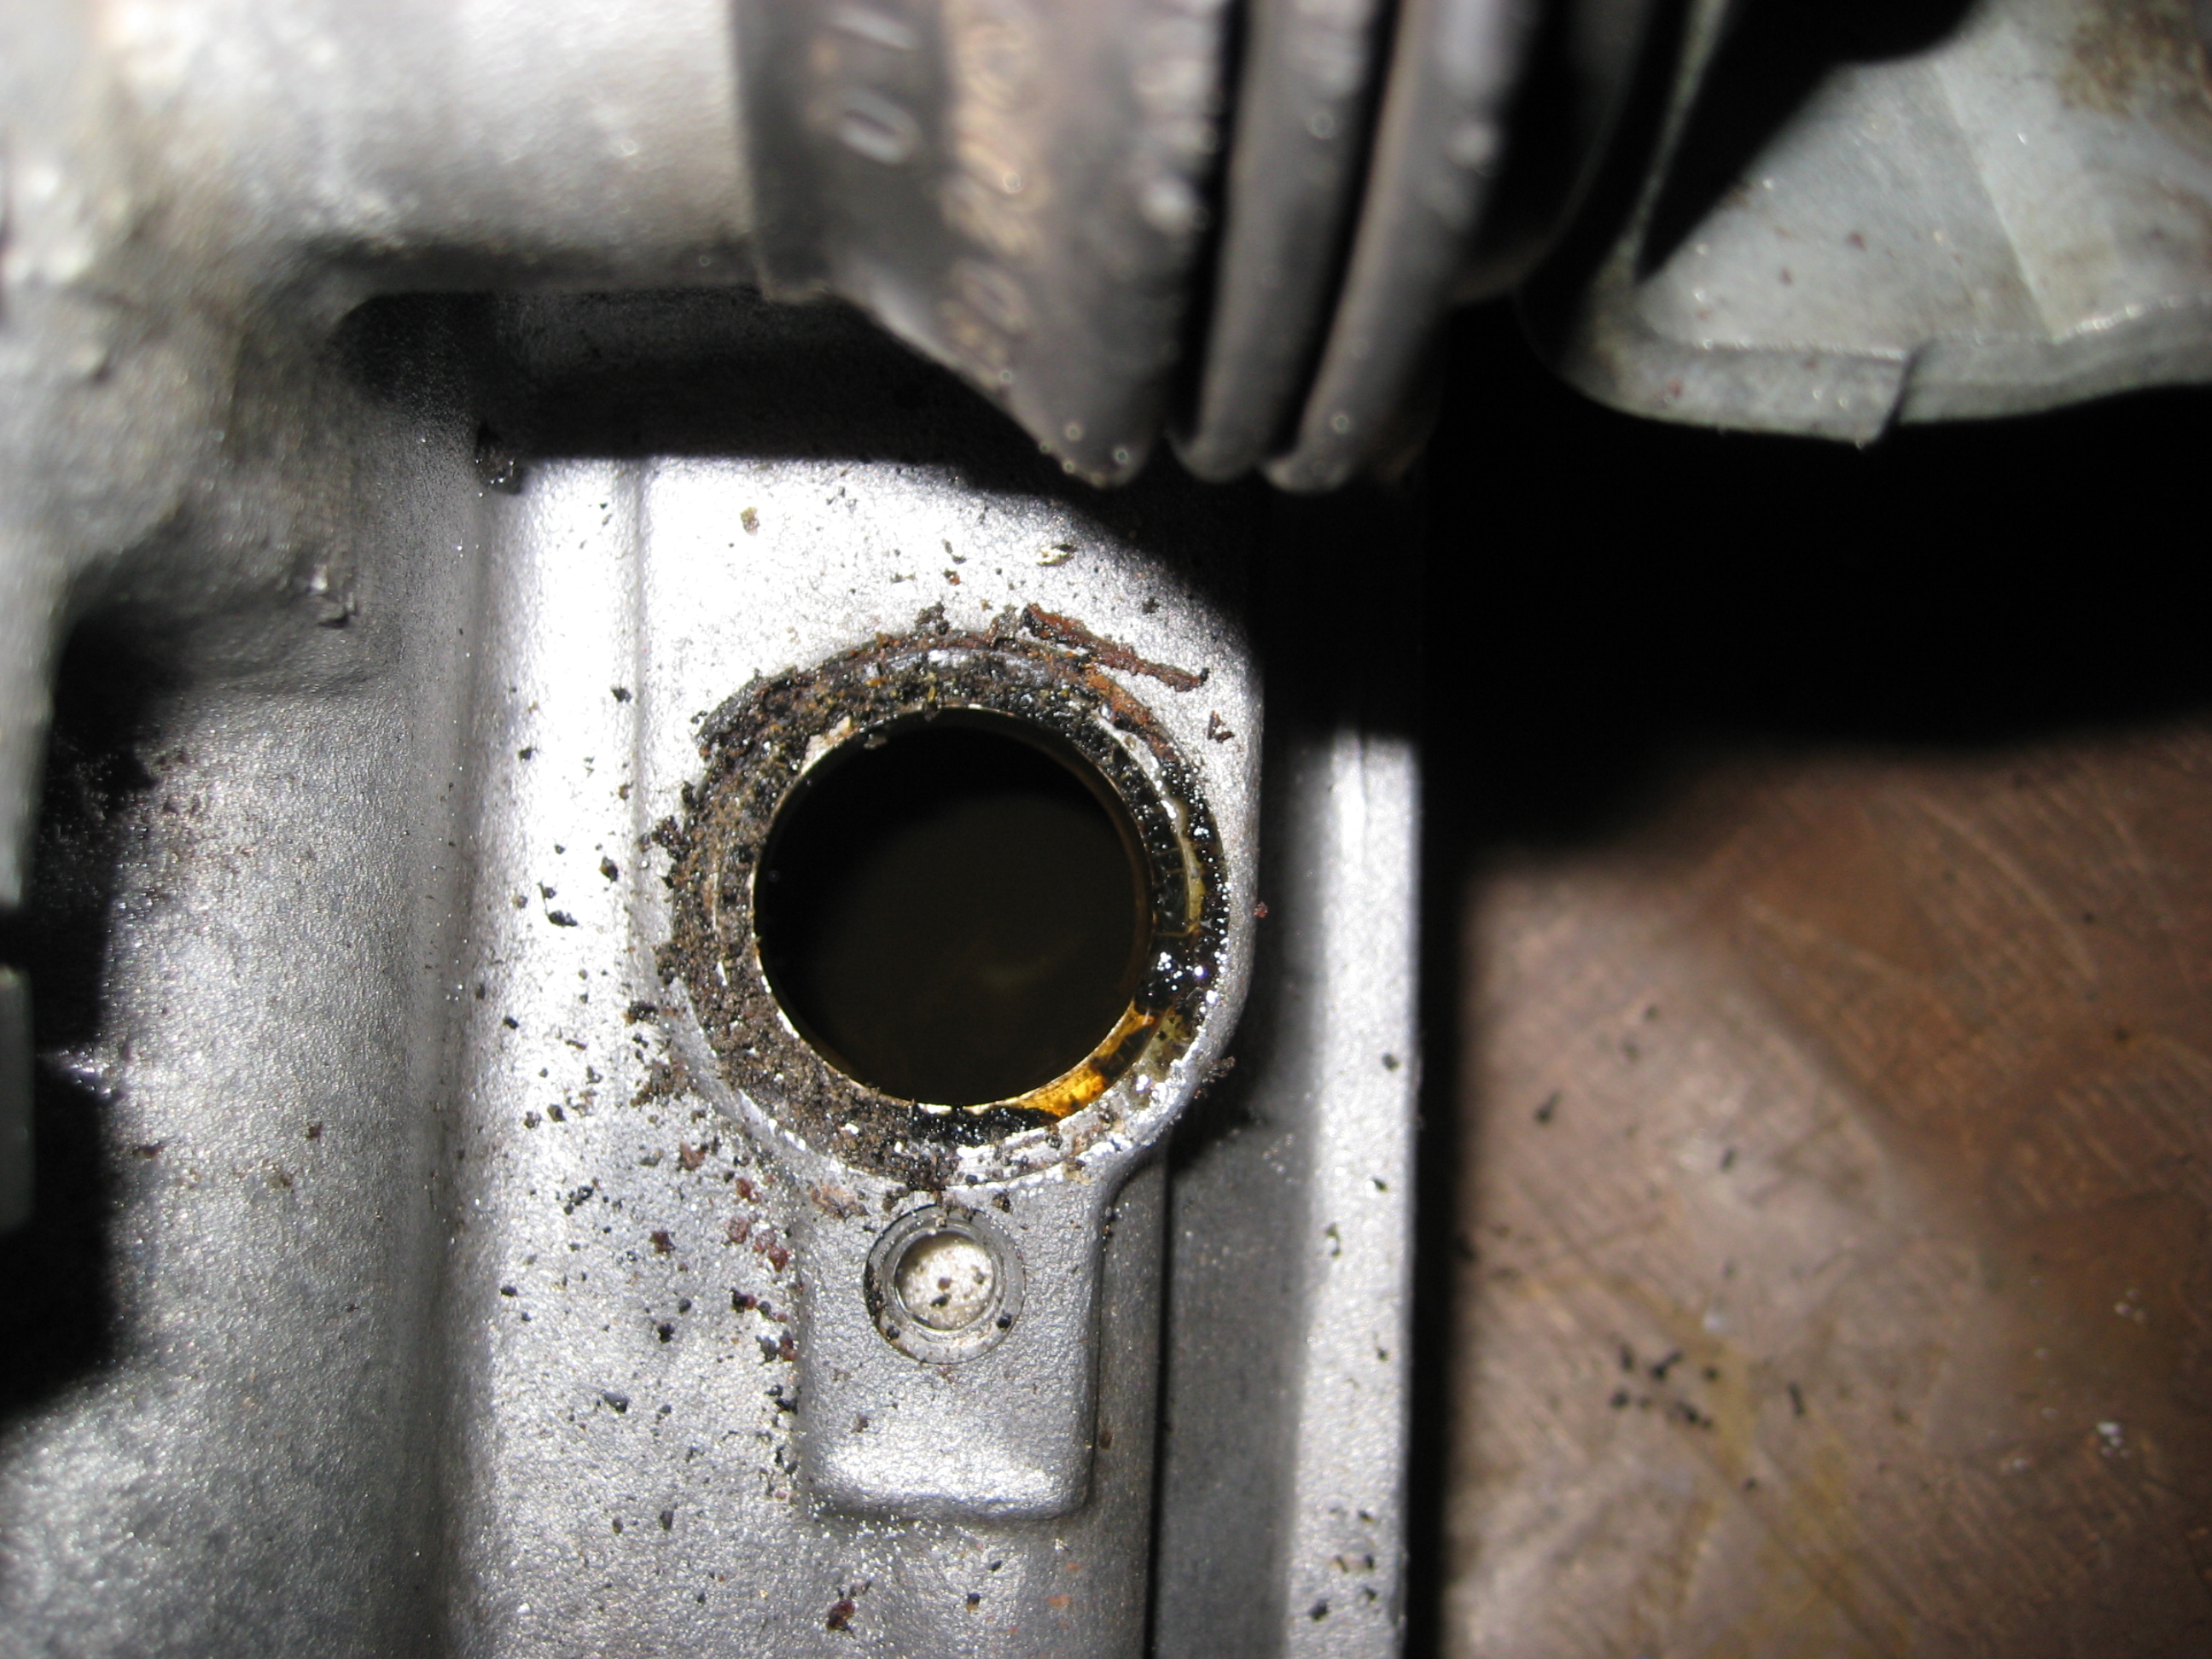
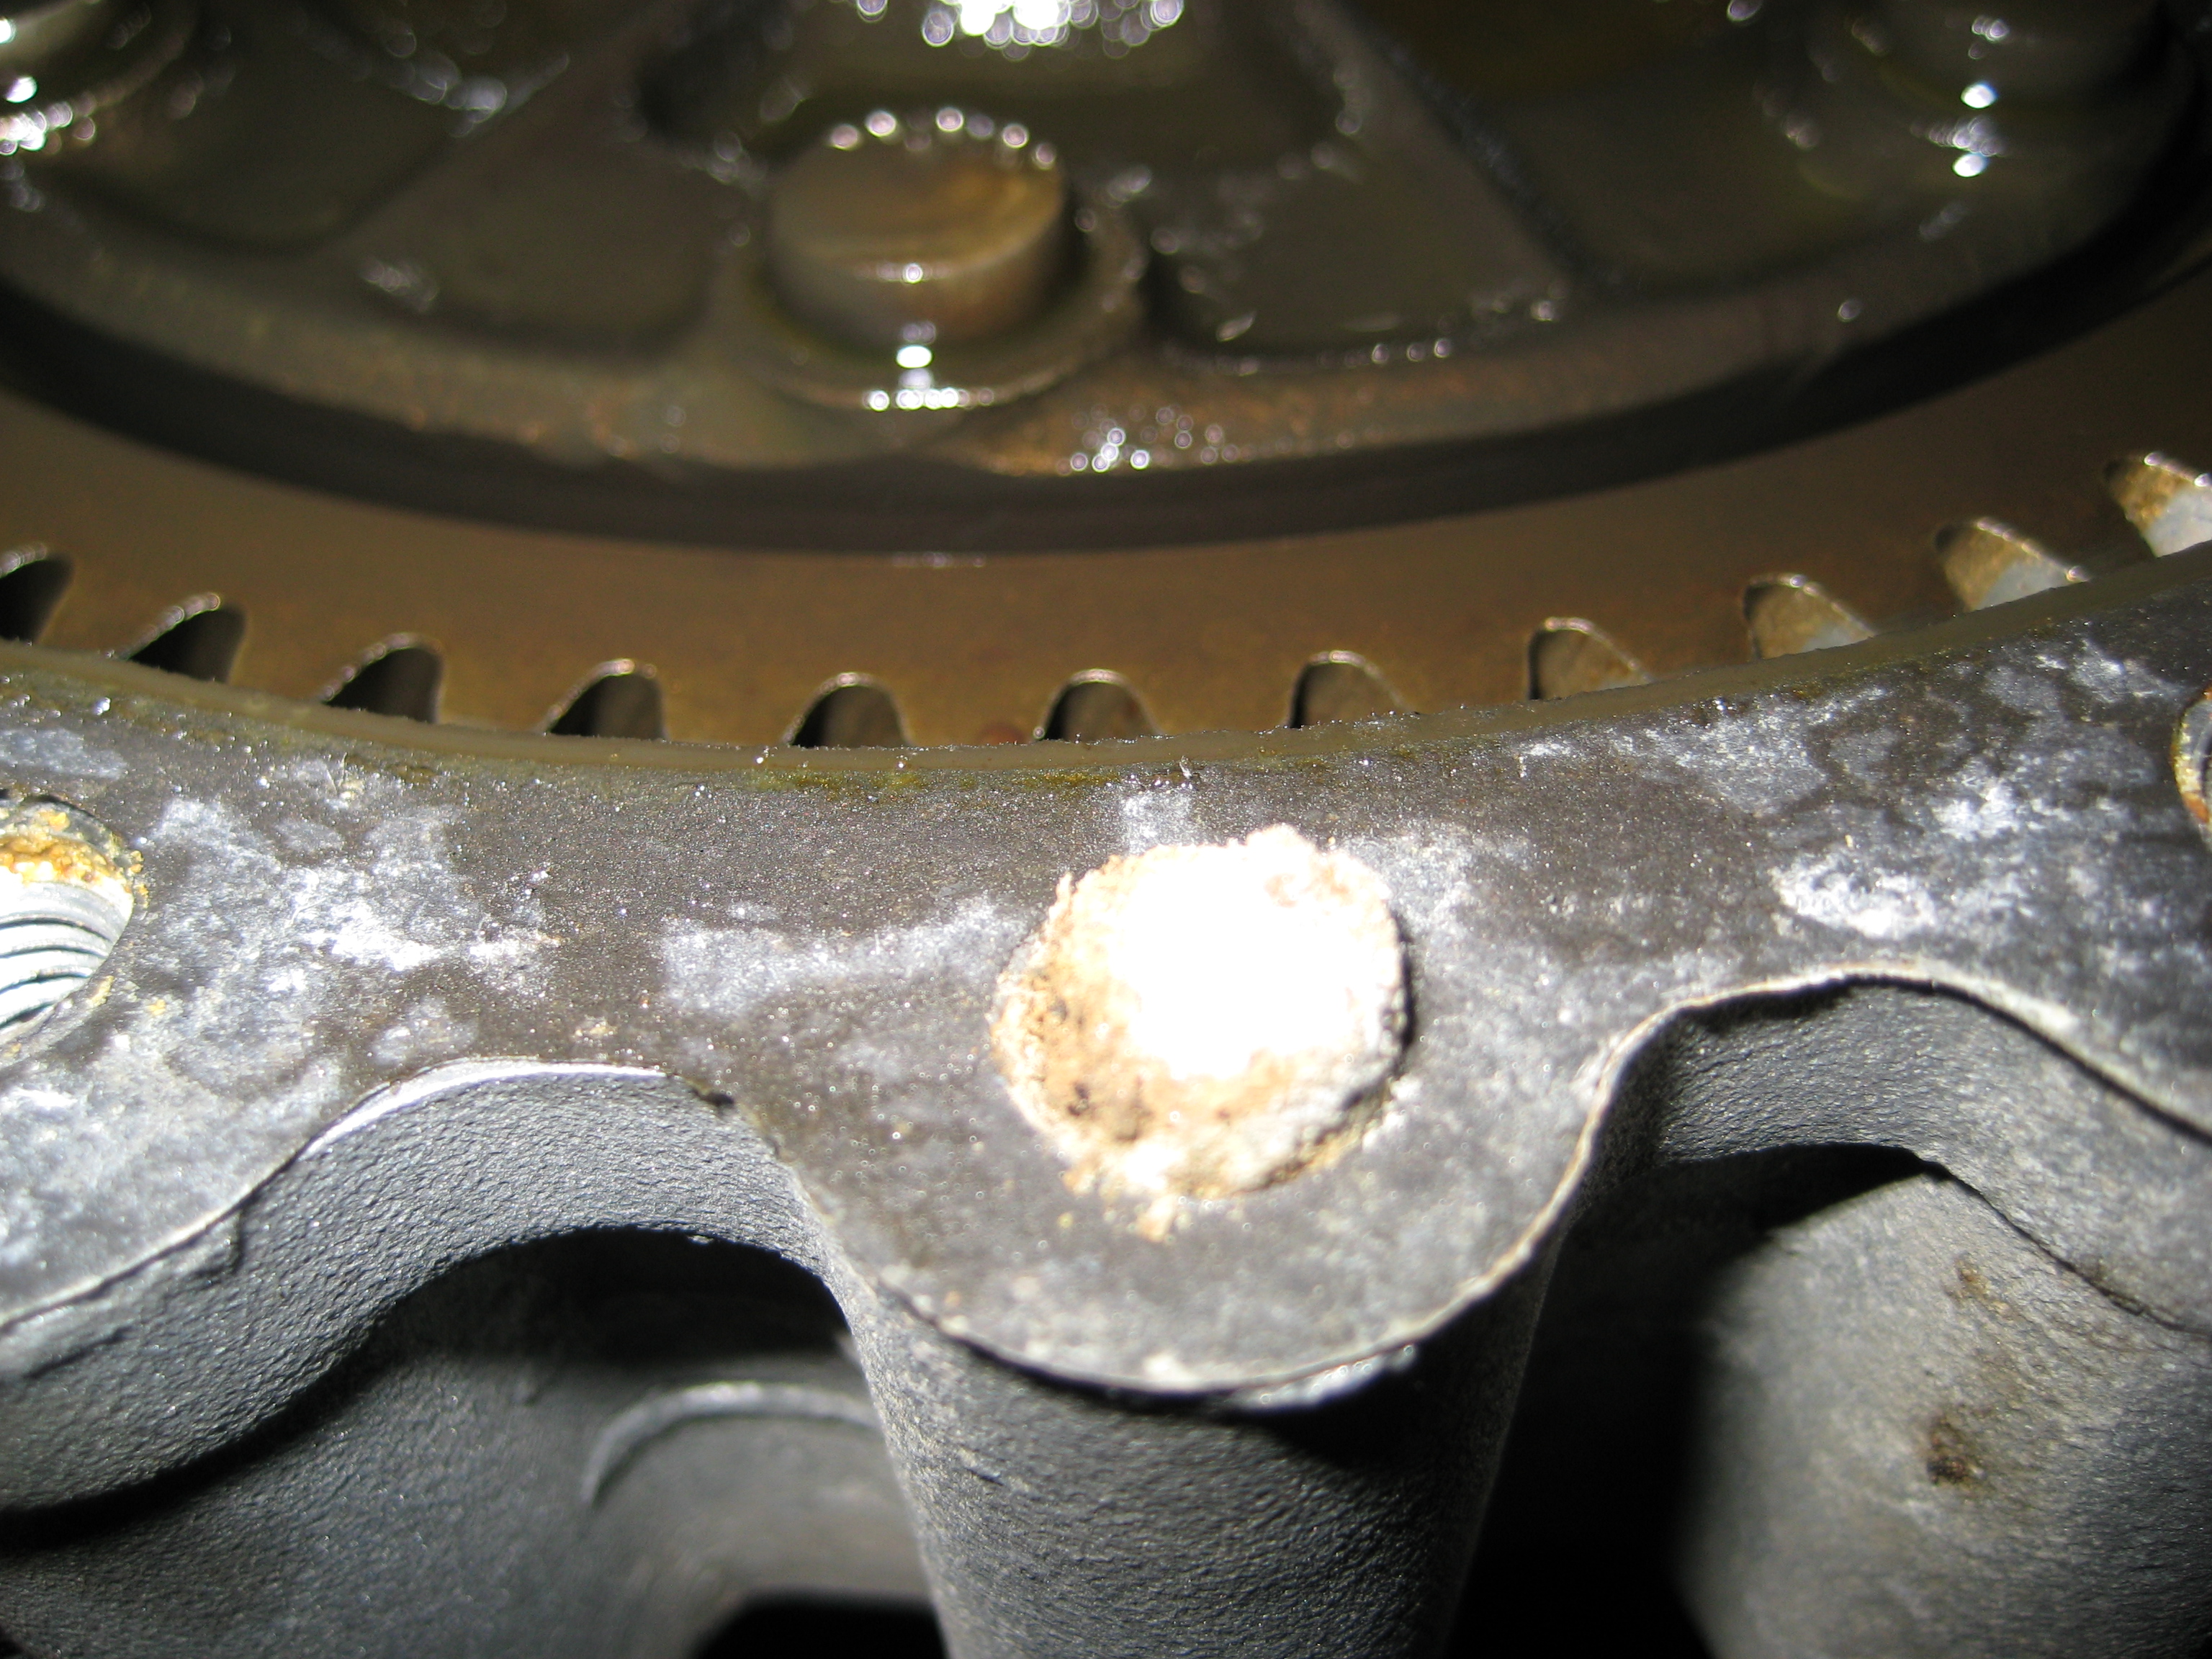
Here you can see how the glass or sand gets everywhere. There is
a column of it built up in a bolt hole...
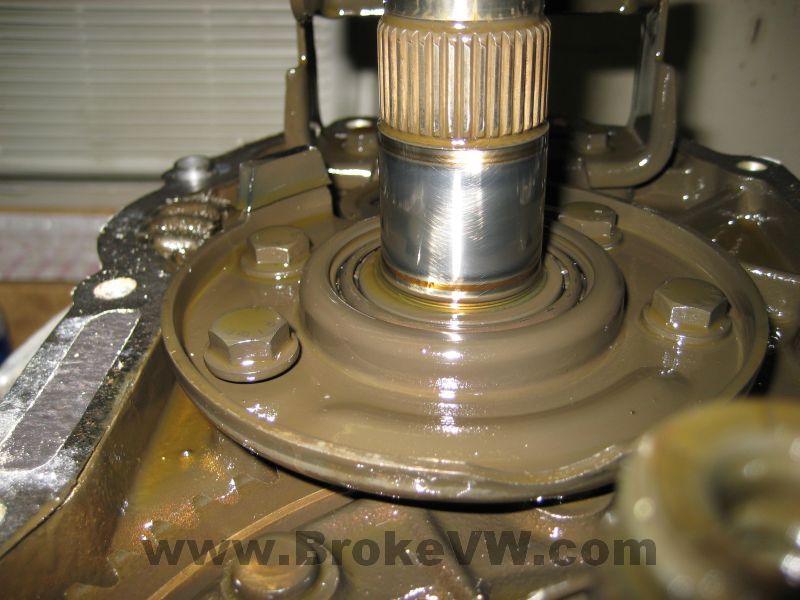
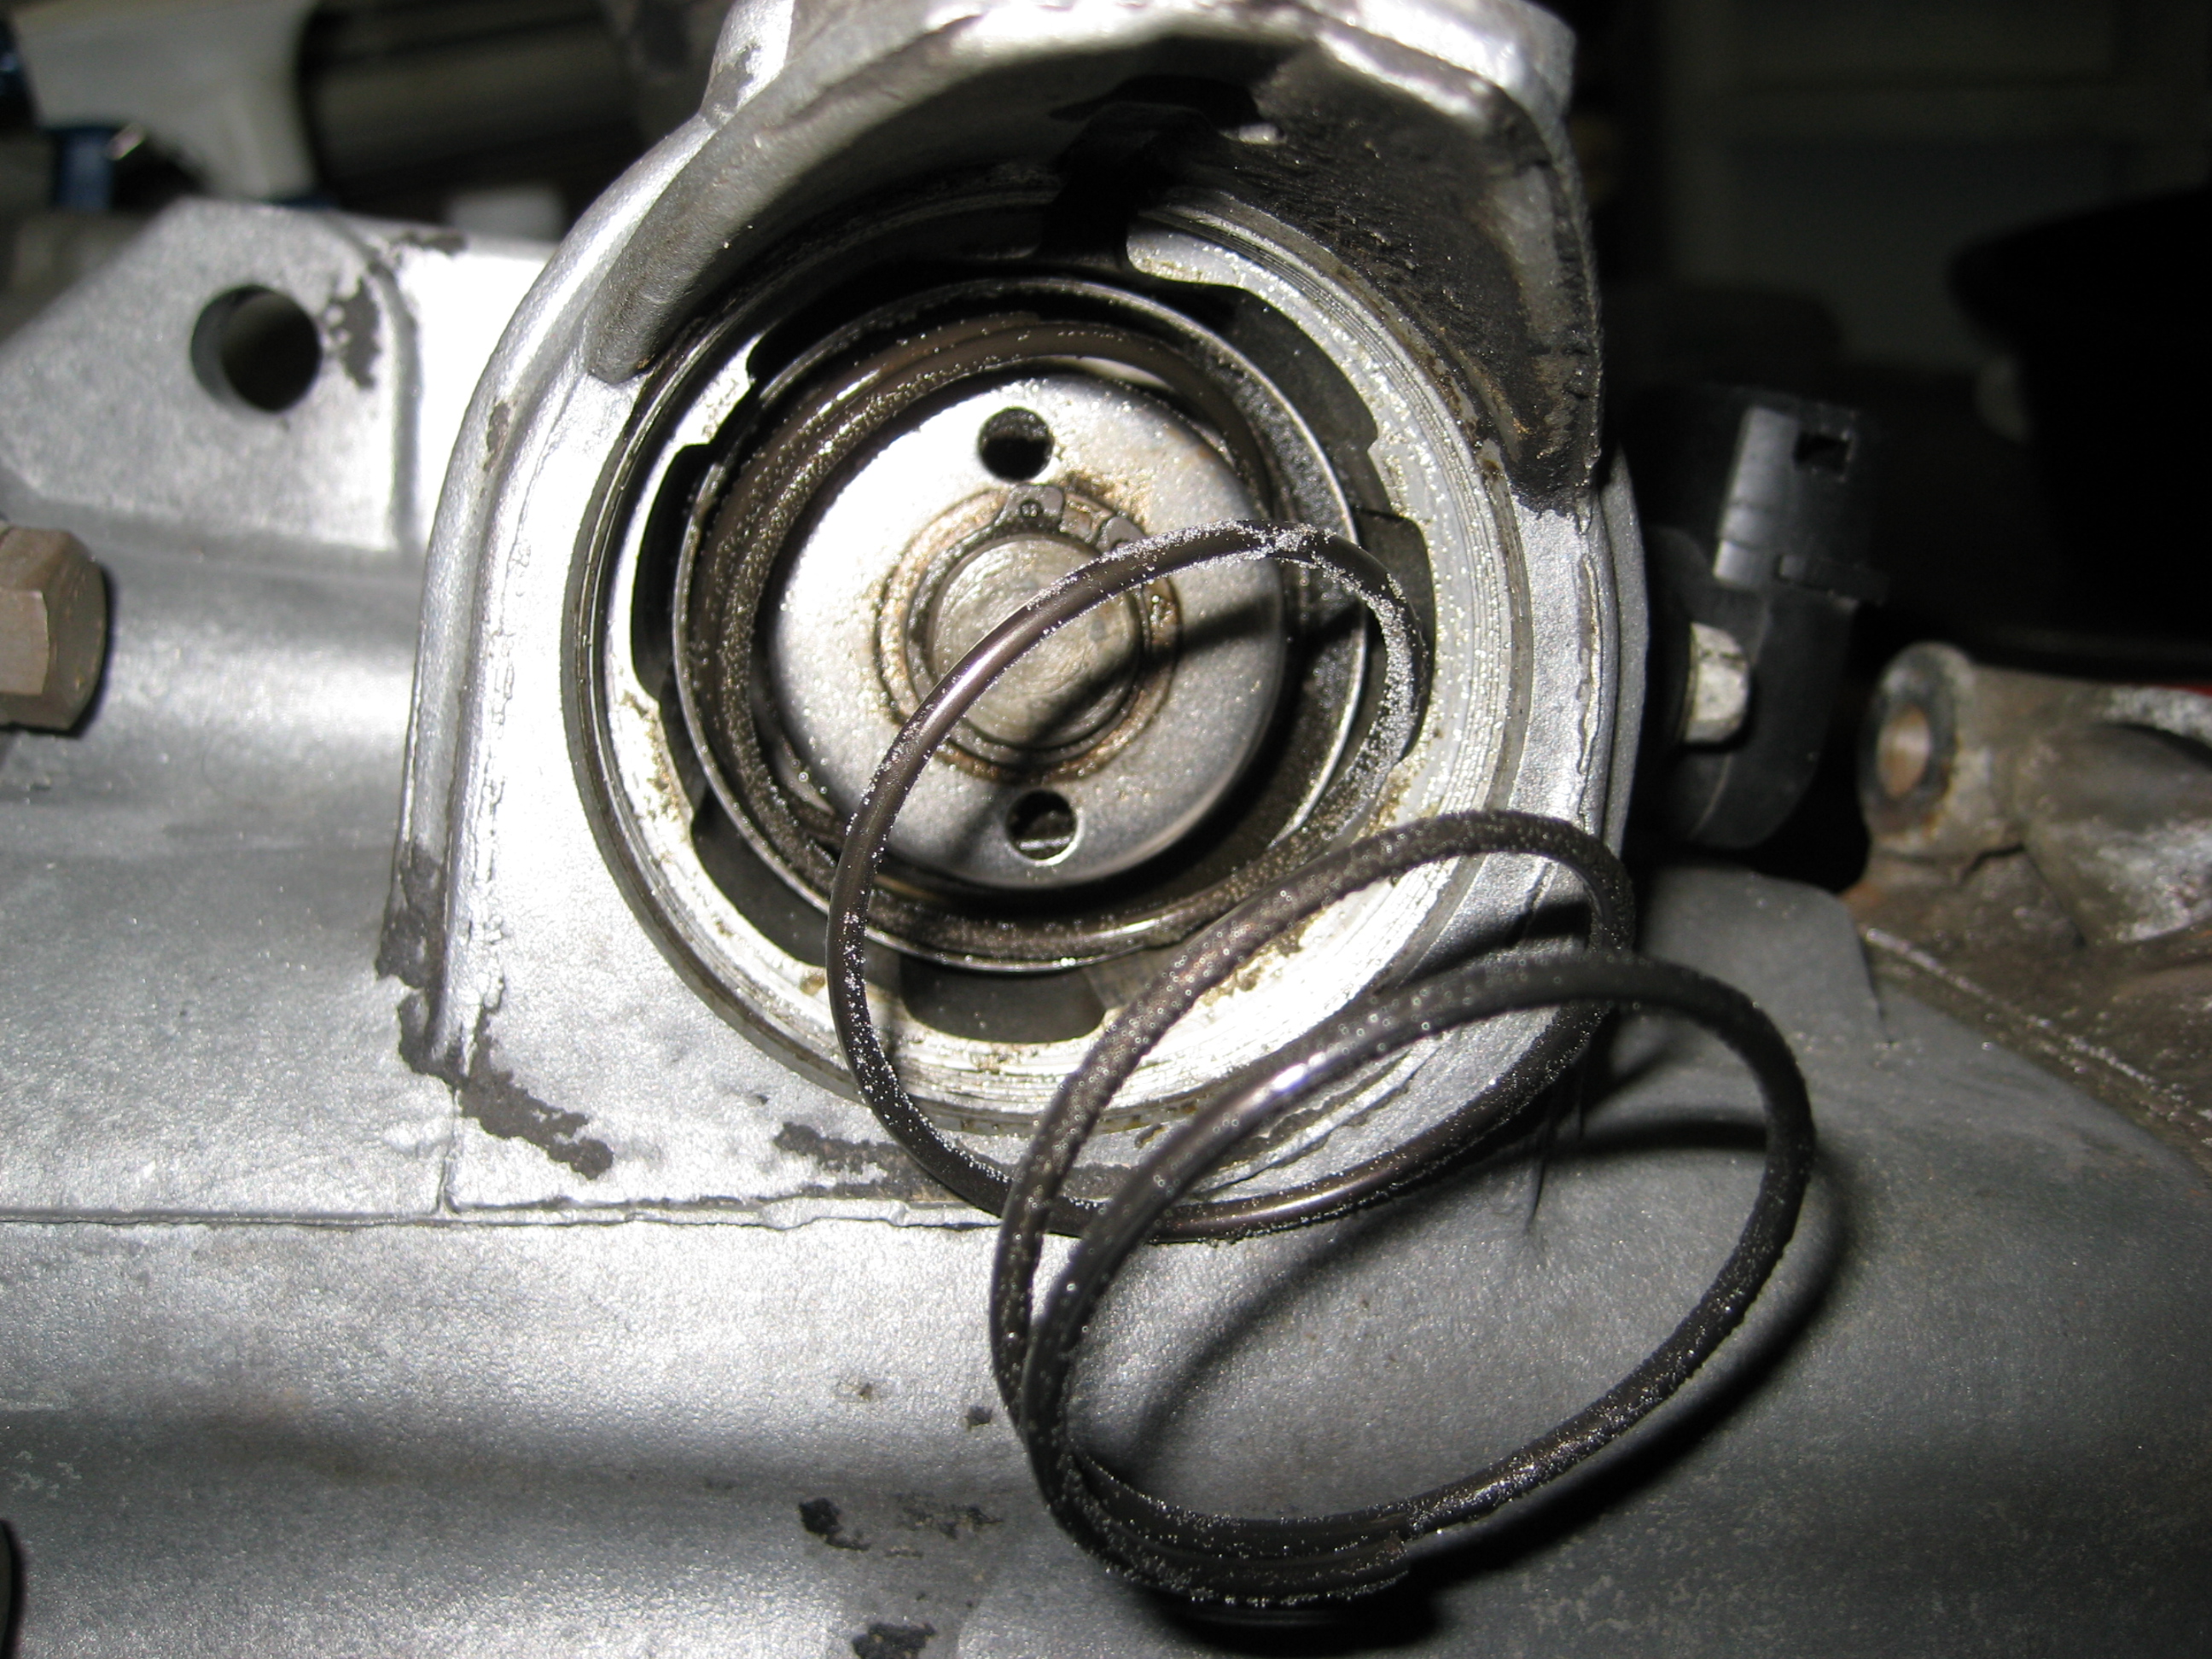
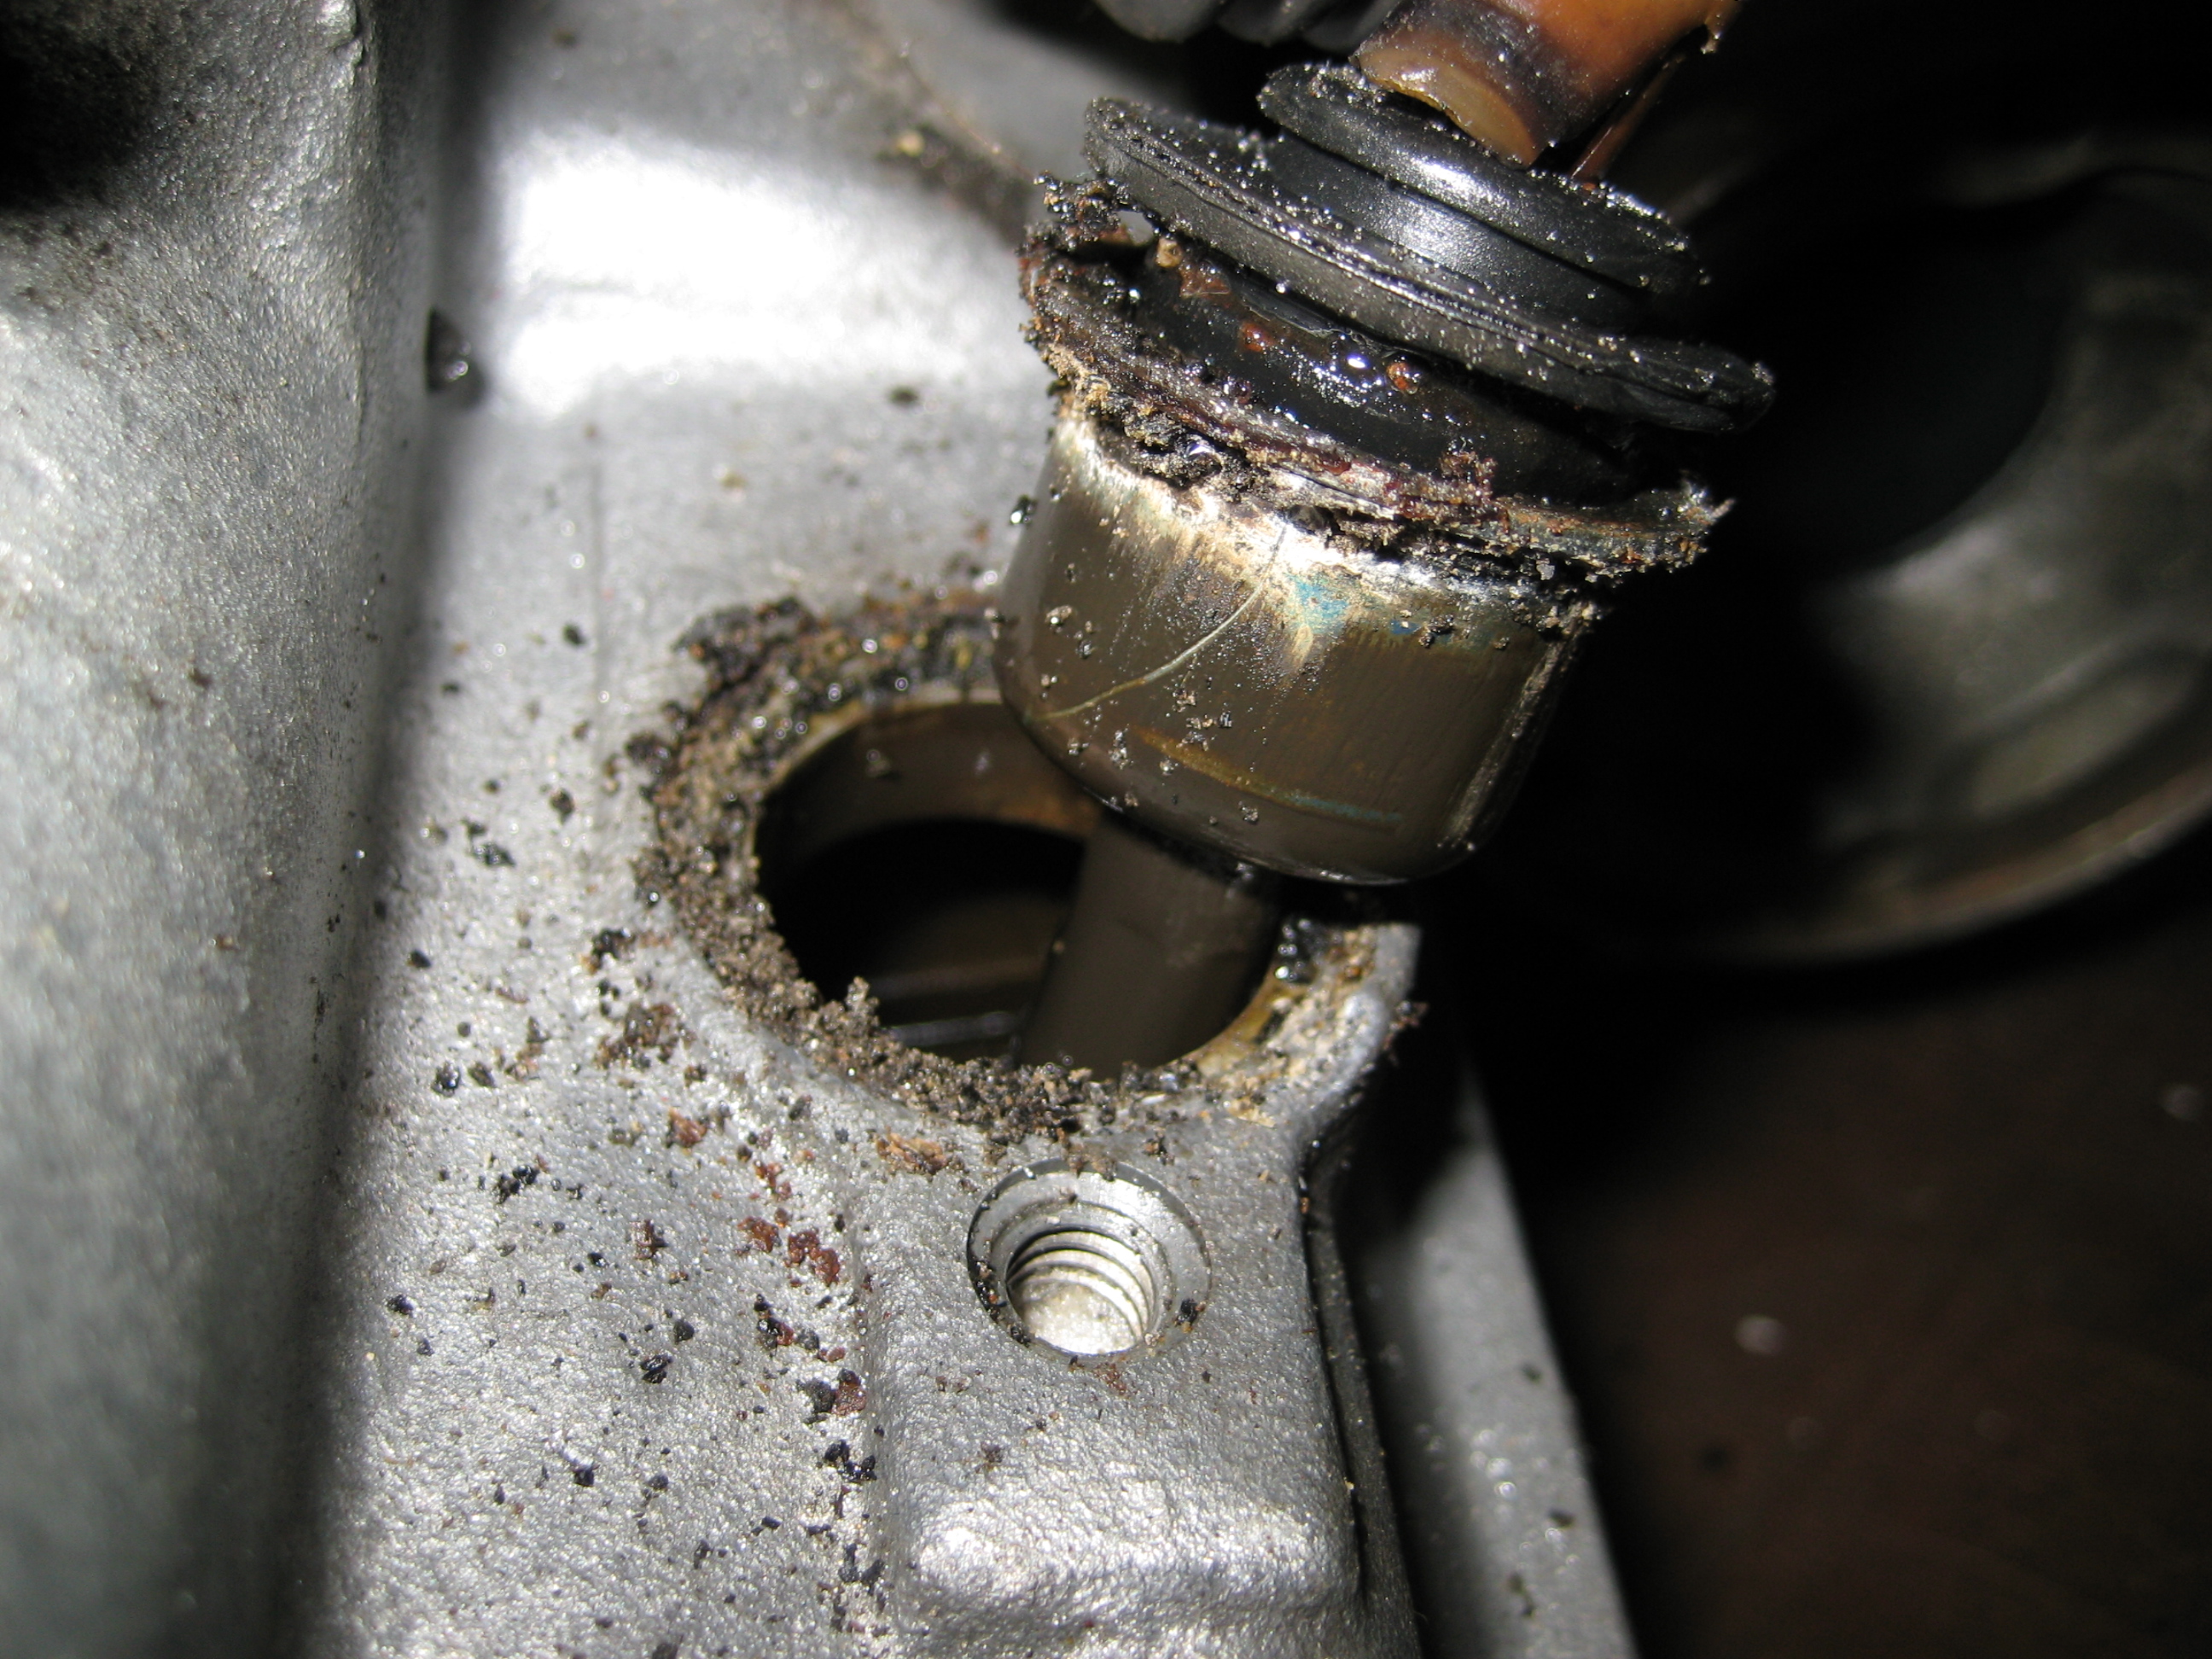
I went to remove the output shaft, and found this bolt was not
seated...
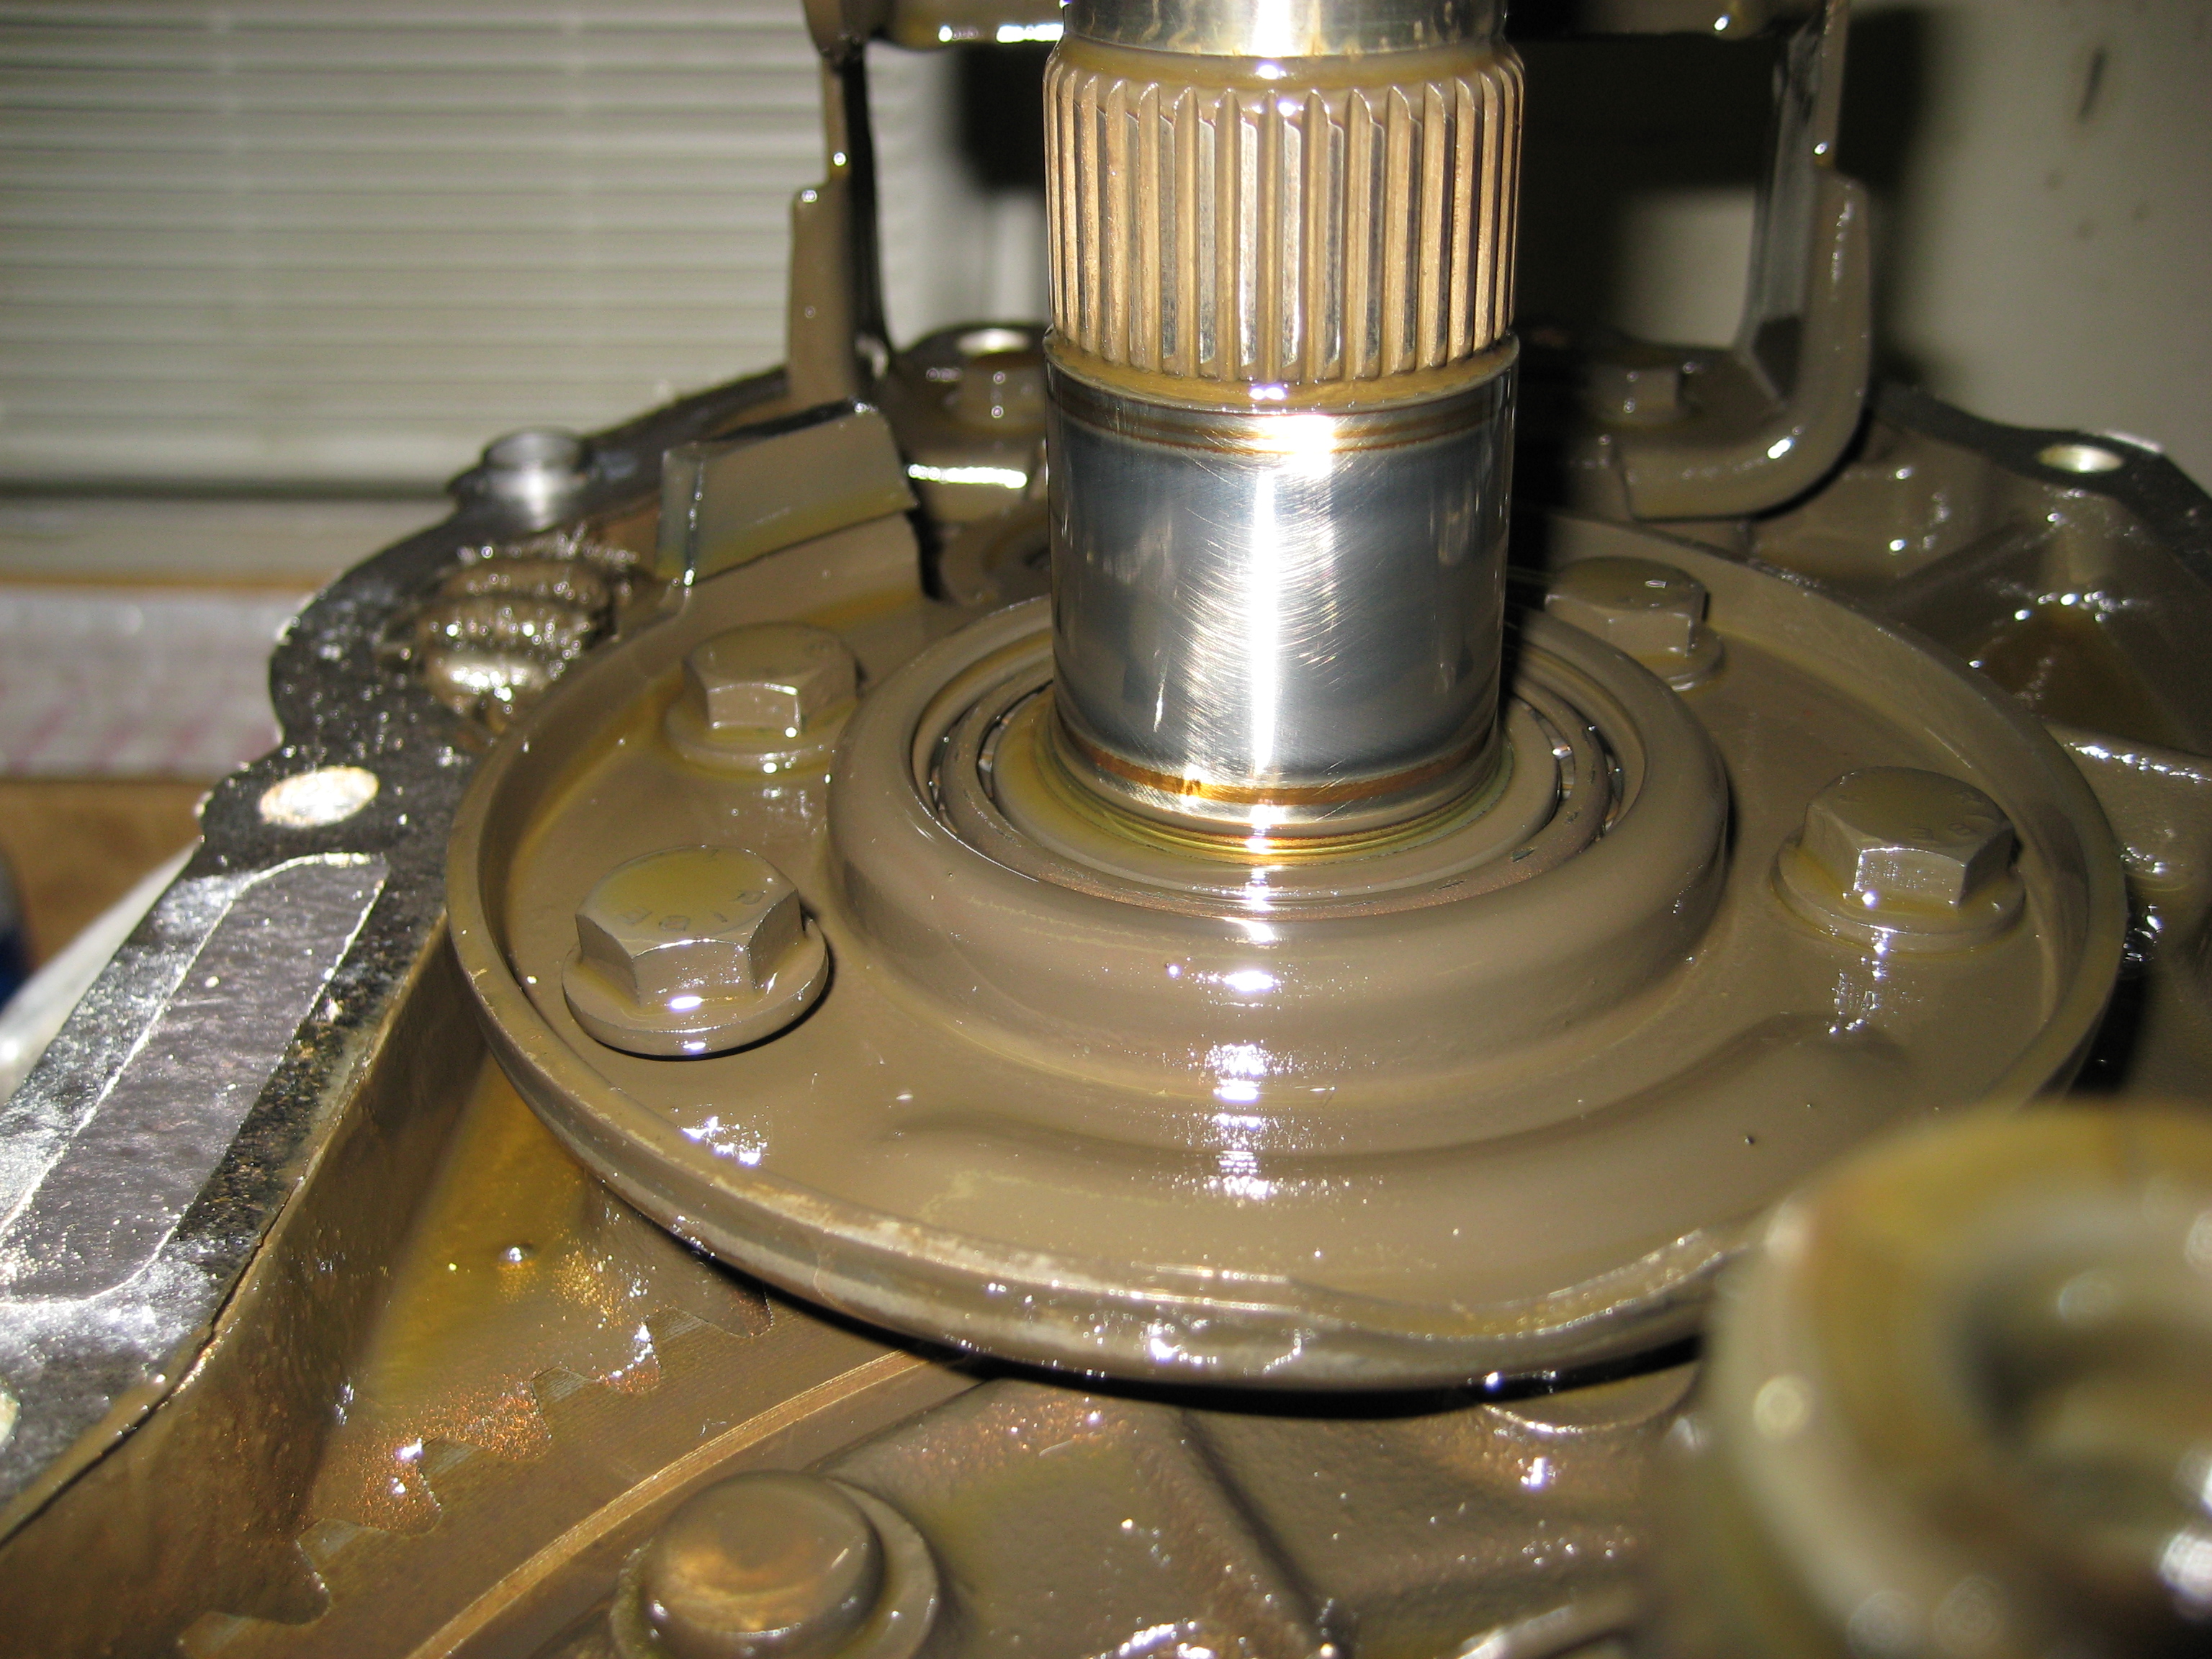
It turns out that it was tight, but couldn't seat all the way, I assume dirt inside the bolt hole stopped the last person in the trans from threading it fully in. I'm not sure if the hole or threads are damaged at this point. I can run a tap in it if so, but I've not got the parts into the parts washer and don't want to thread in a bolt with the dirt still there.
Here is a pic of the 4 bolts holding the output shaft in, the 2nd
from the left is the bolt that wasn't fully seated. It has light thread
damage...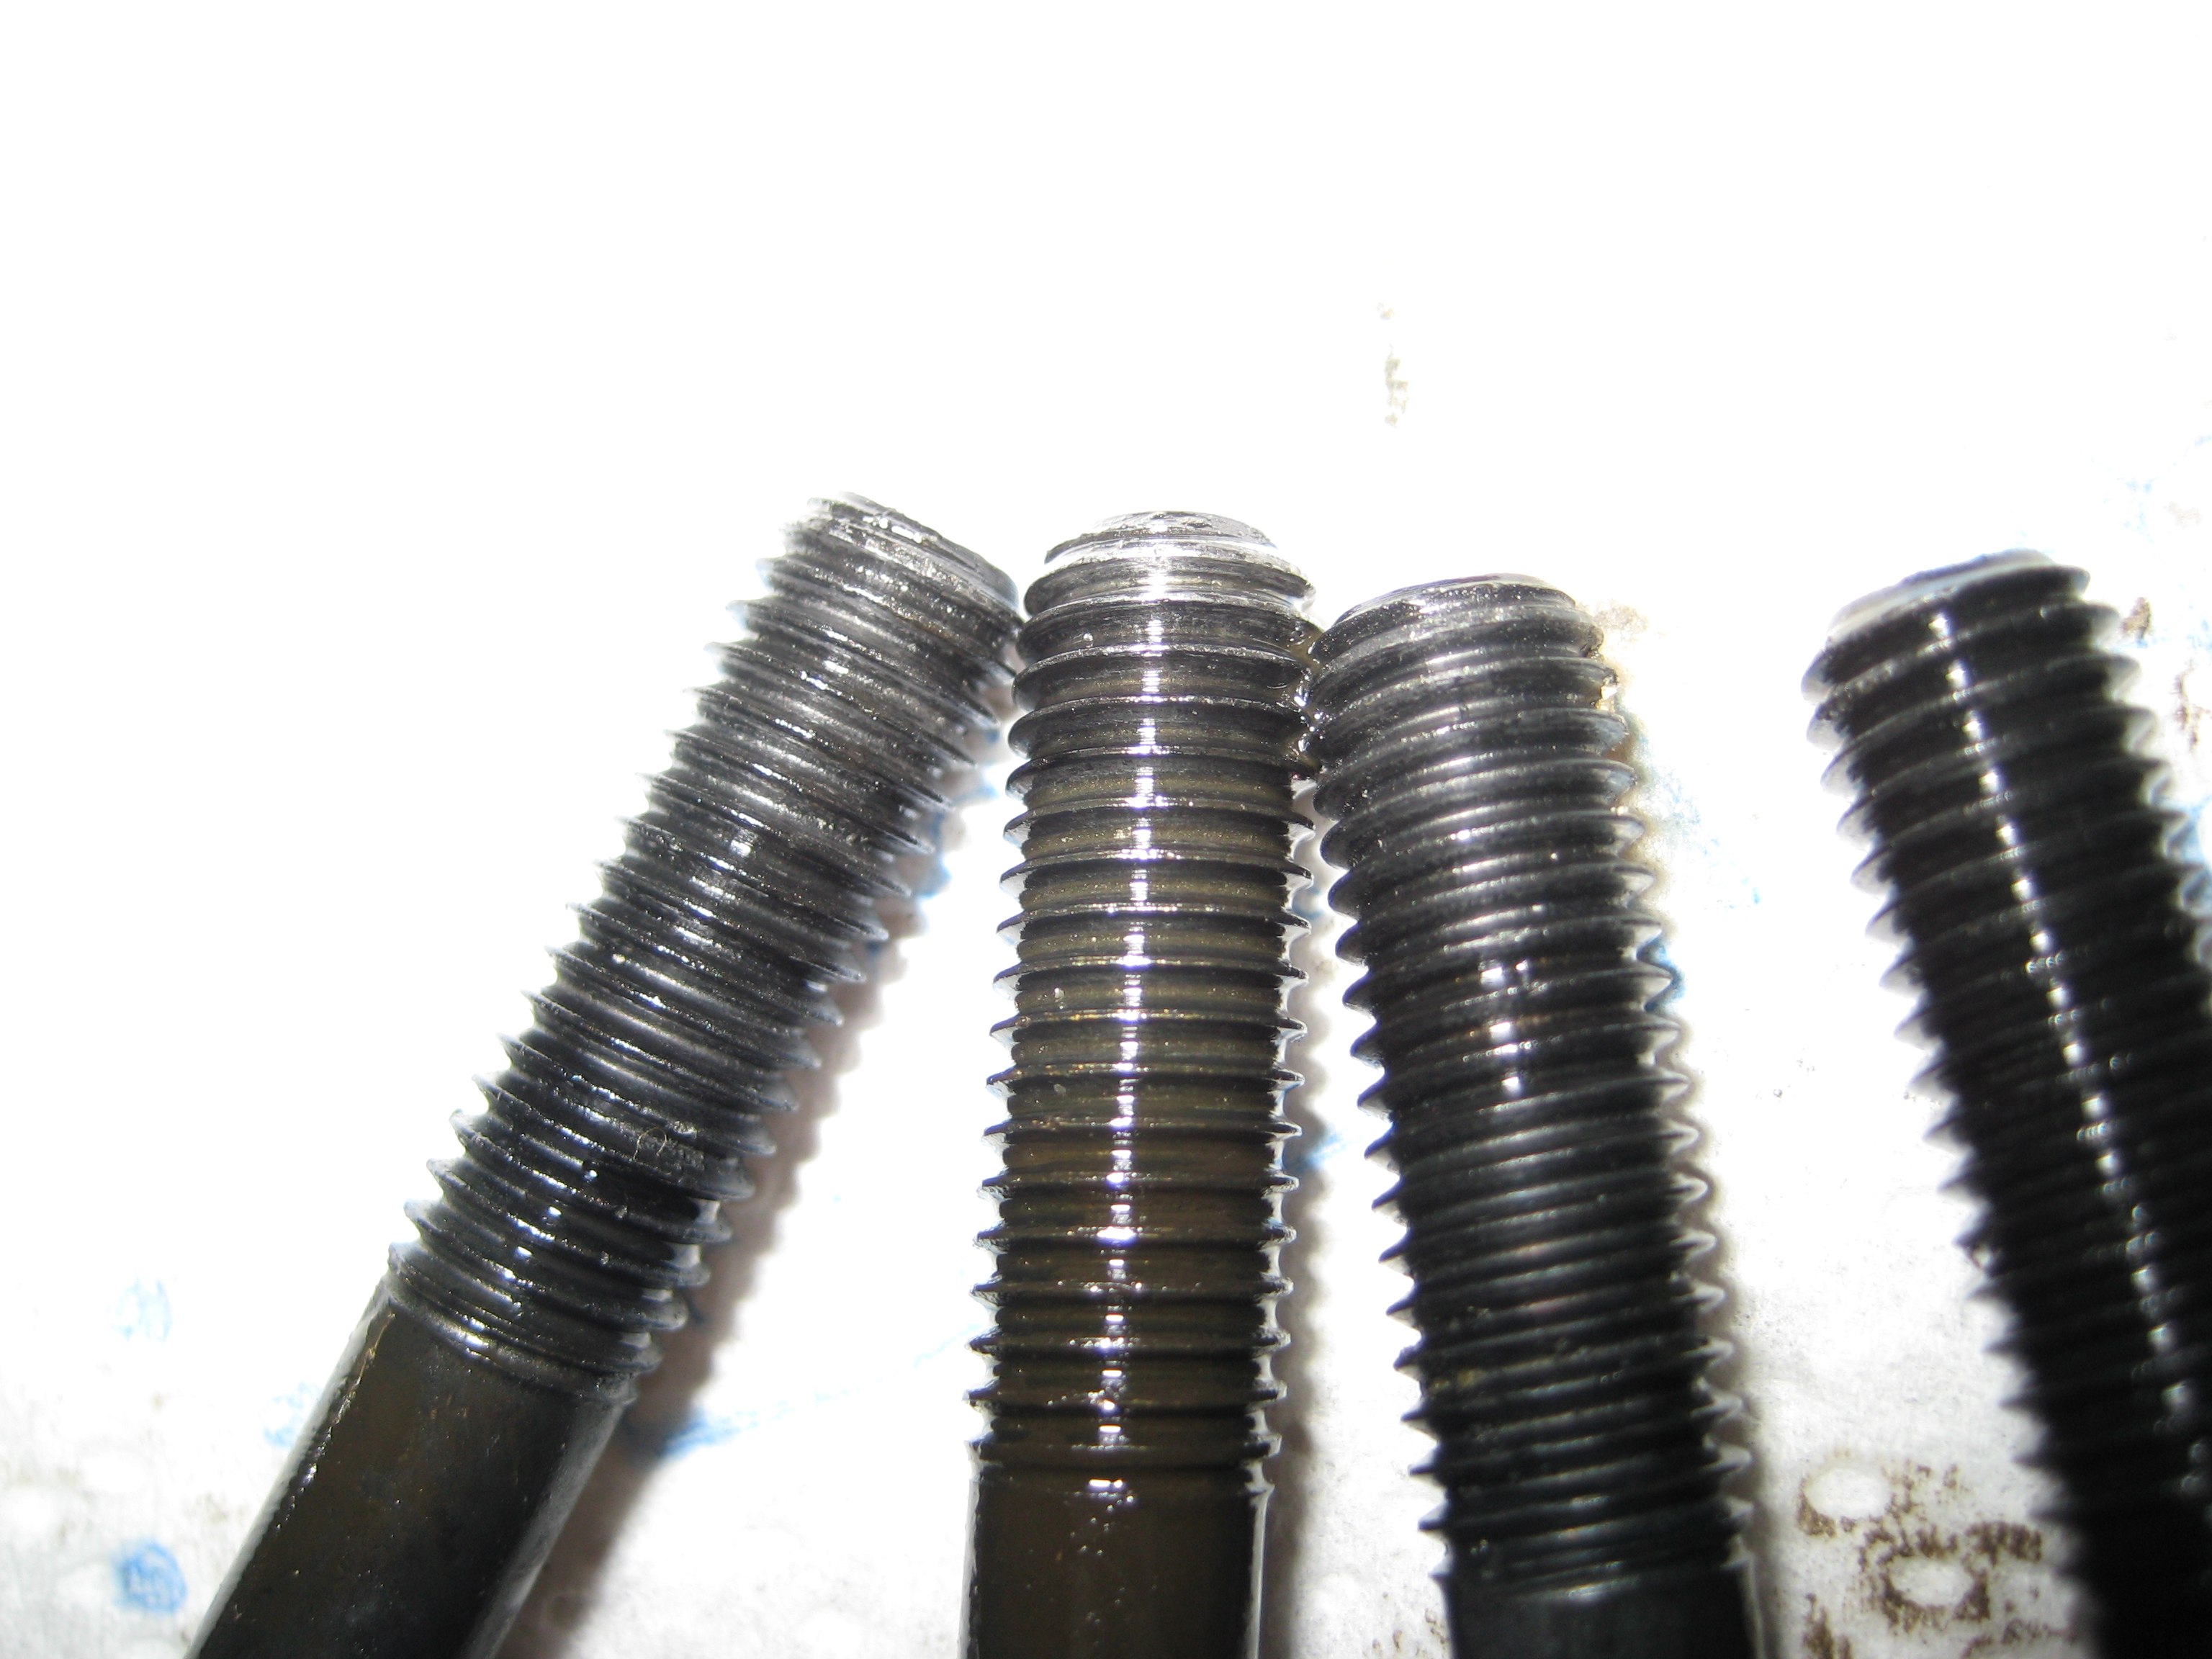
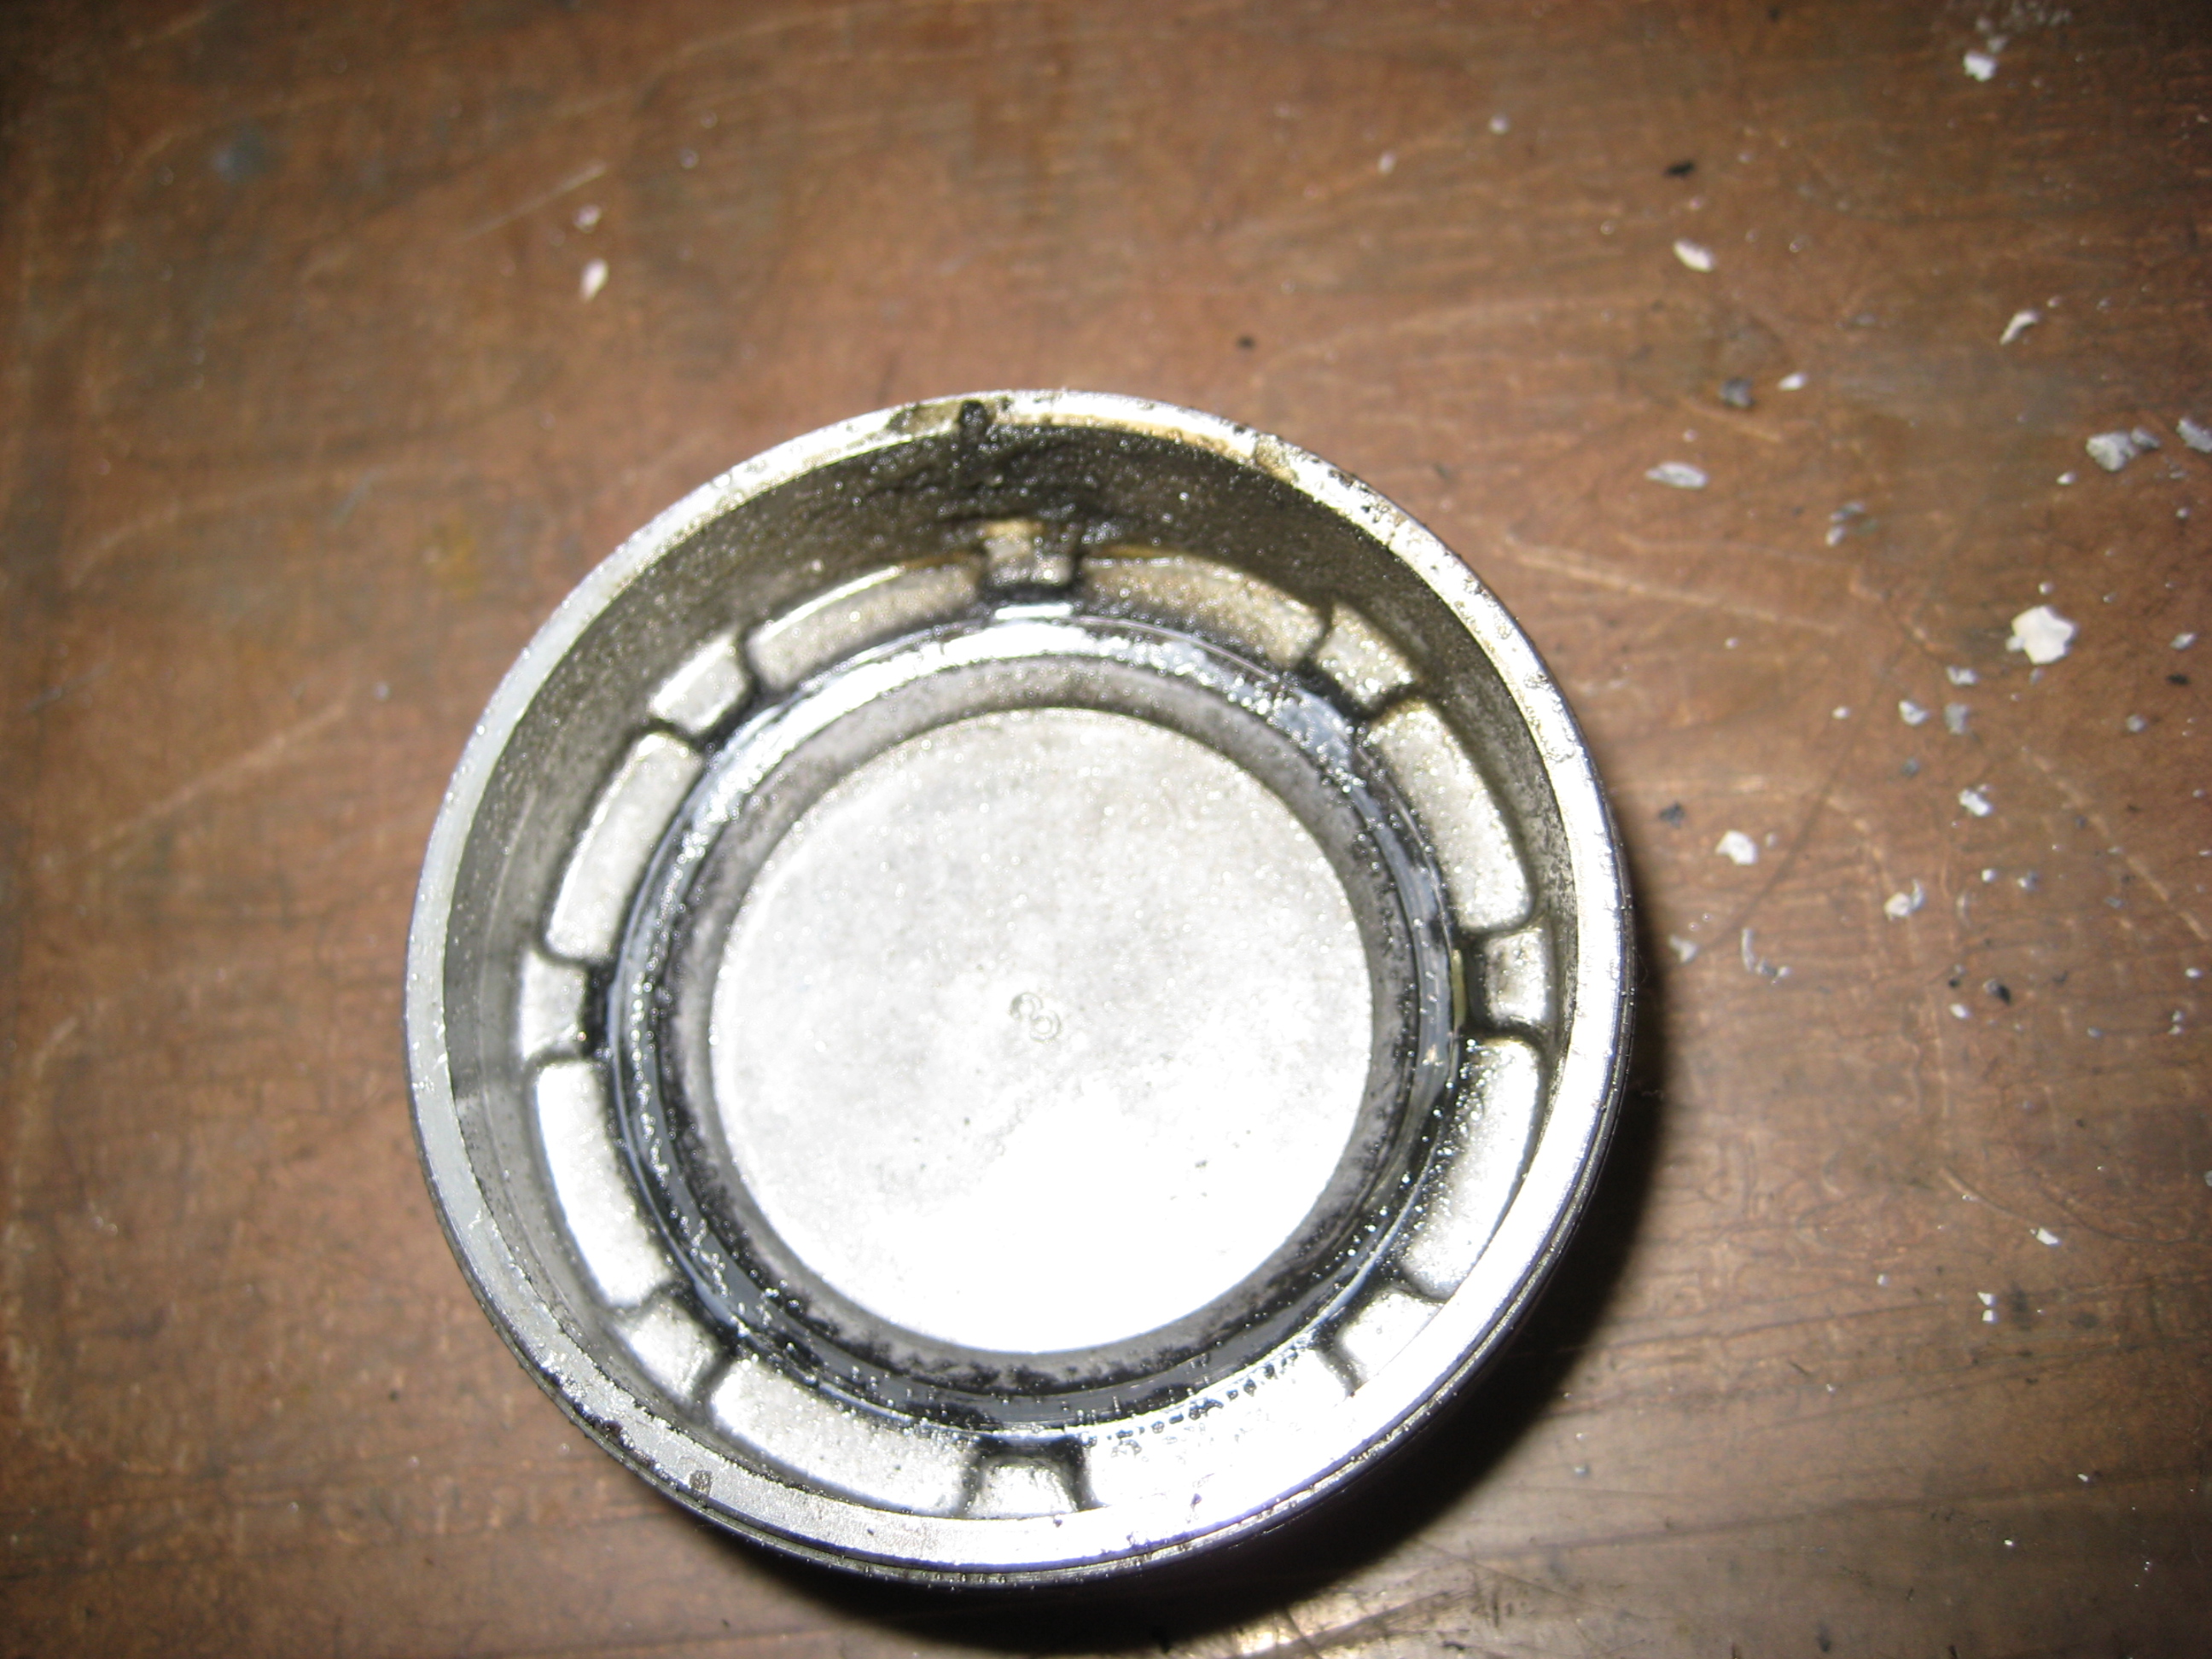
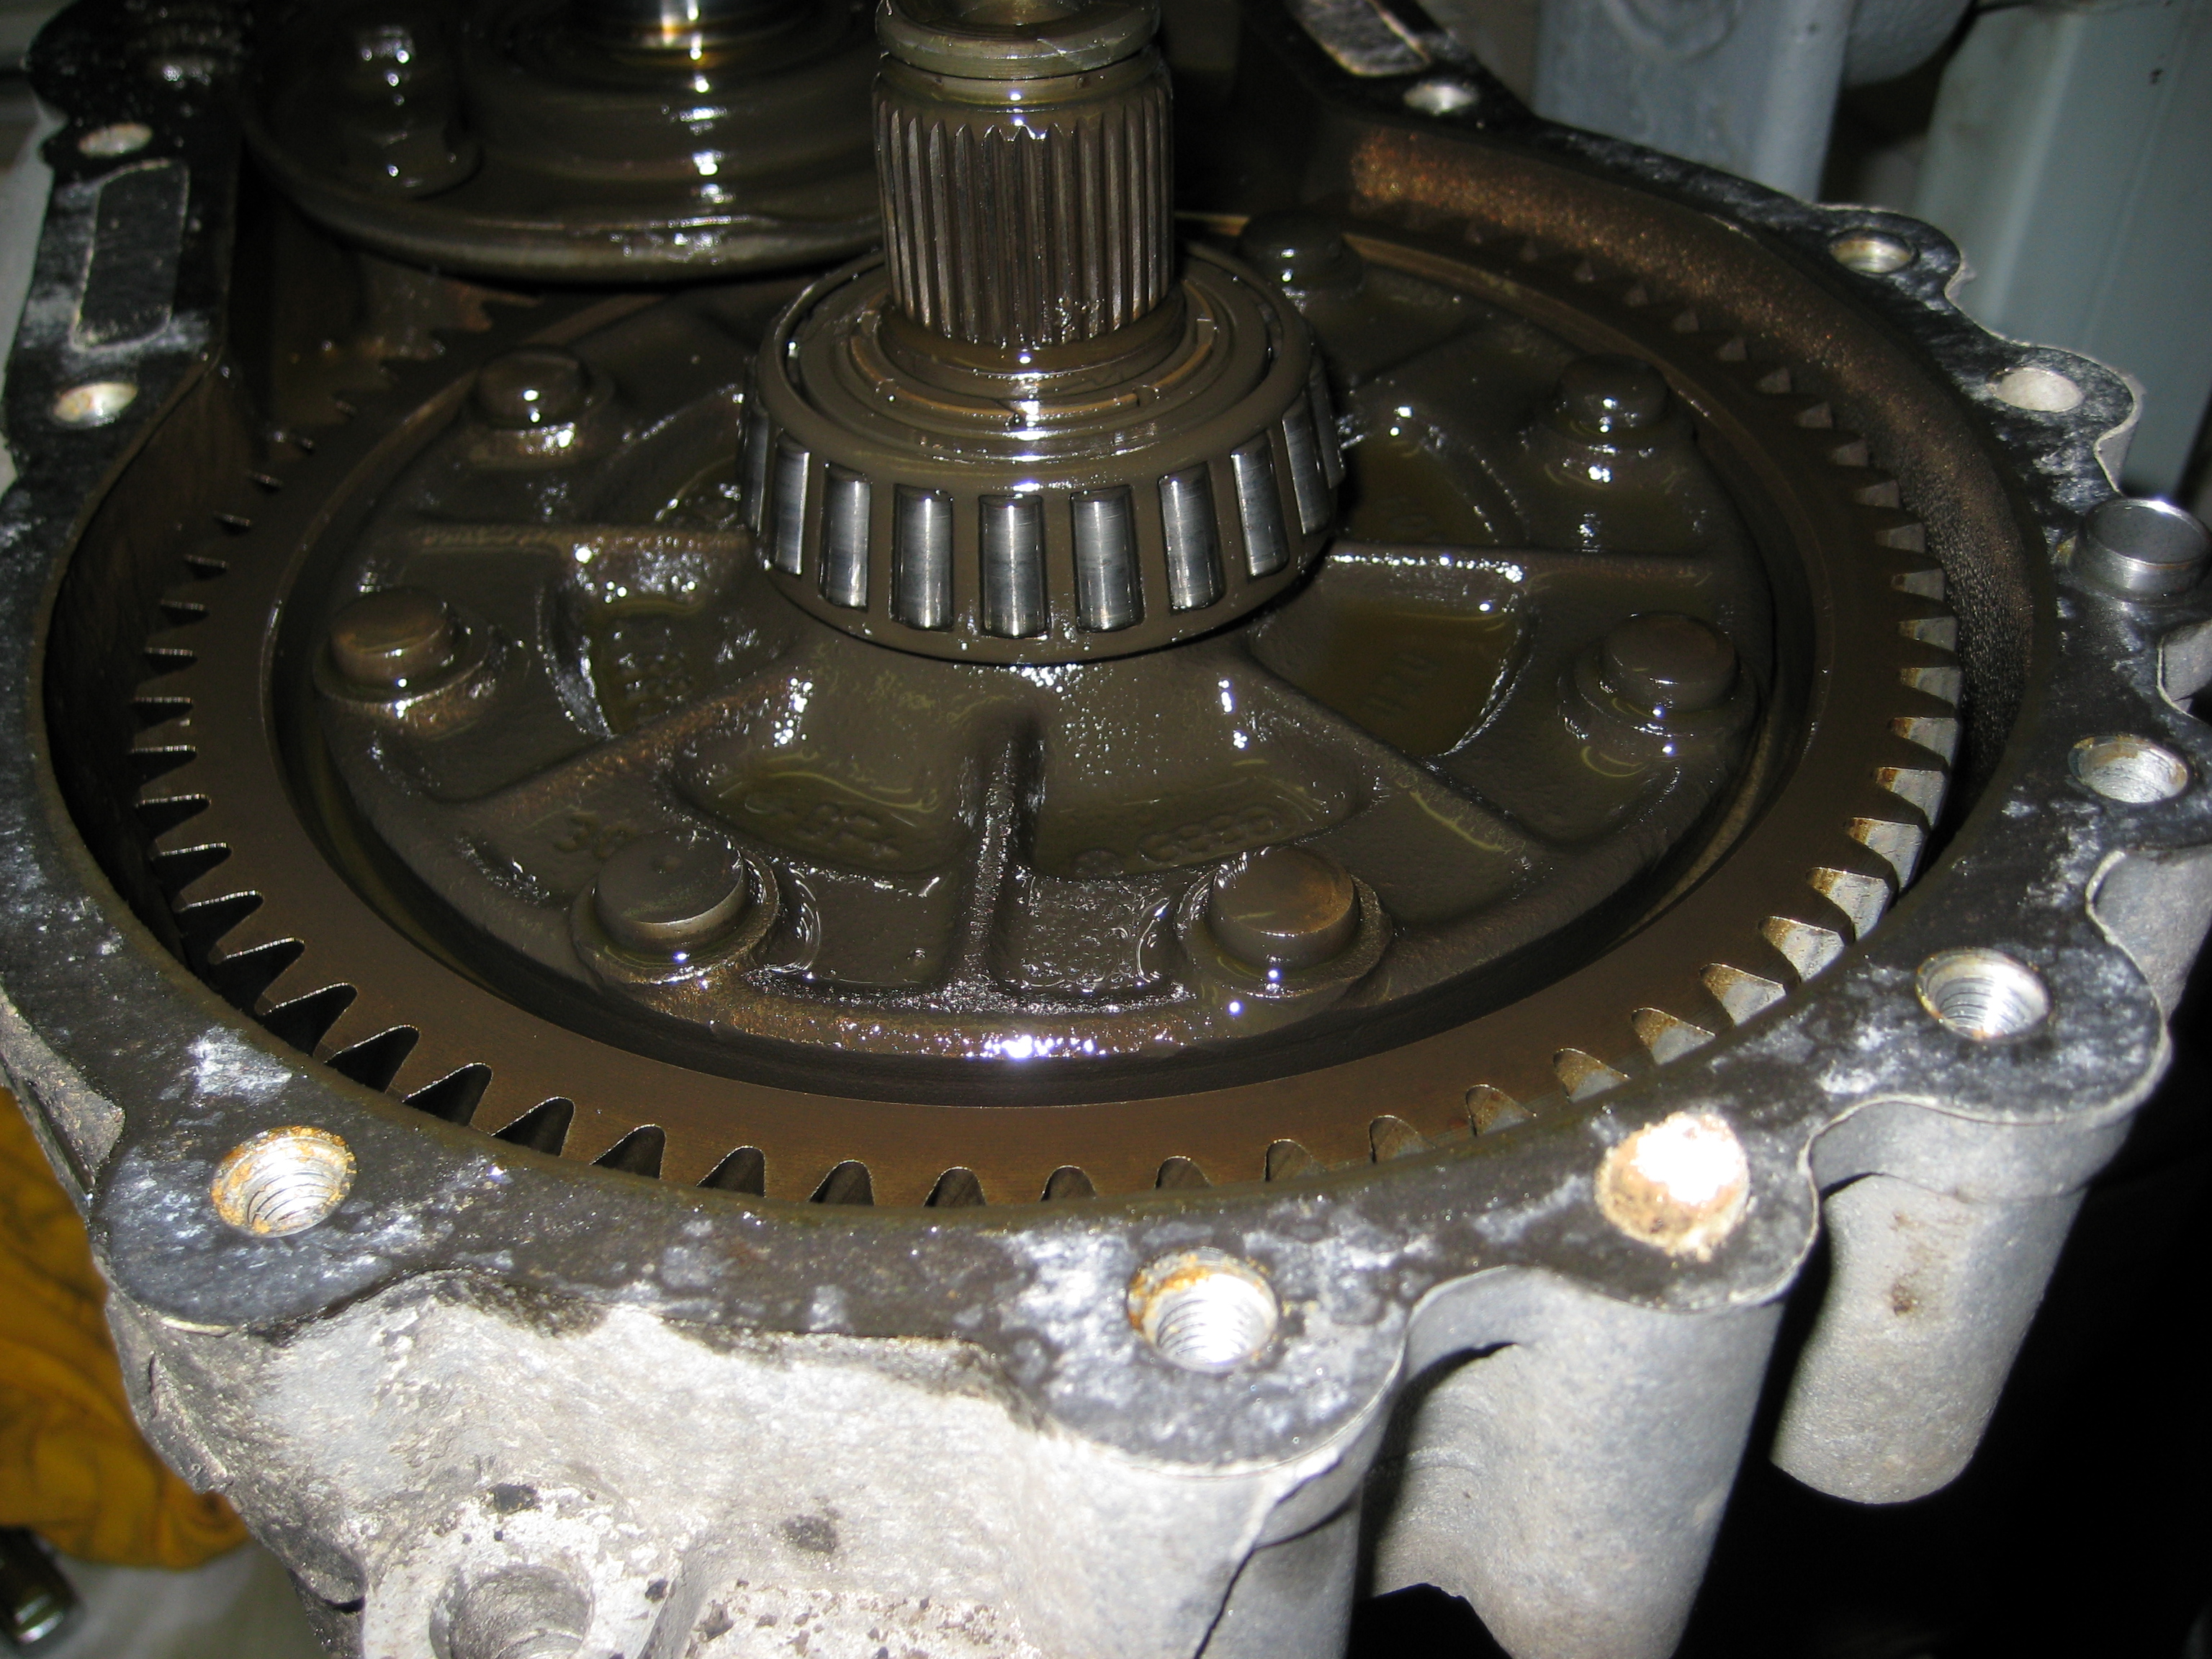
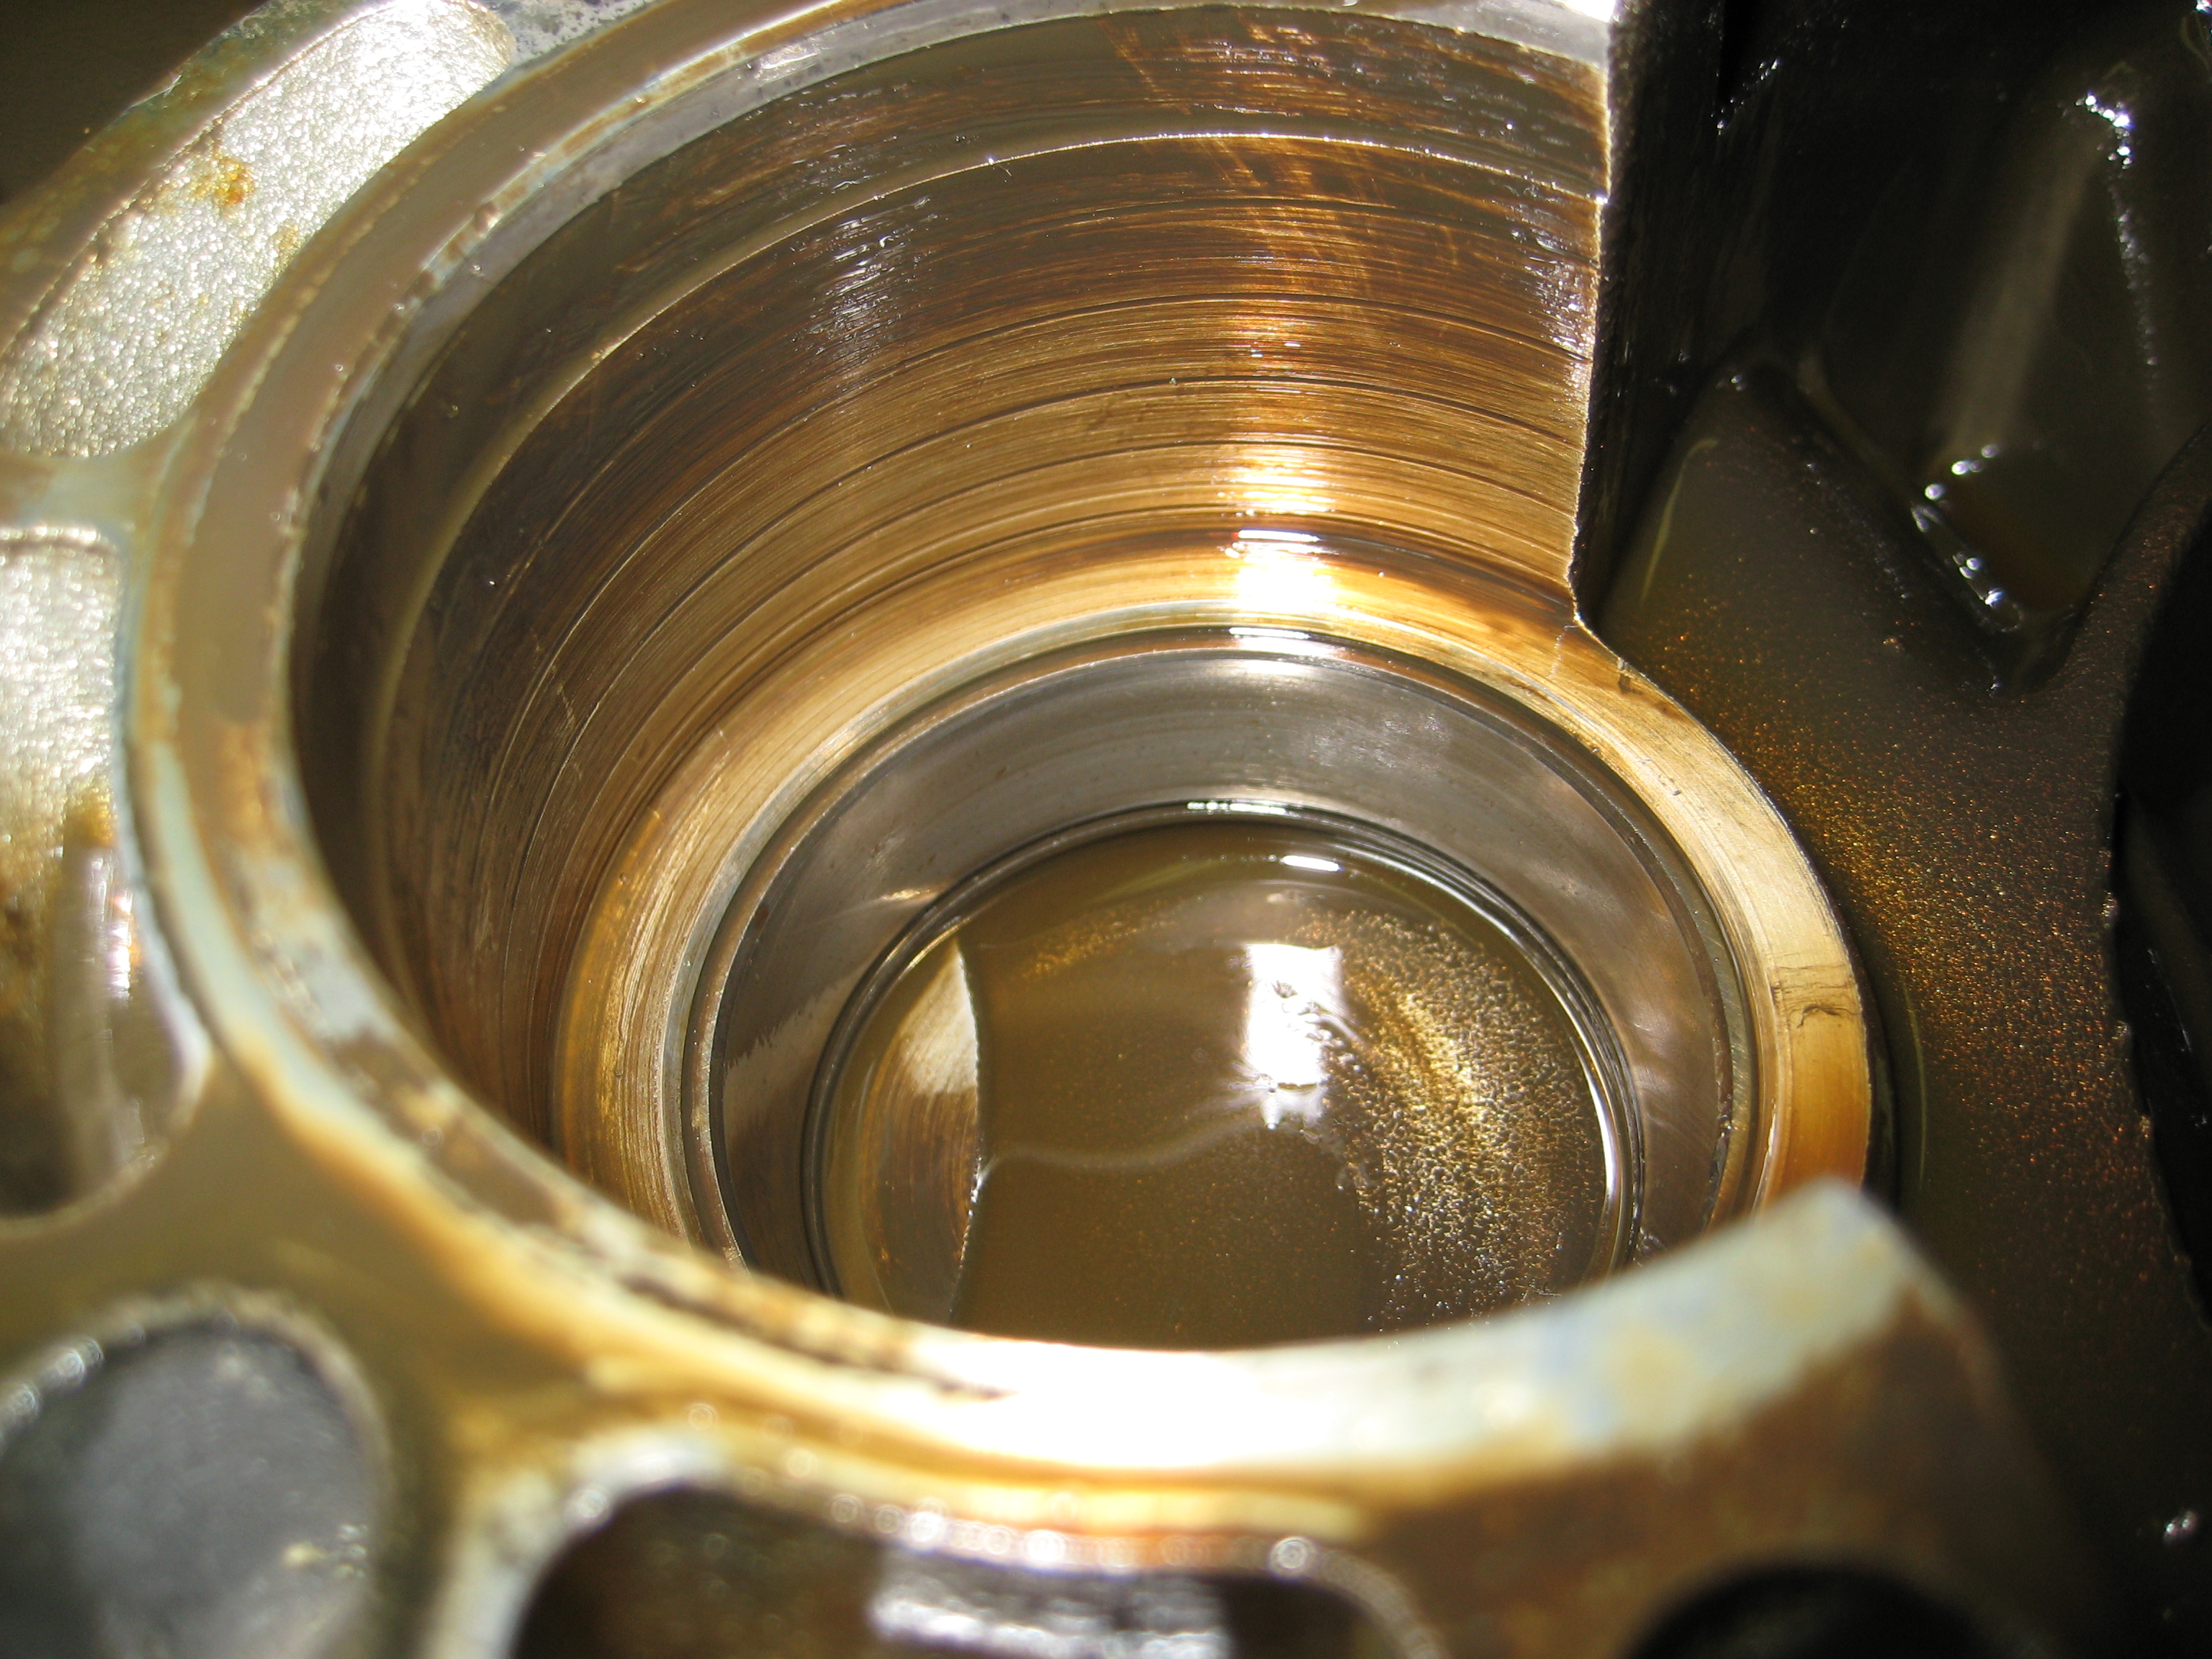
A shot of the output shaft large taper bearing race, it is fairly
worn...
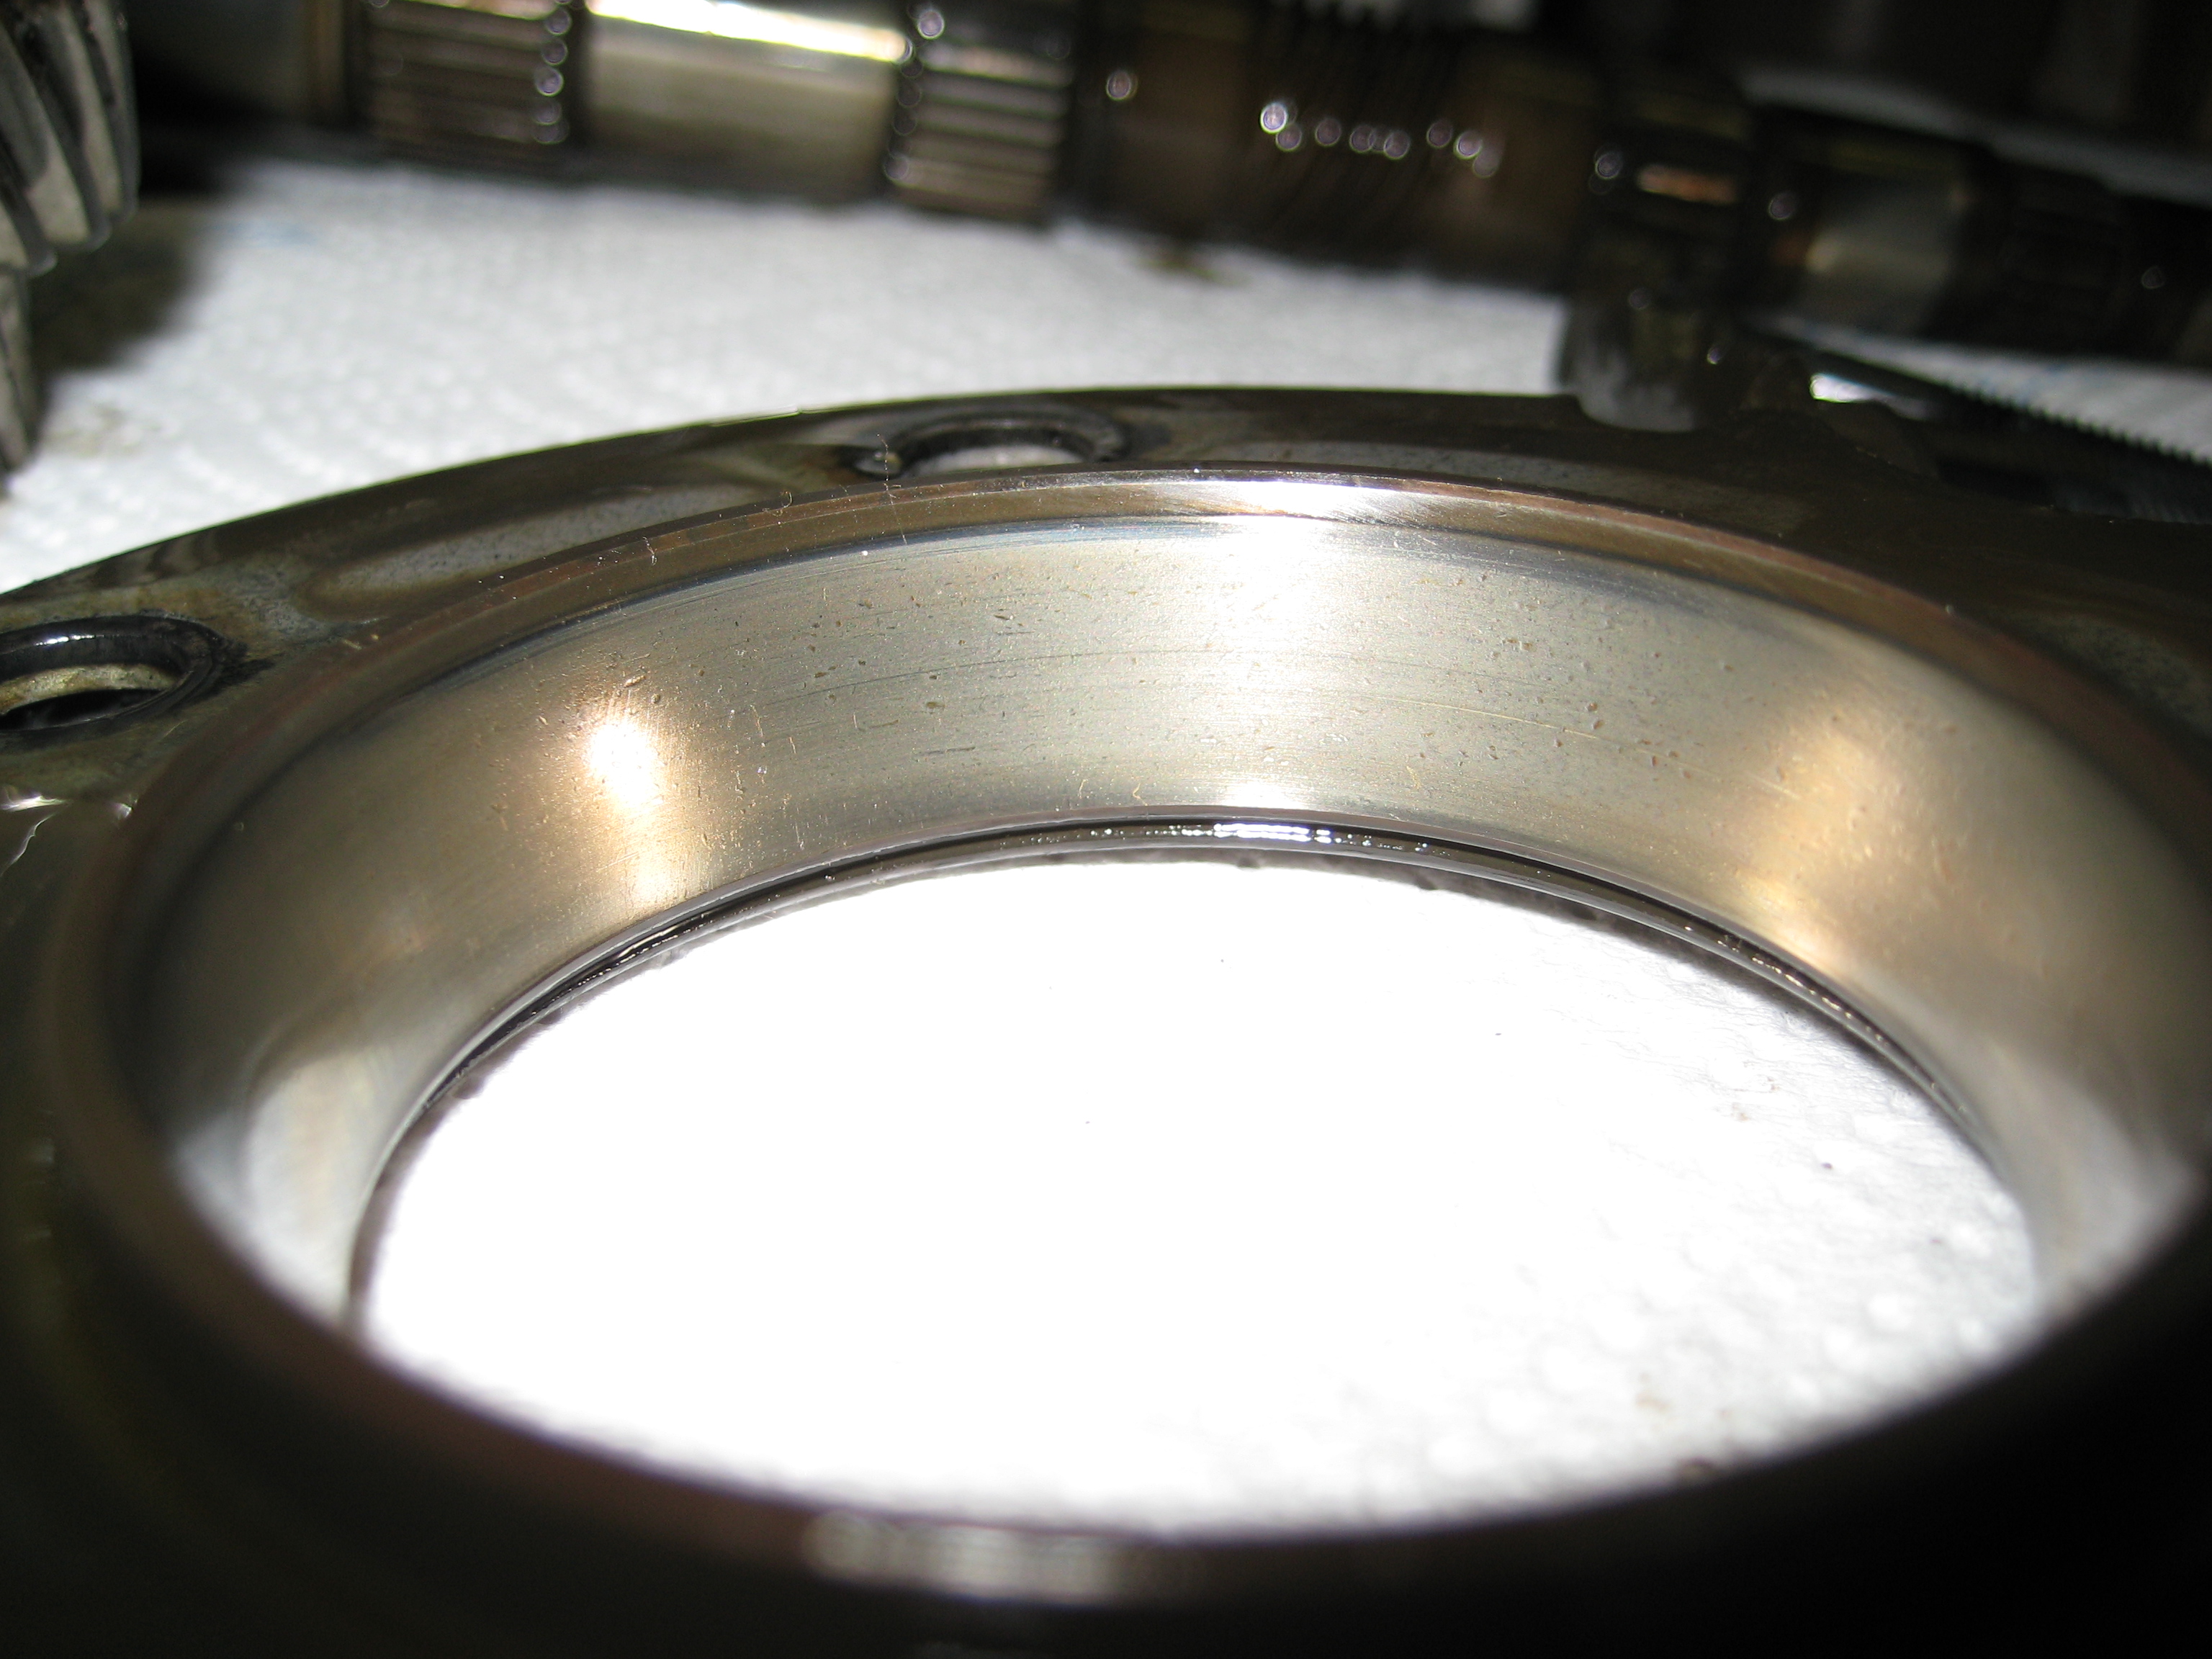
The output shaft small taper bearing race, also worn...
The build up of metal on the magnet is about normal...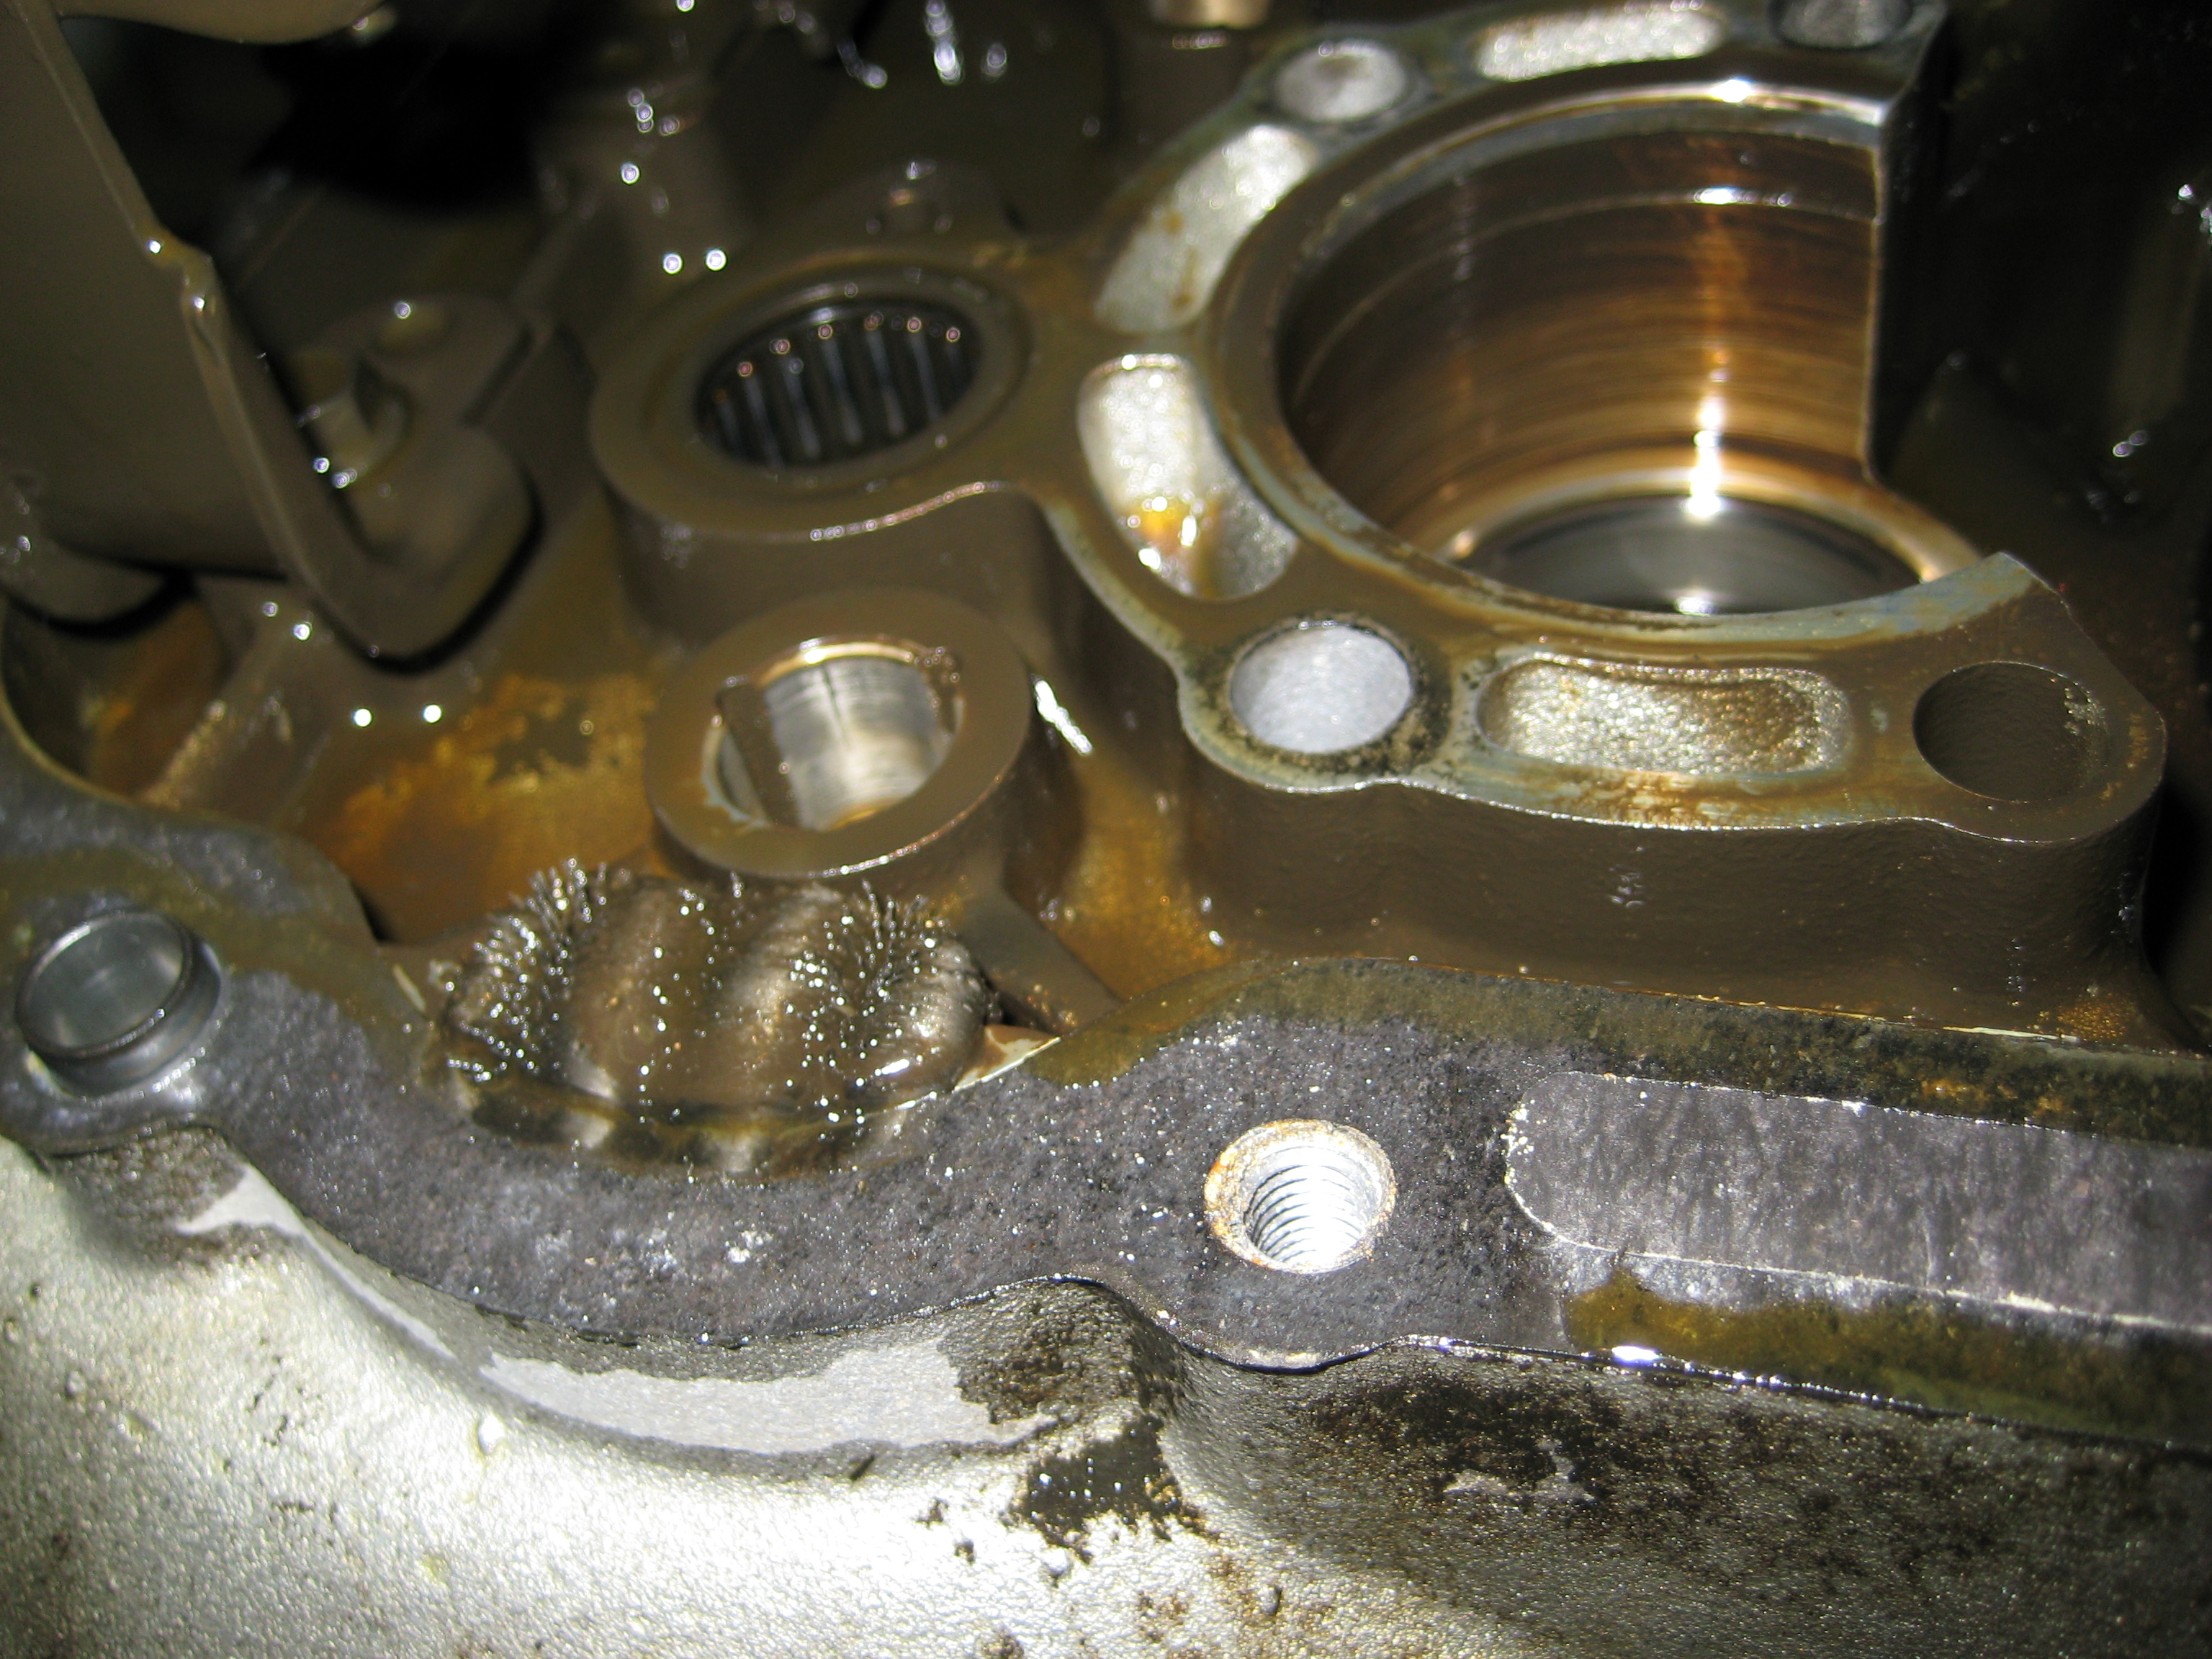
Your trans was on the way to a SMS death. It is a very good thing you had it opened, not only because of the bolt not seated fully (which affects the output preload and as a result, bearing life), but the cross shaft of the diff was trying to knock a chunk out of the large retaining head rivet on each side of it. This is a common way for SMS to occur, although most of the ones I open with SMS have had a small rivet fail, as opposed to the cross shaft beating its way out of the housing.
Your reverse idler gear looks to be in pretty good shape for a
reverse gear. Normal wear, but not damaged or chipped...
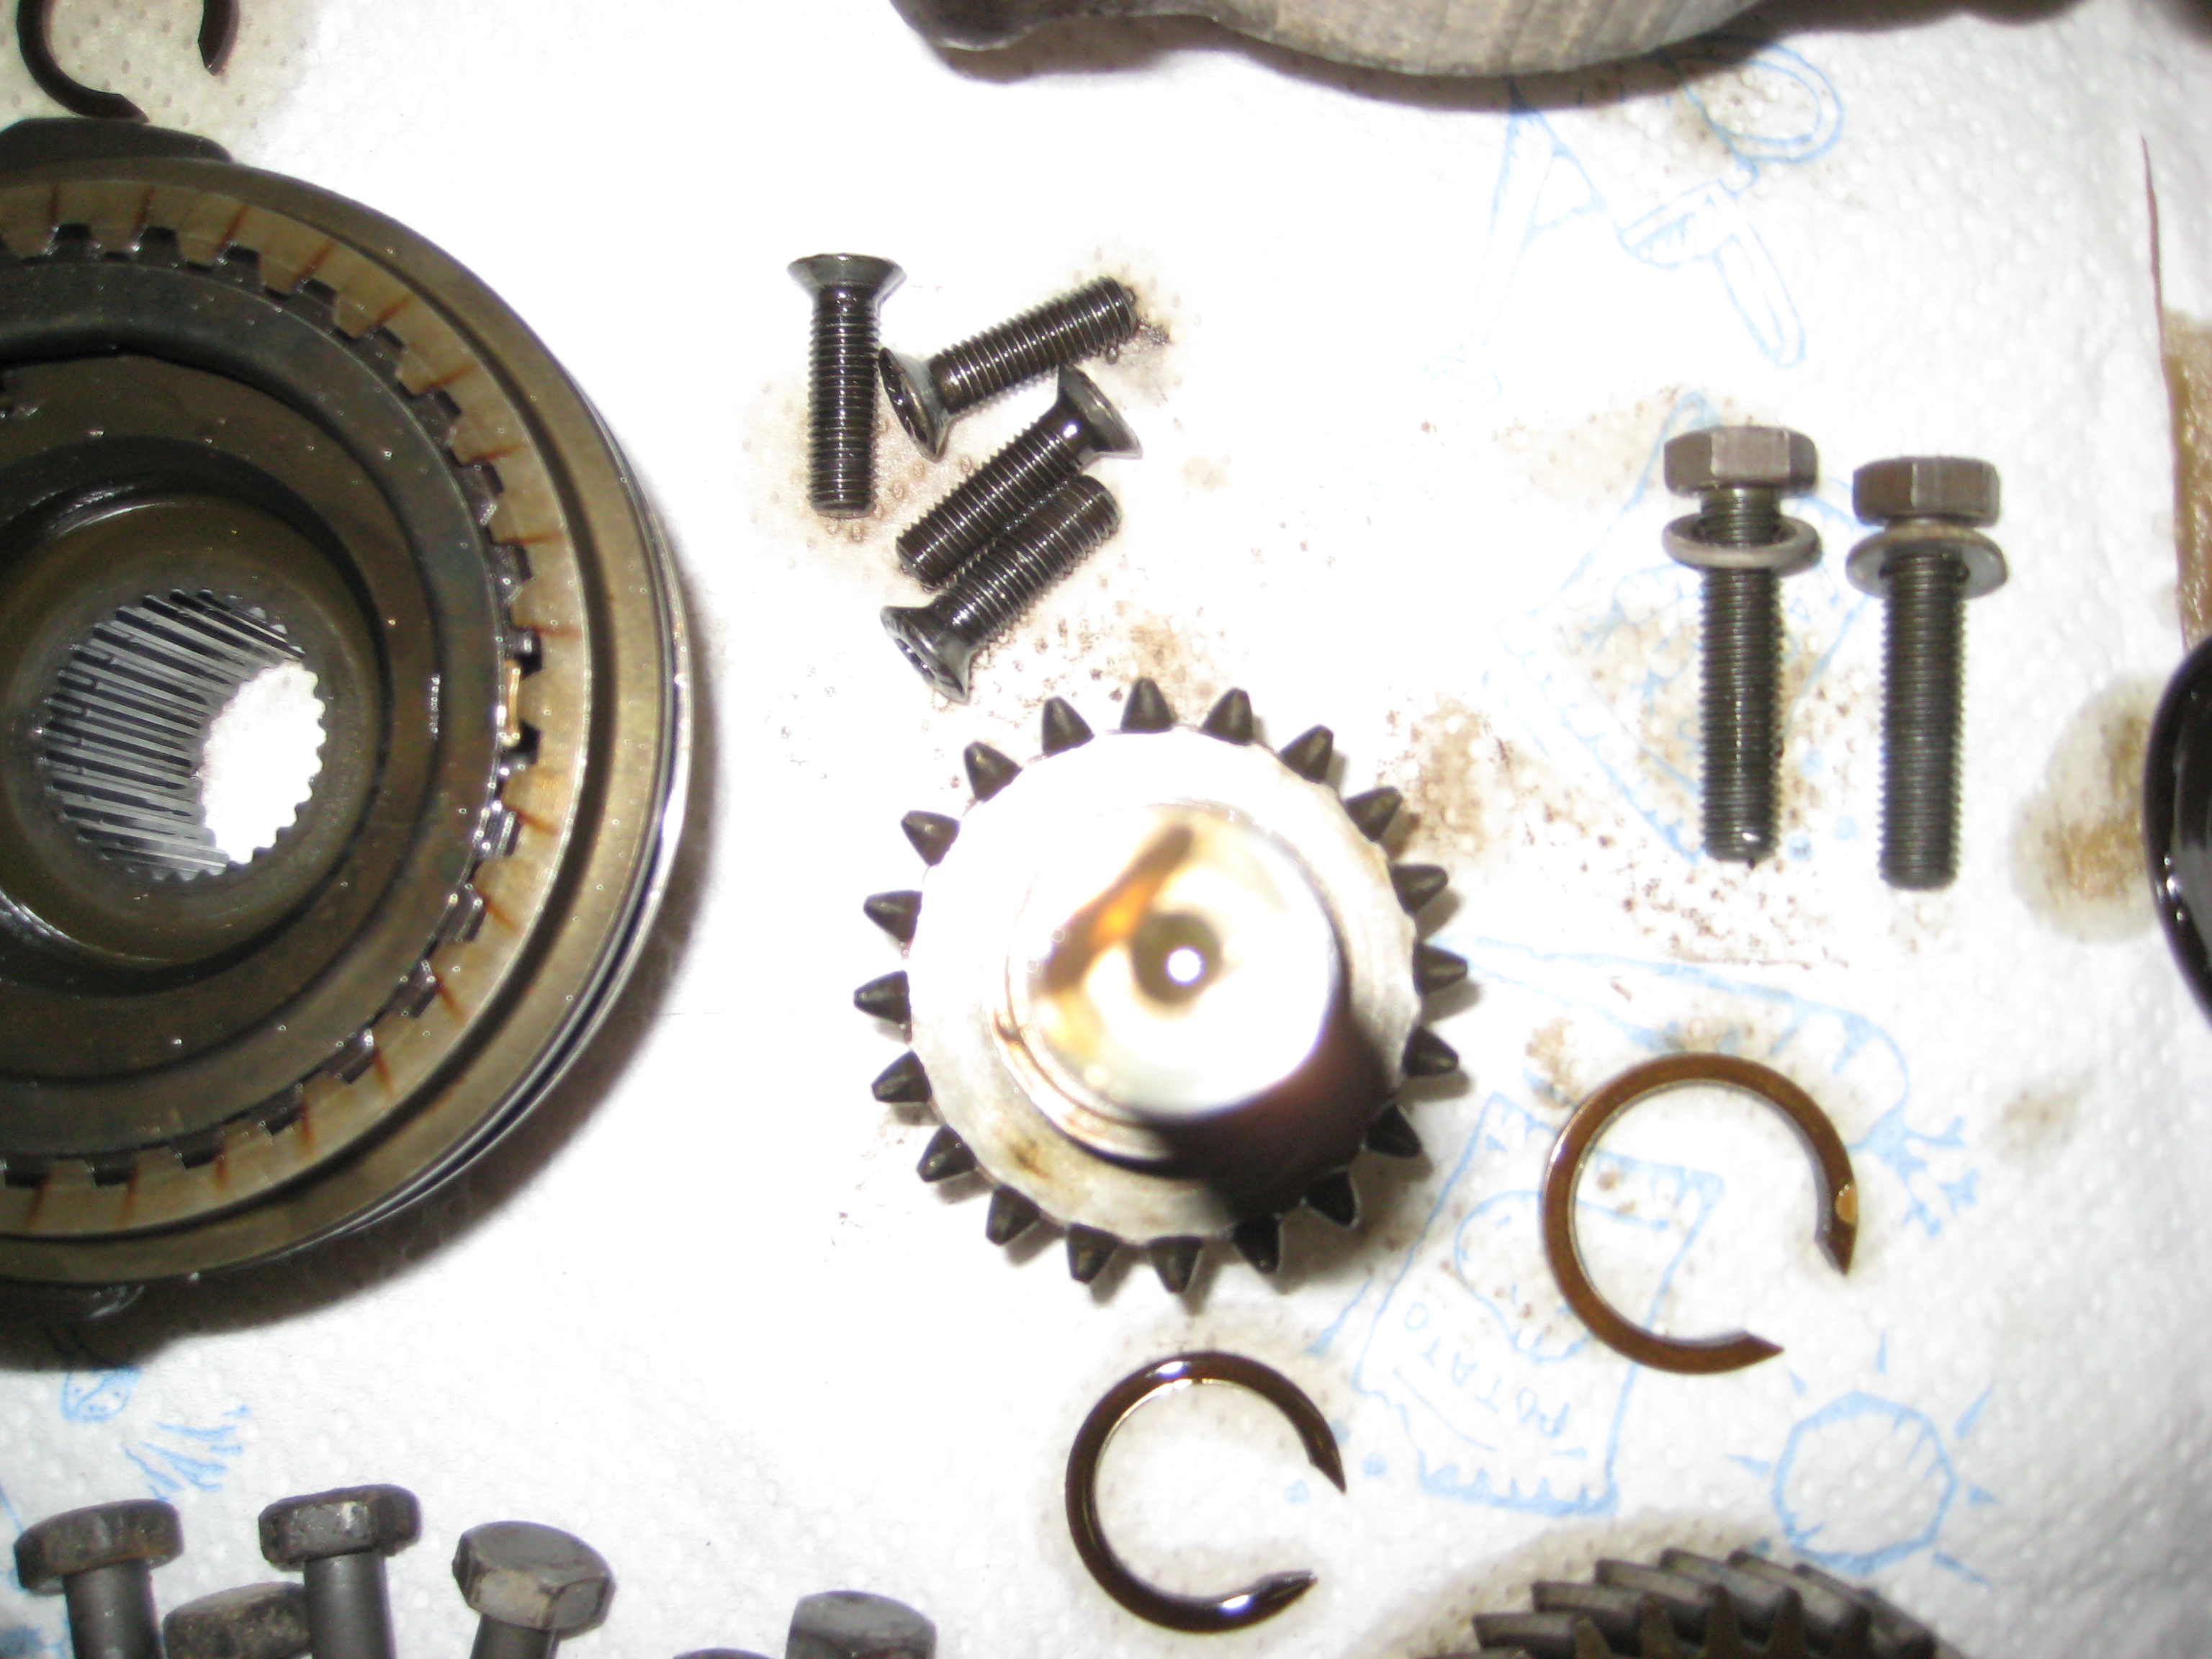
Same with the mating gear for reverse on the output shaft, it is
in good shape too...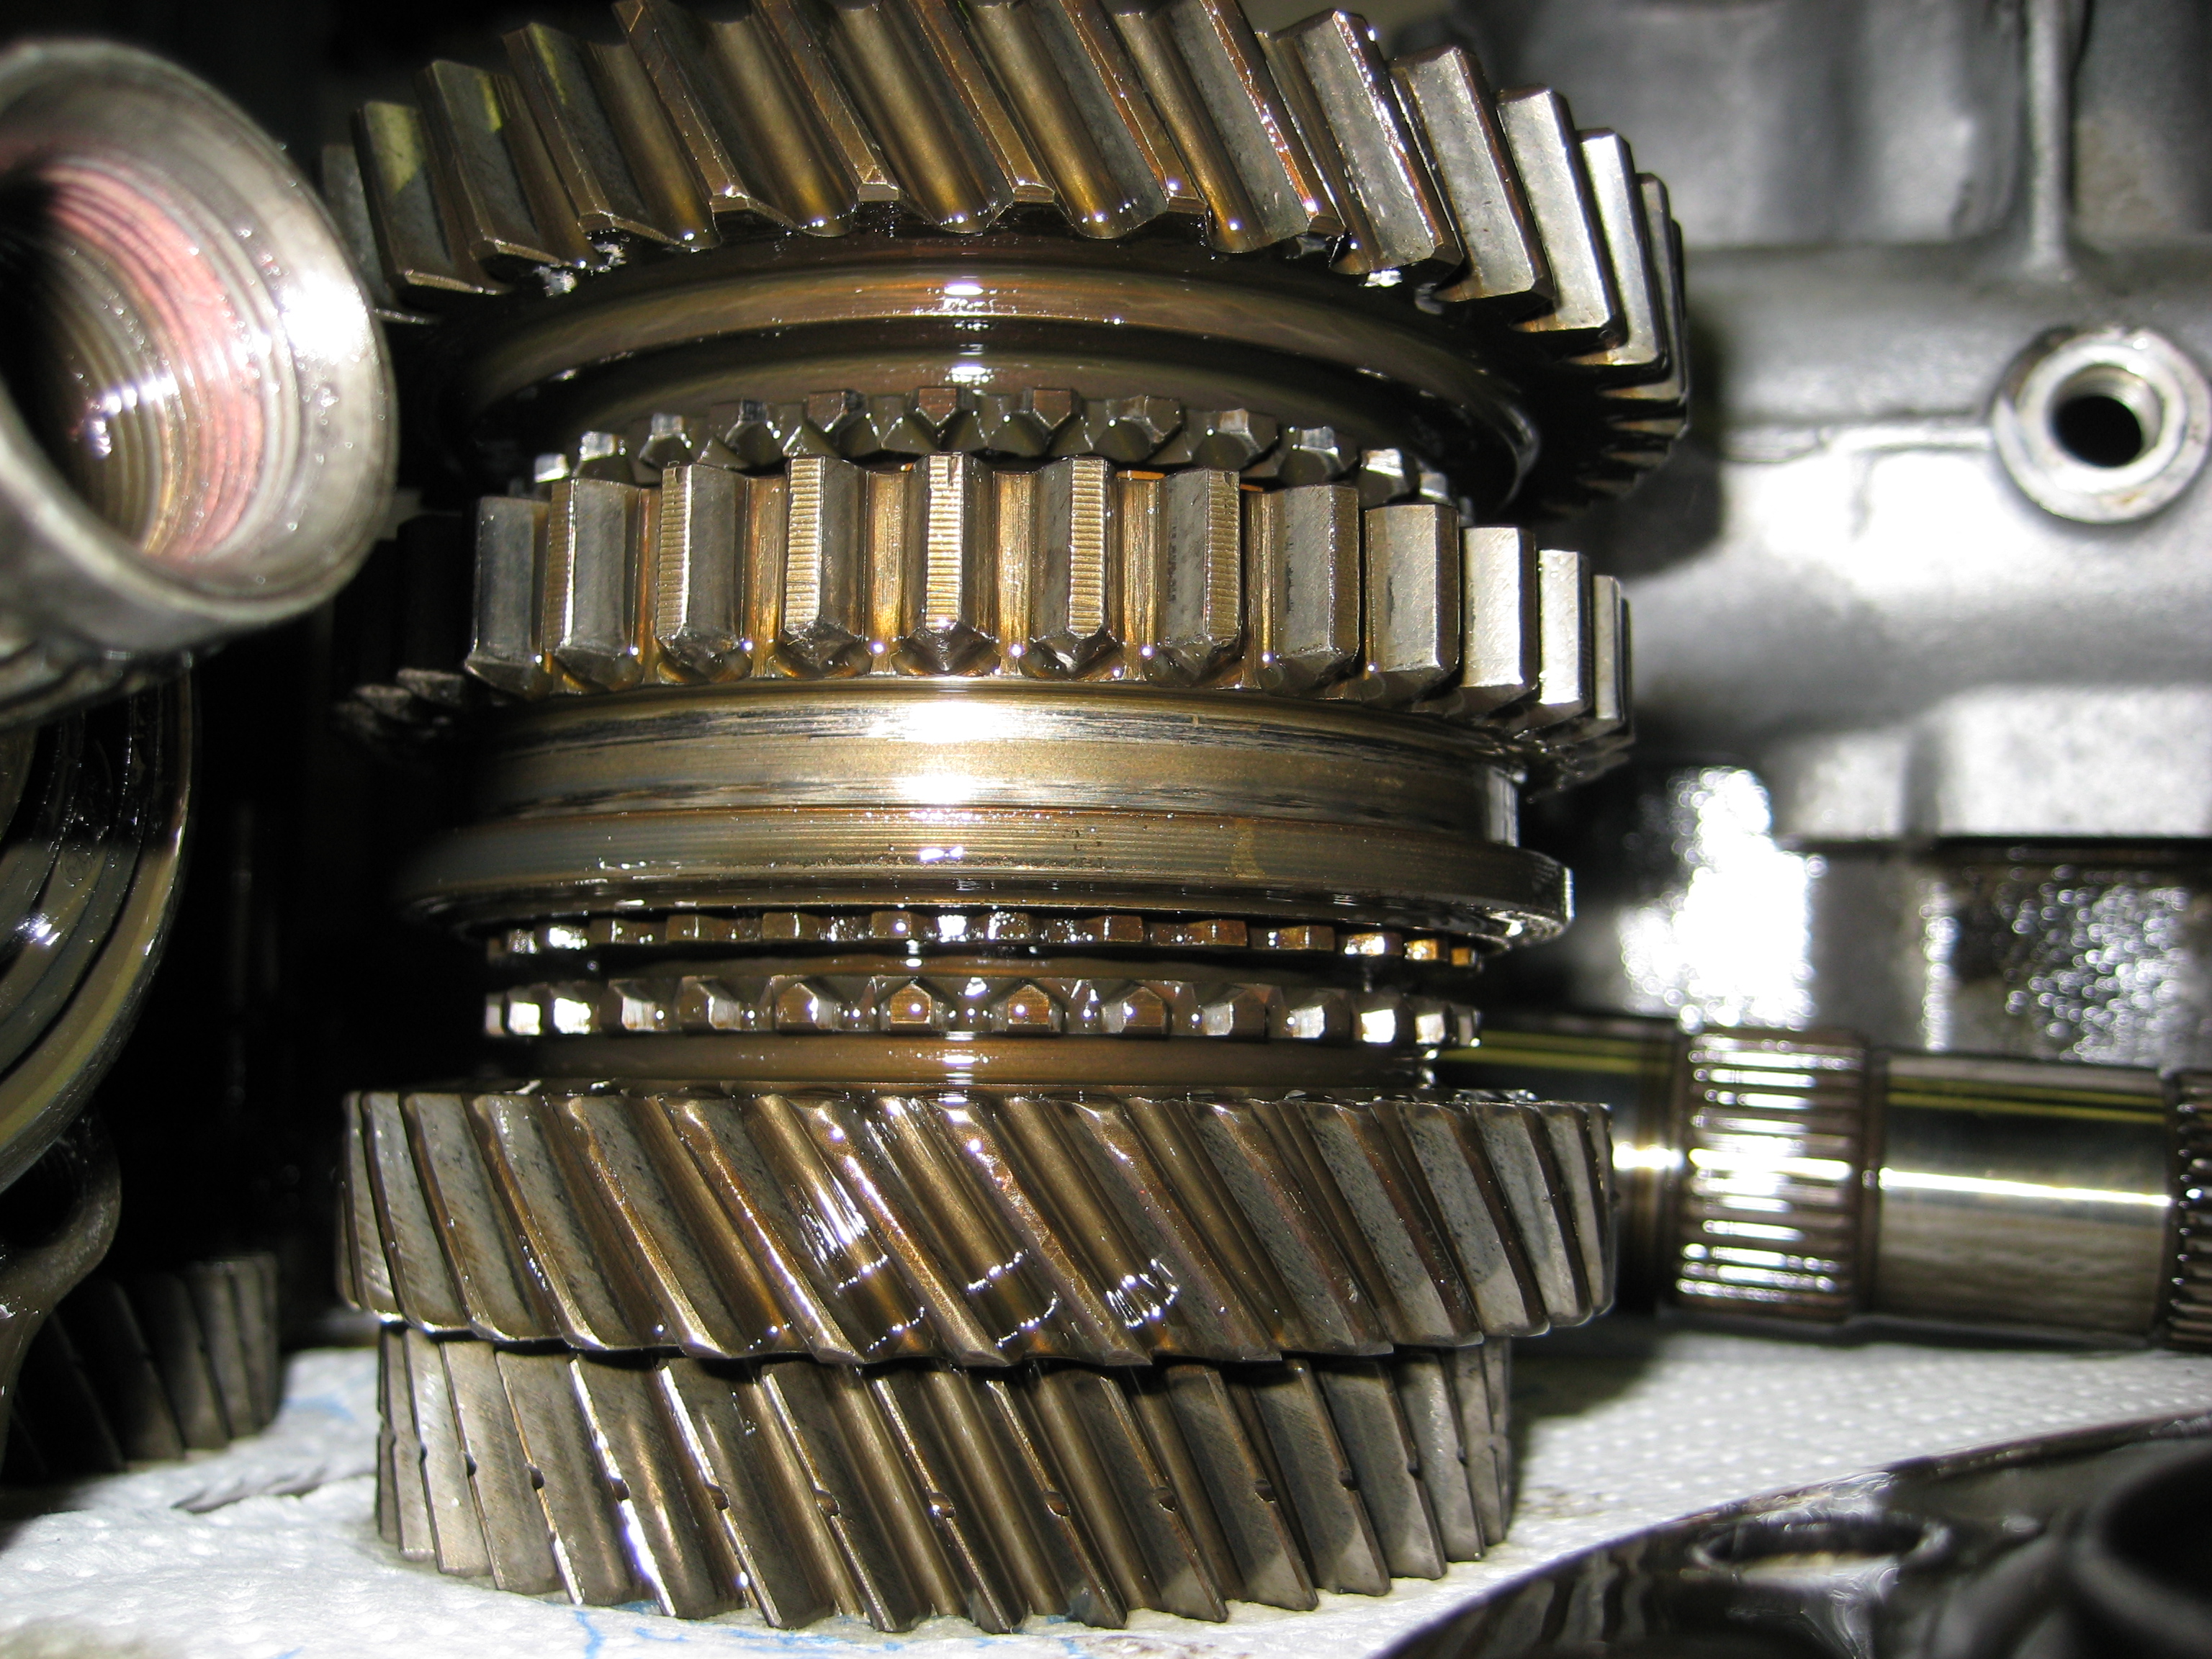
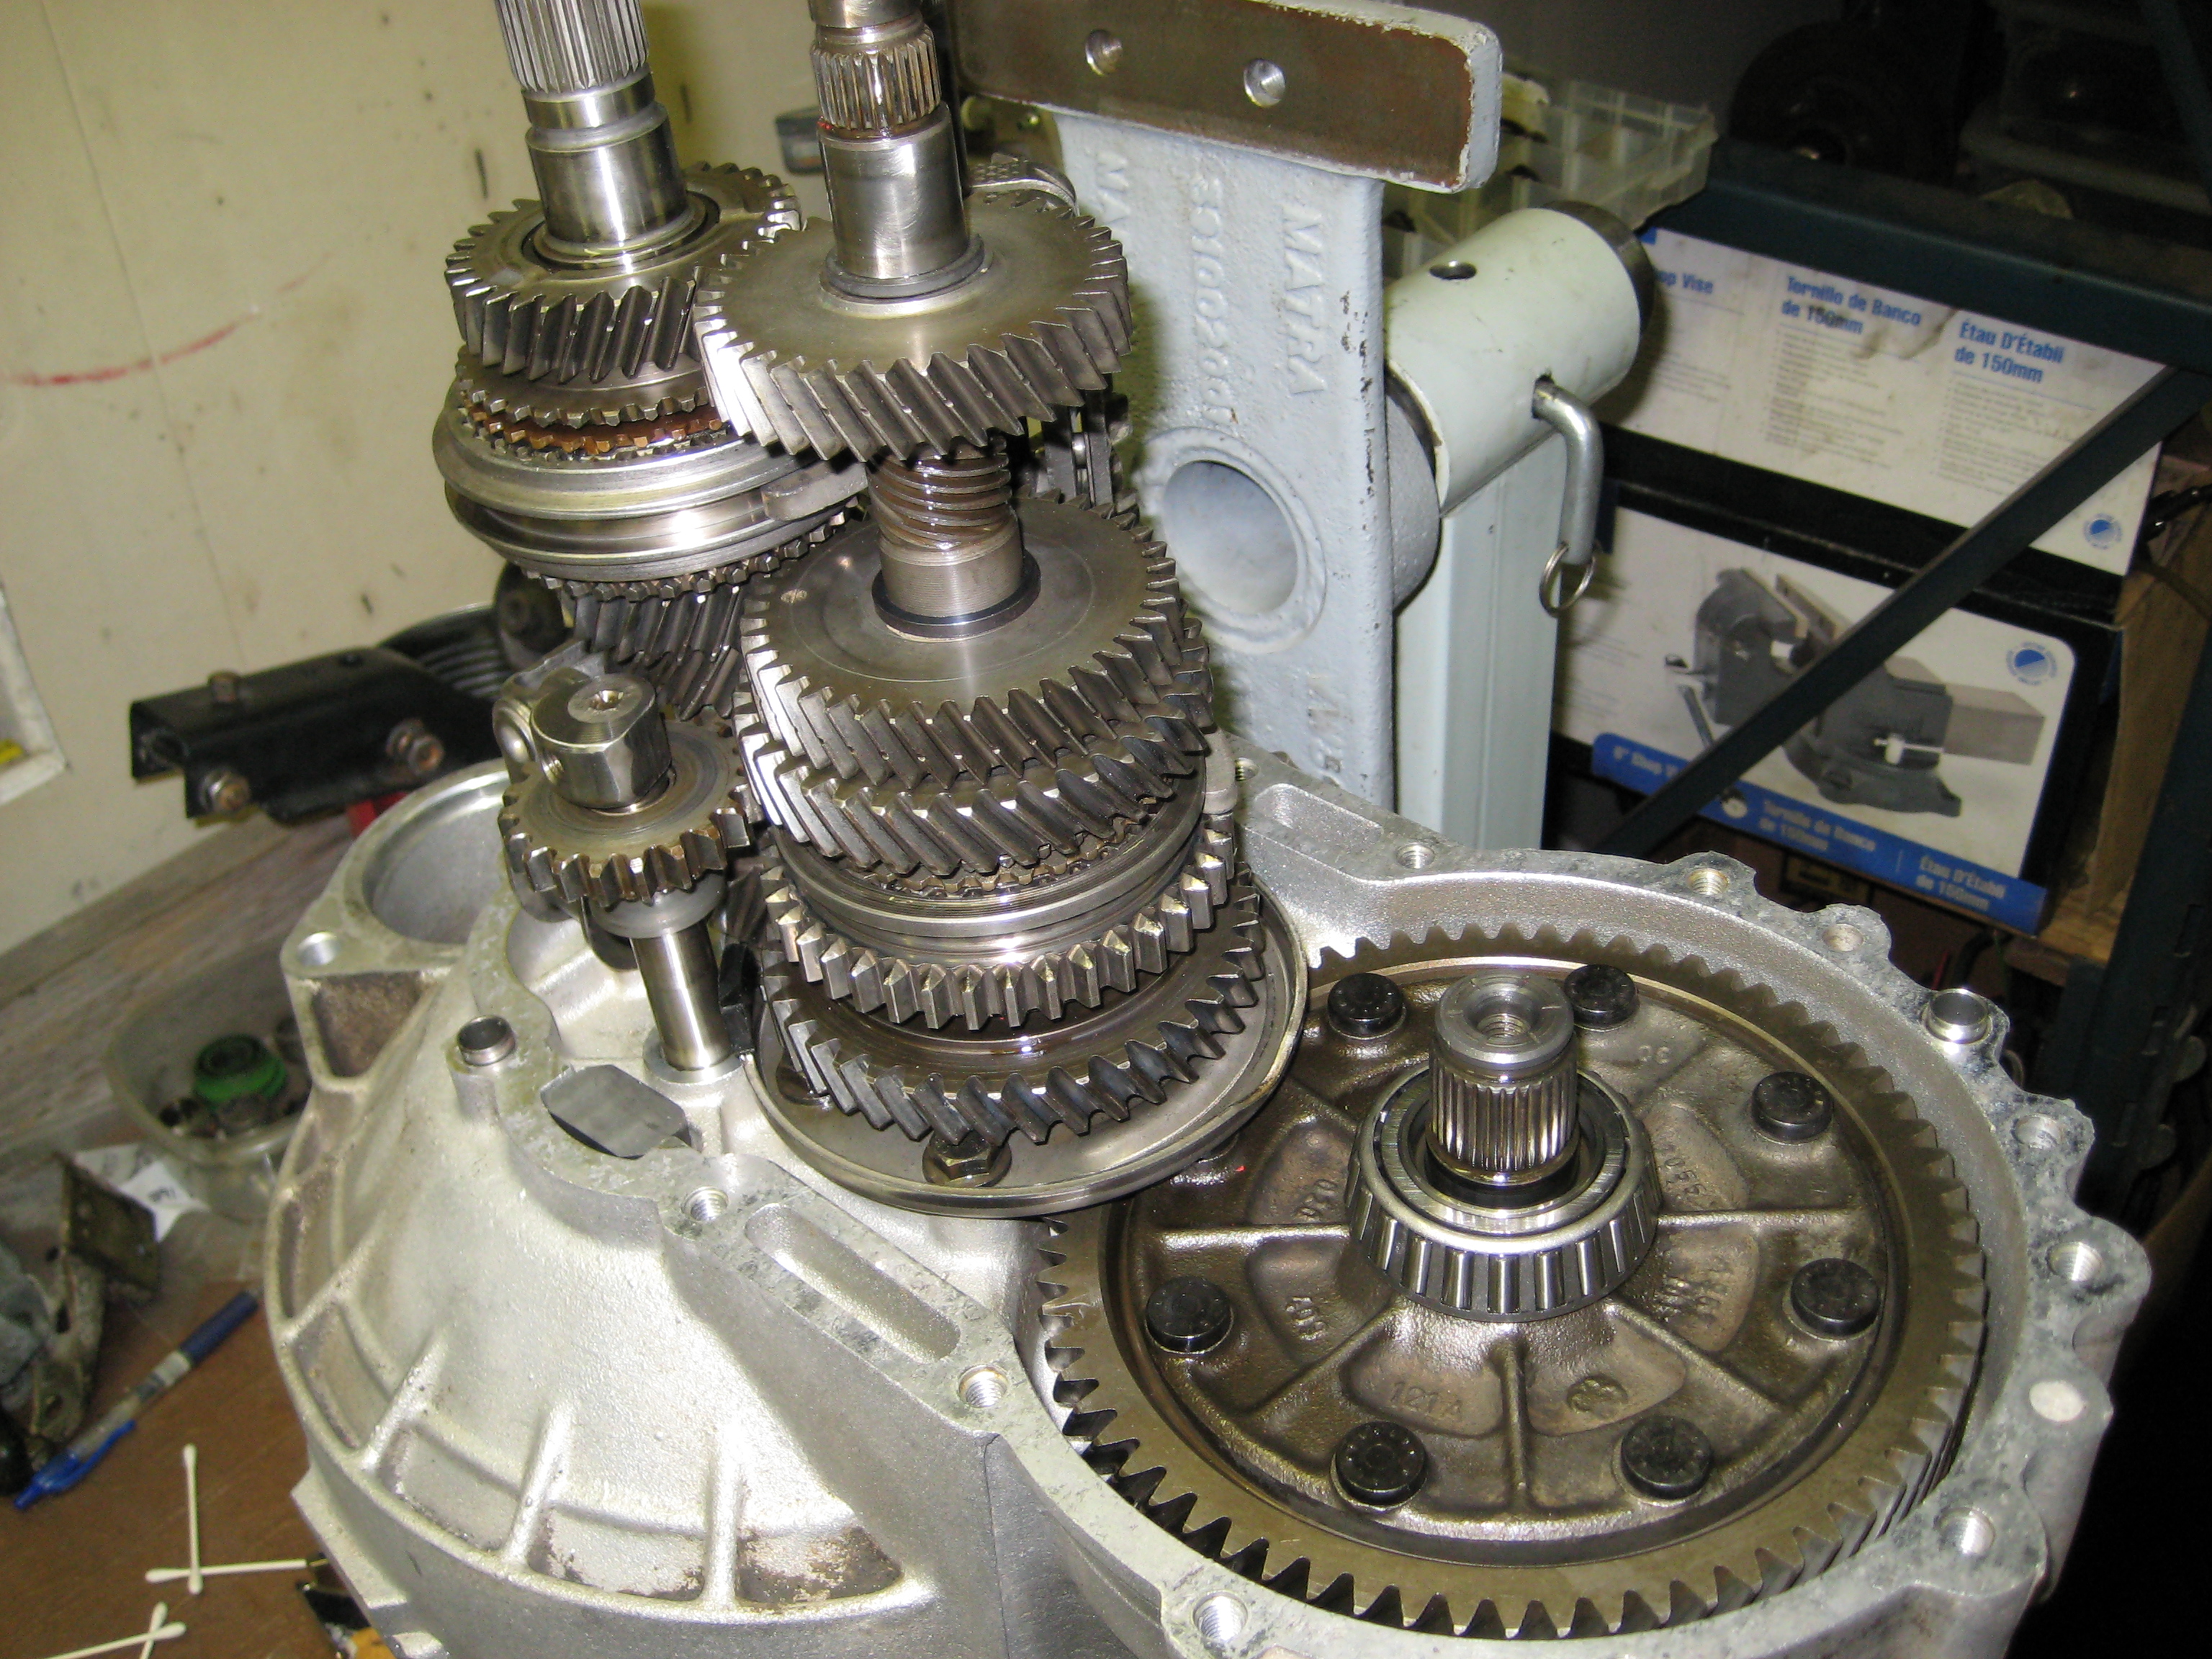
The trans is pretty well stripped down at this point, as the pics show, but that is the quick easy part at the start... the cleaning and inspection eats up much more time, as does the building half of things, because of the preload procedures for the bearings. I wanted to get it opened and looked at to find if there was any major damage or anything, but it looks like a good candidate for a rebuild.
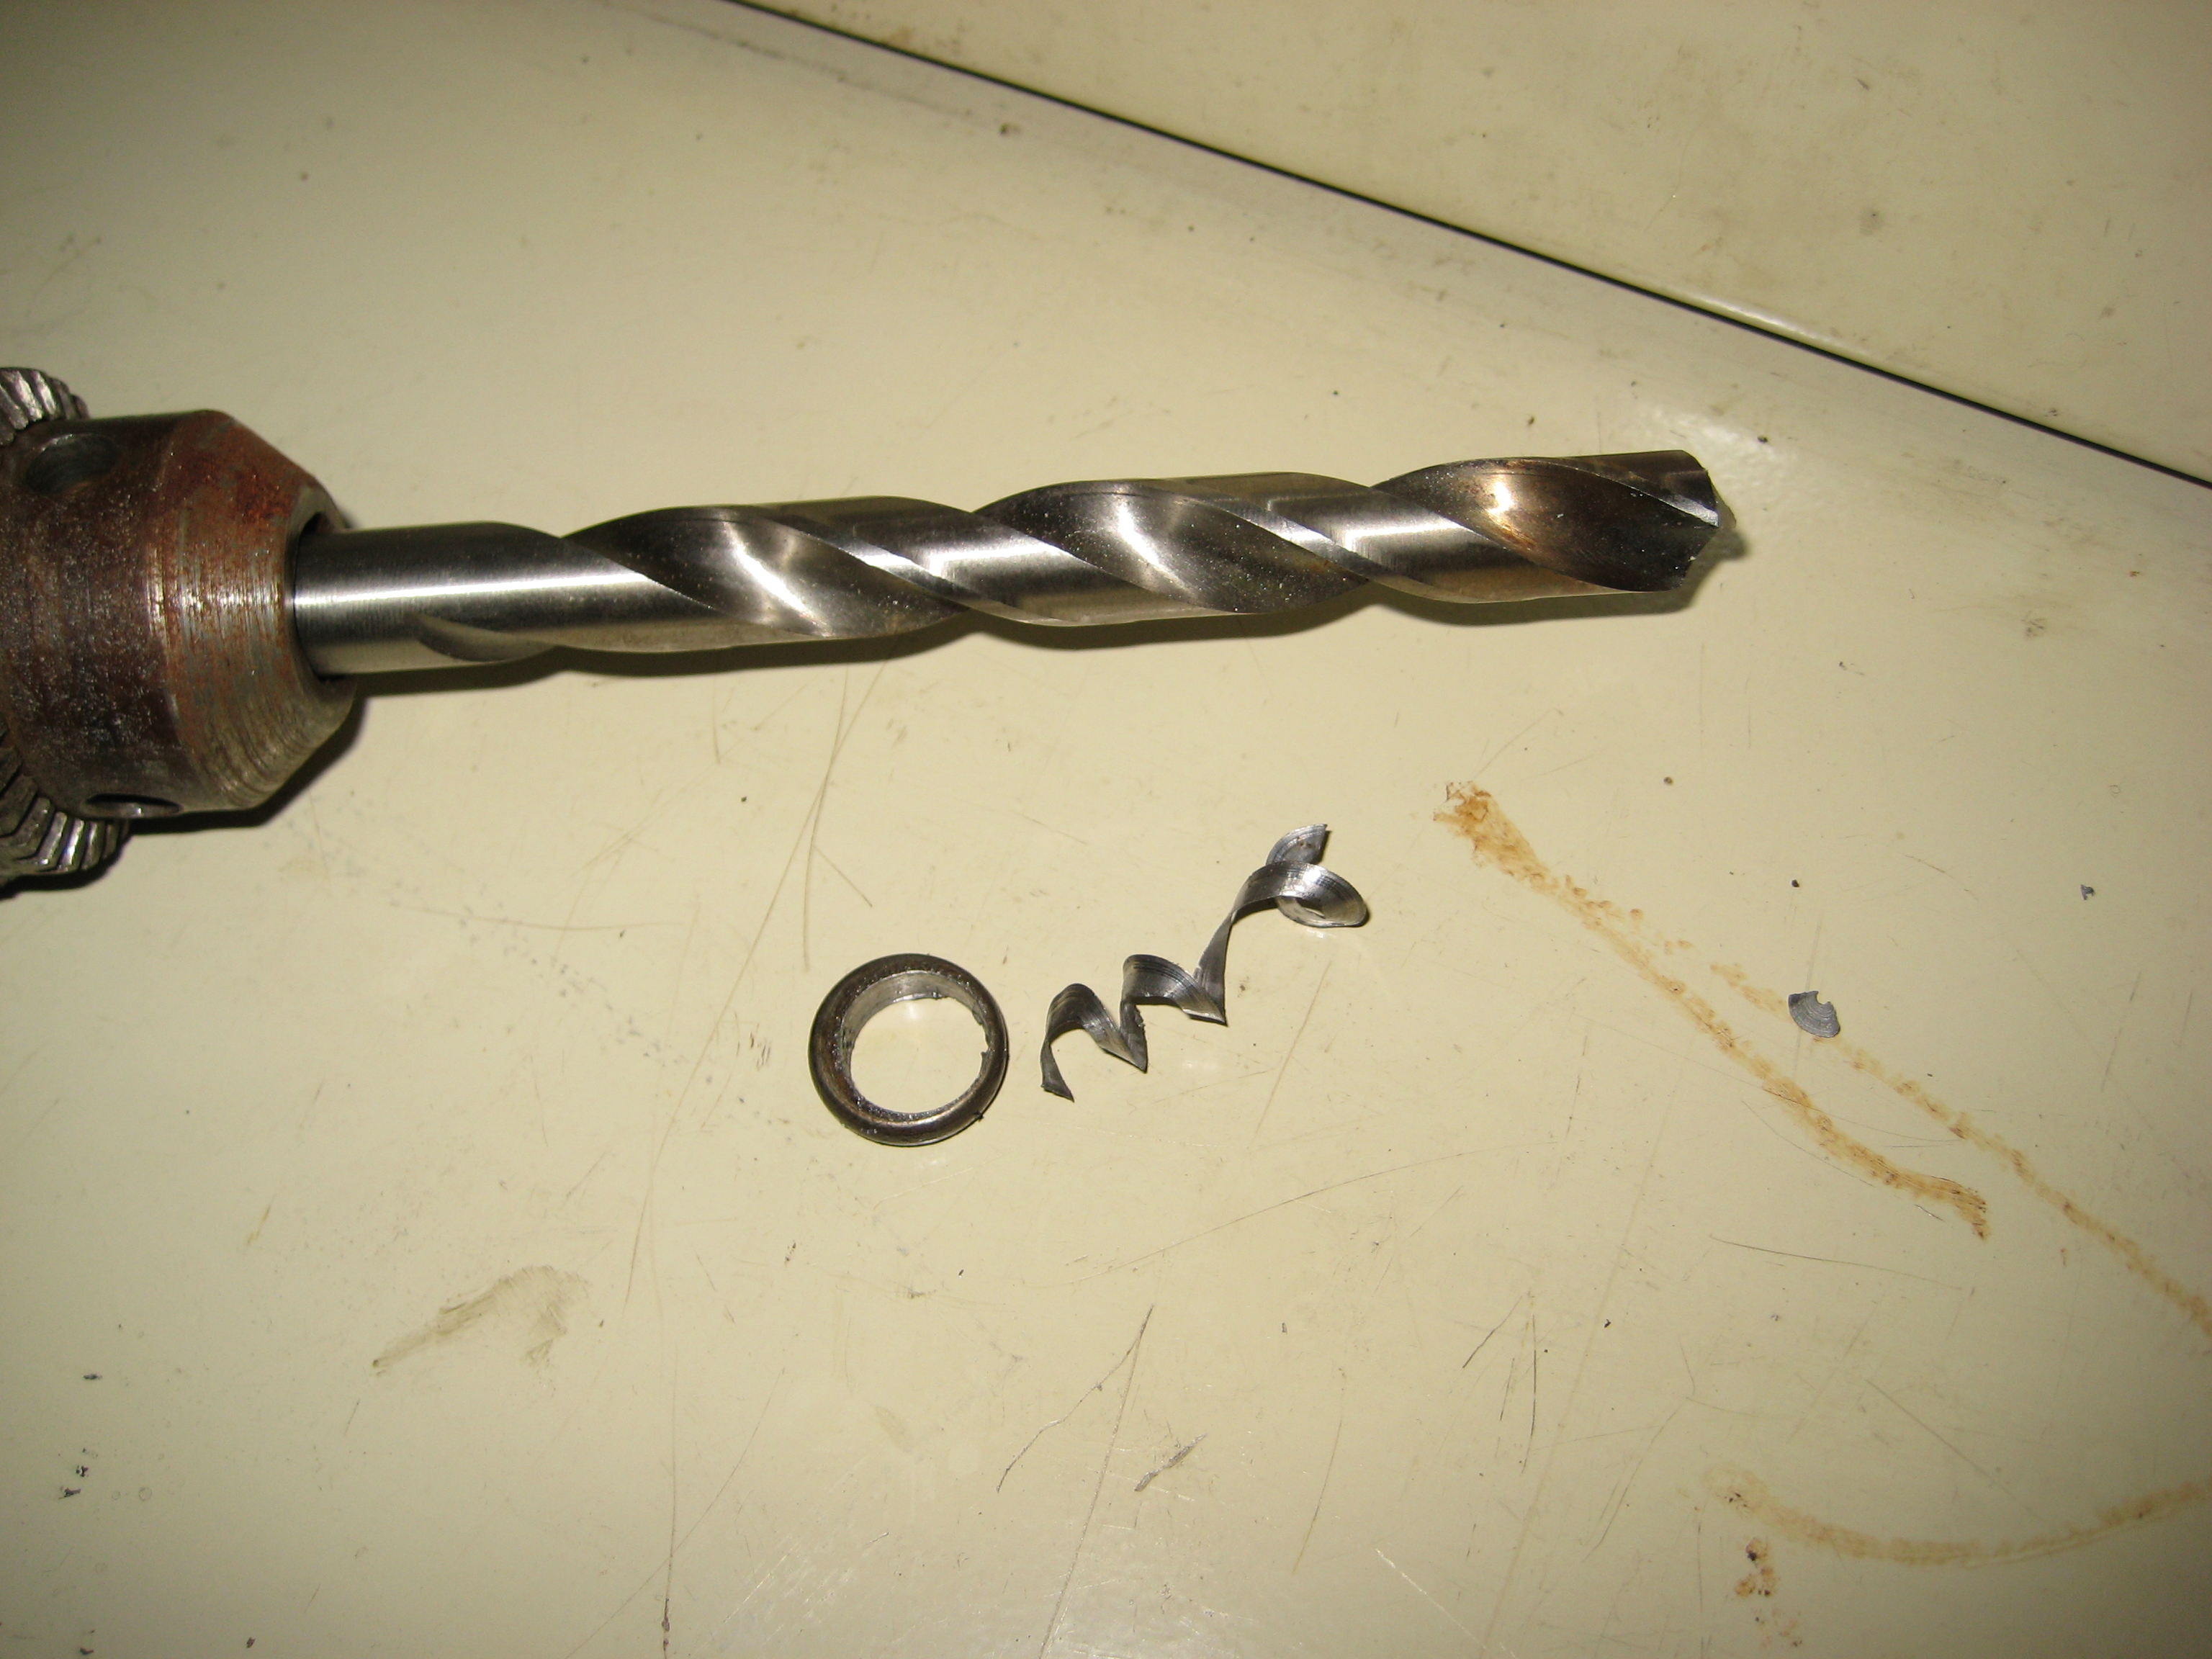
Here is a pic of your diff rivets being drilled out. You can see
the 3 stages of removing the rivet in this pic.
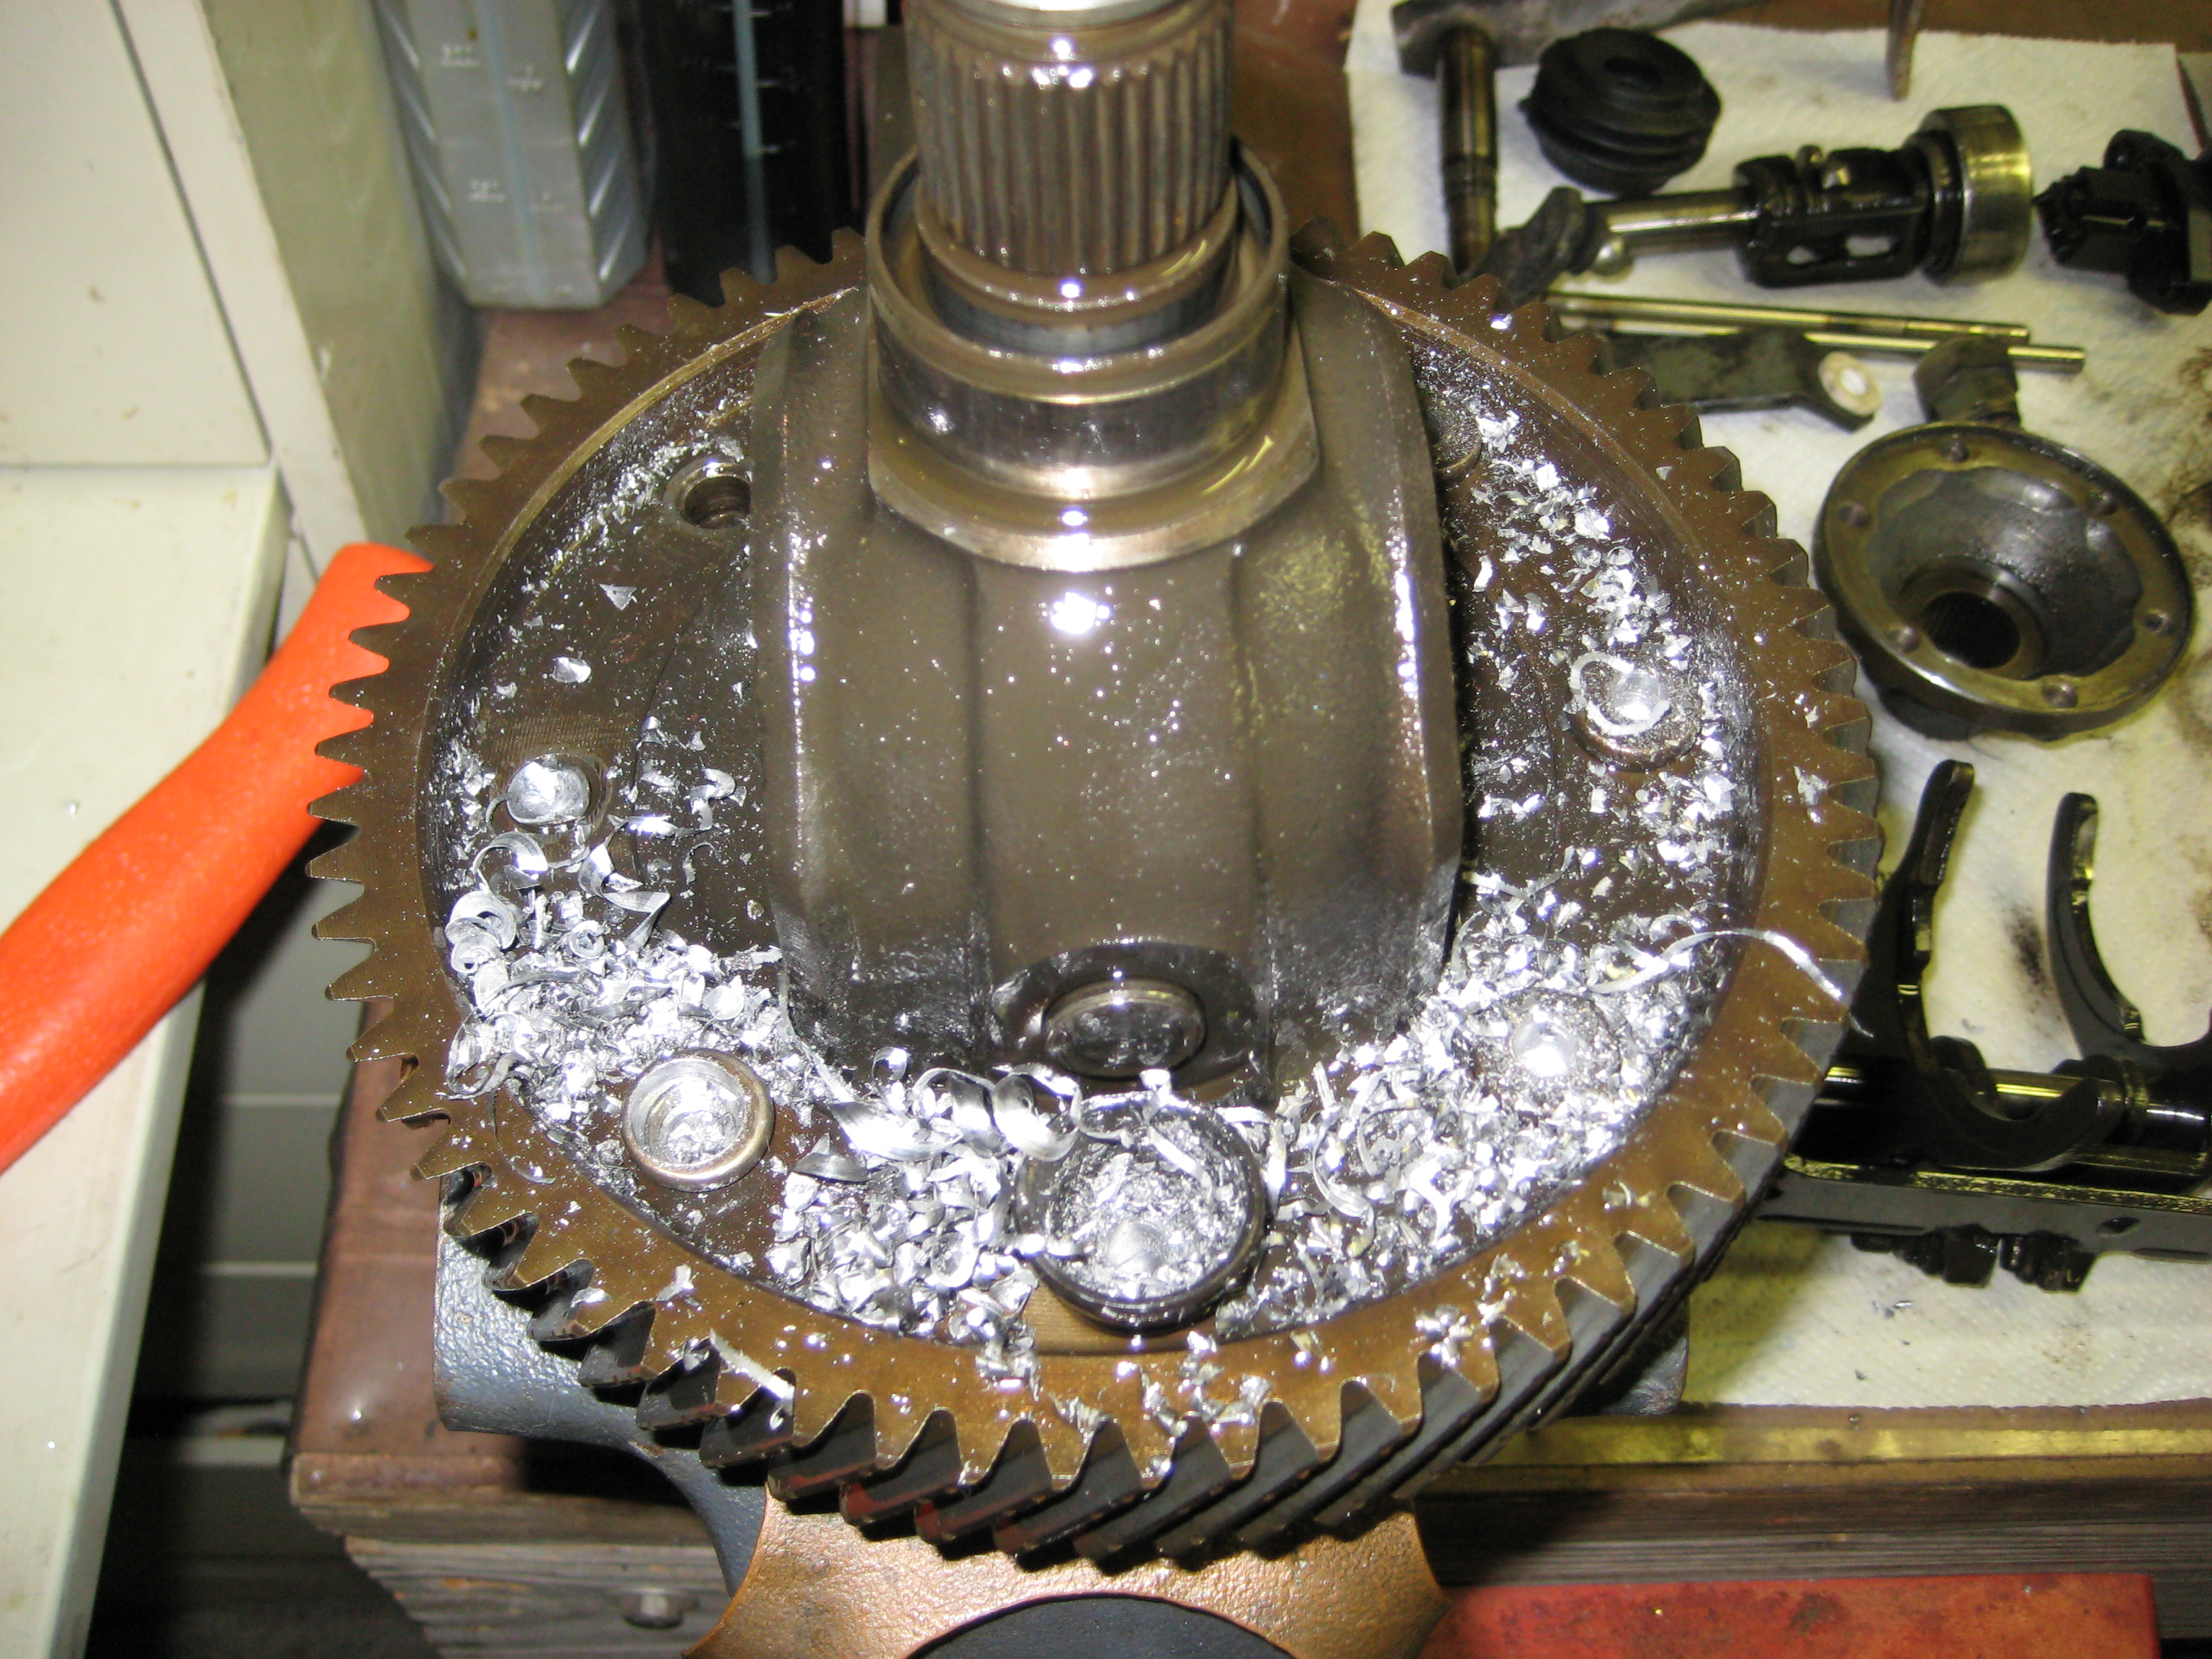
The big rivet at 6 o'clock has beein drilled with the 6mm bit, then clockwise next to it has been drilled with the 12mm bit, next one has the head removed, and the next one has been knocked out of the diff housing.
This pic shows the head cleanly removed with drilling only, no
need to use a chisel and punch on the head if the drilling was done straight and
deep enough...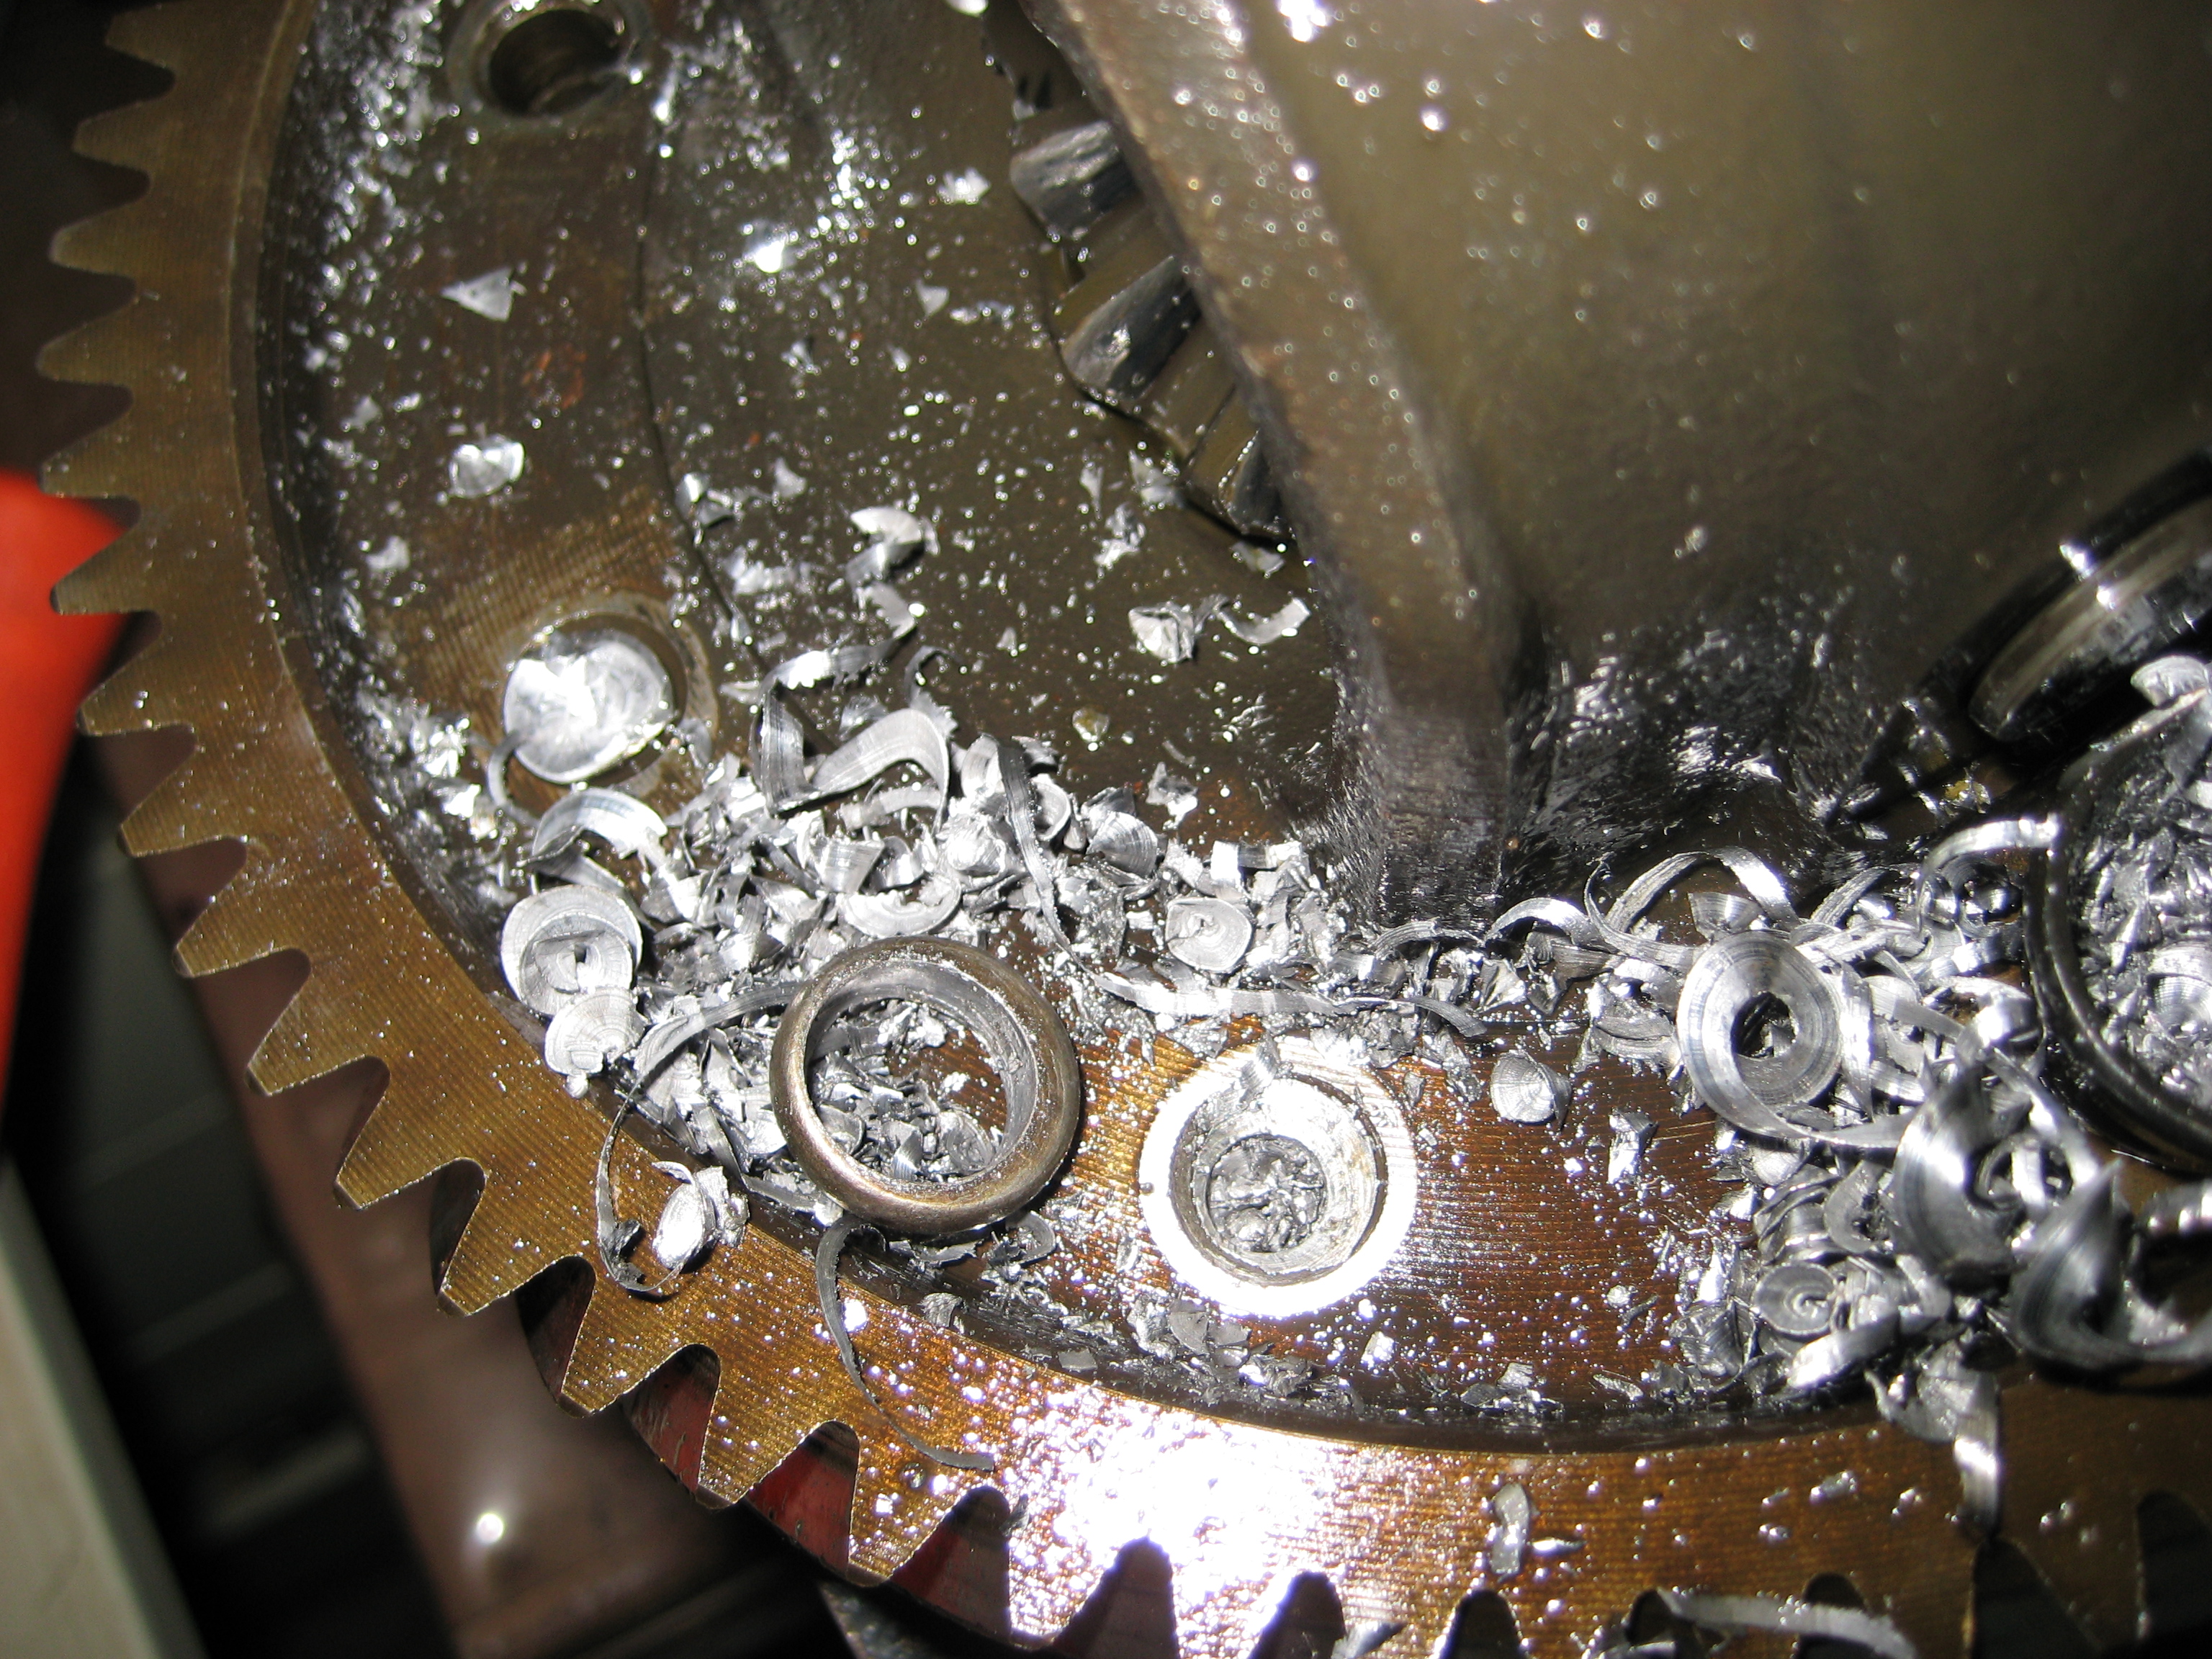
Cleaning up some shavings...
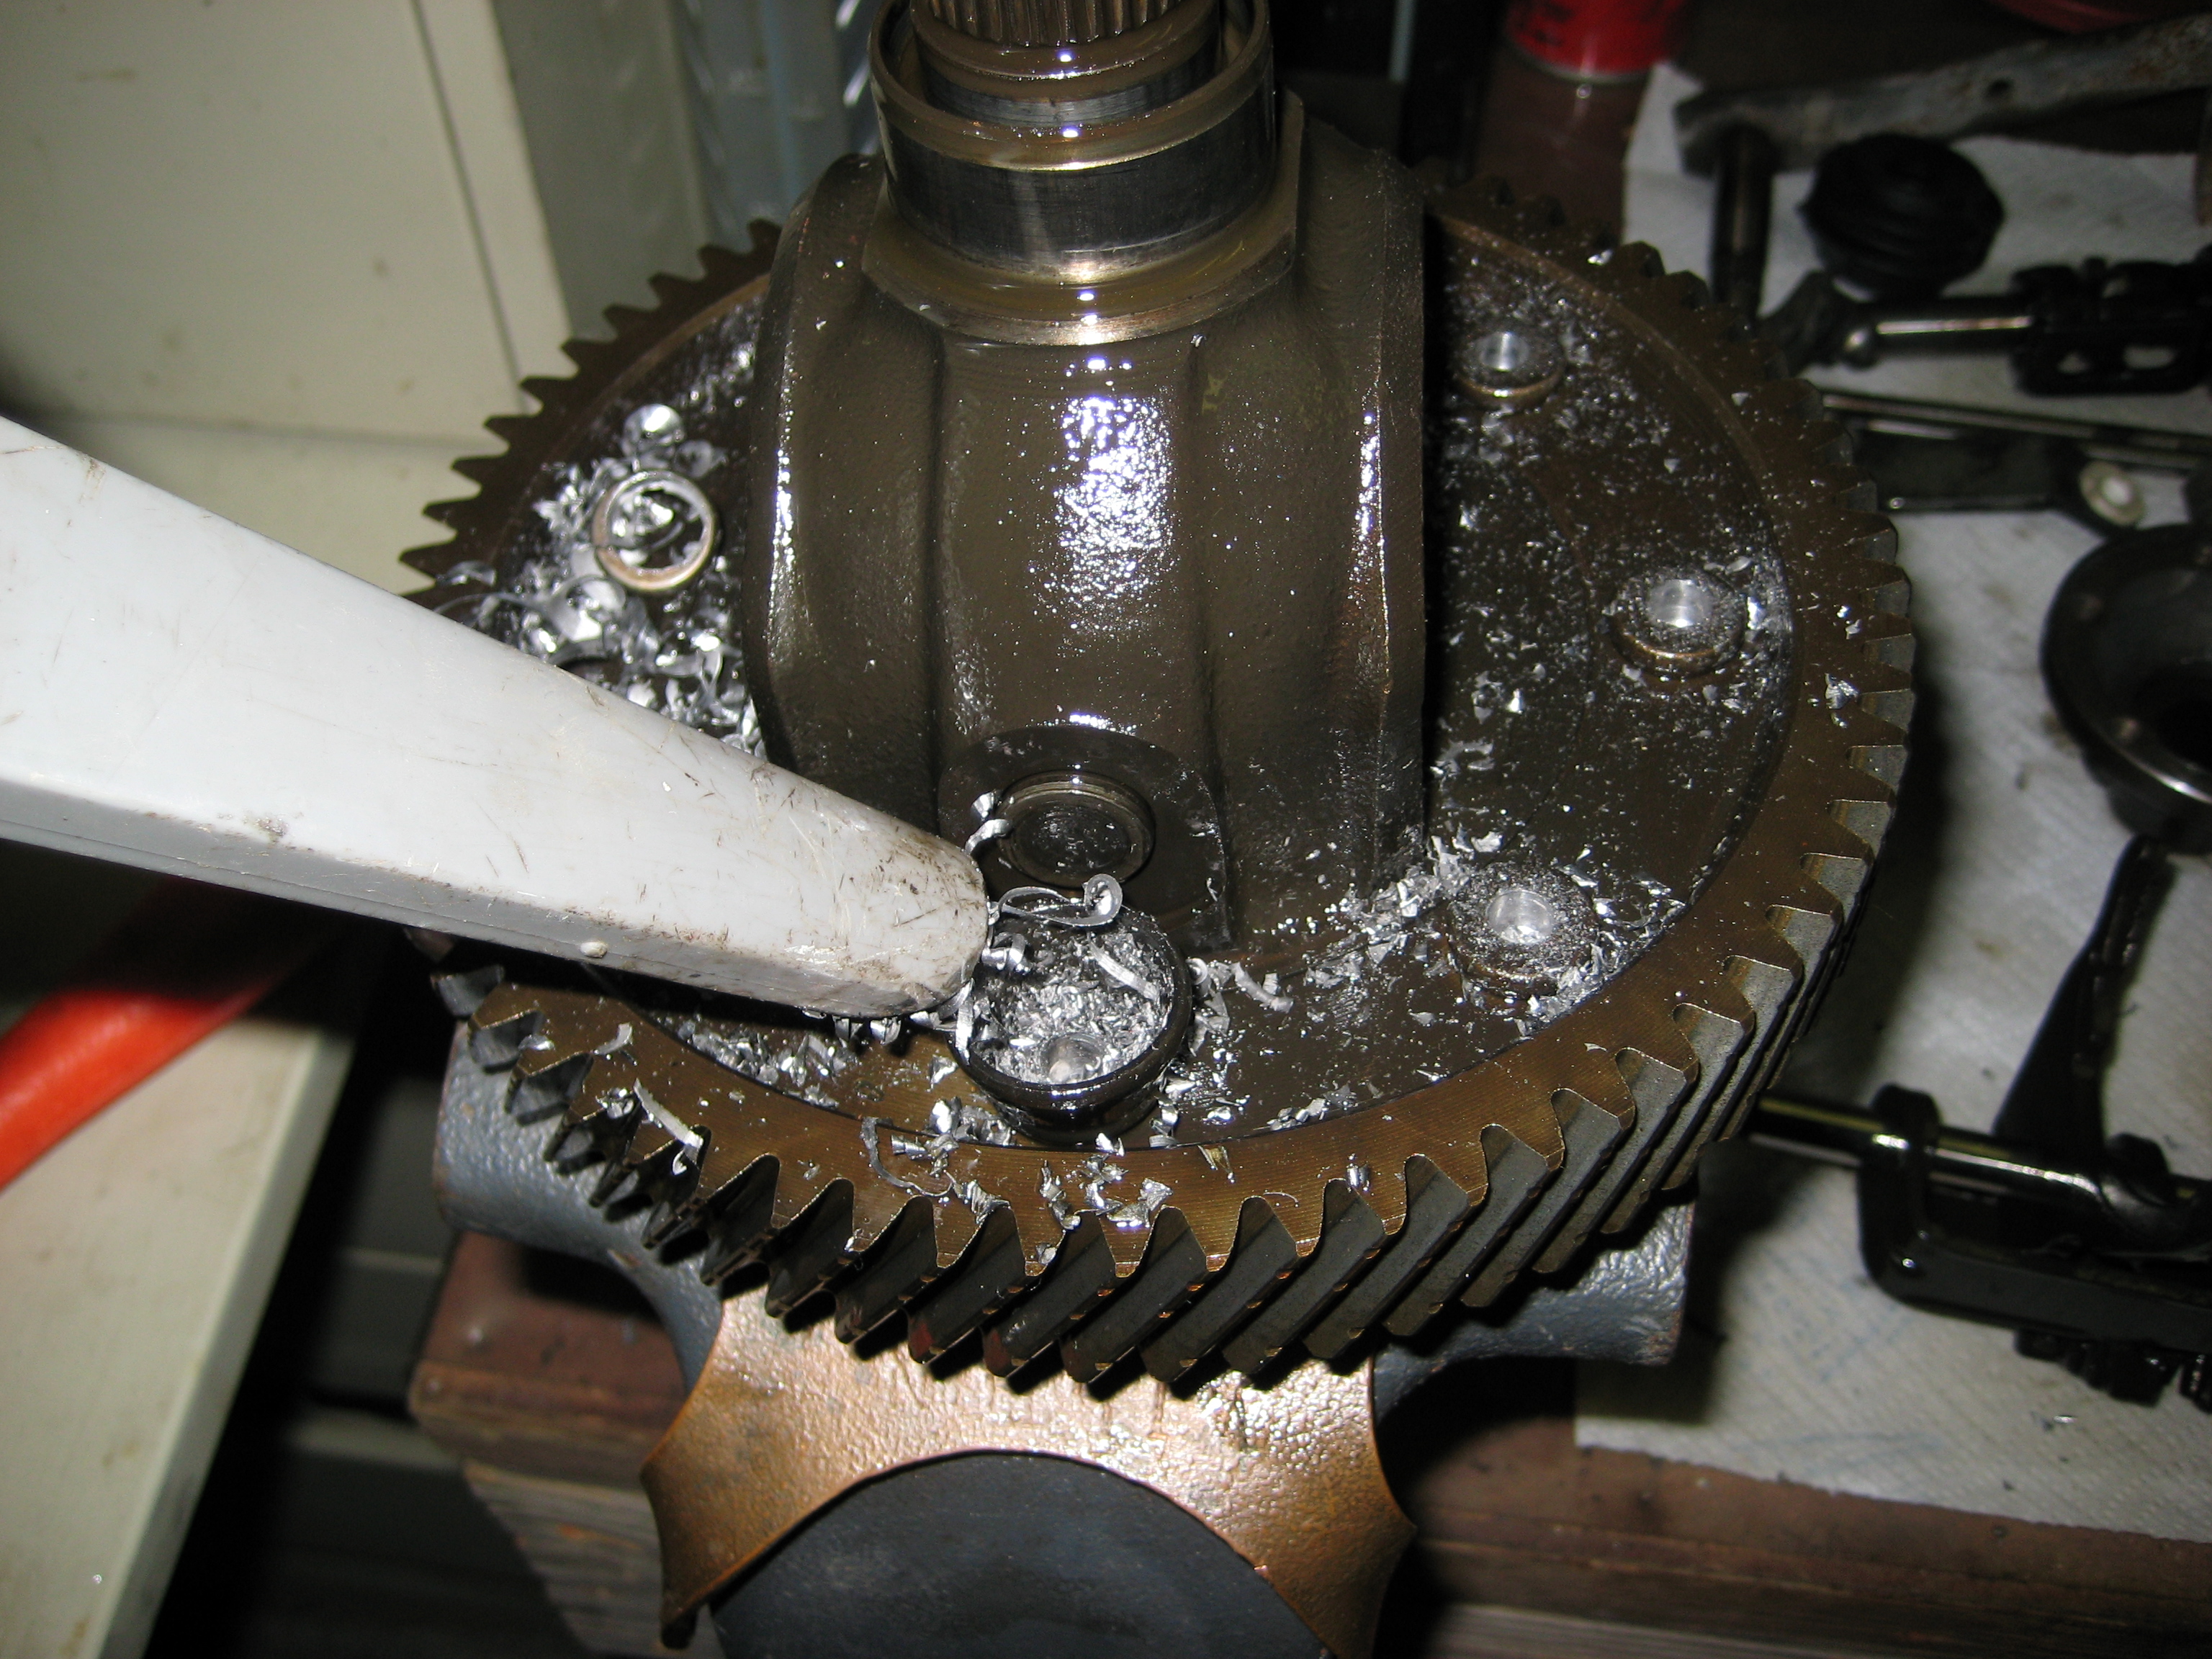
Cleaned up and ready for more drilling...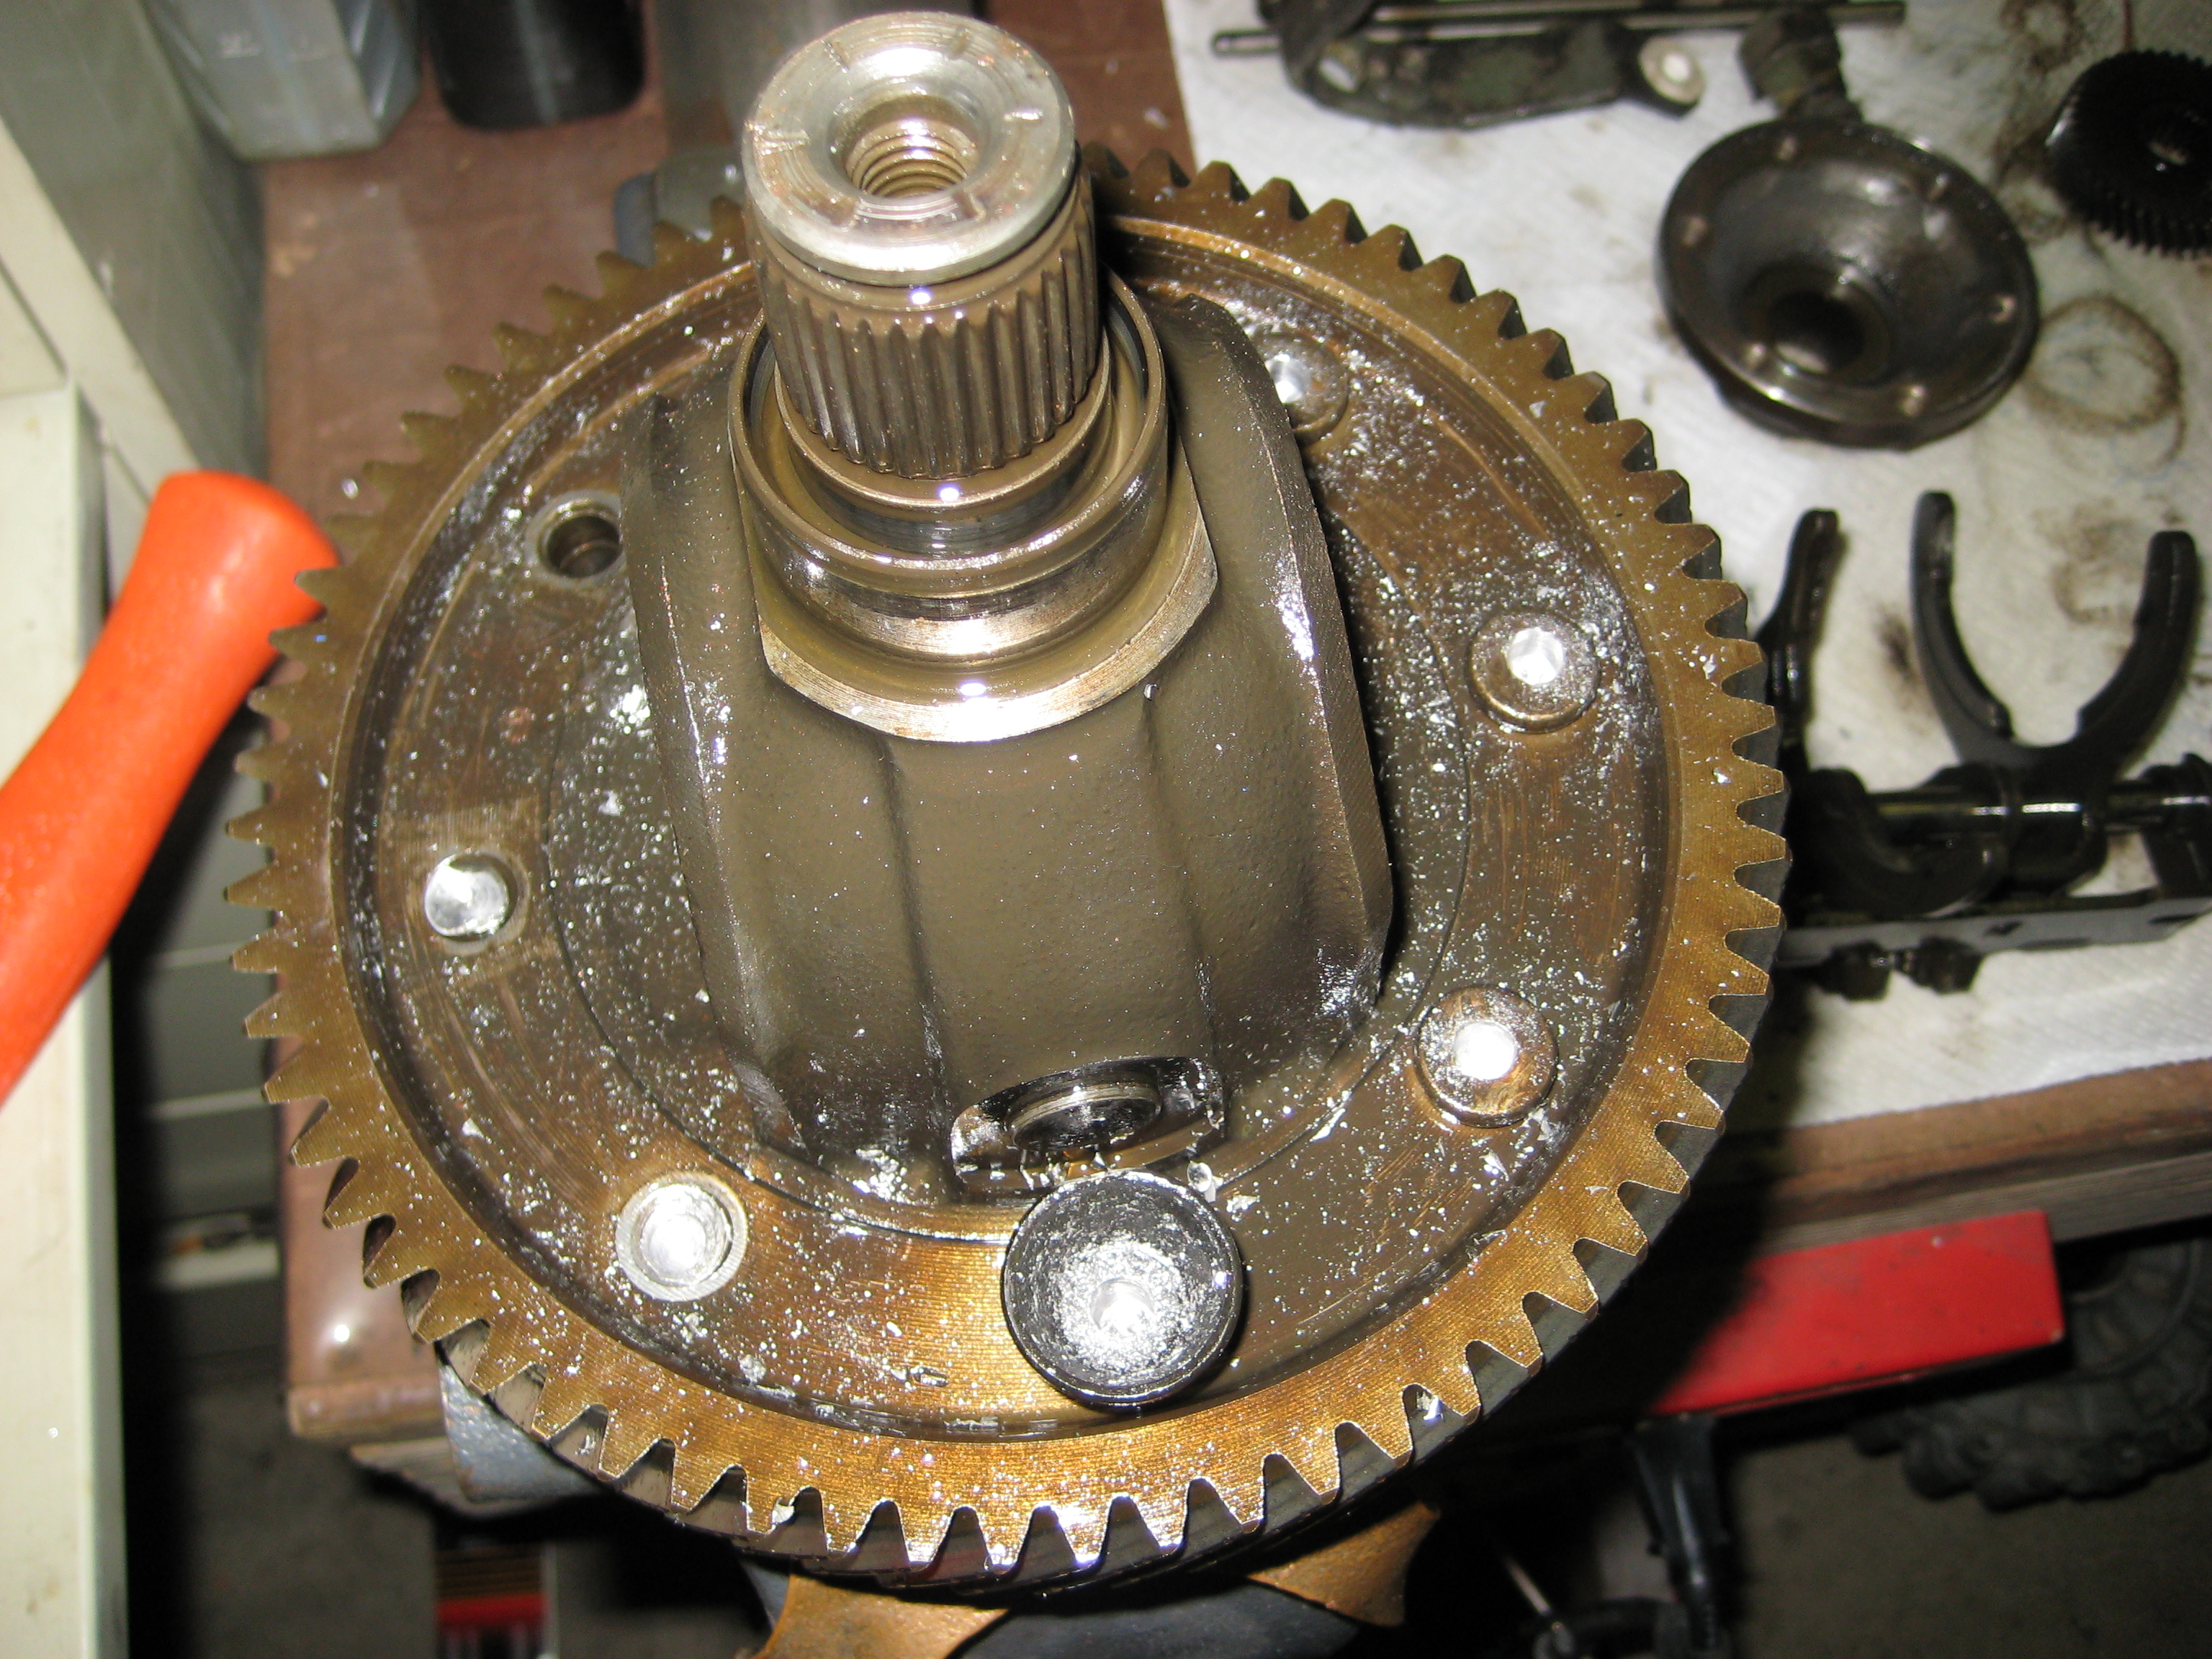
This is how the head should come off, and the type of swarf that
should be made if the 12mm bit was cutting correctly. It winds out 2 long coils
as it digs in..
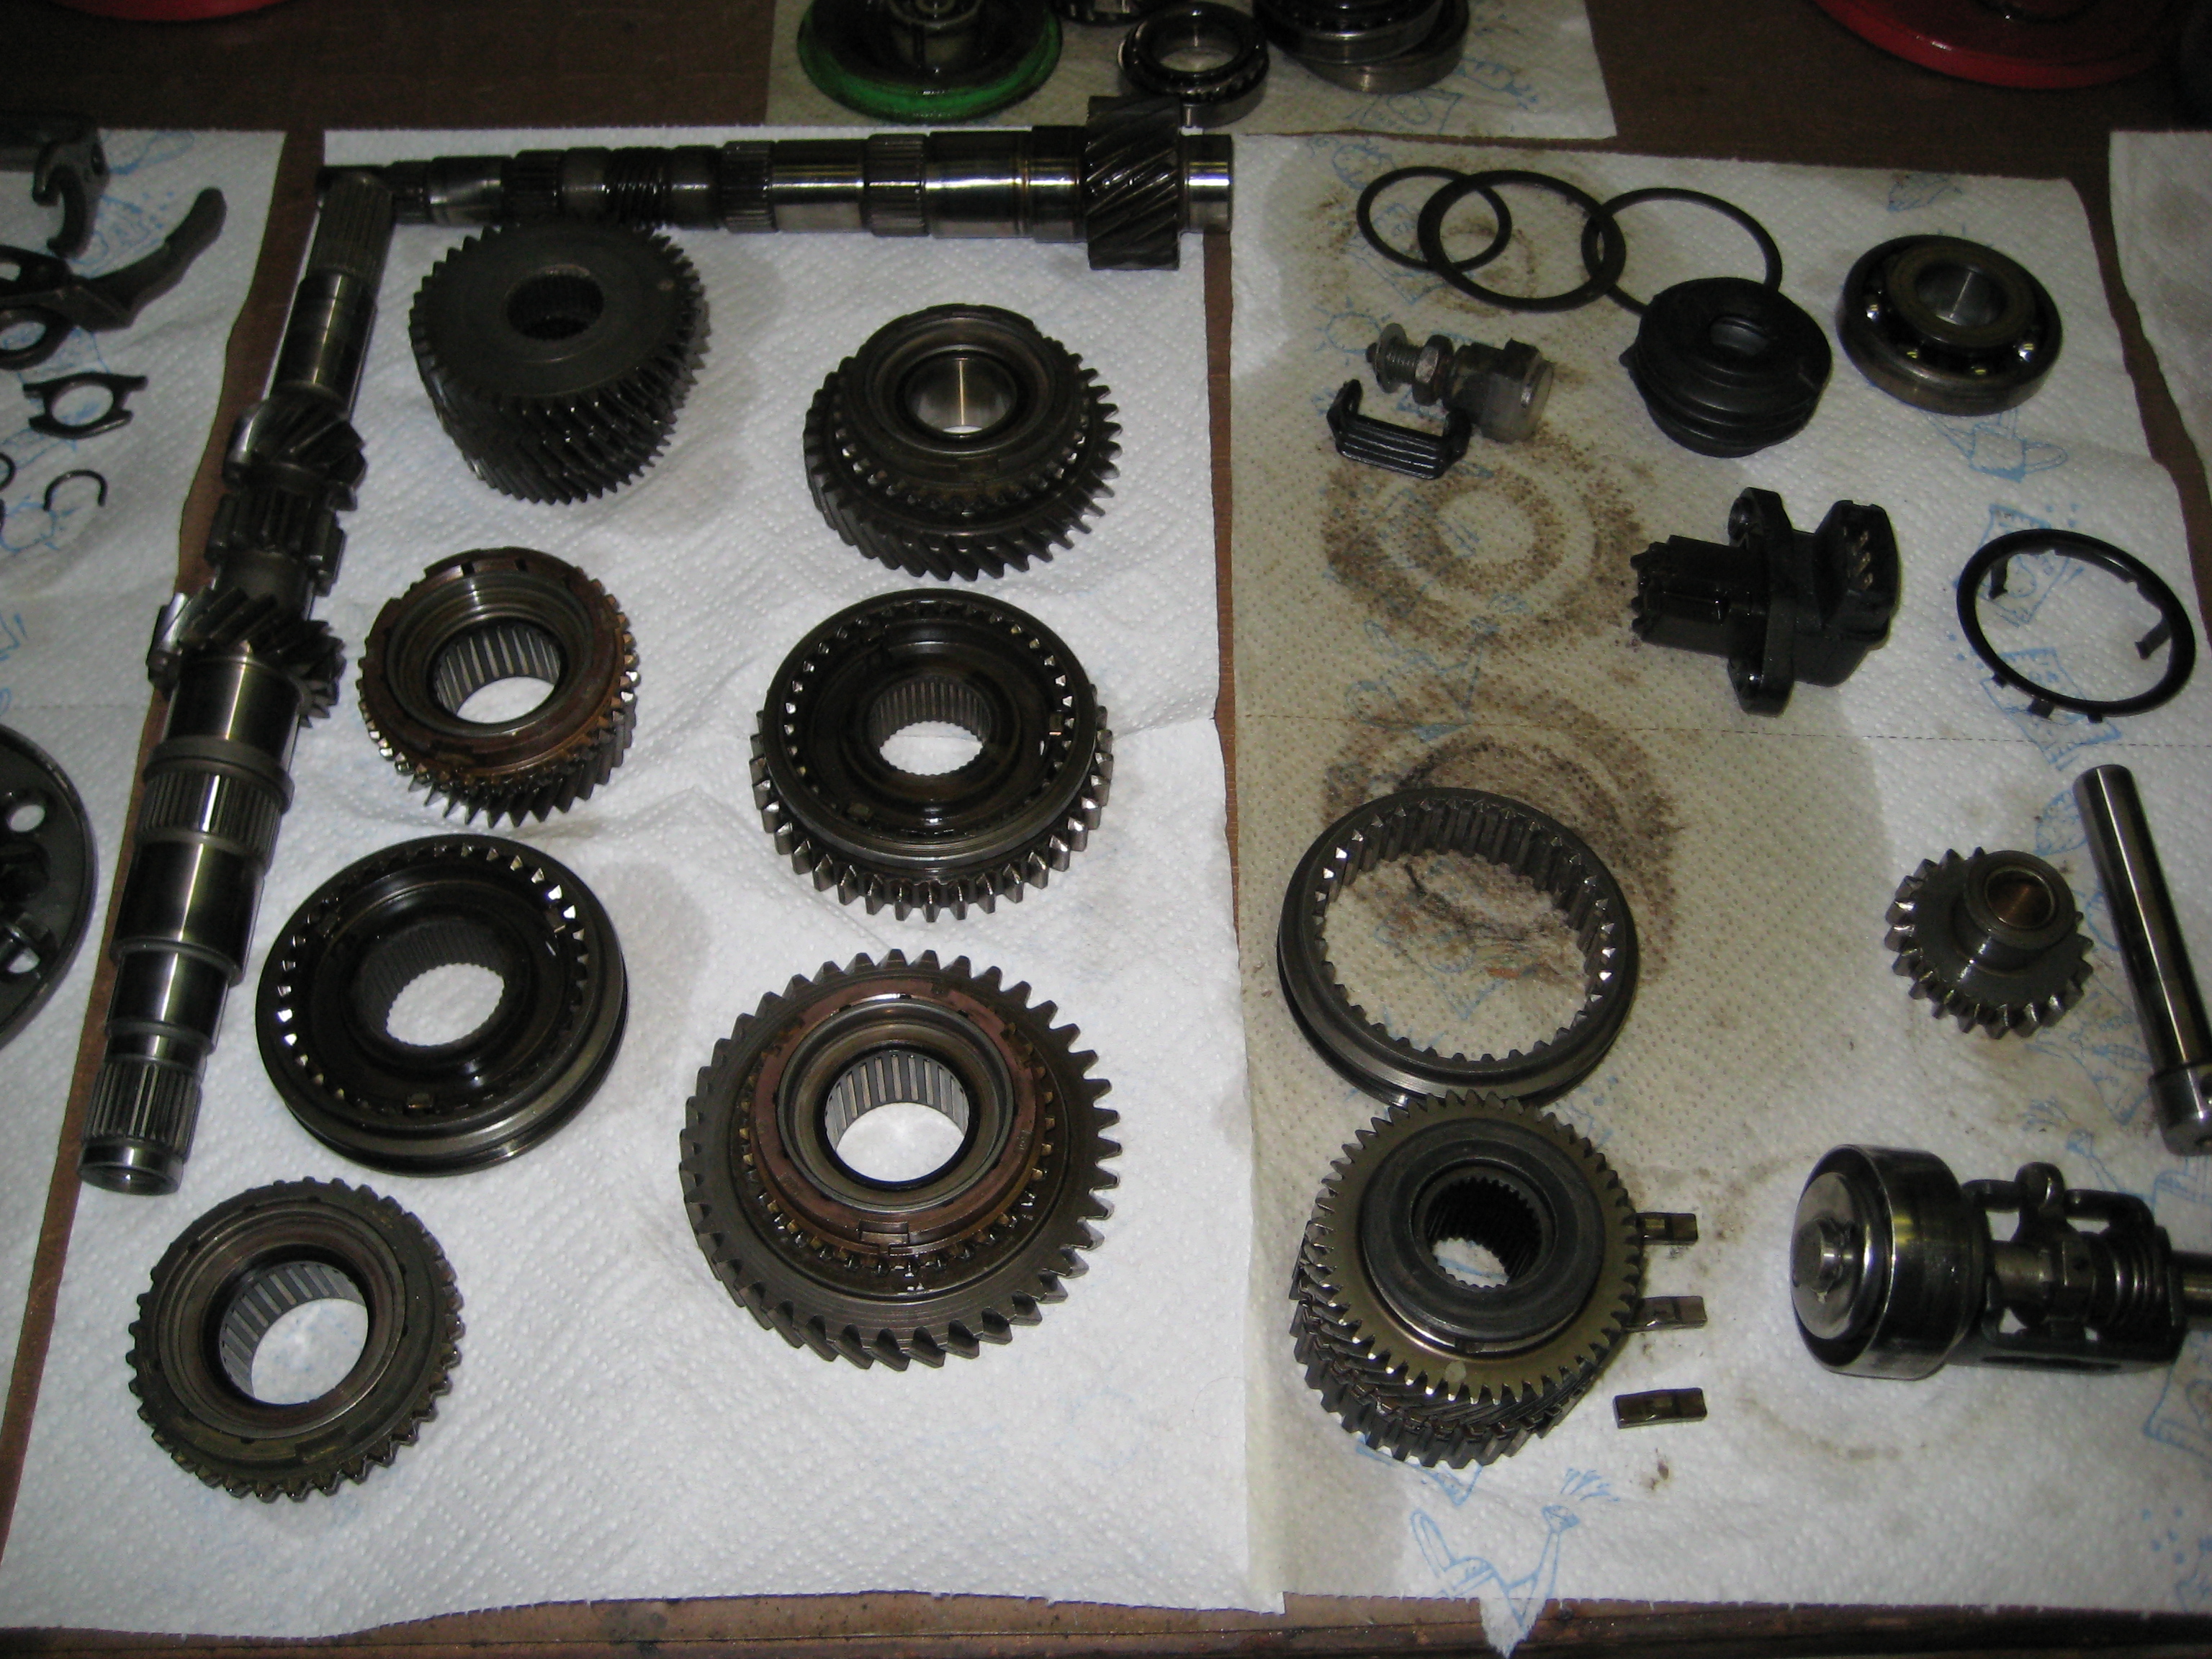
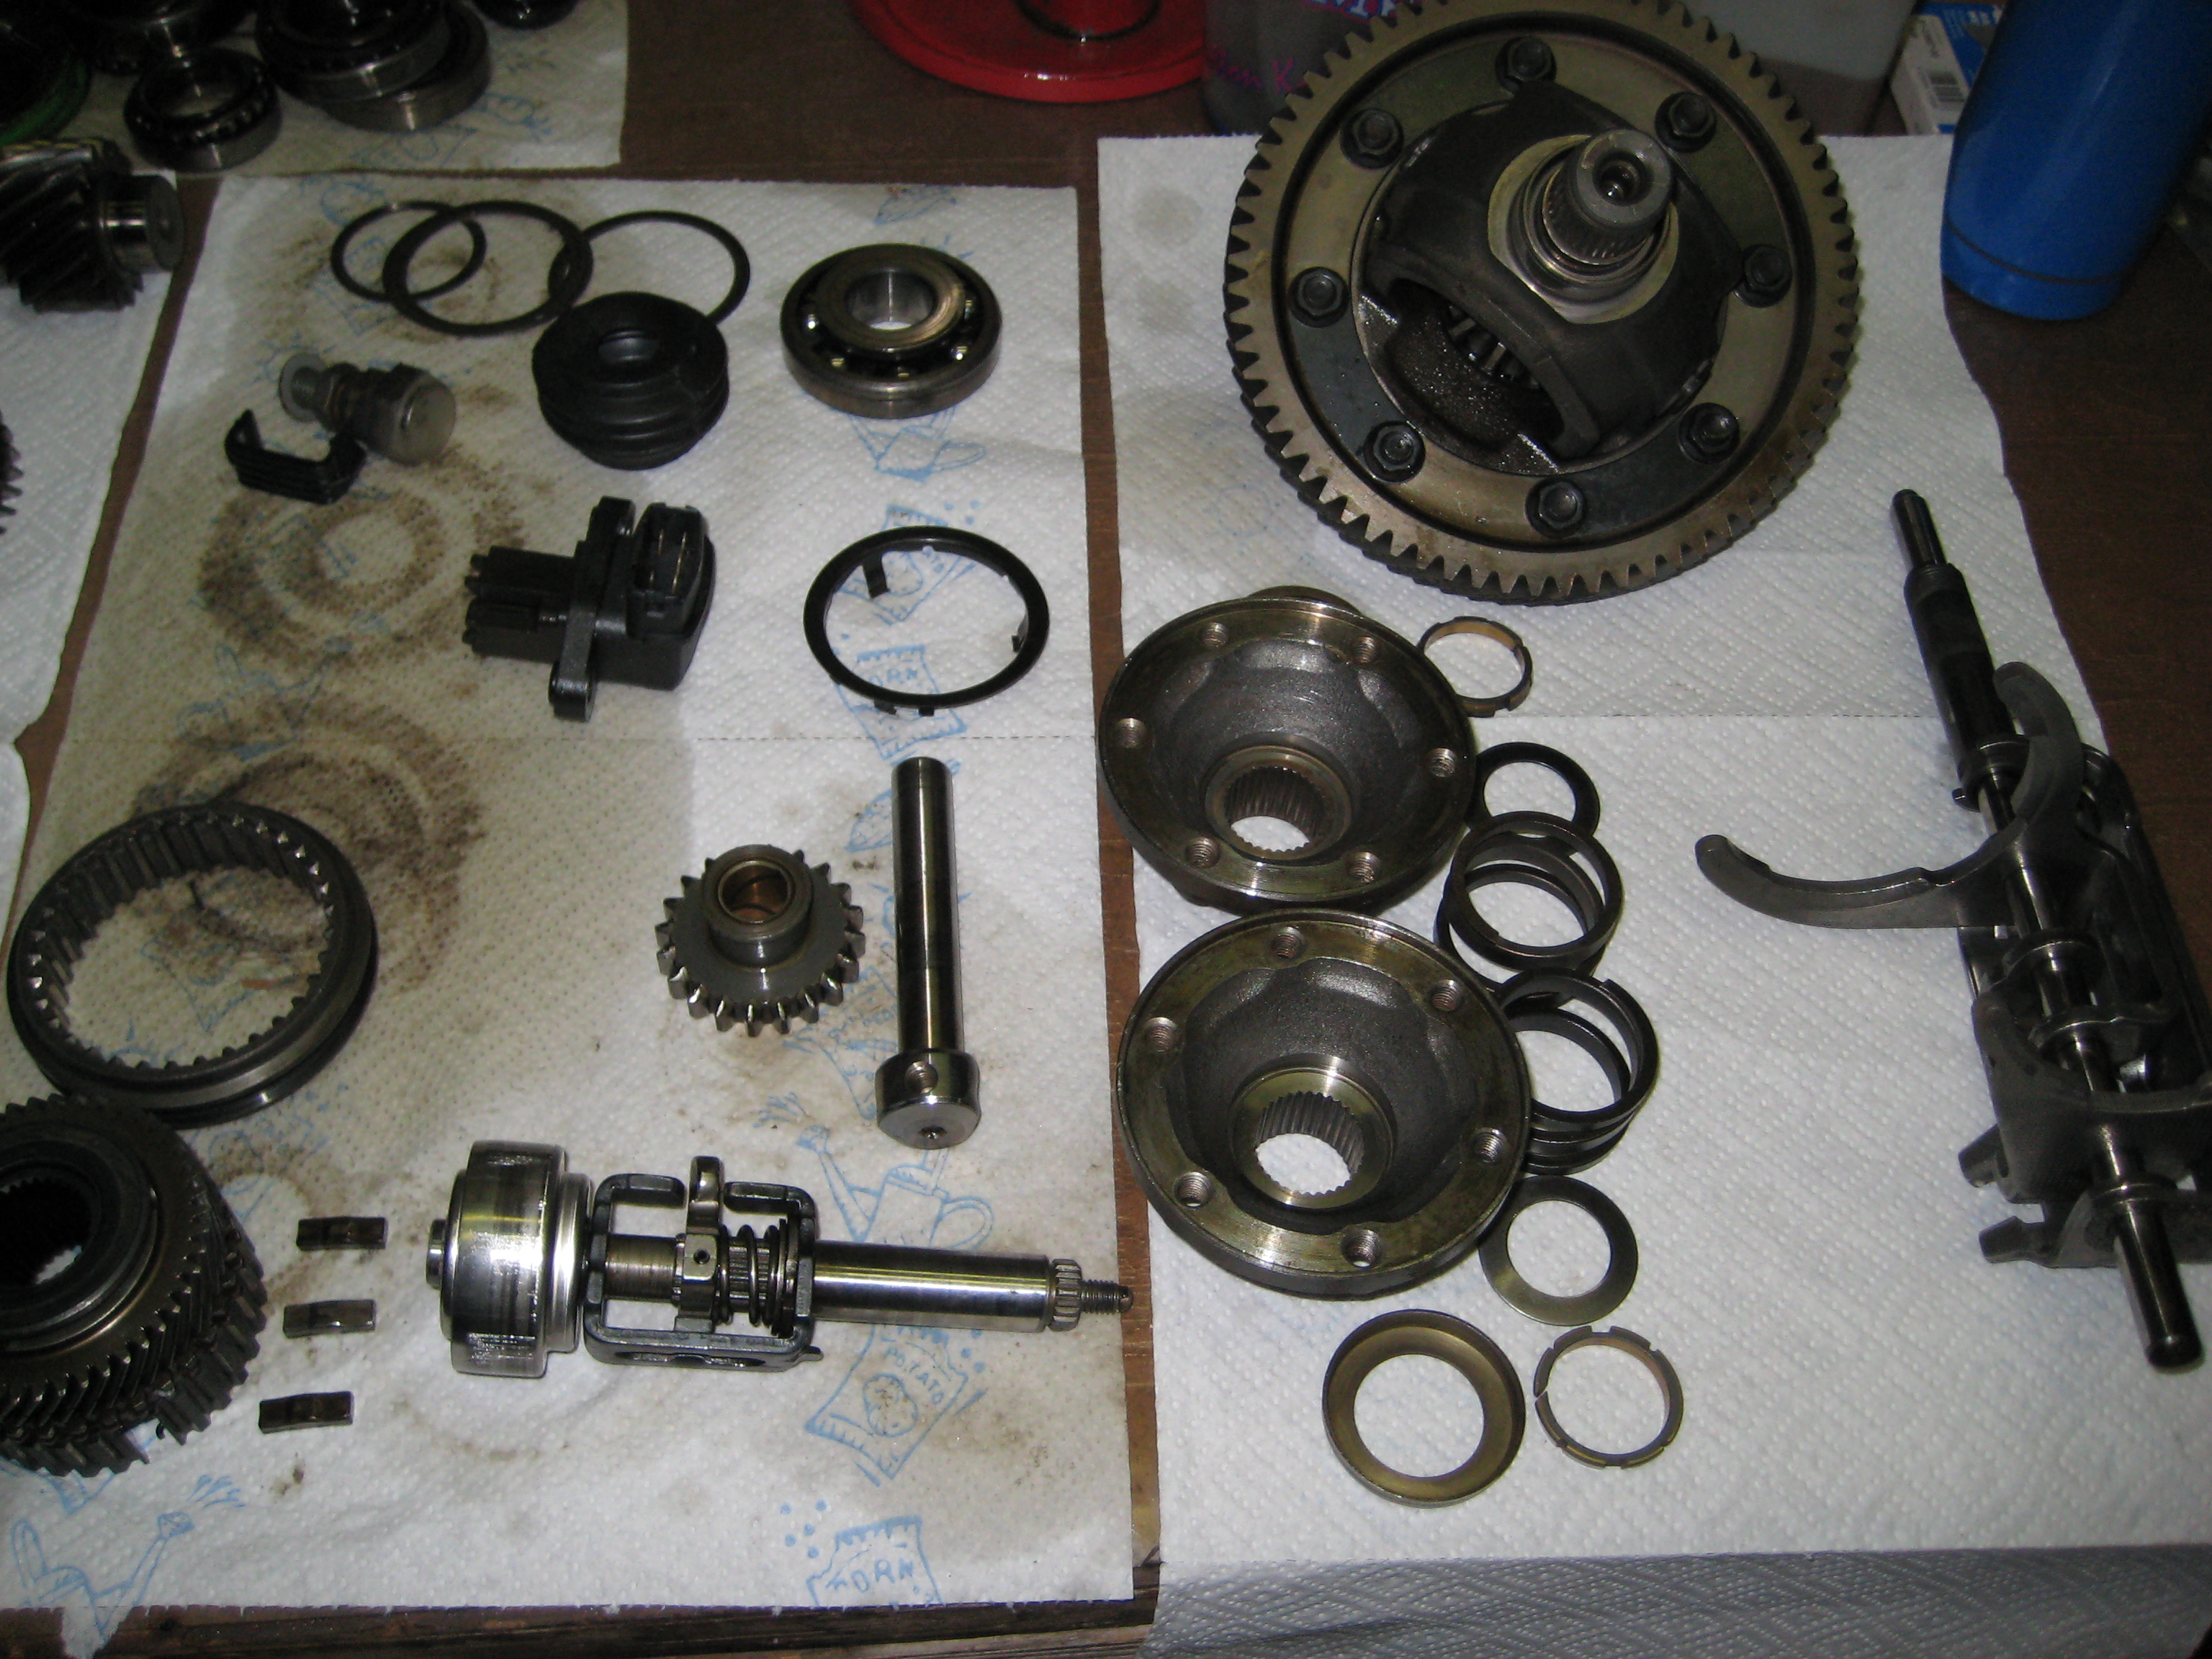
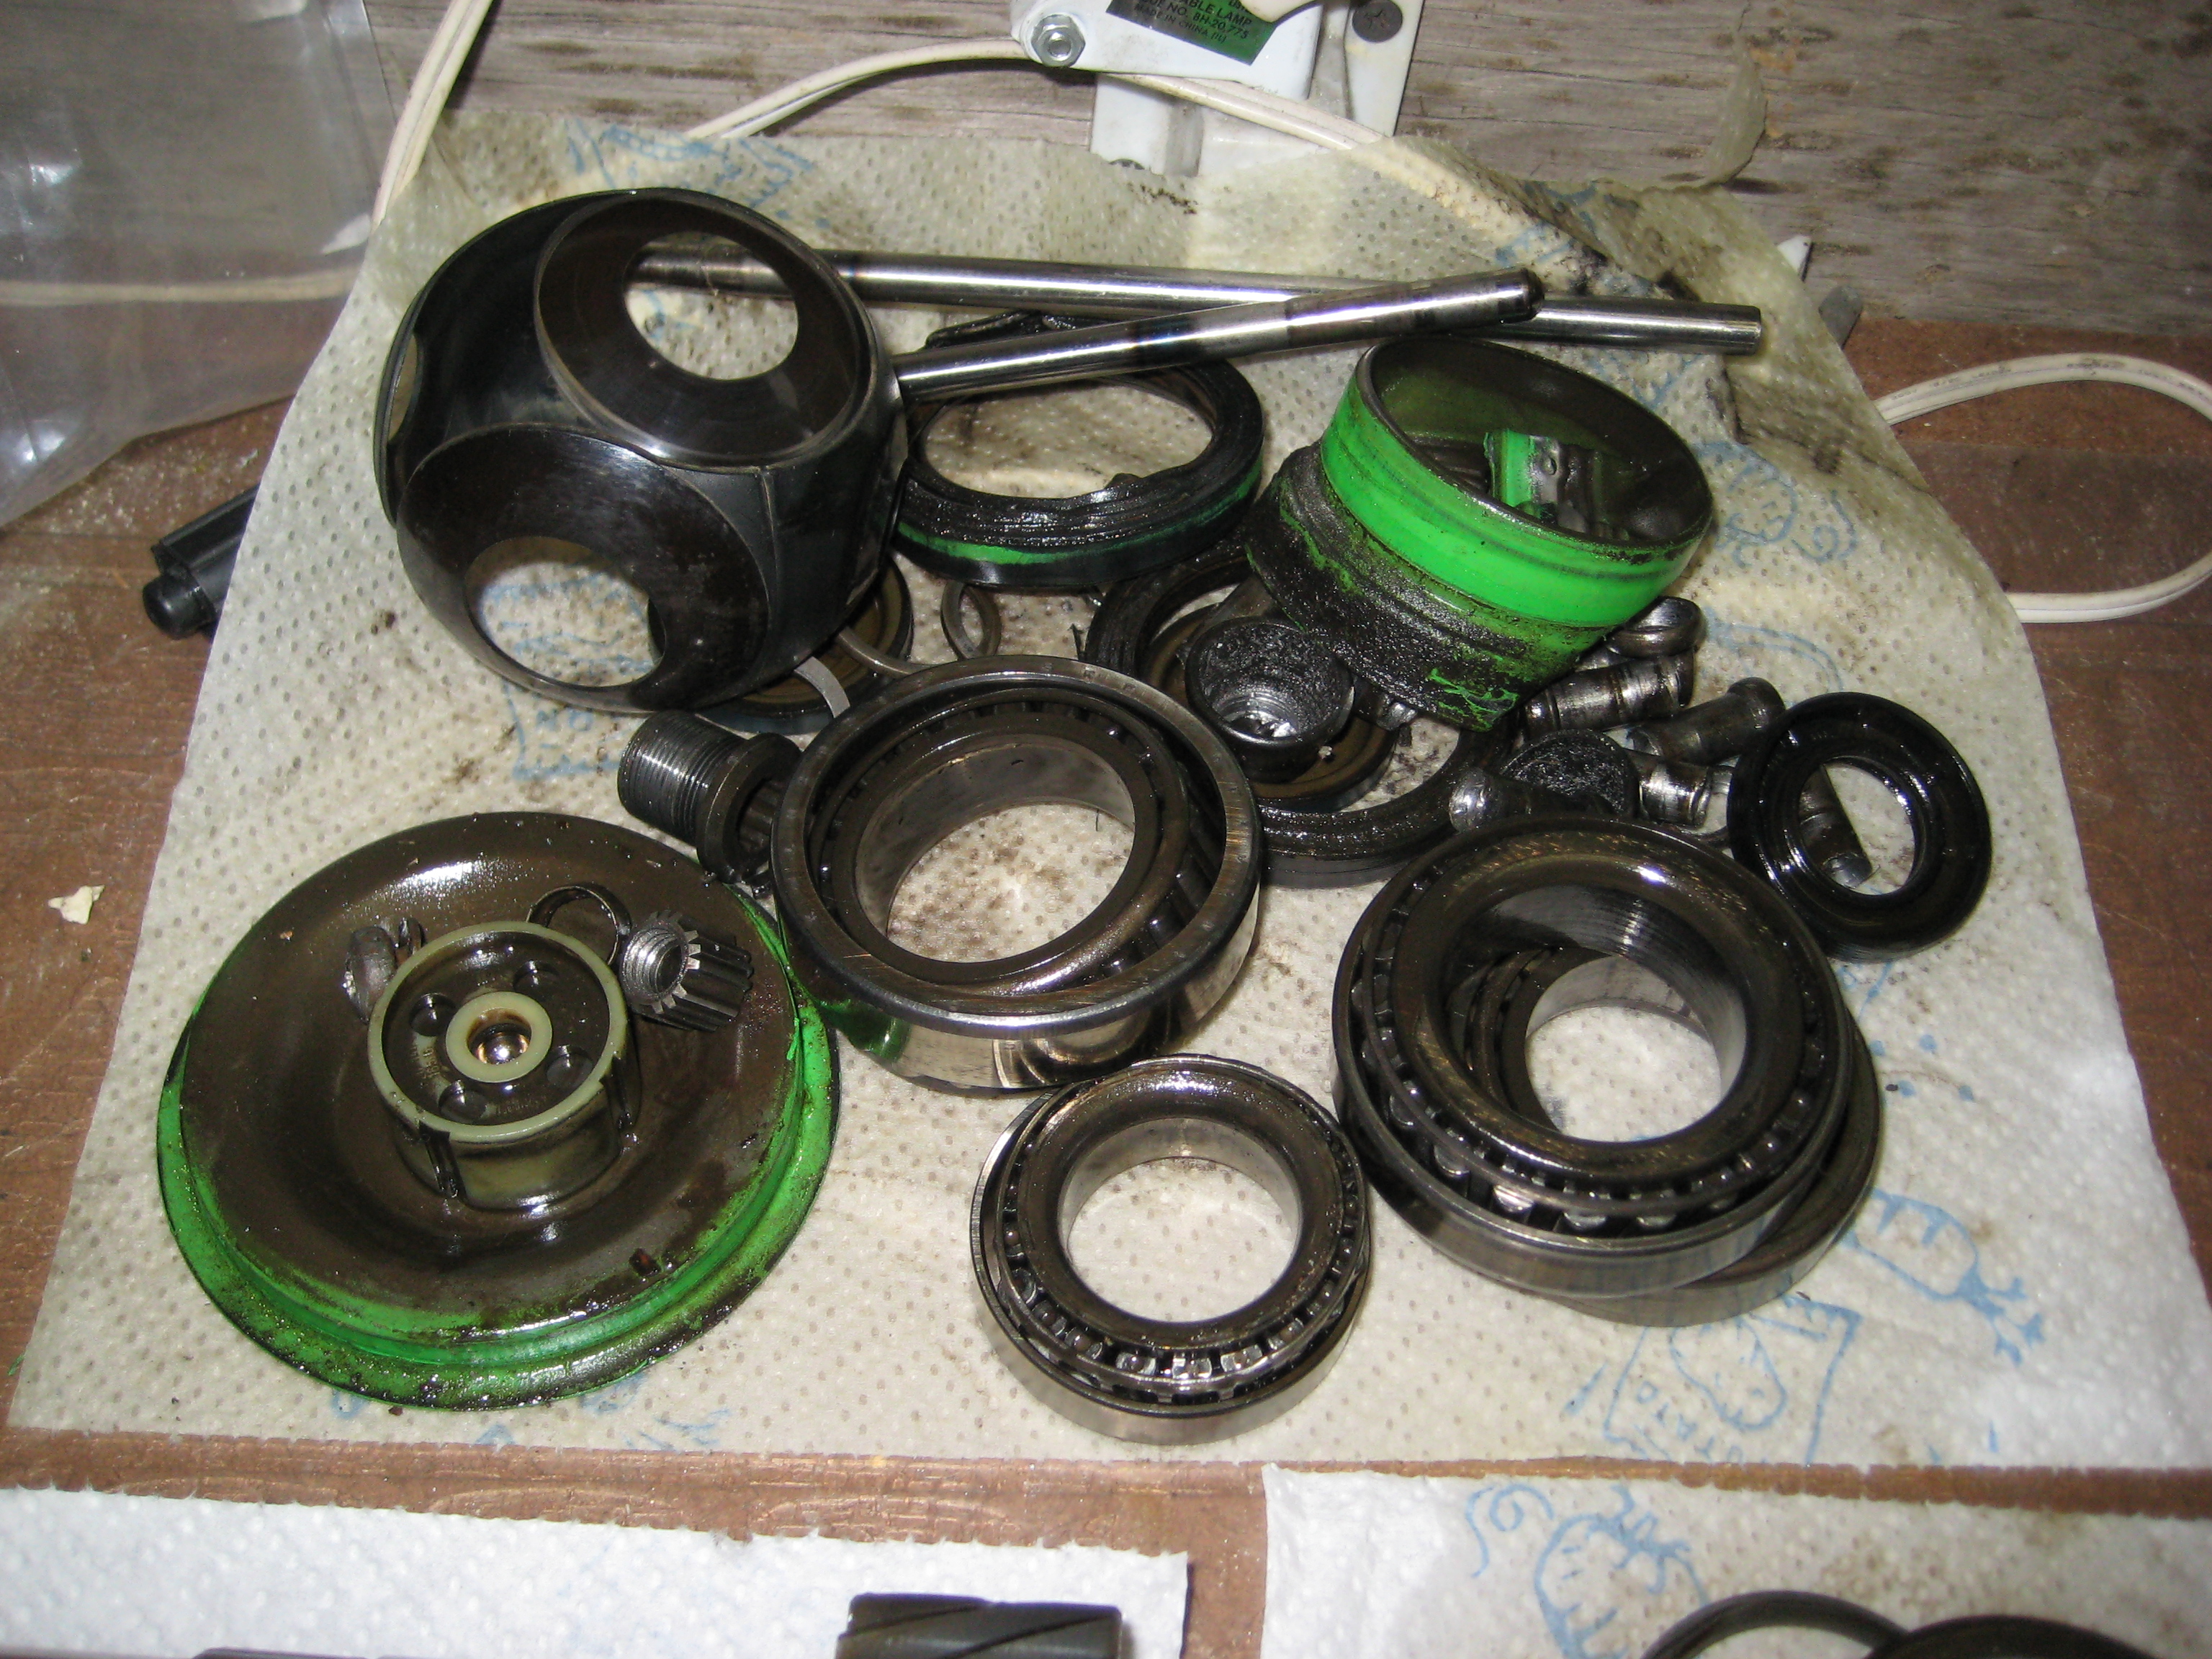
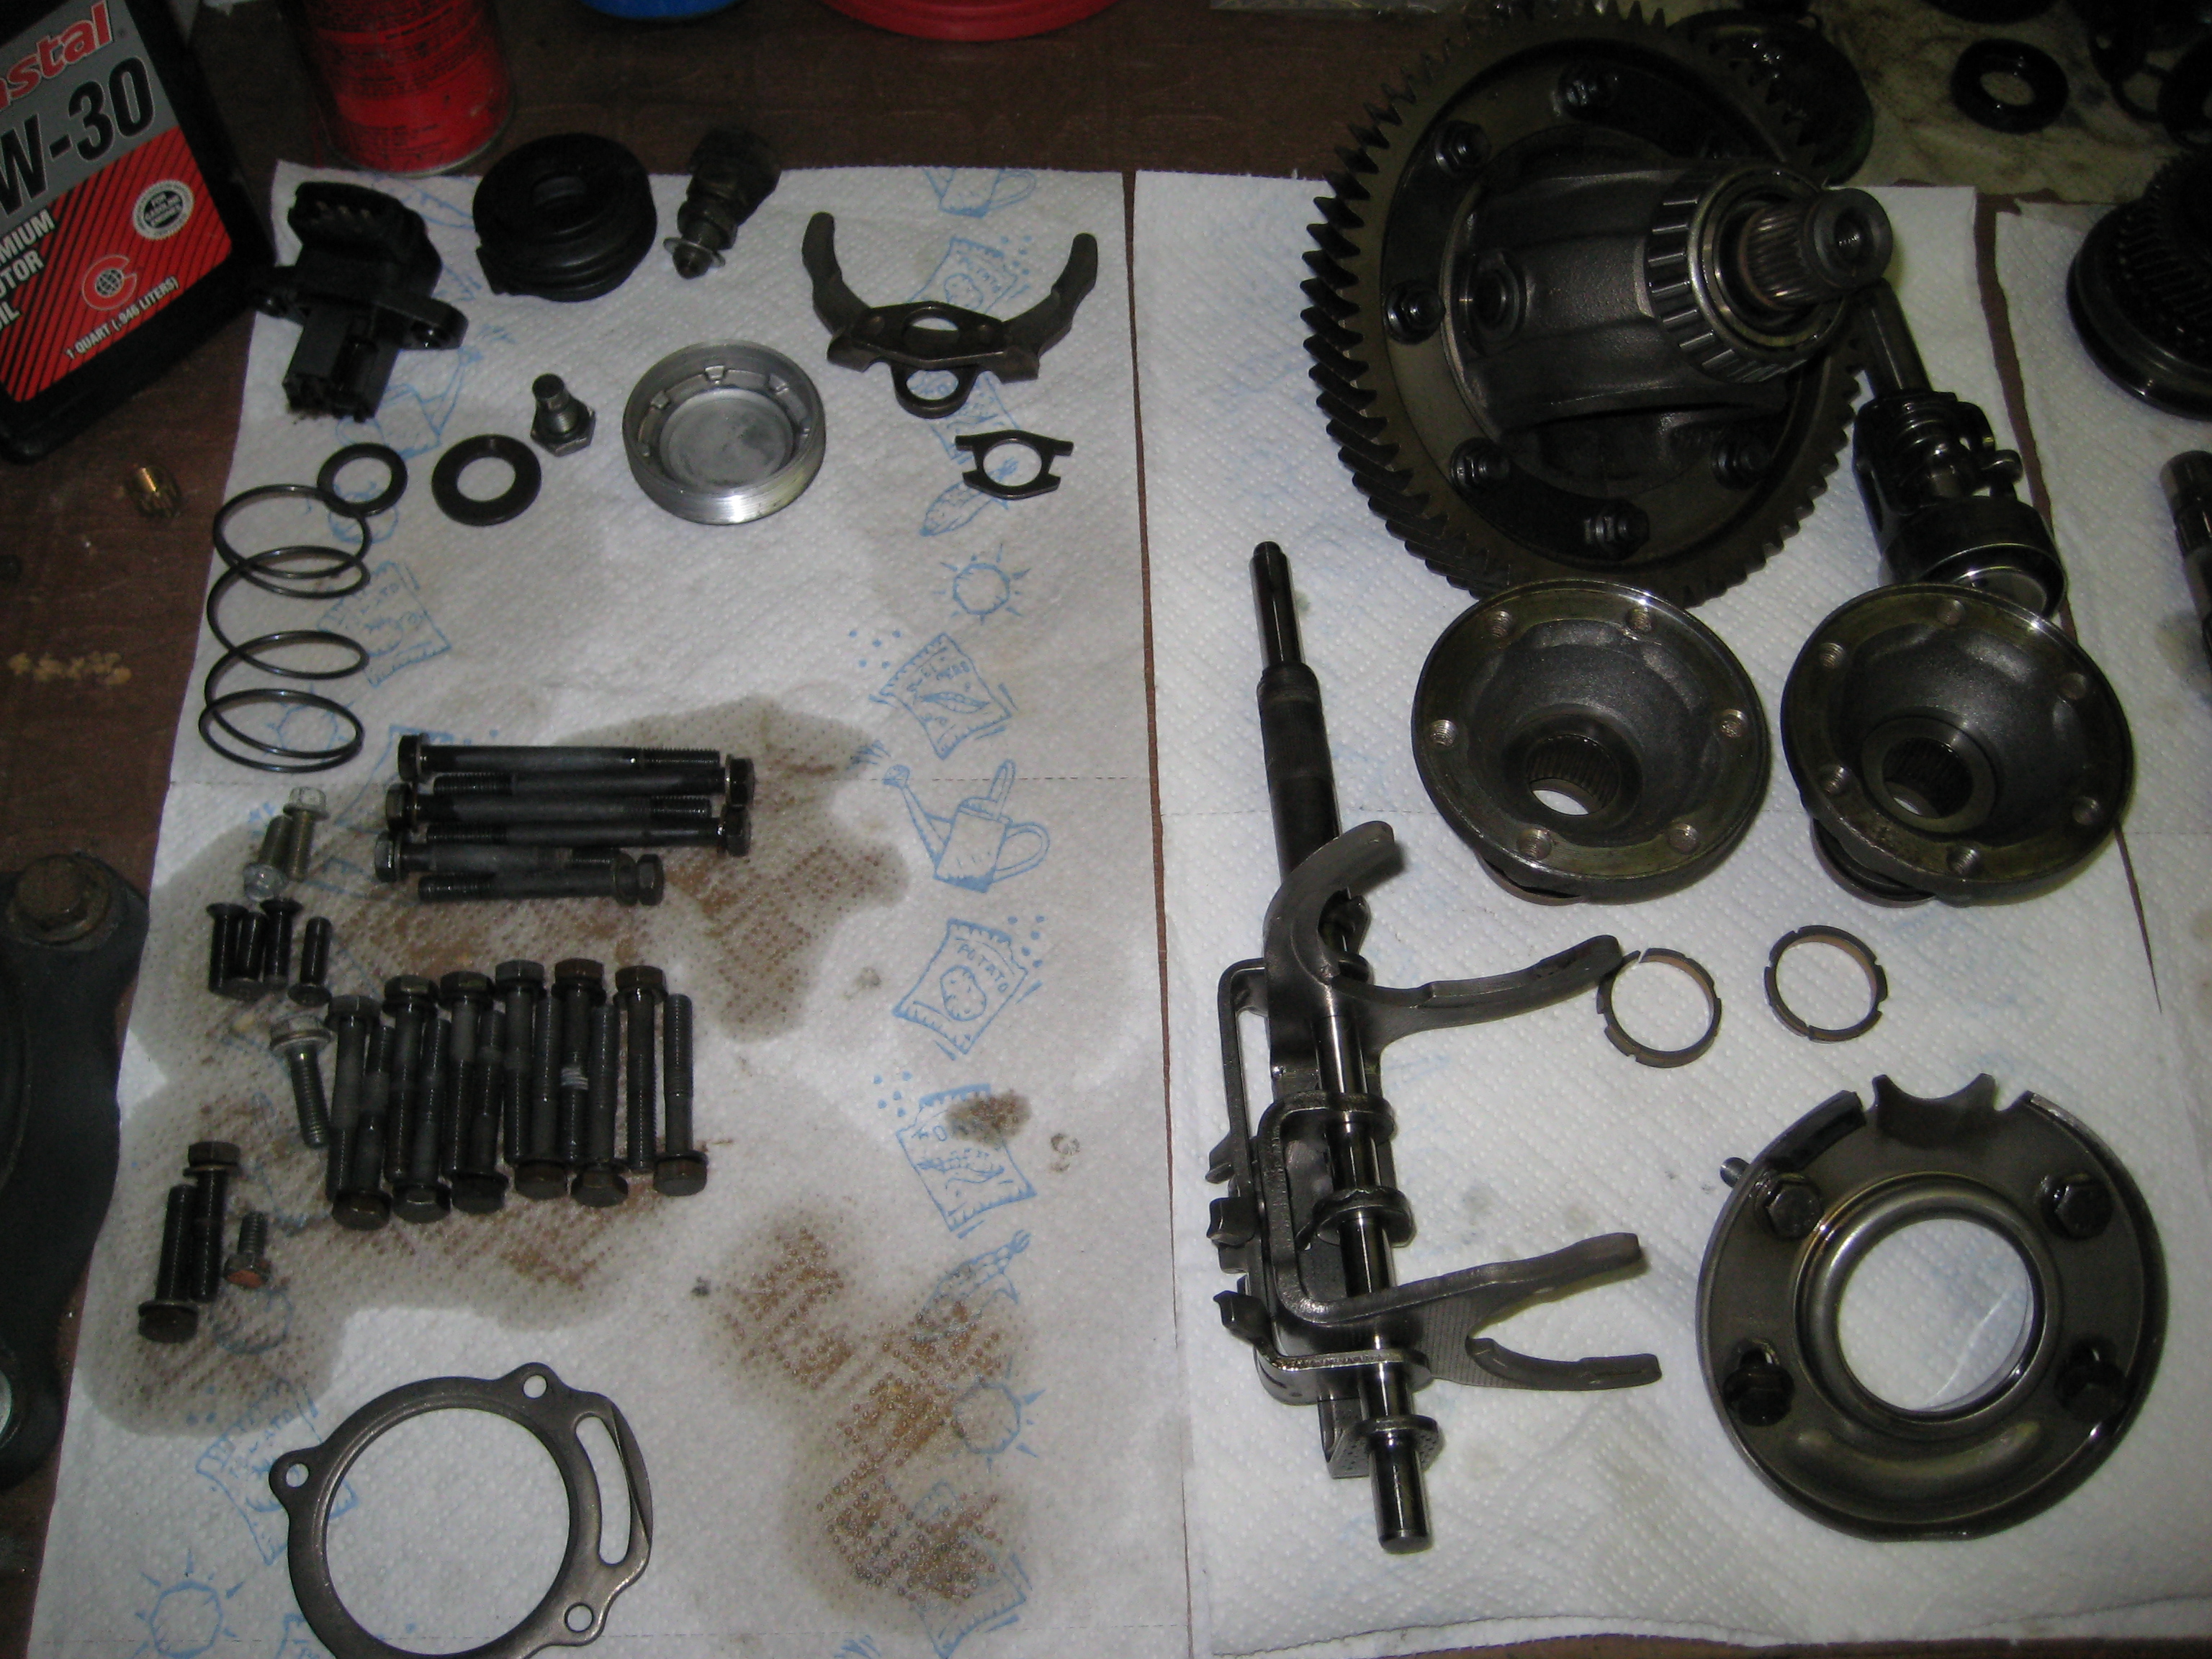
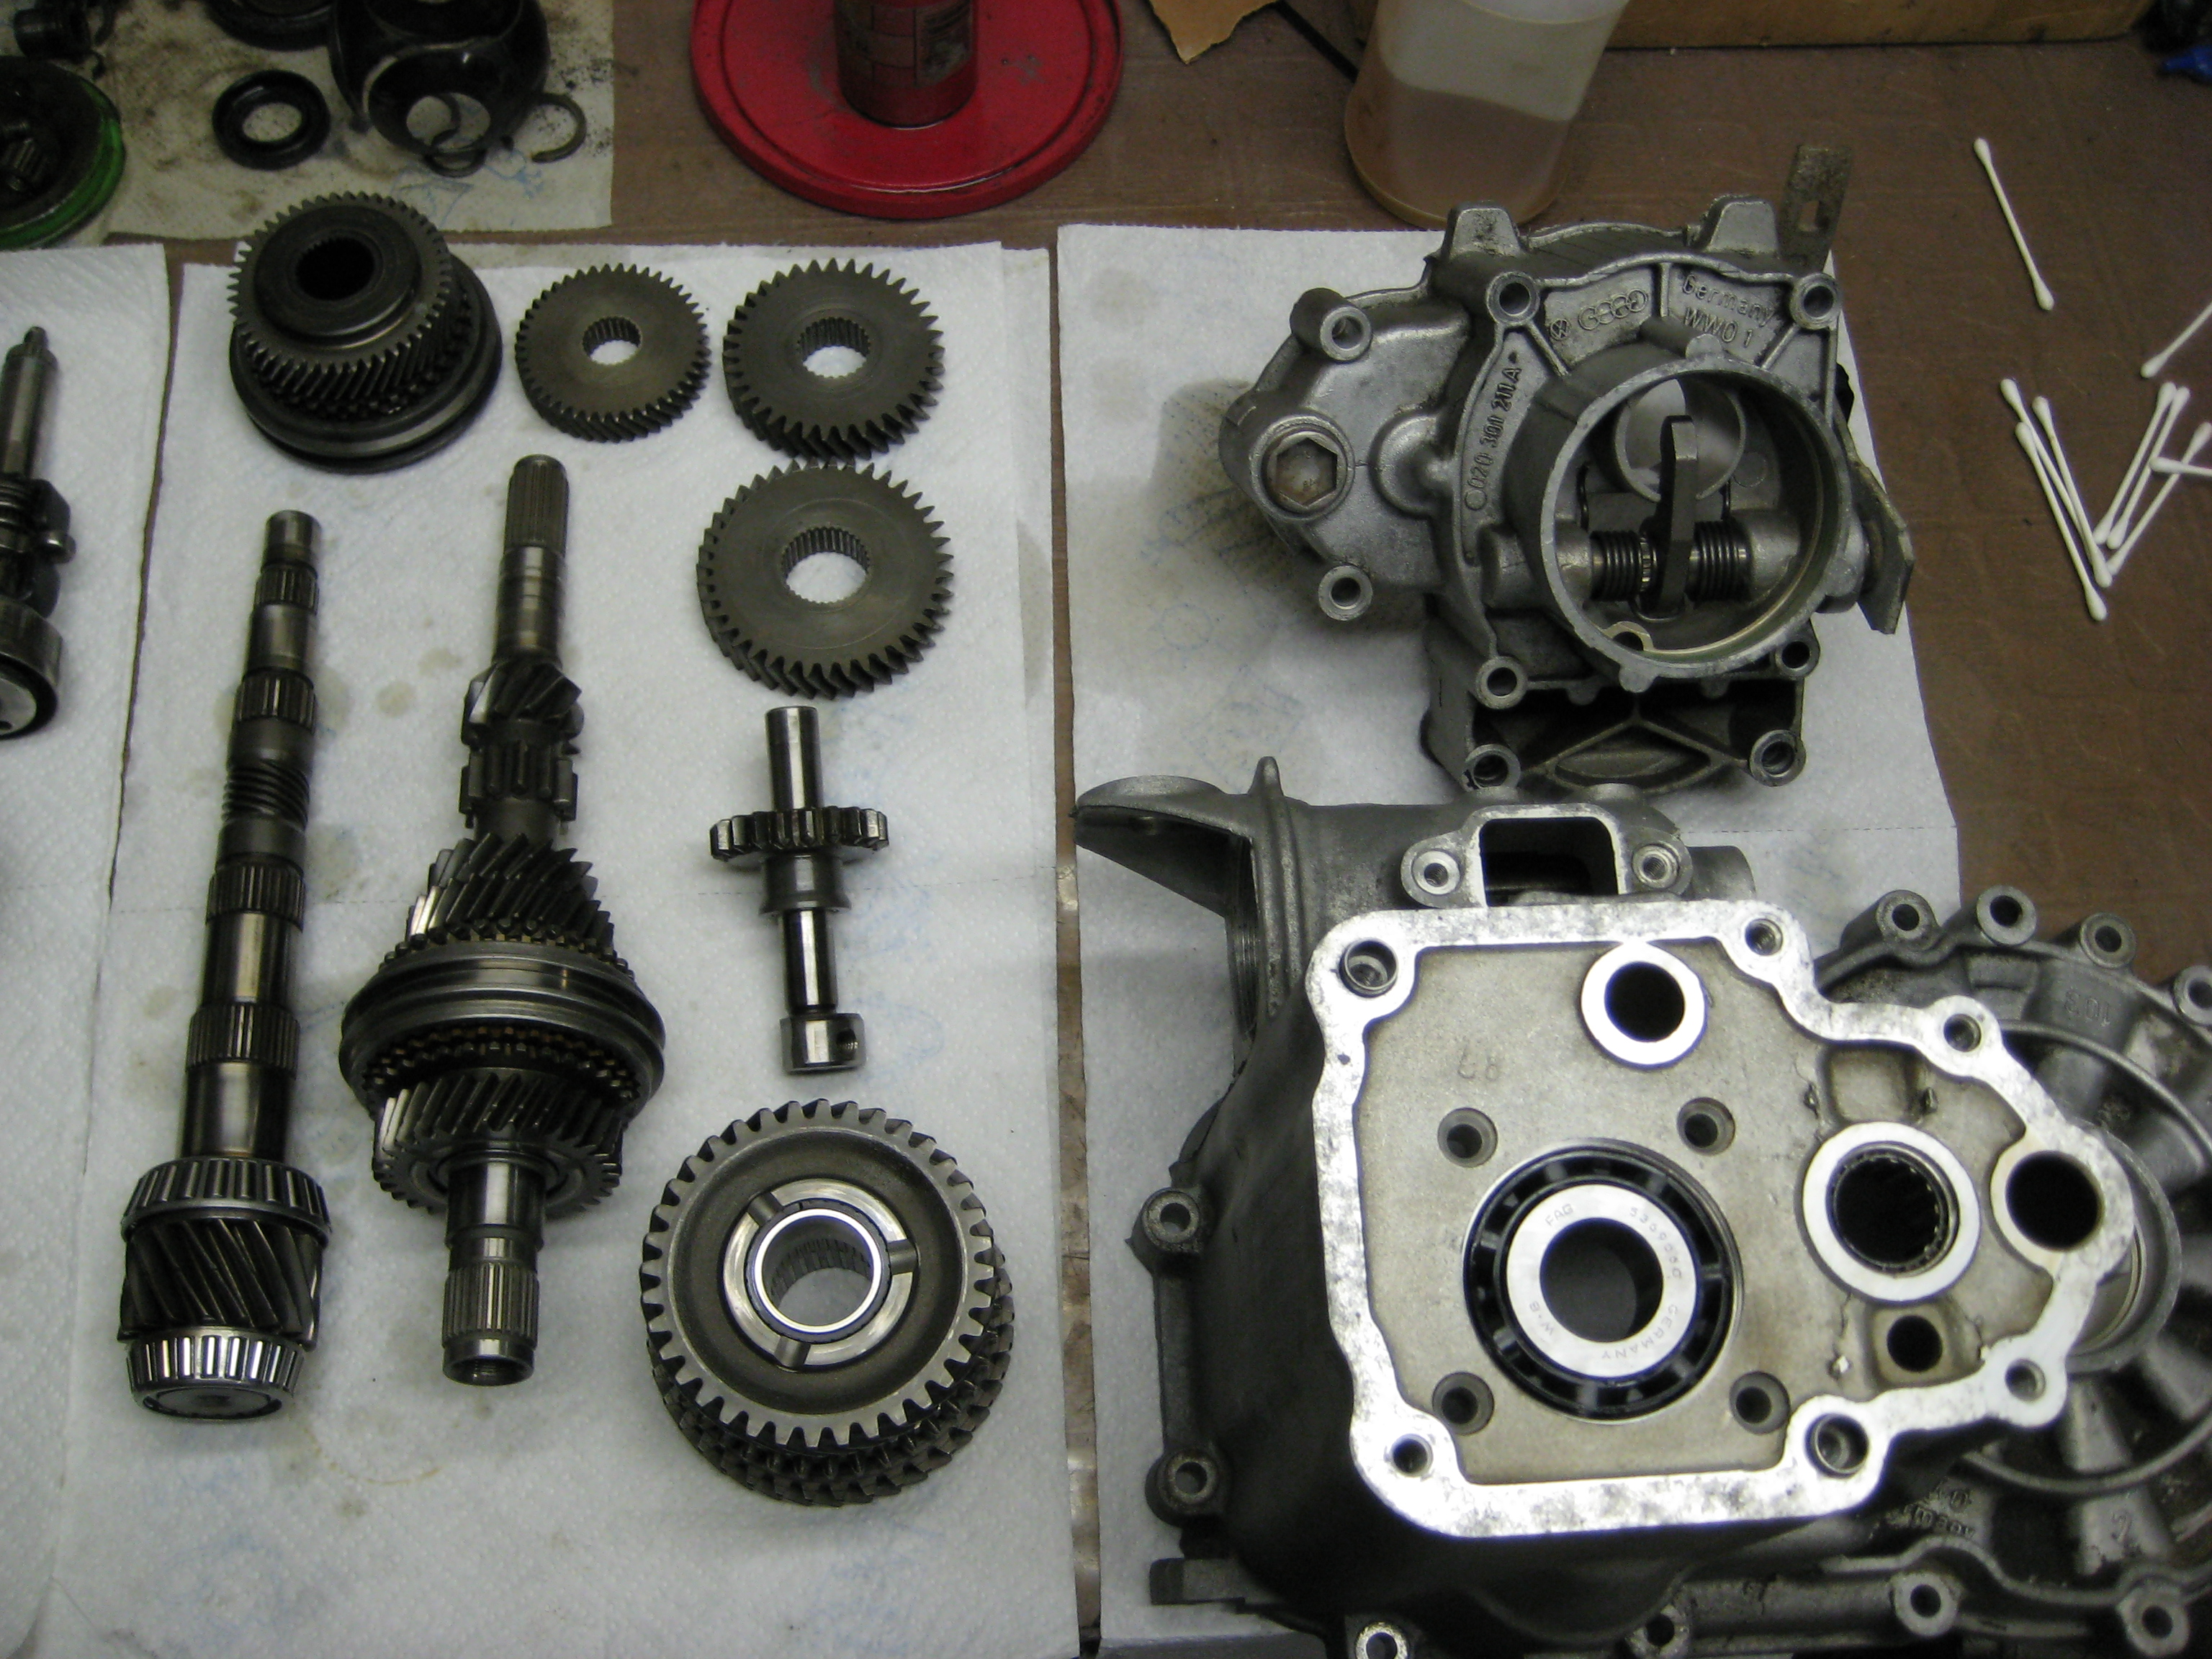
Here are pics of your parts, most are cleaned and ready, some
still need to go into the parts washer...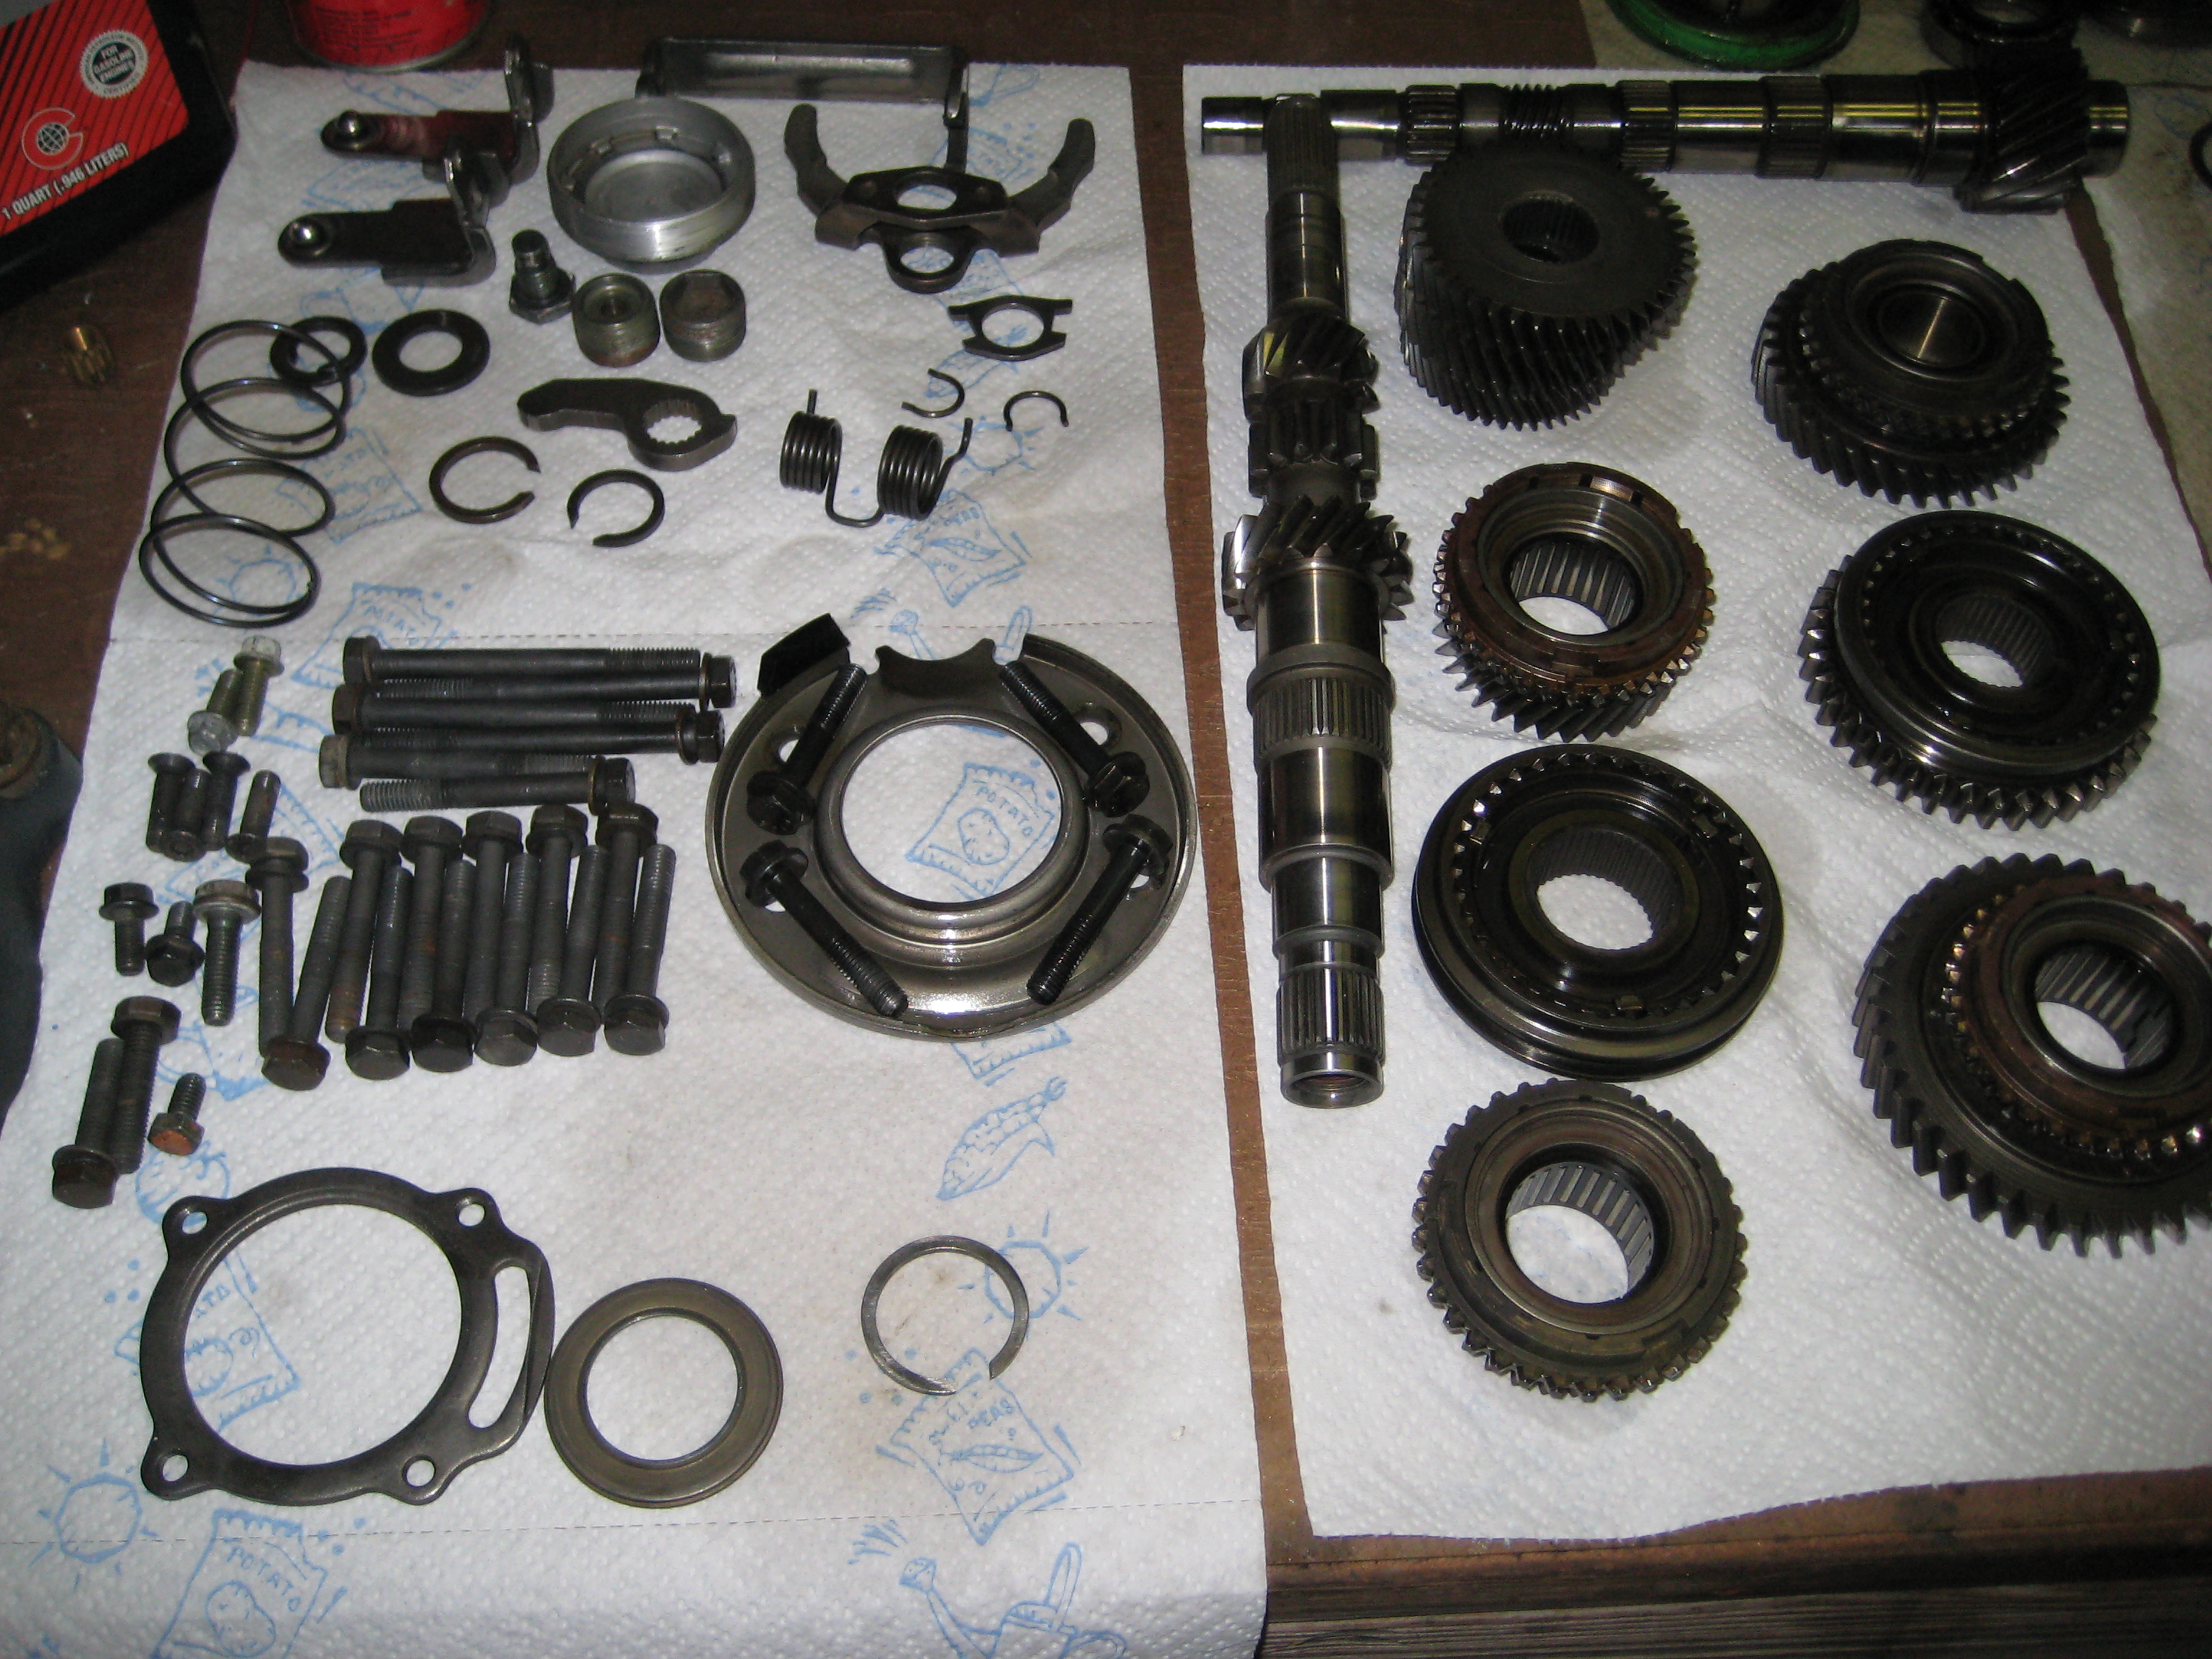
This is what I have removed from your trans so far...
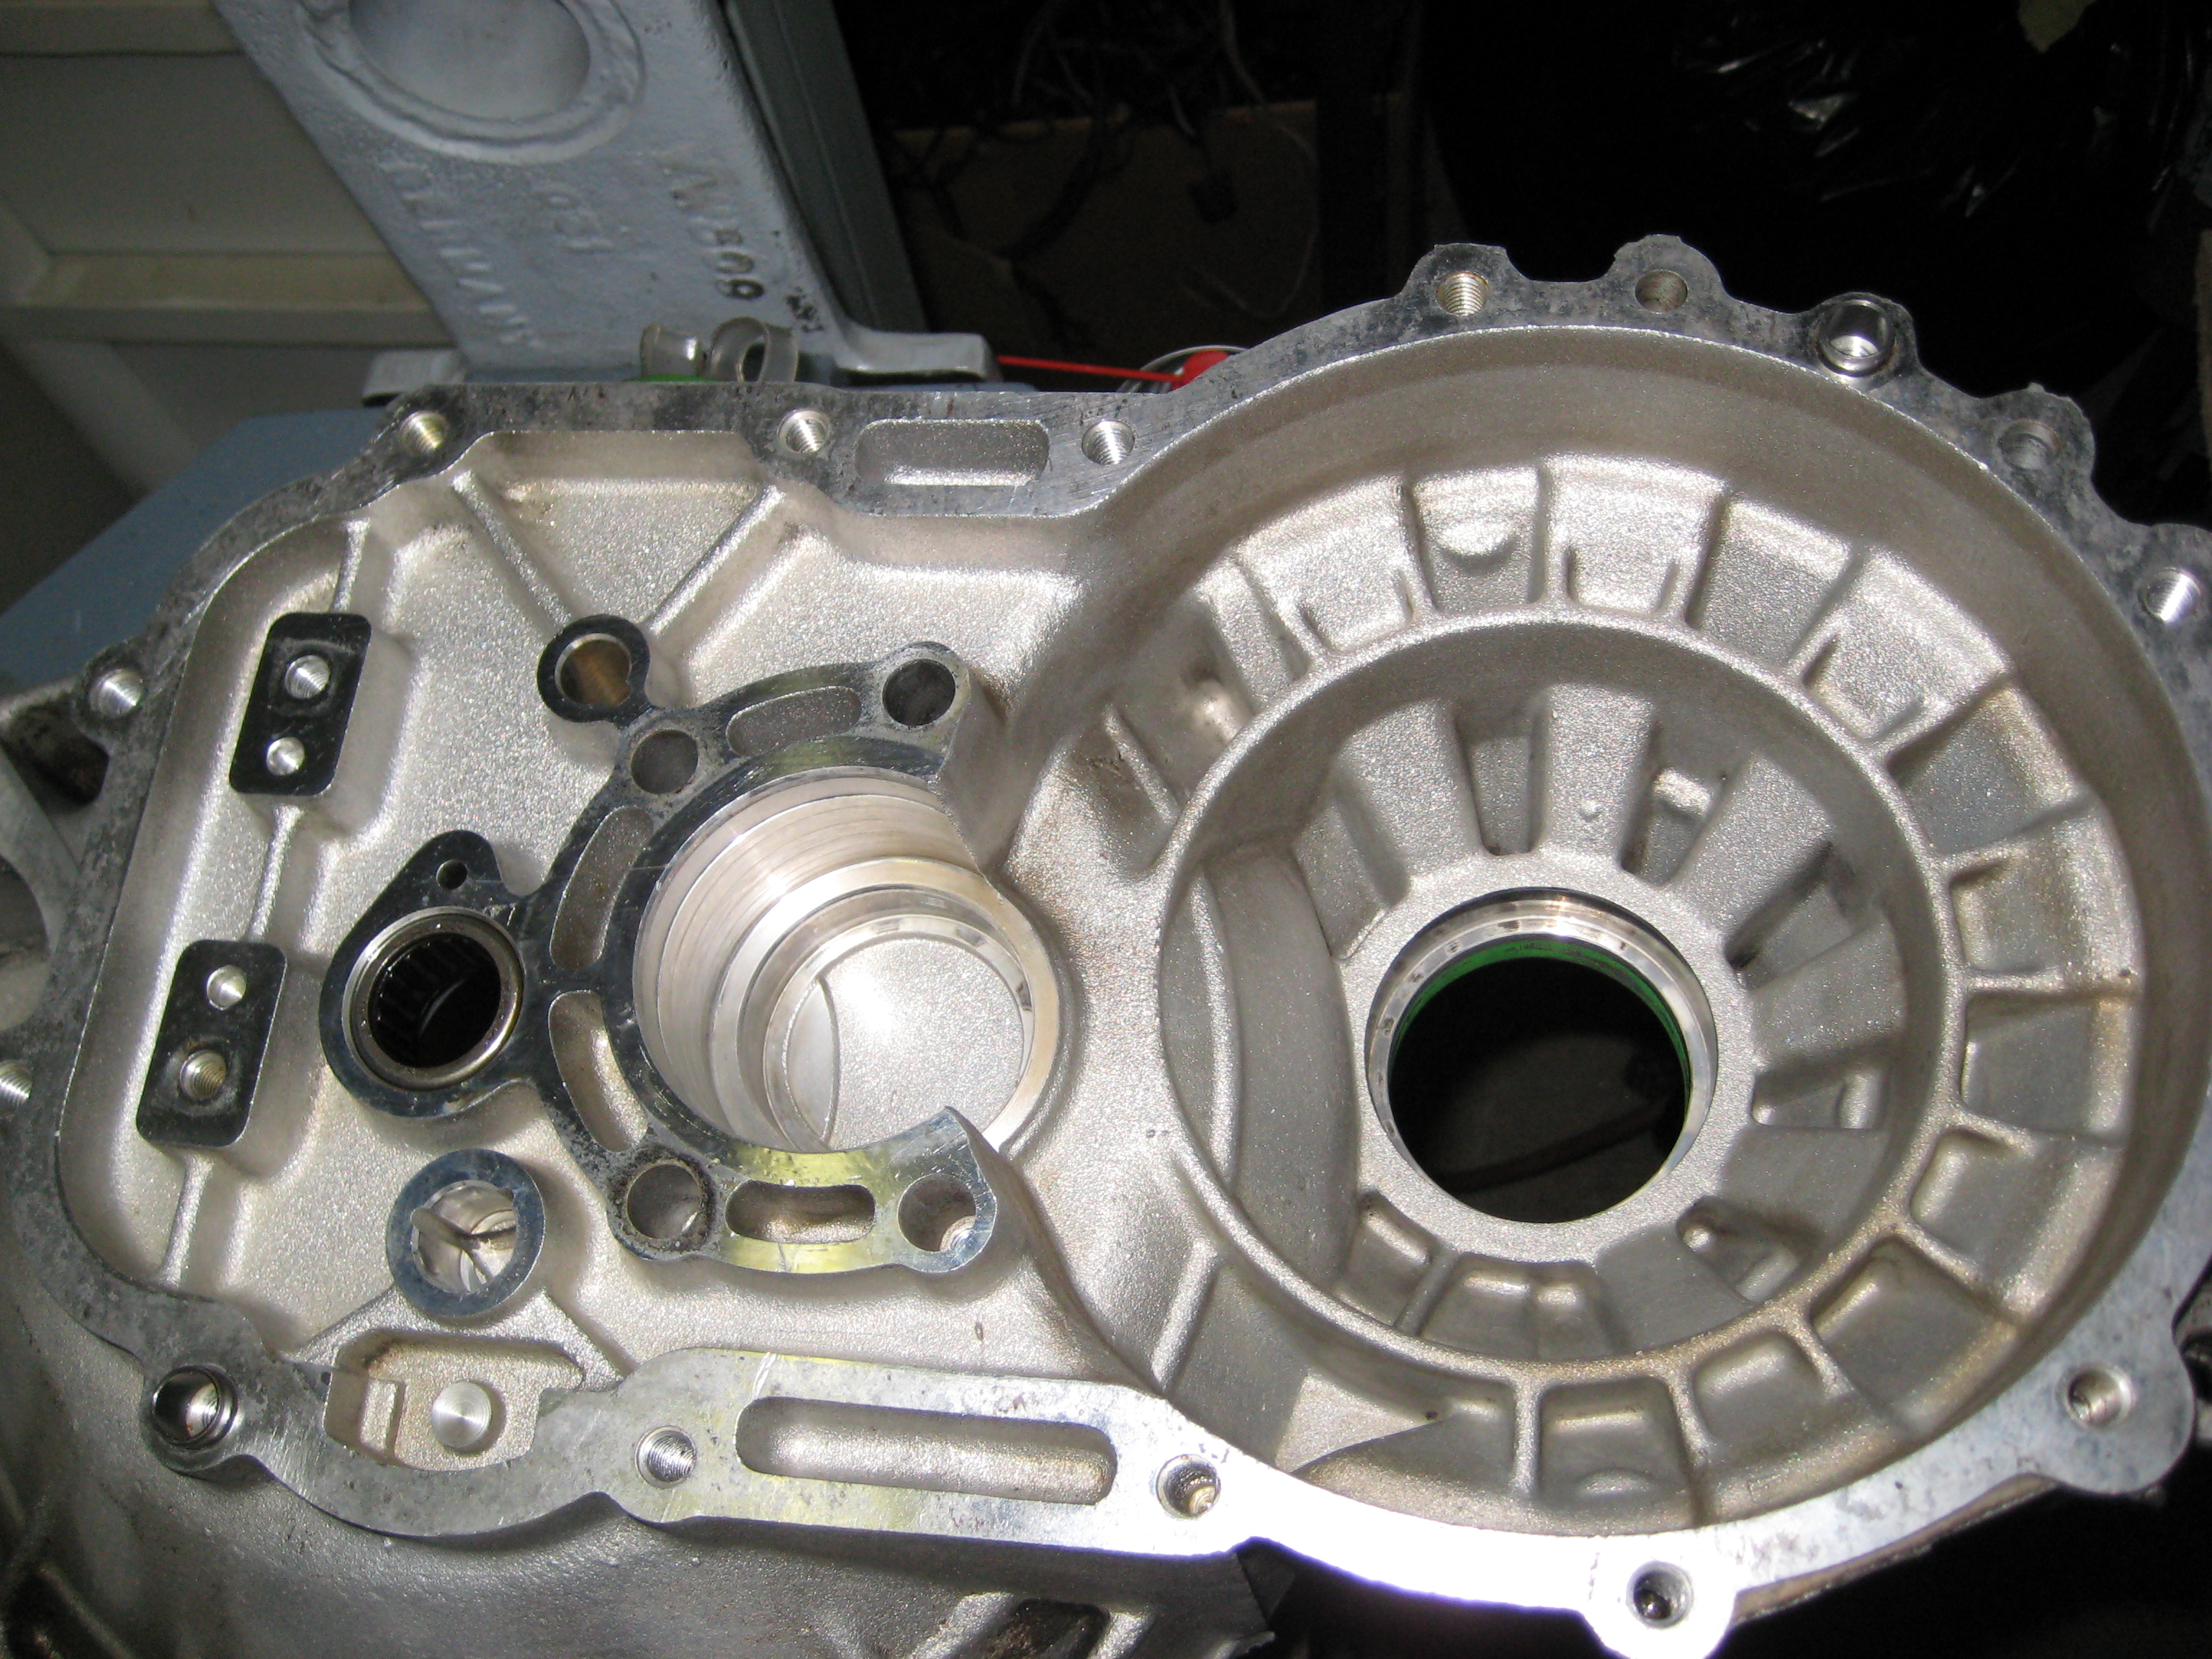
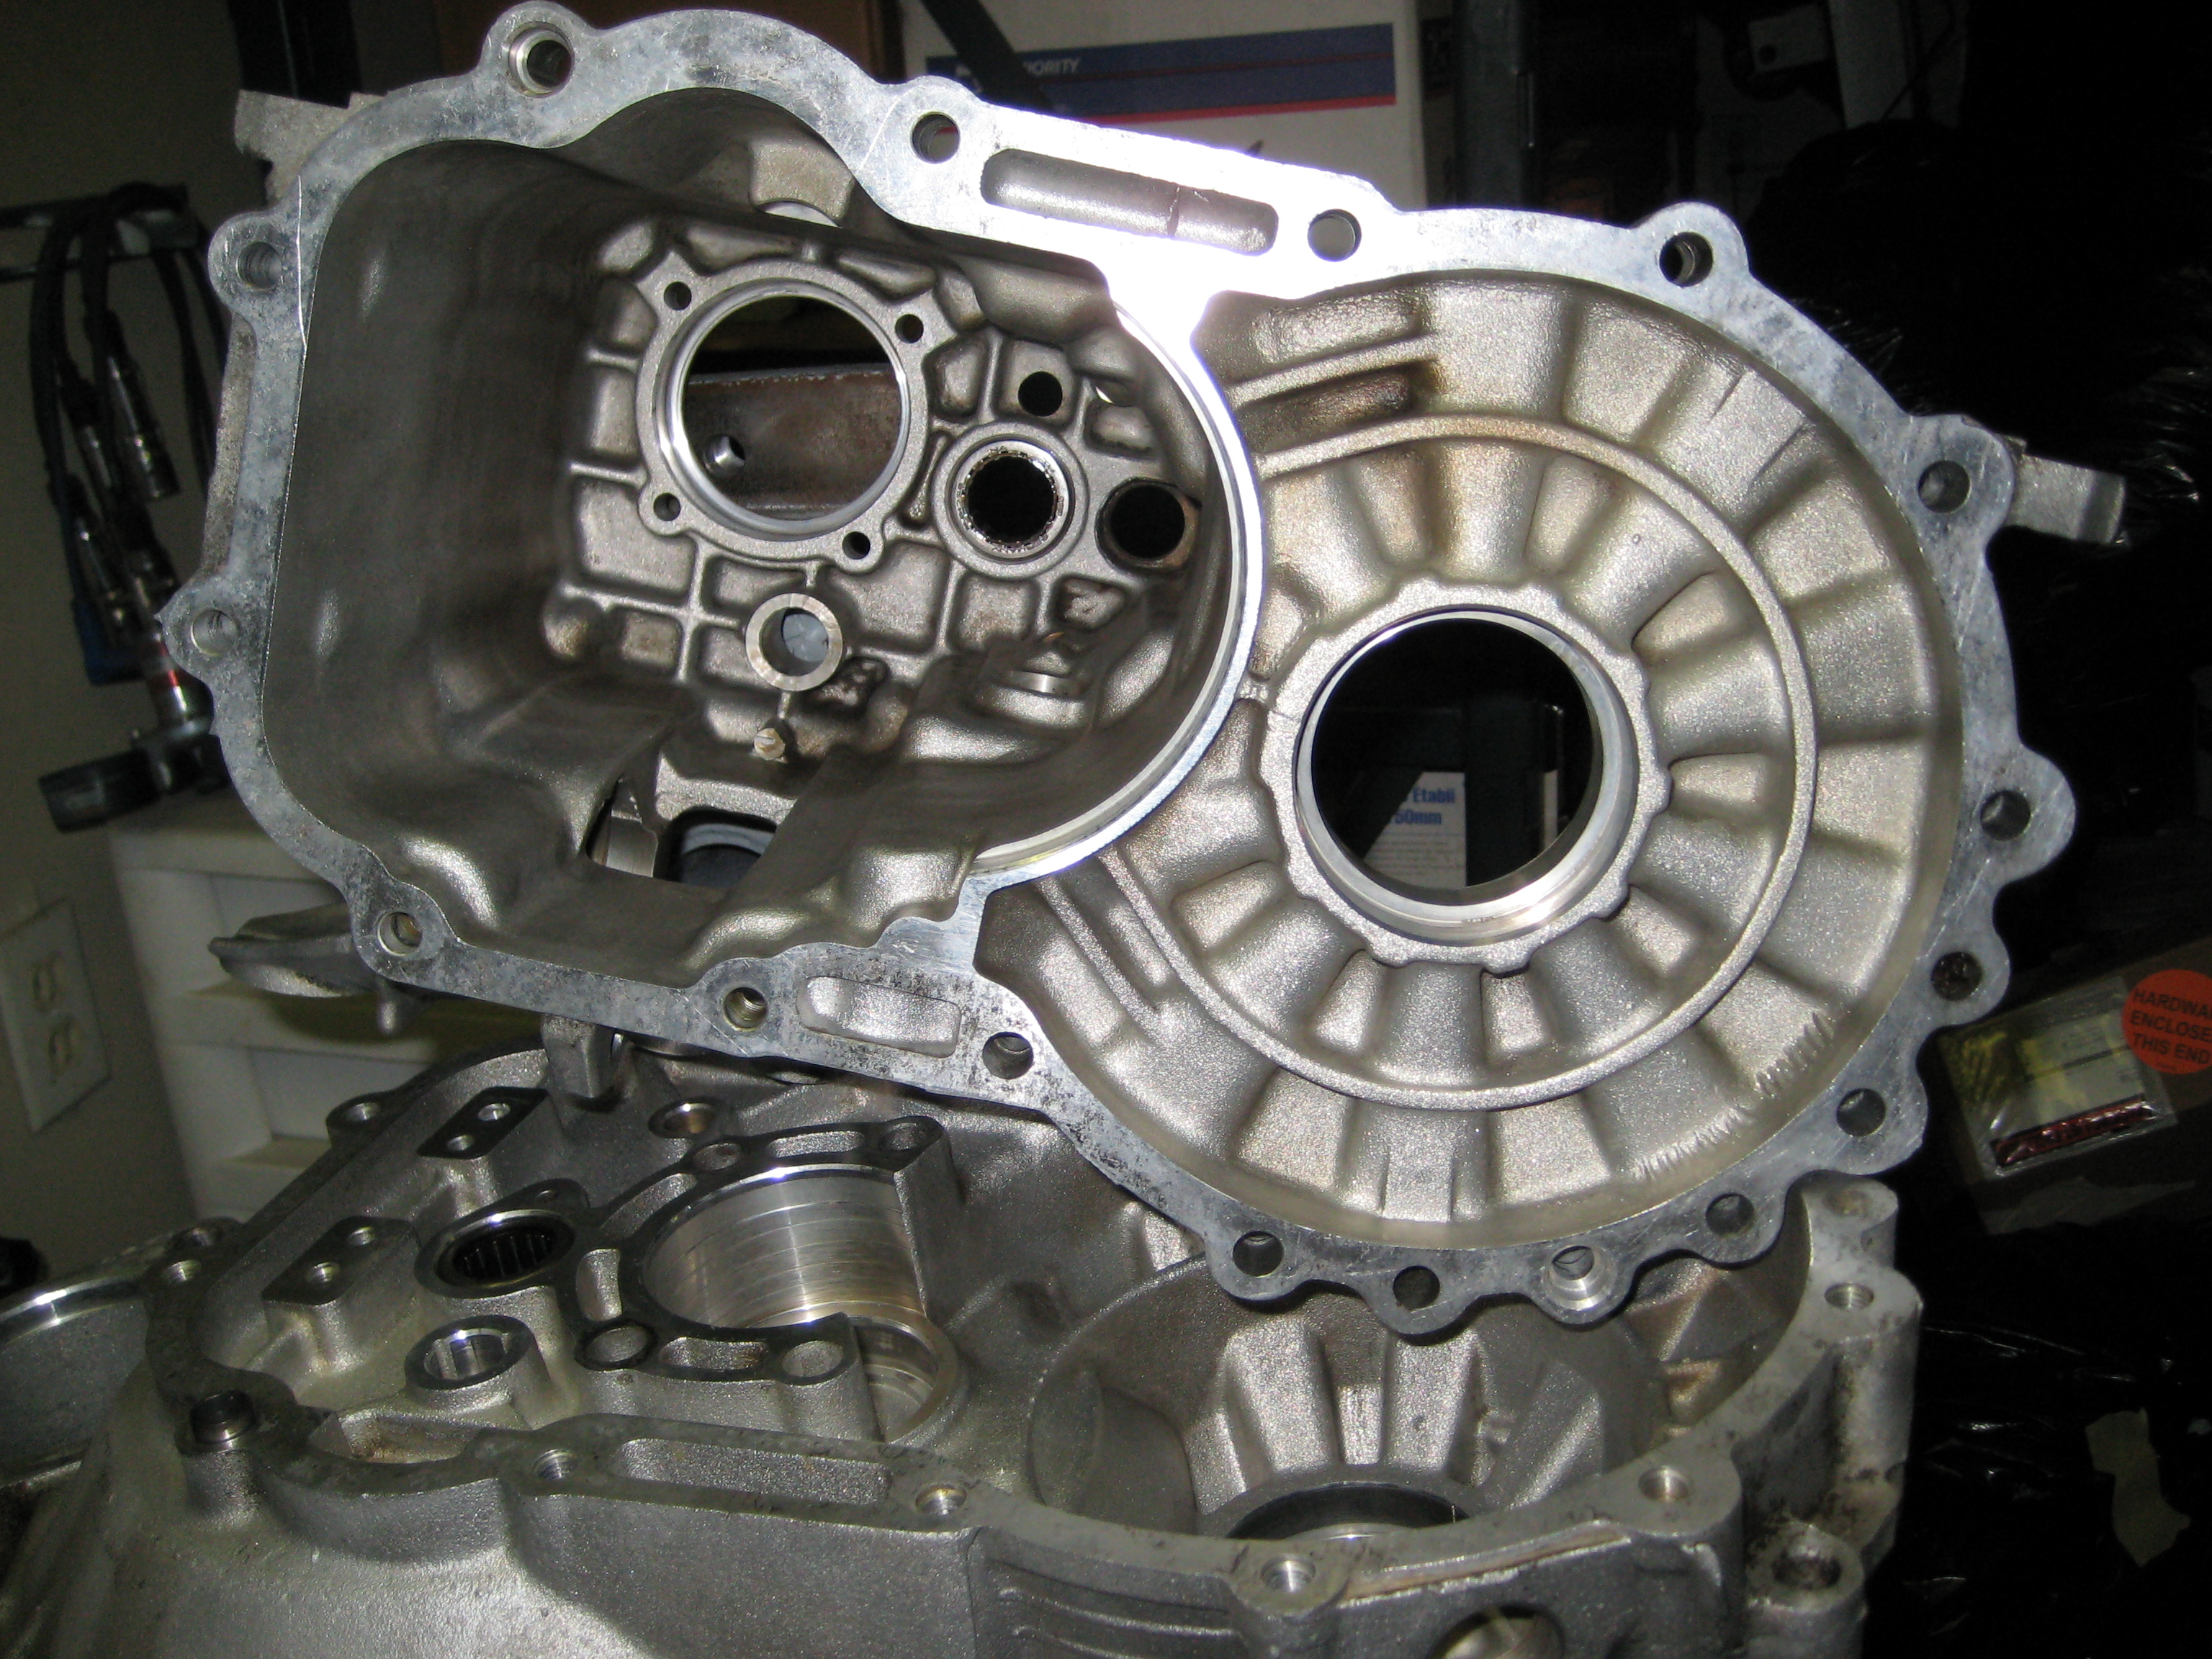
A couple shots of the case after cleaning... there is still some
staining in the nooks and crannies, but it was covered entirely in a black
film...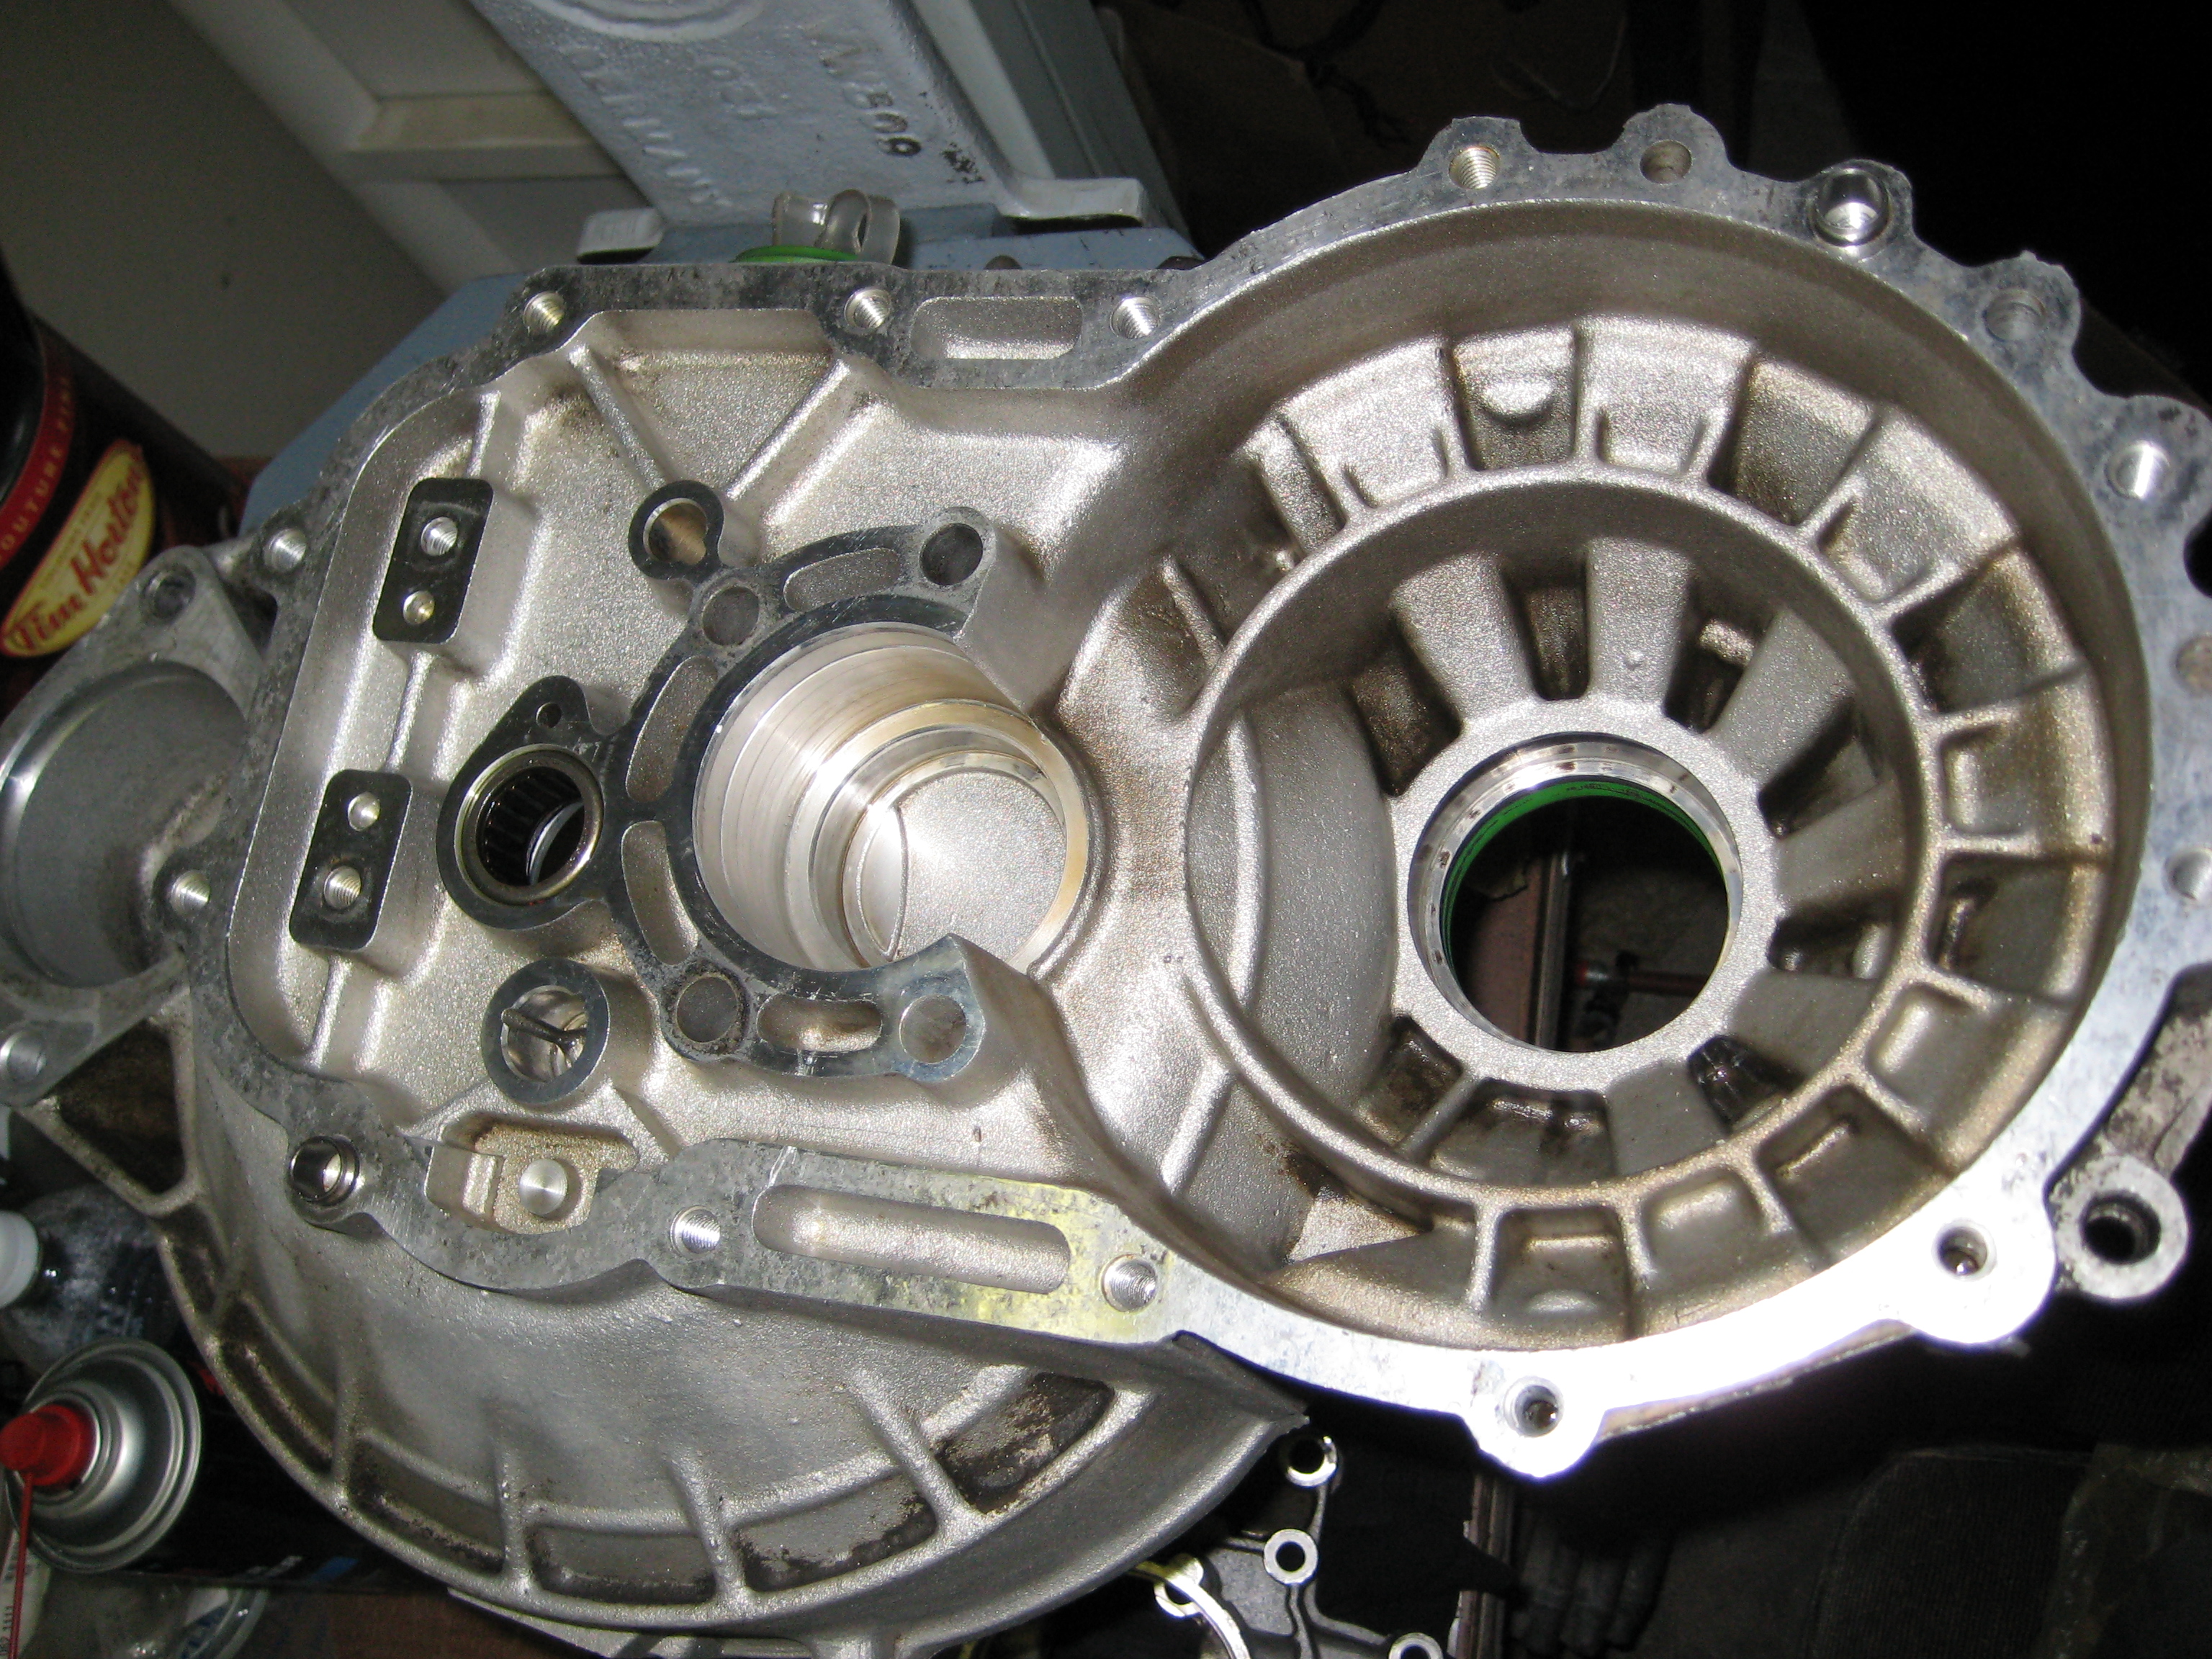
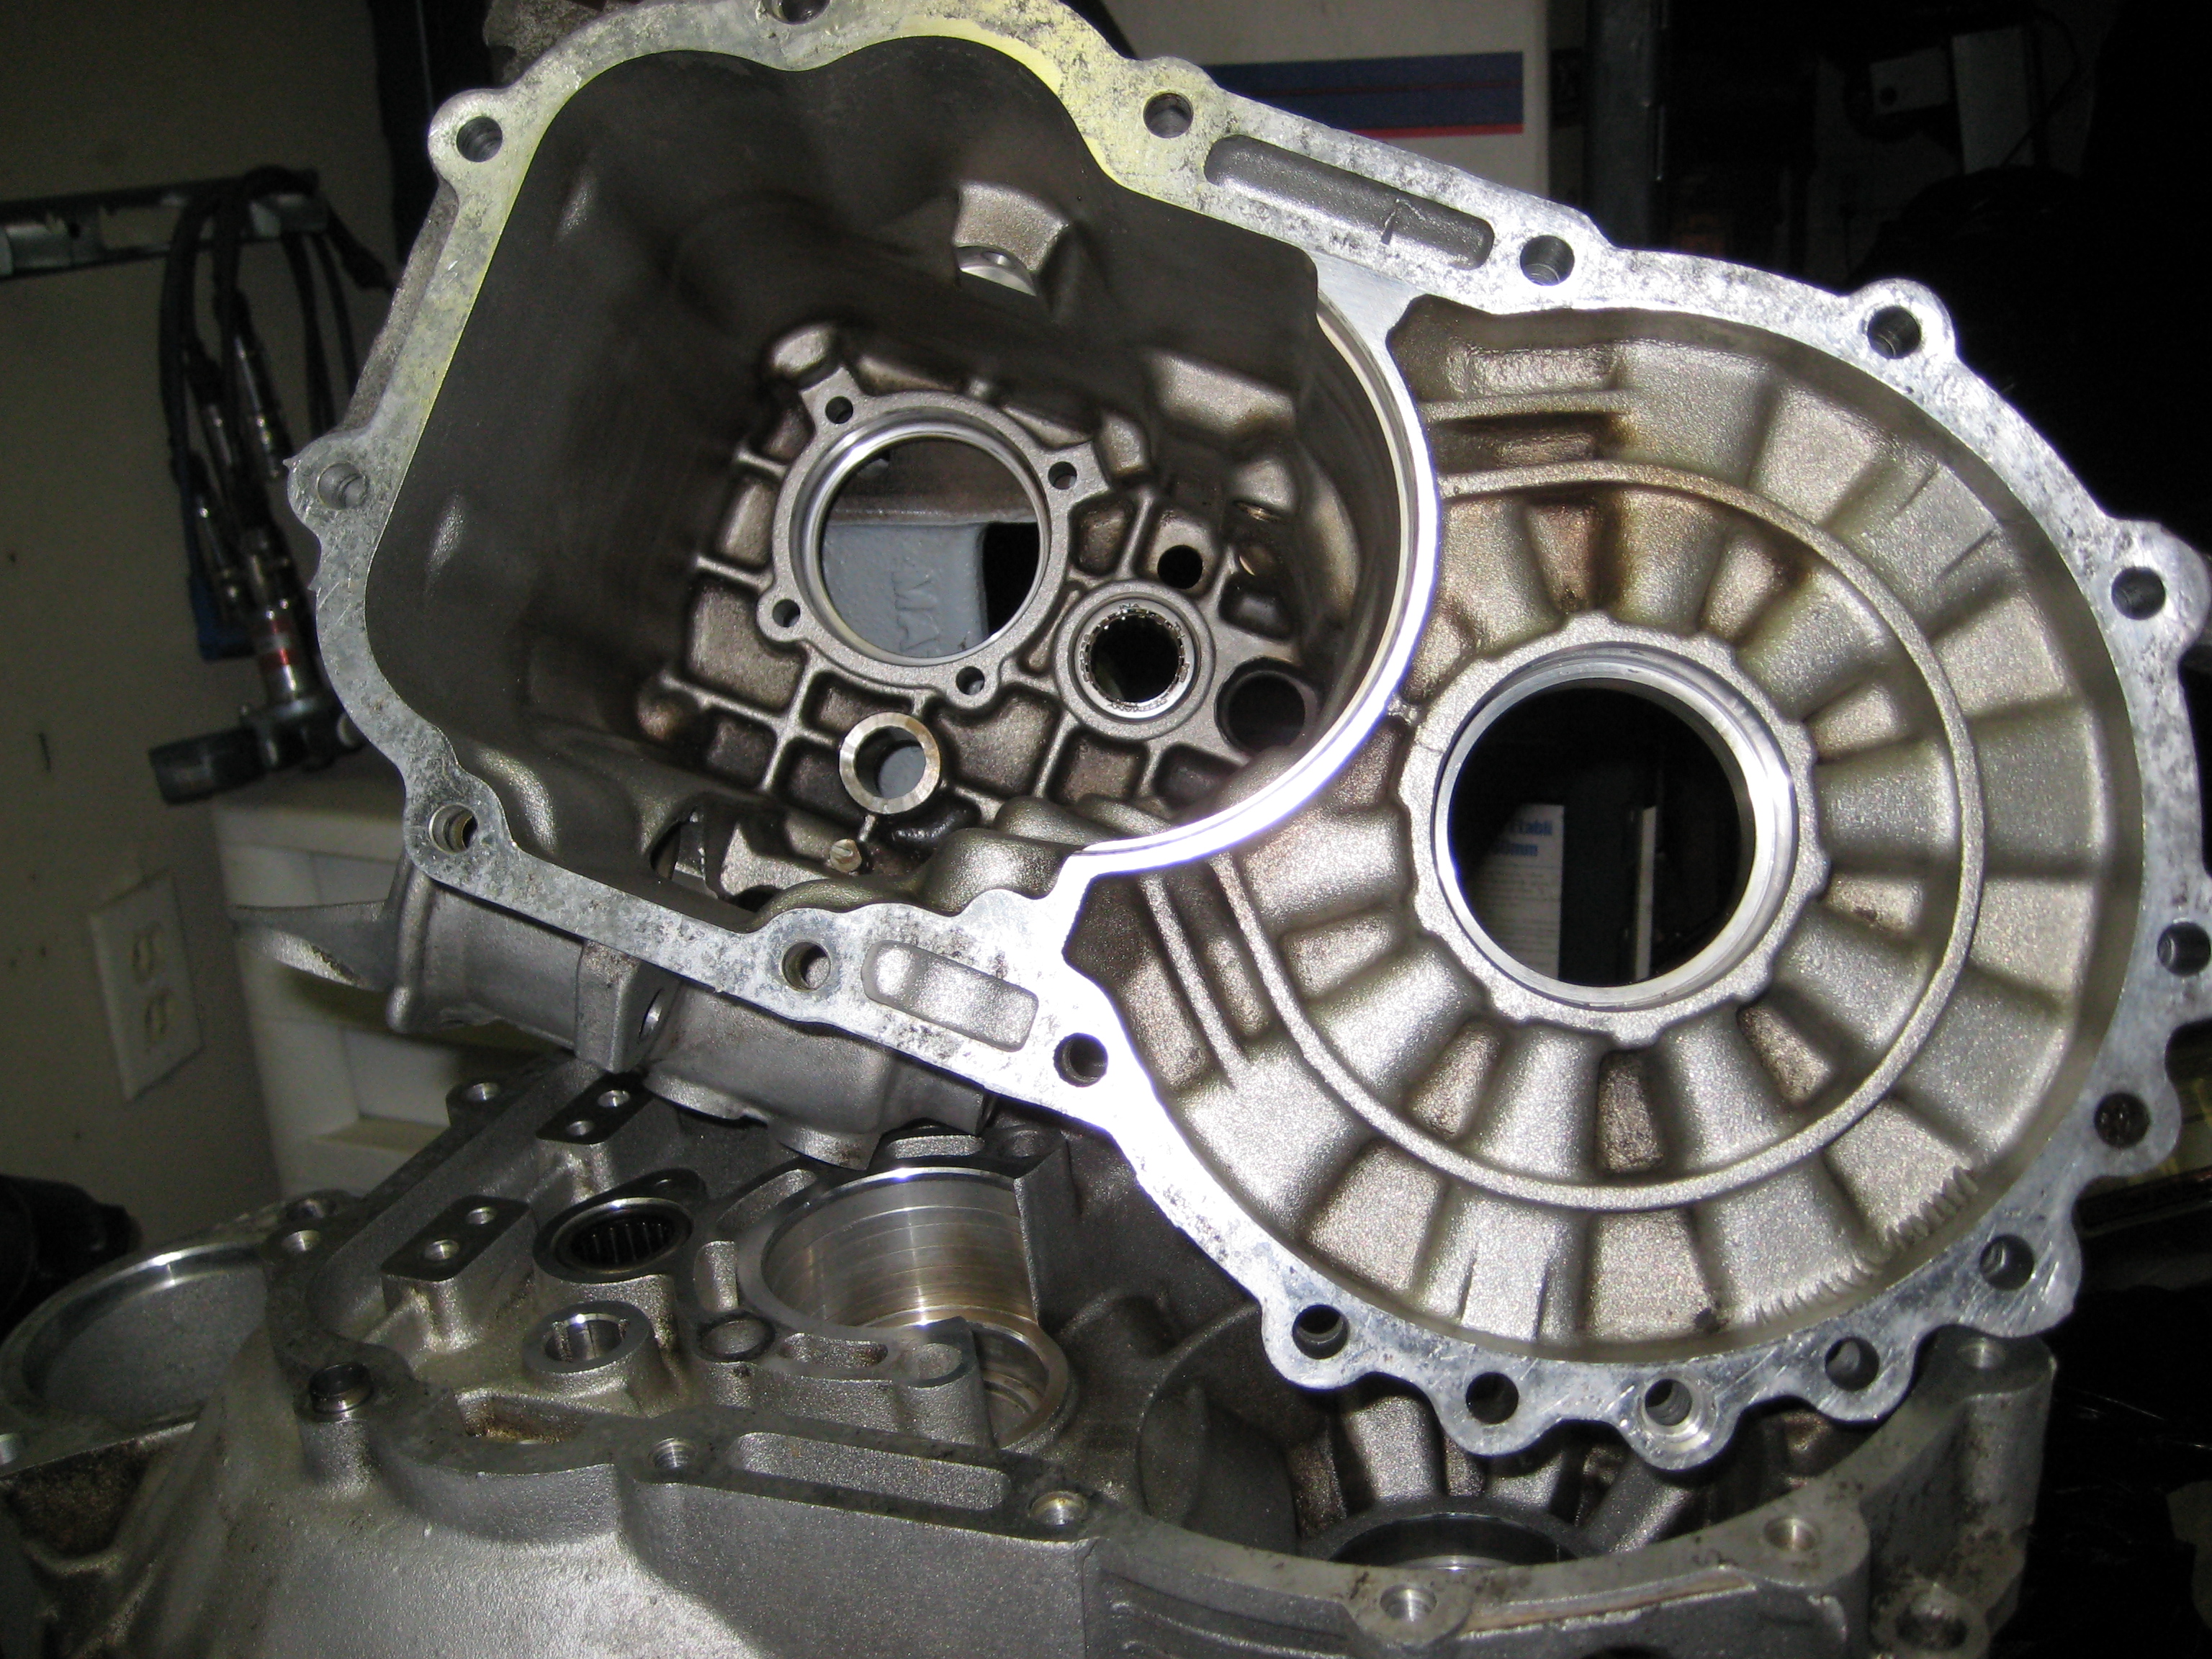
A couple more shots of the case after getting a little more of
the black out of the hard to reach spots...
This is a pic of cracks in your sync hub key slot corners... 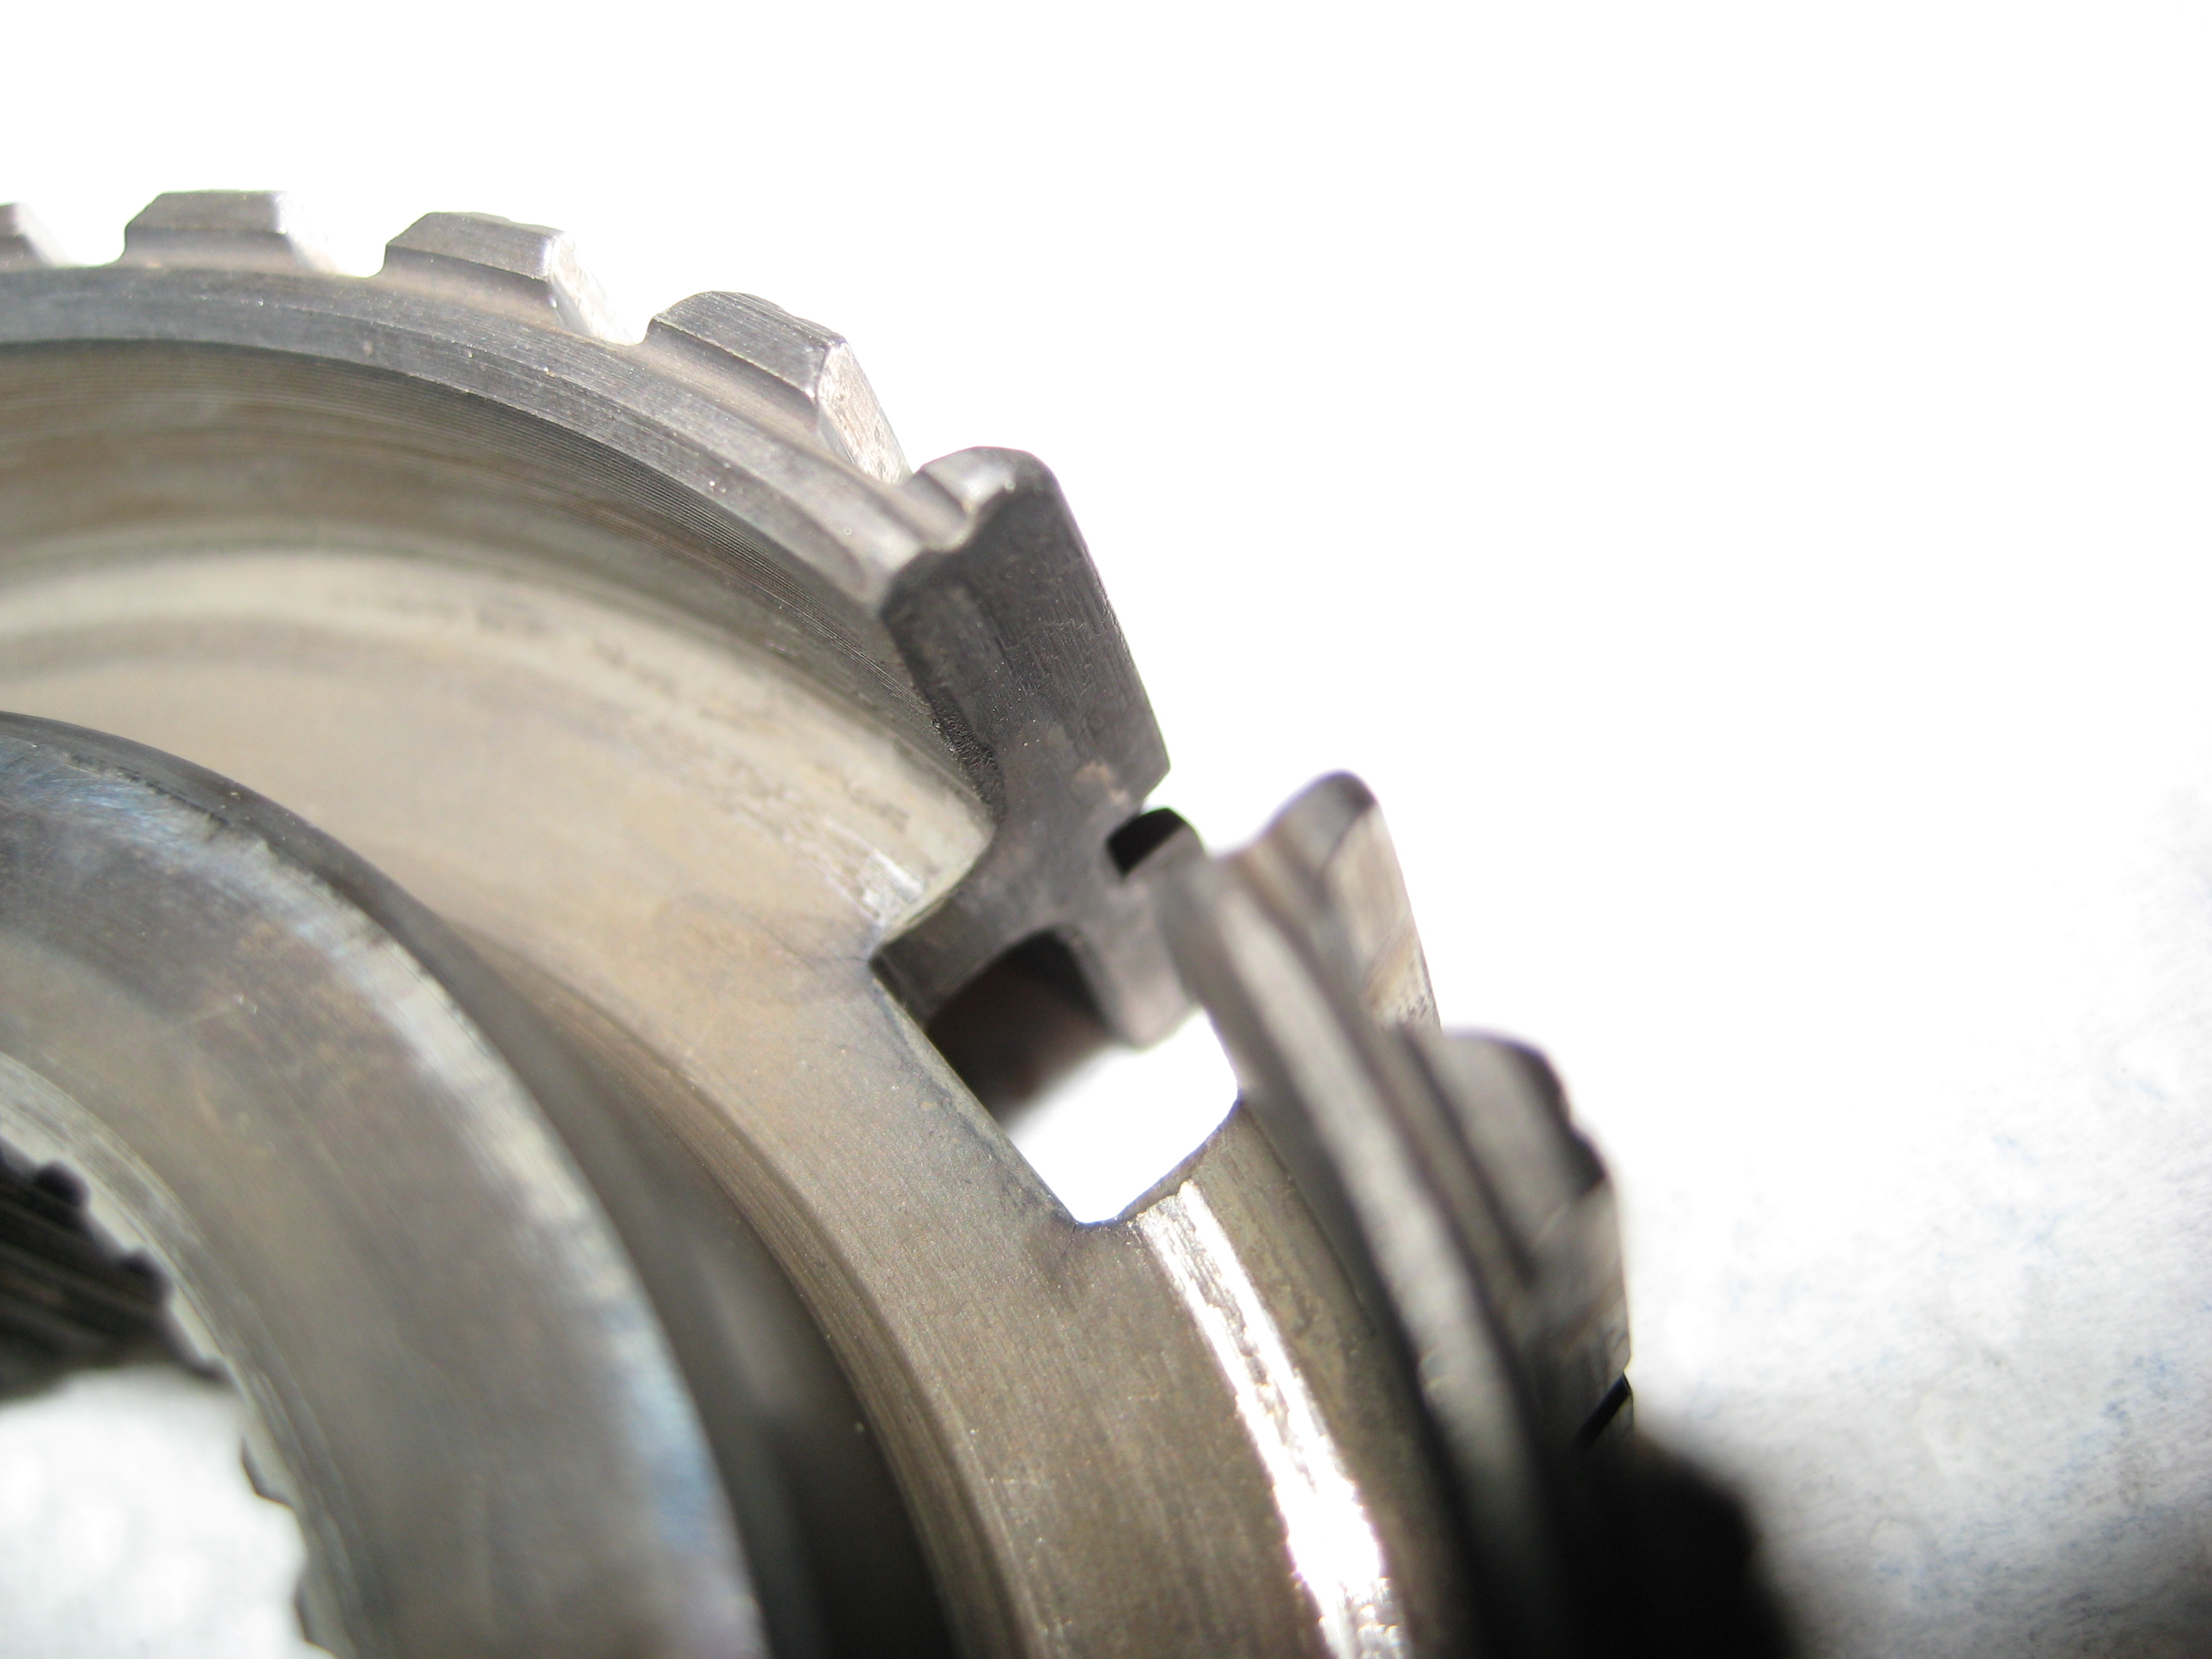
My camera refused to focus where I wanted it to, but the oily wet
areas in the corners of the slots are cracks...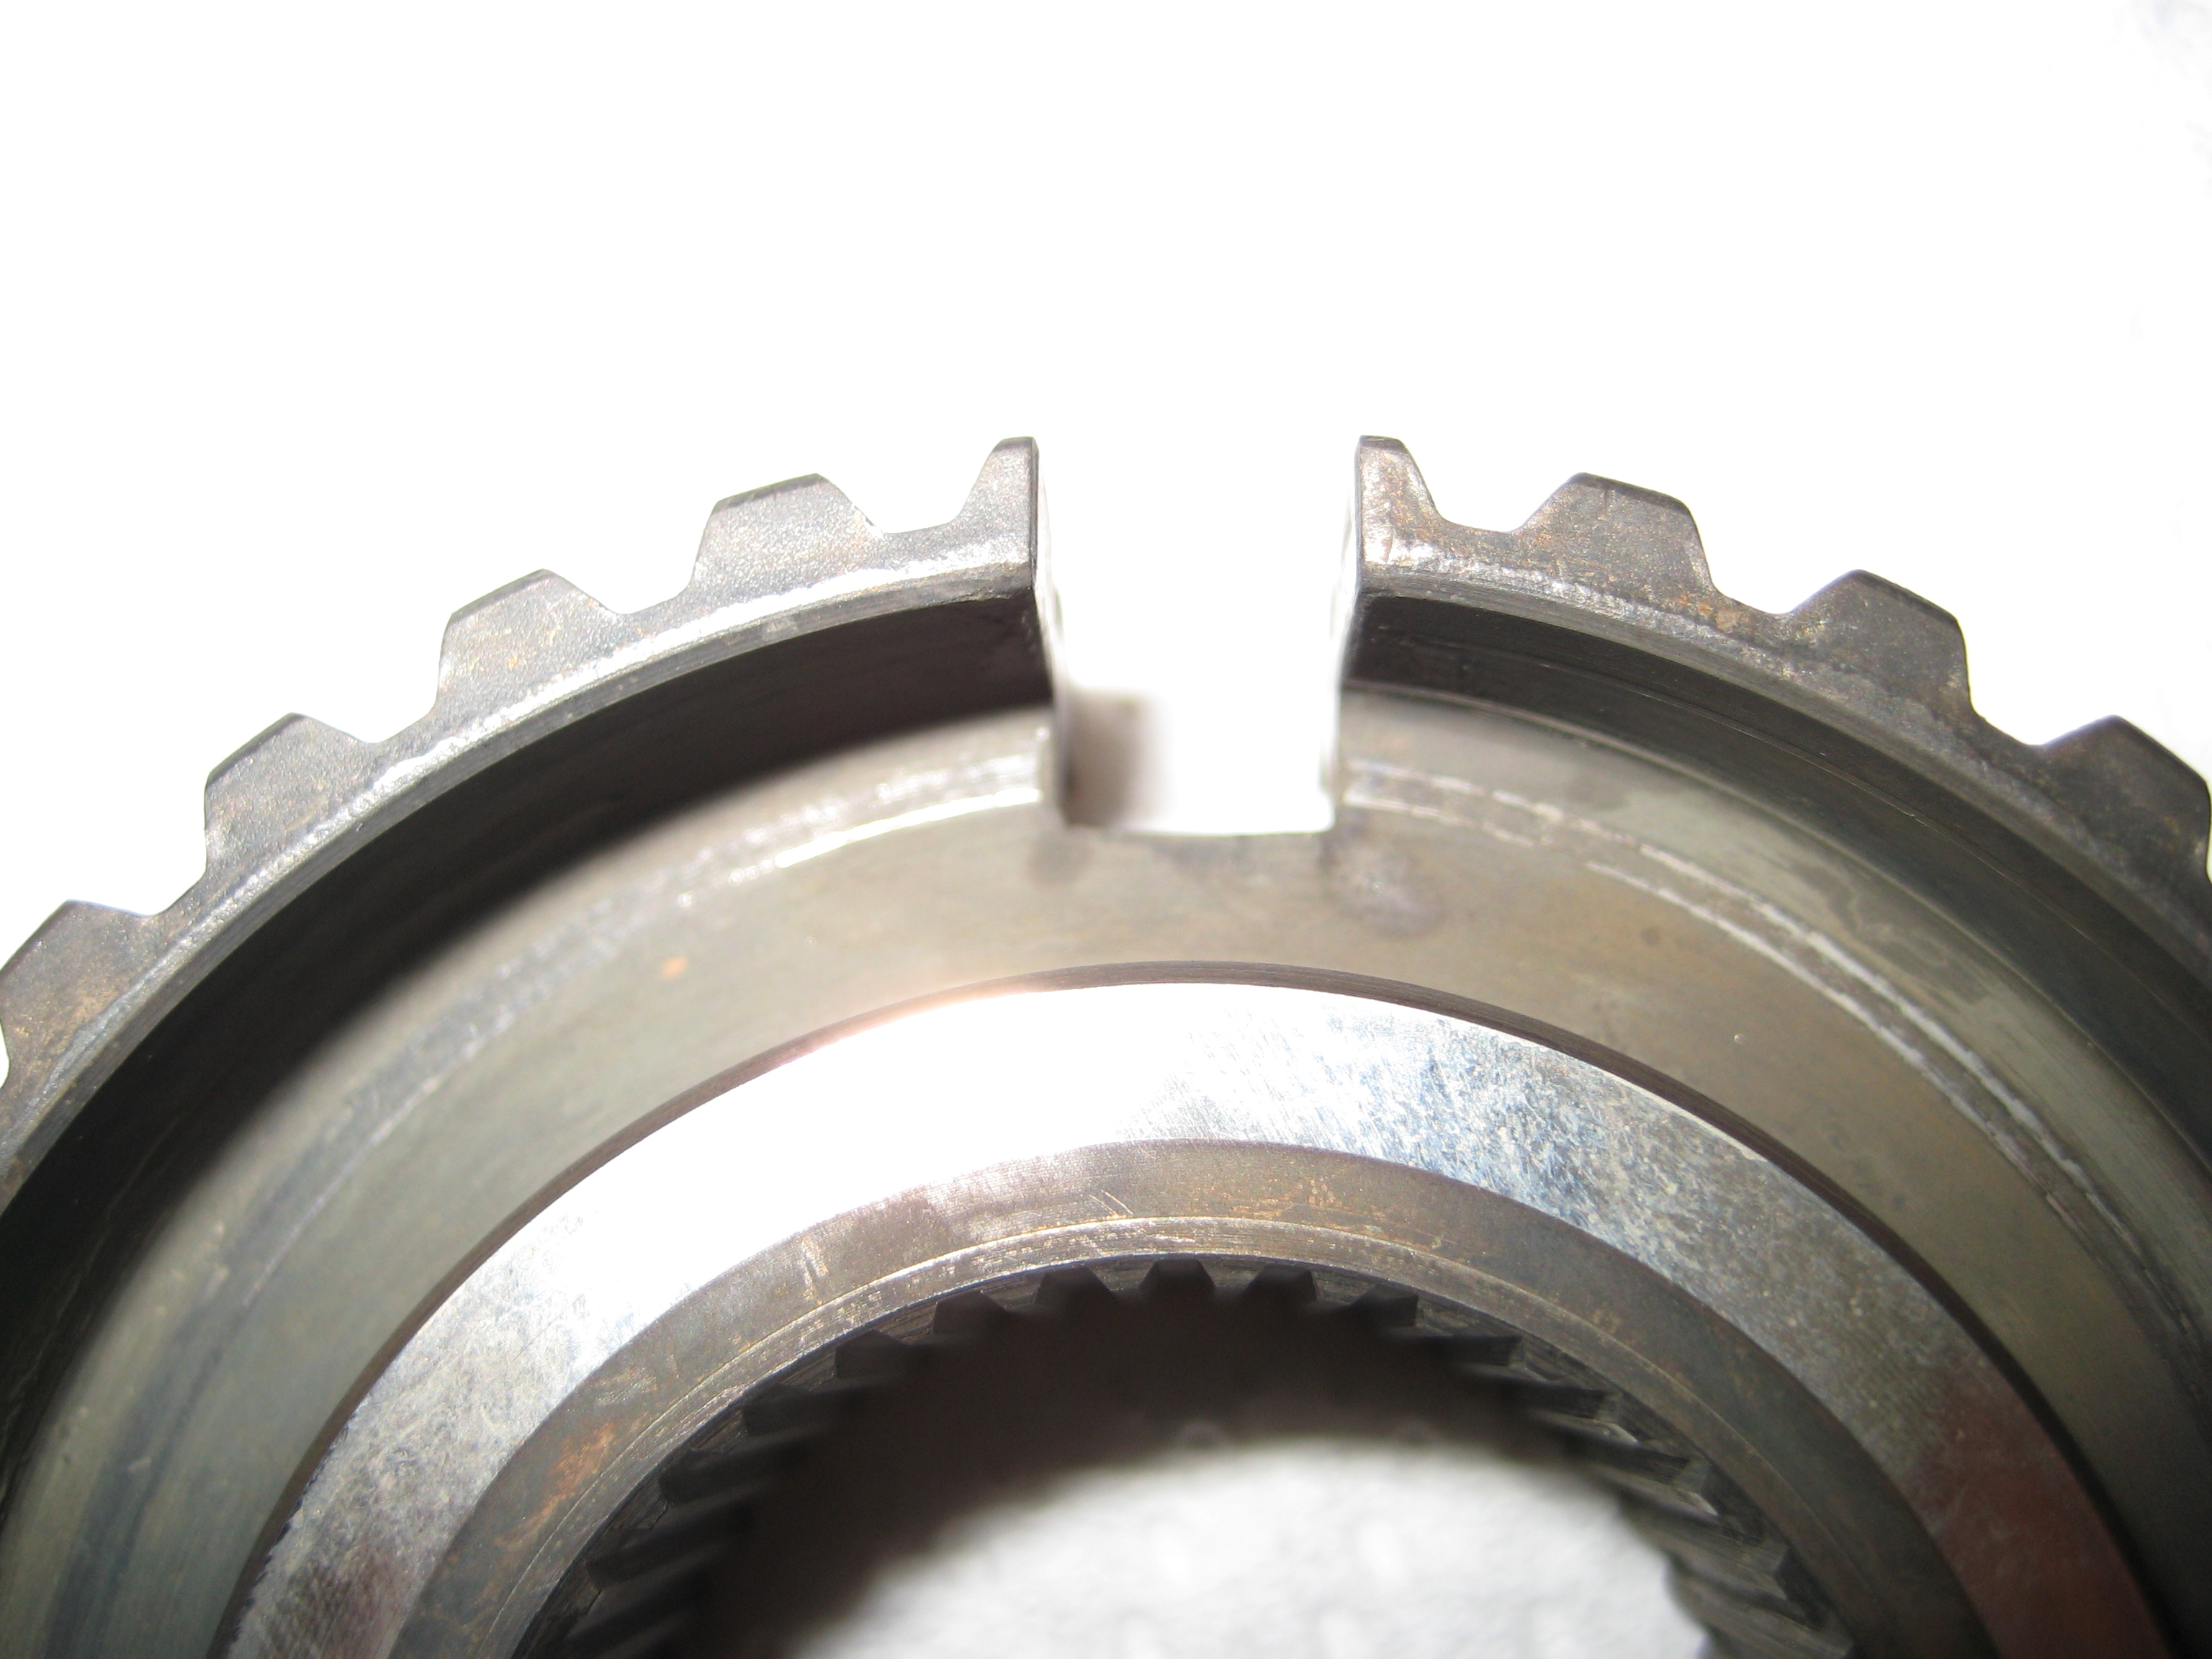
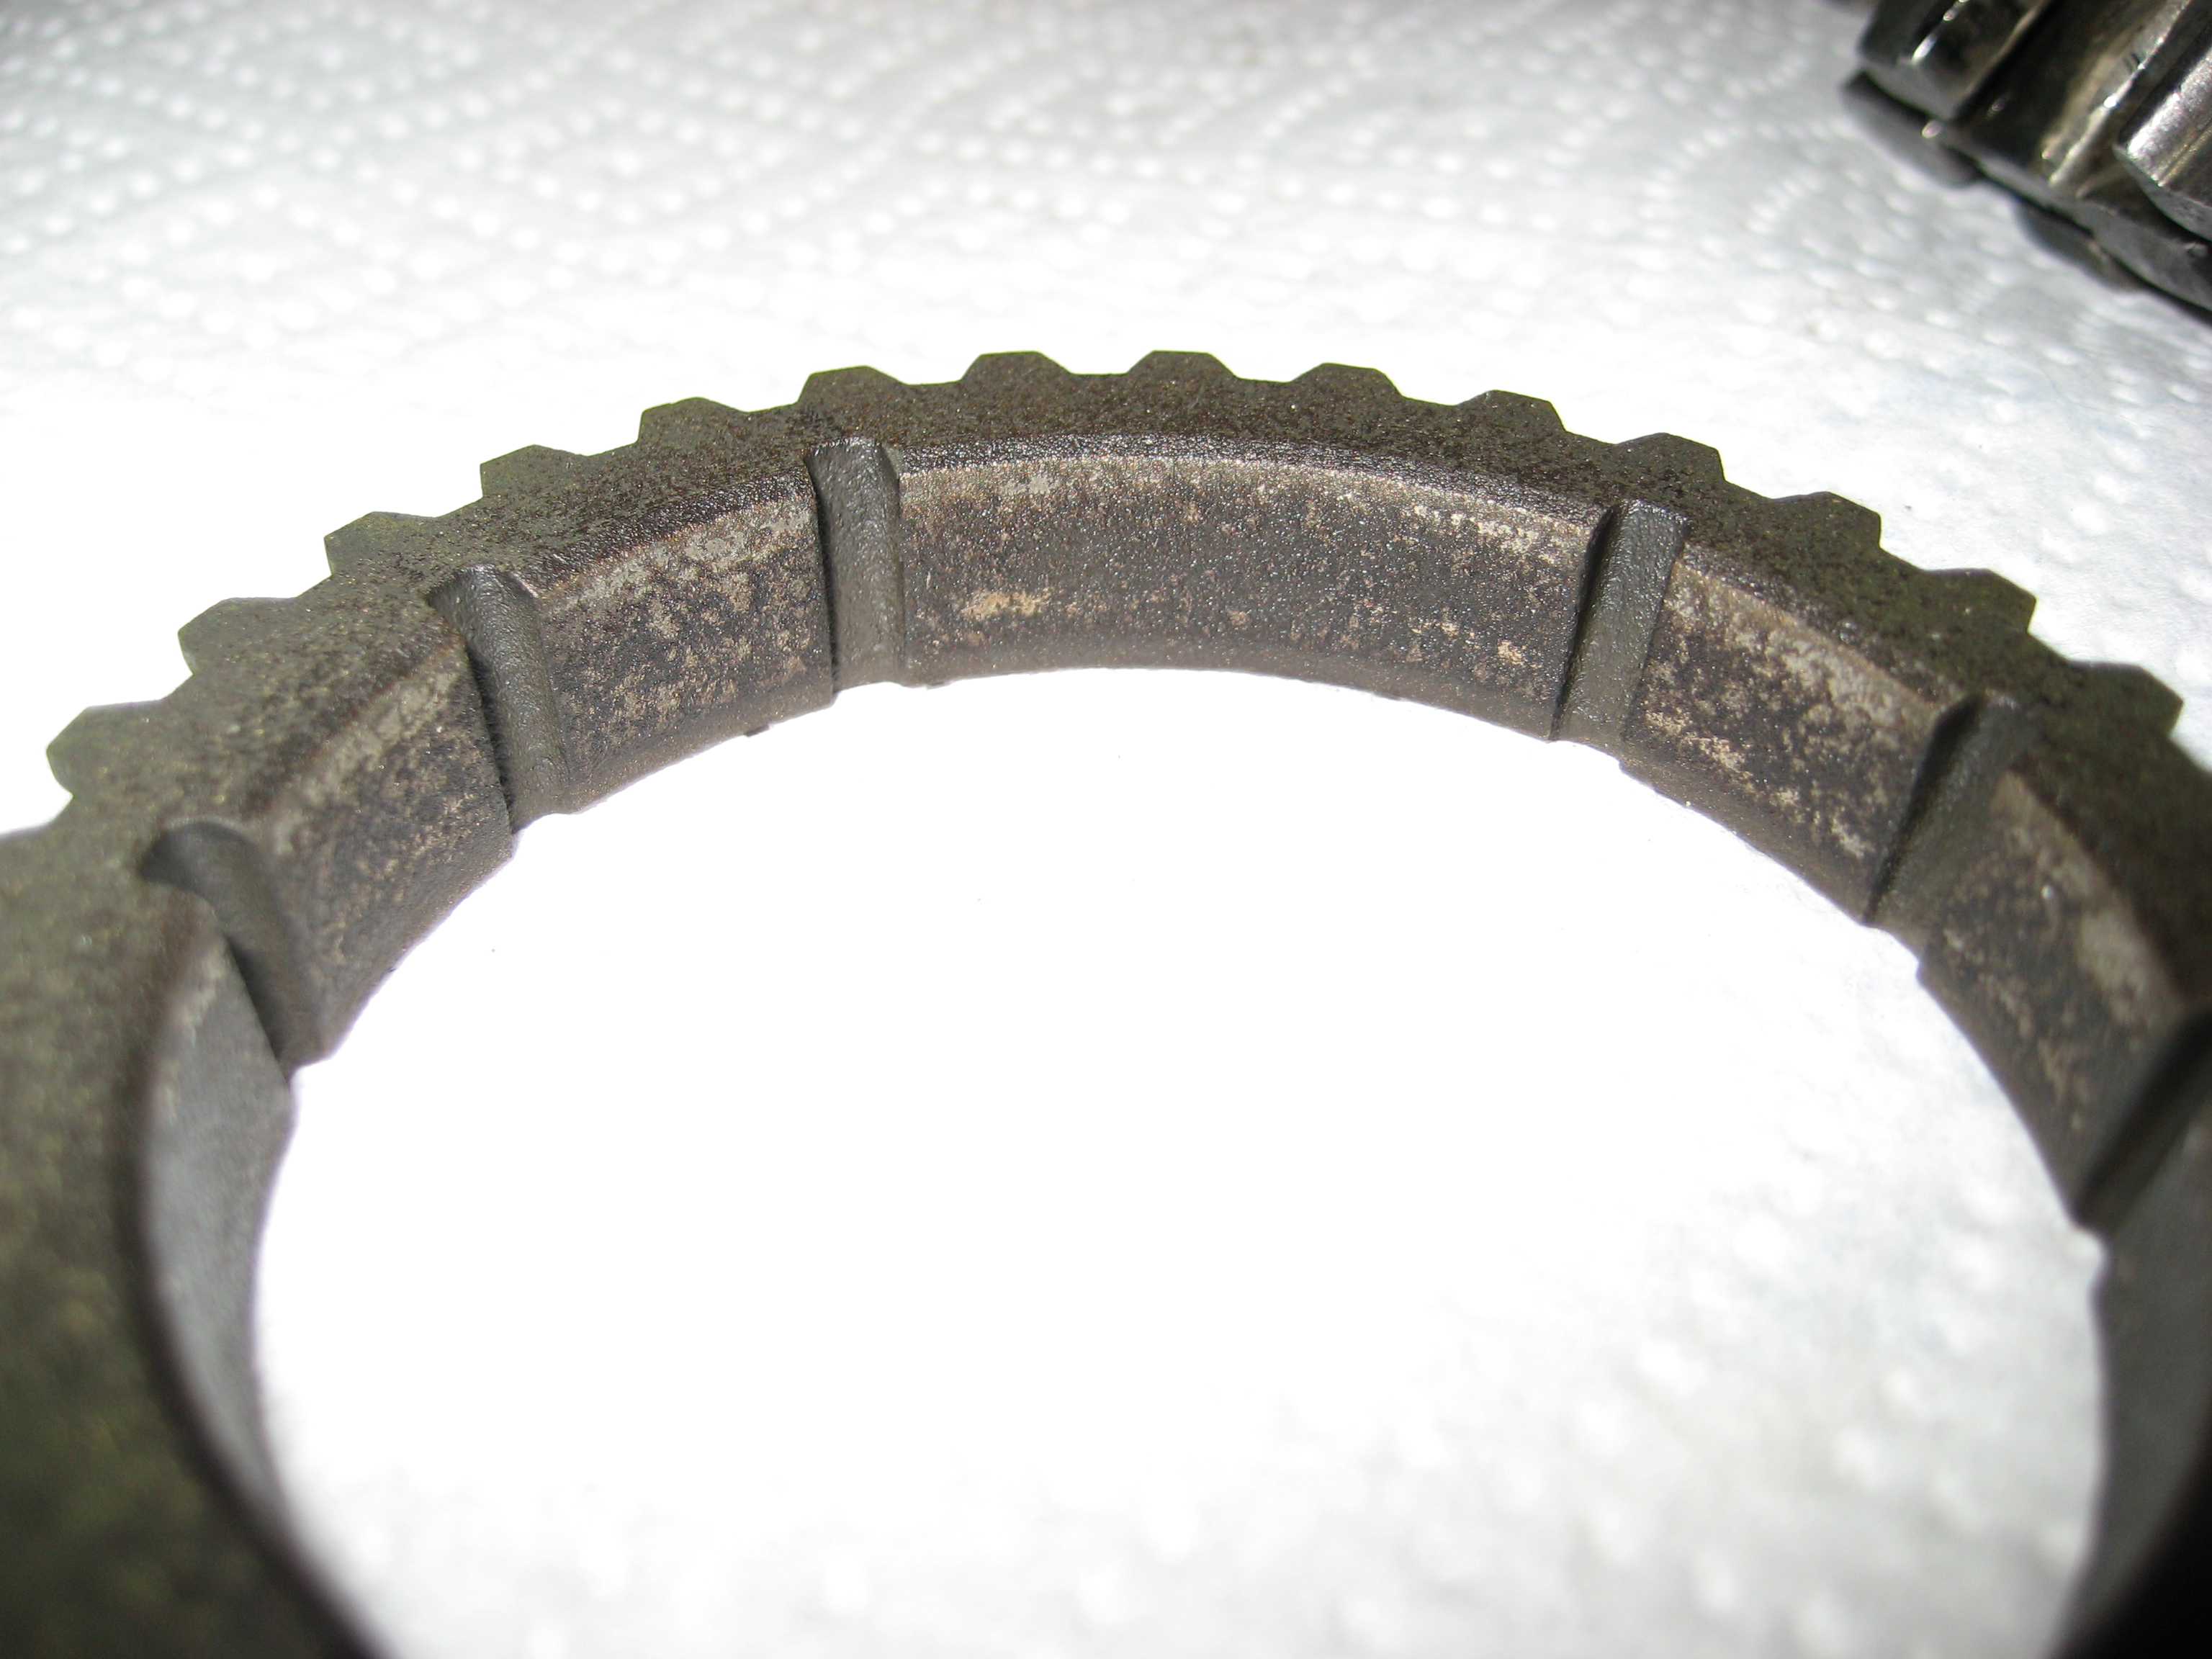
A couple shots of the 2nd gear sync ring, you can see it is
wearing the moly coating off, but the gap between the ring and gear is still in
spec...
This shows the condition of the small sync teeth on your 2nd
gear, they look beautiful. The tops are nice and sharp, not flattened or rounded
over, no chips, no grooves... just a really nice looking 2nd gear that has never
been abused...
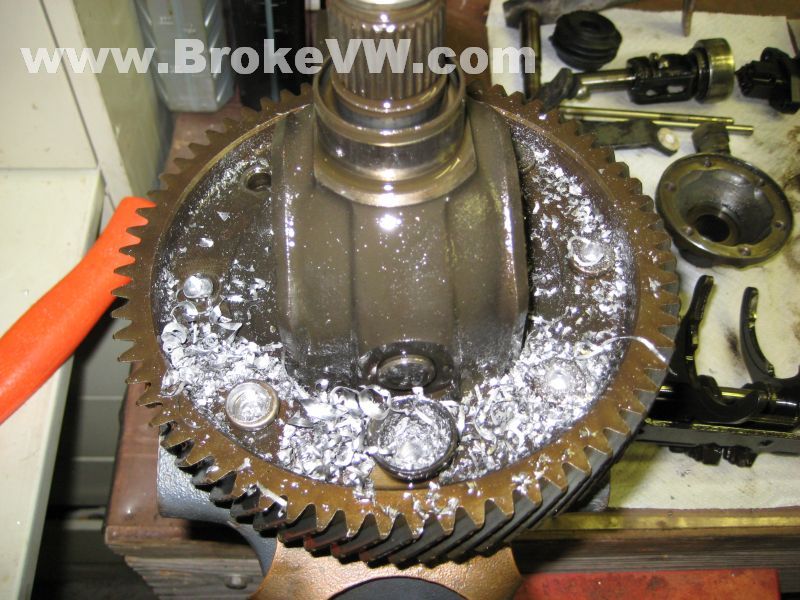
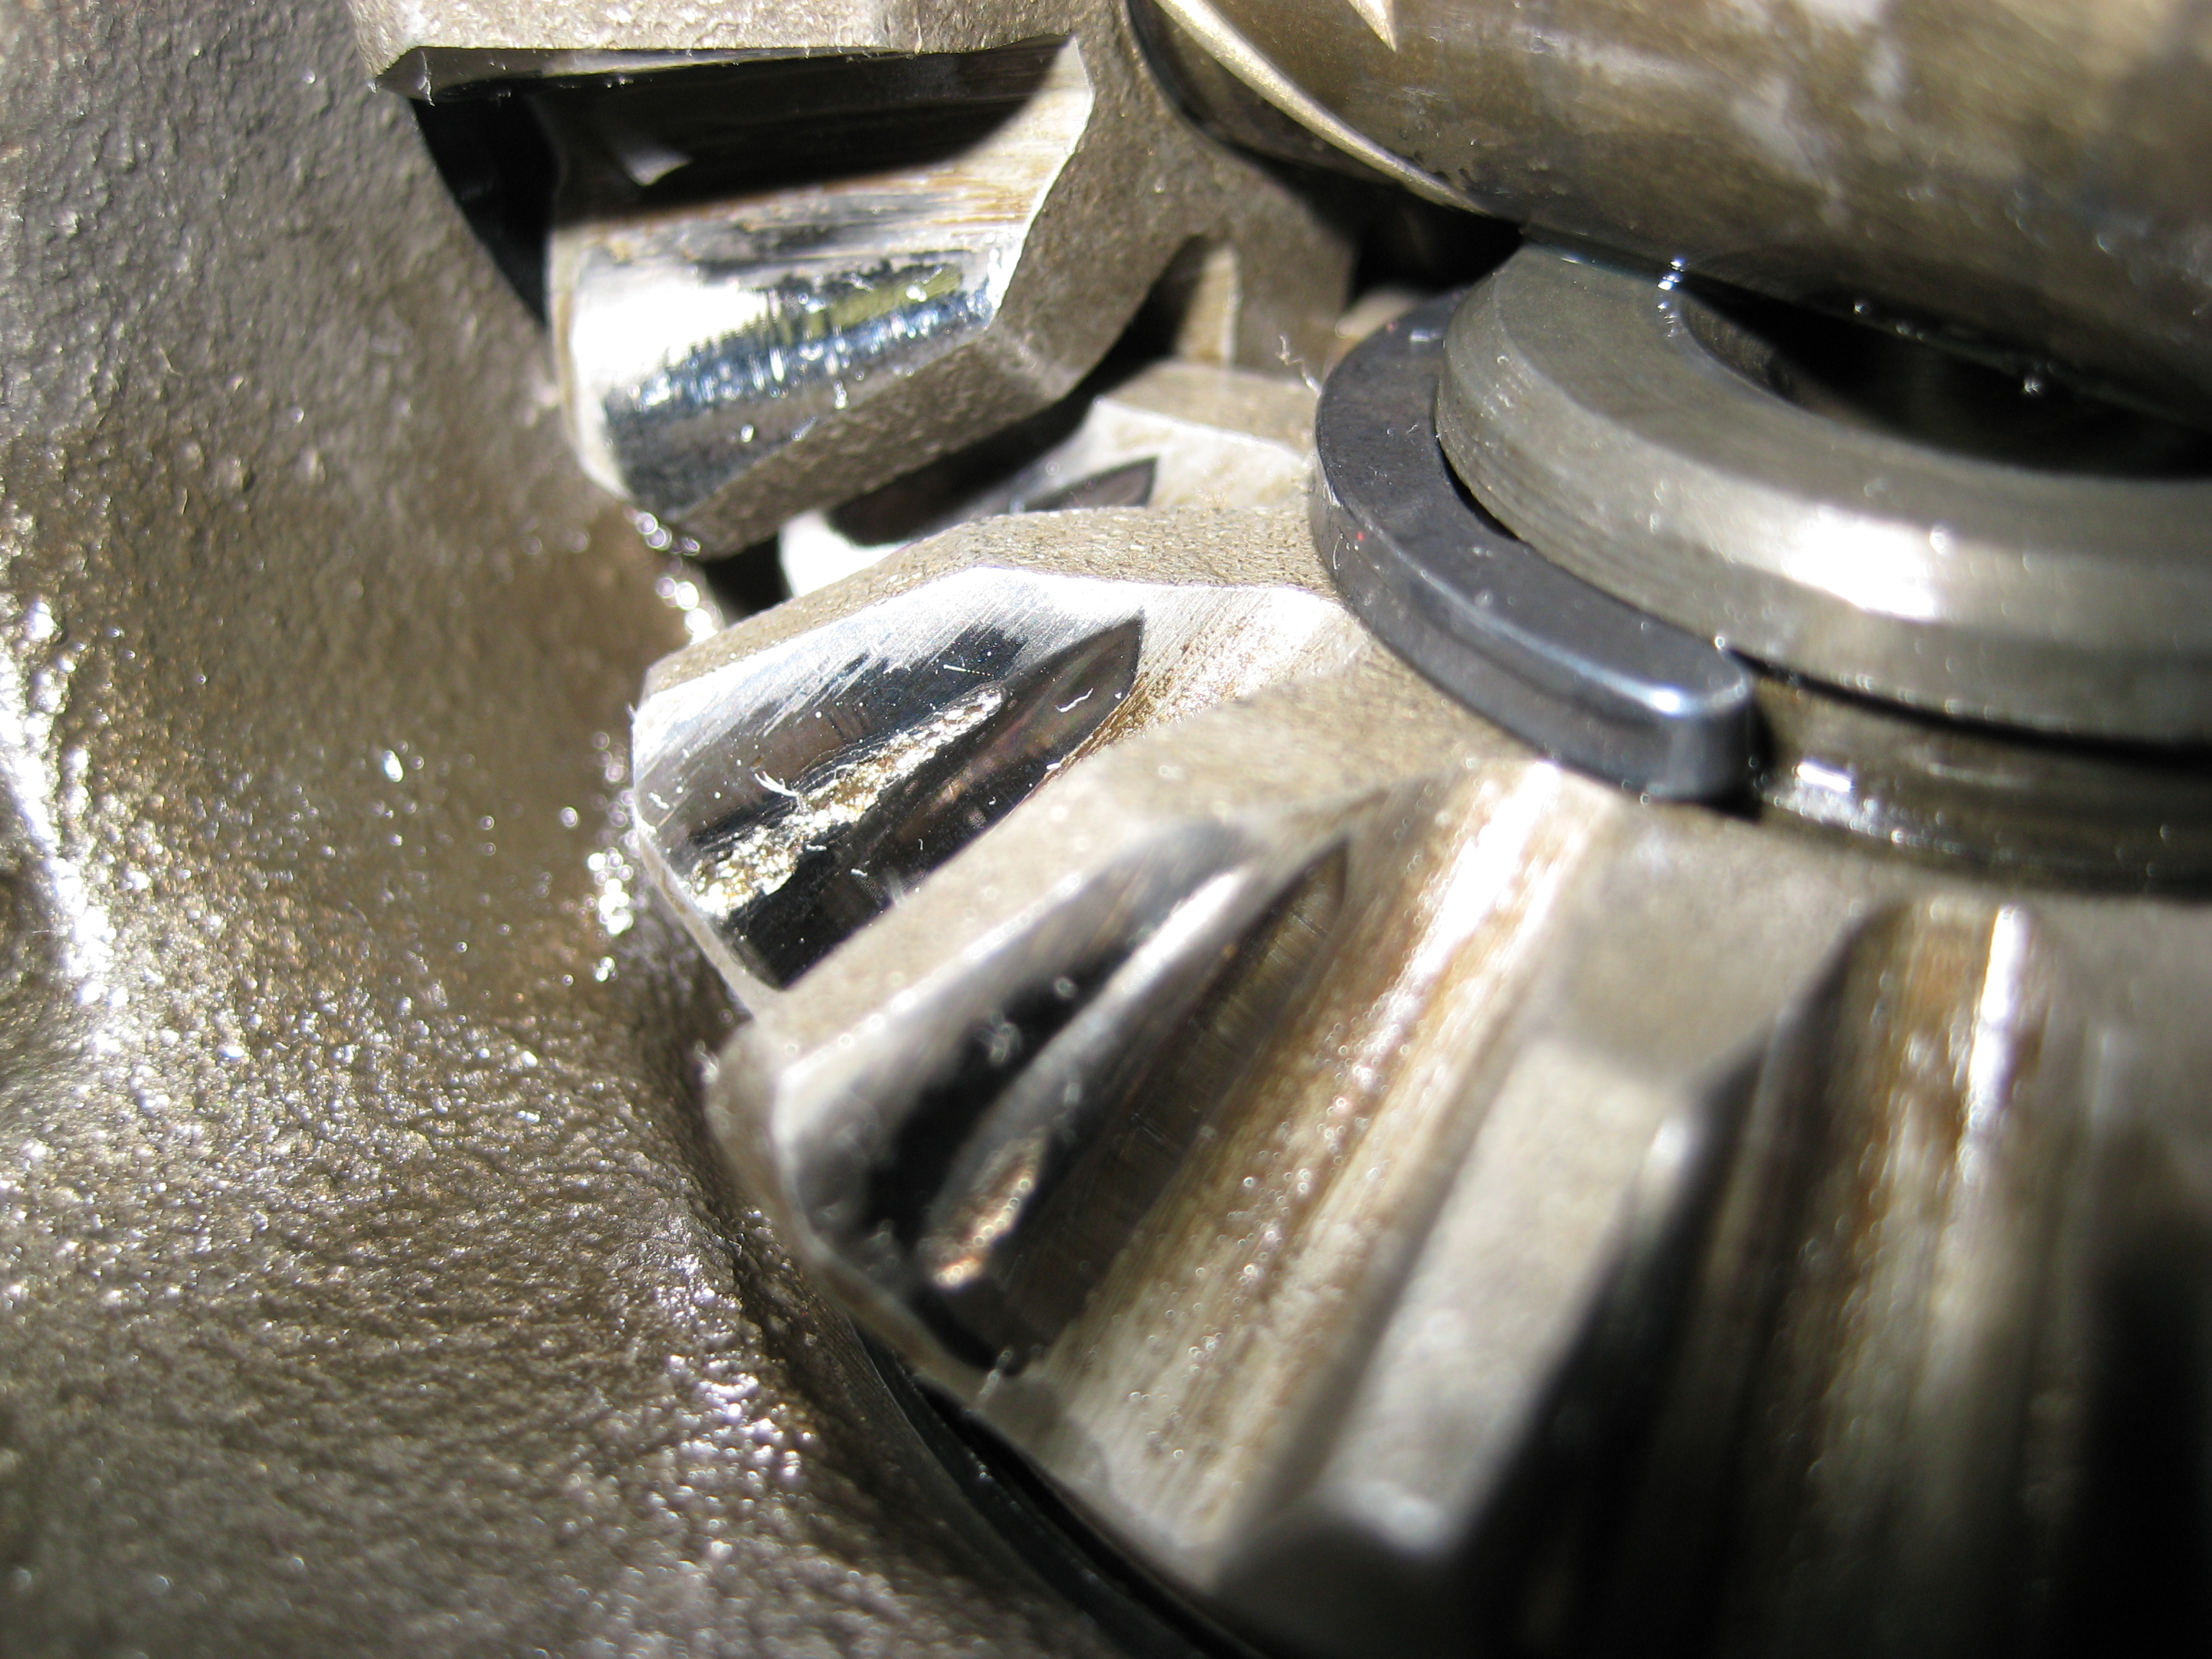
This pic shows the pitting that occurs on nearly every set of
diff gears on the face of the tooth. Eventually the damage will become so great
the gear will fail, but that is a long time away for this trans...
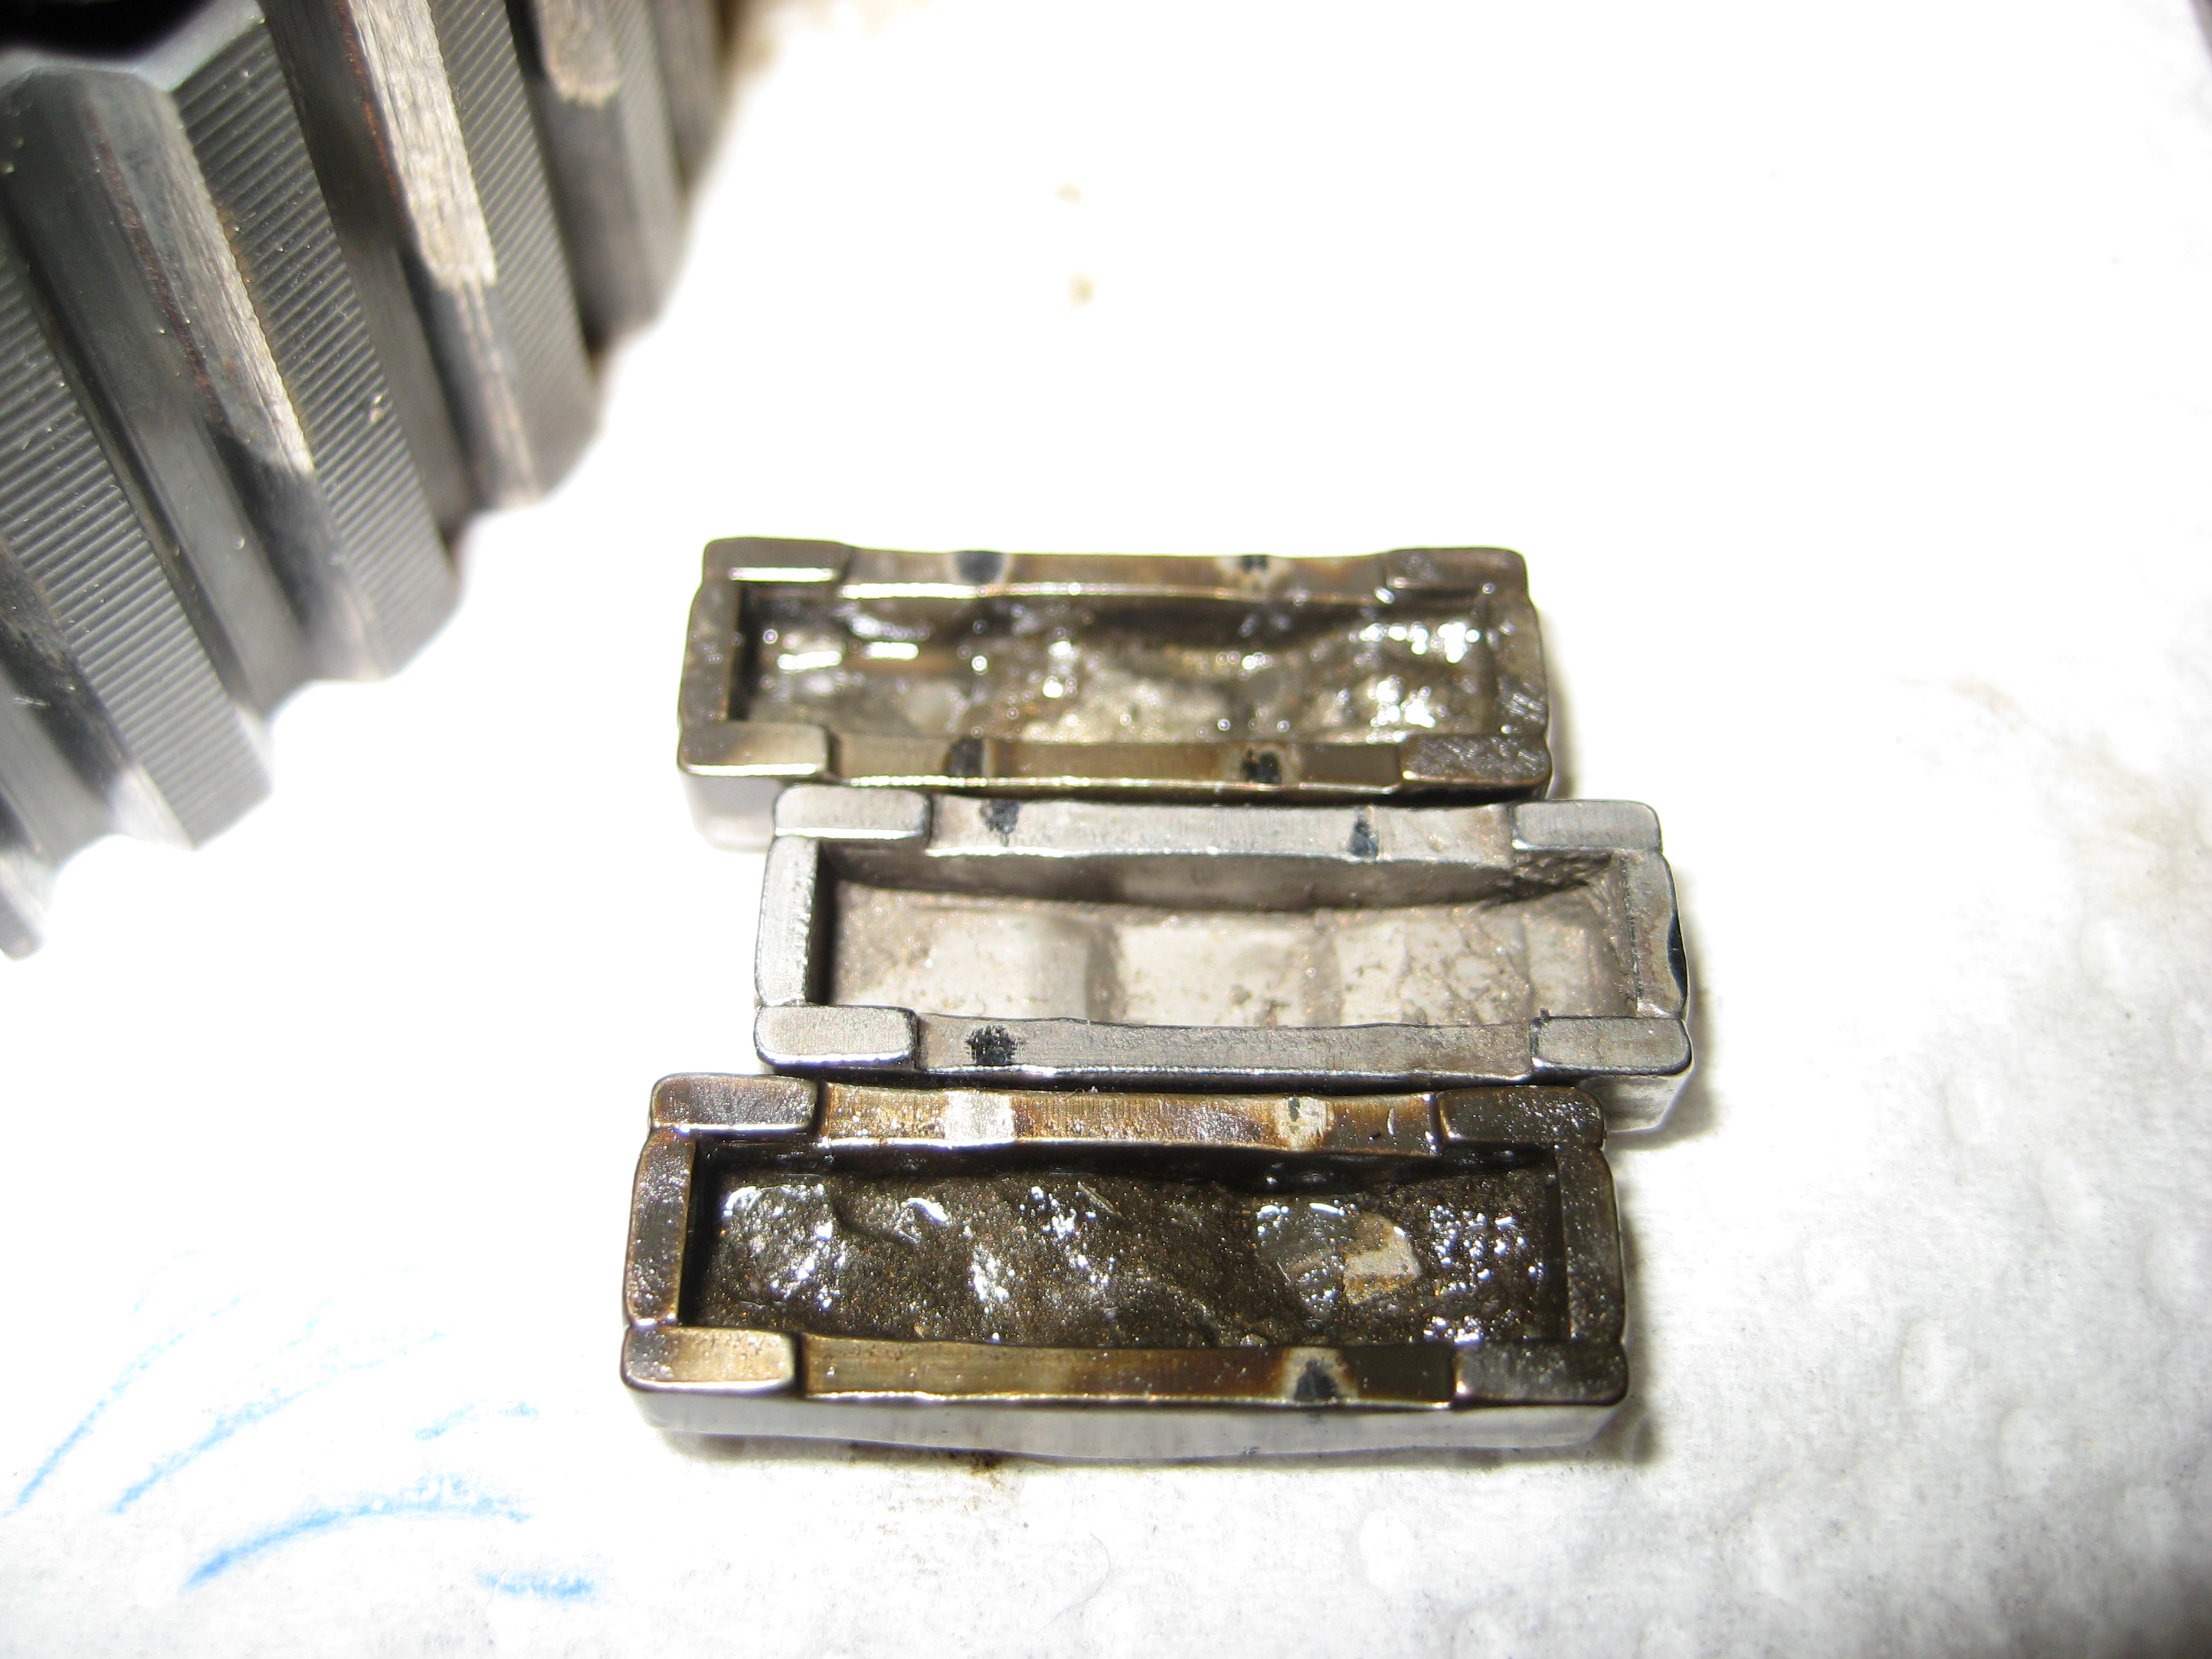
An example of why every part needs stripped and cleaned, these
are the sync keys for 5th gear, you can see the one I've wiped out (but not
cleaned) as a
comparison...
More pics of the parts that are cleaned and need installed...
How the parts are stored in between working on them...
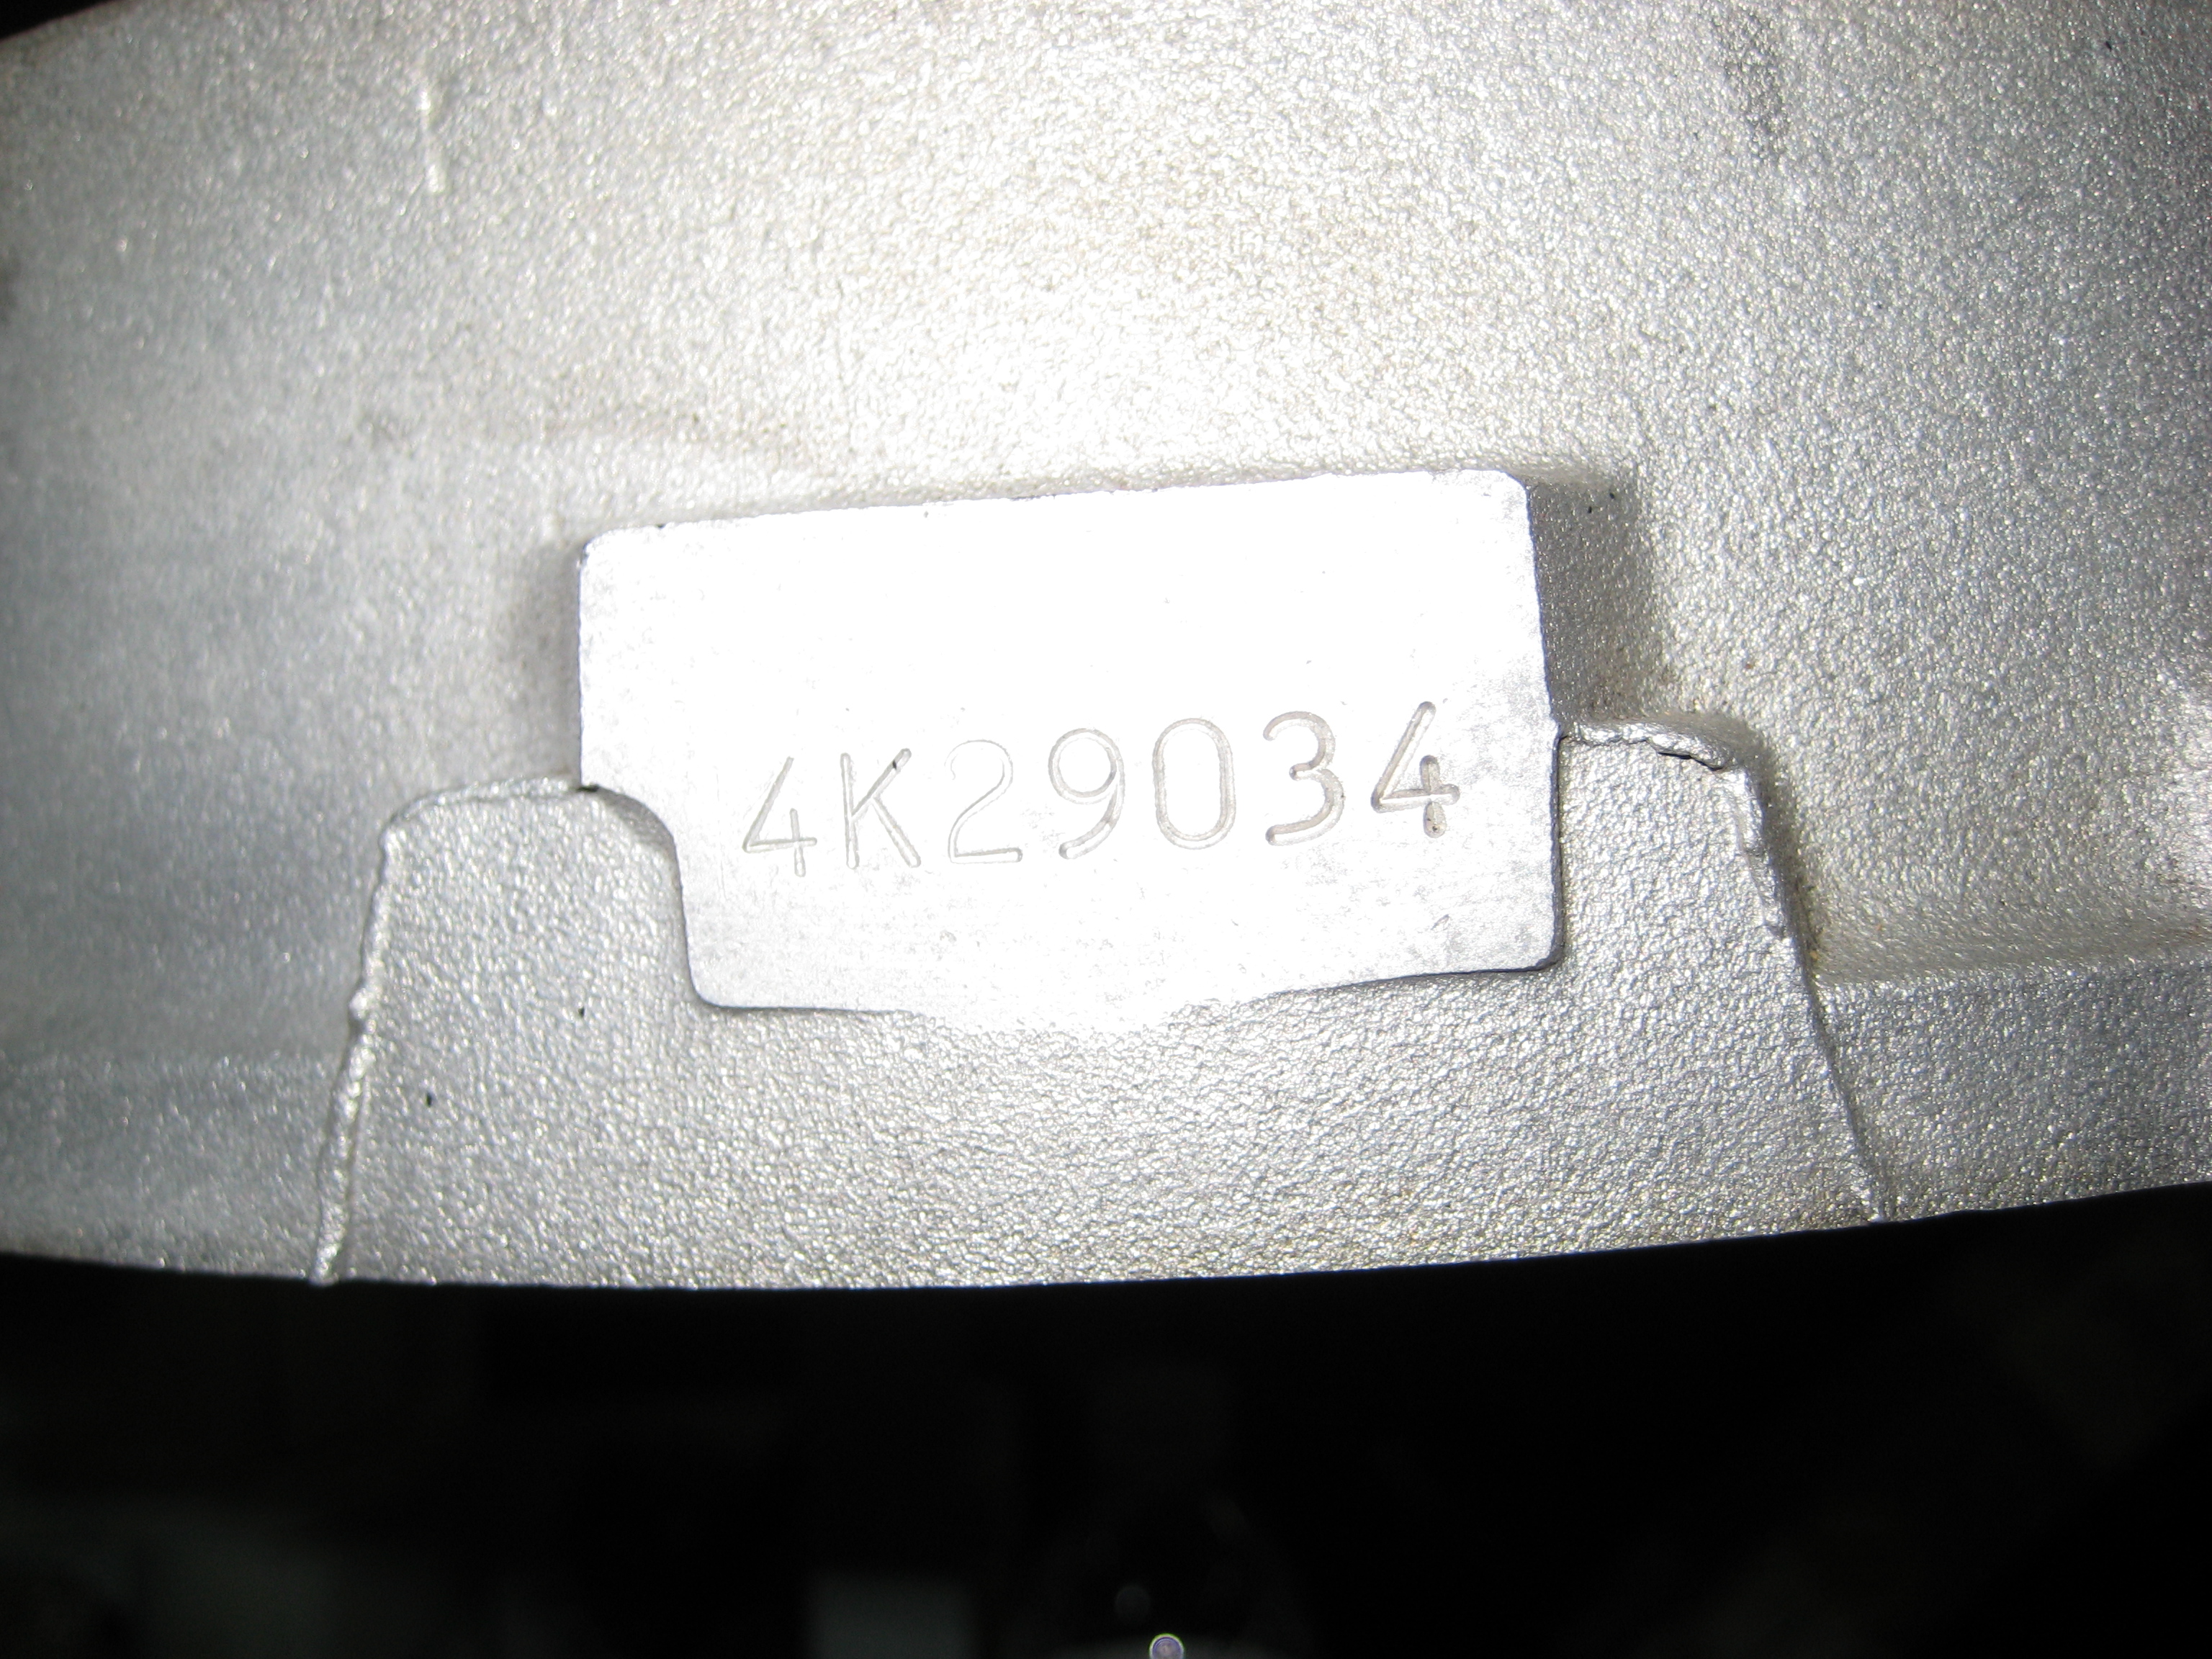
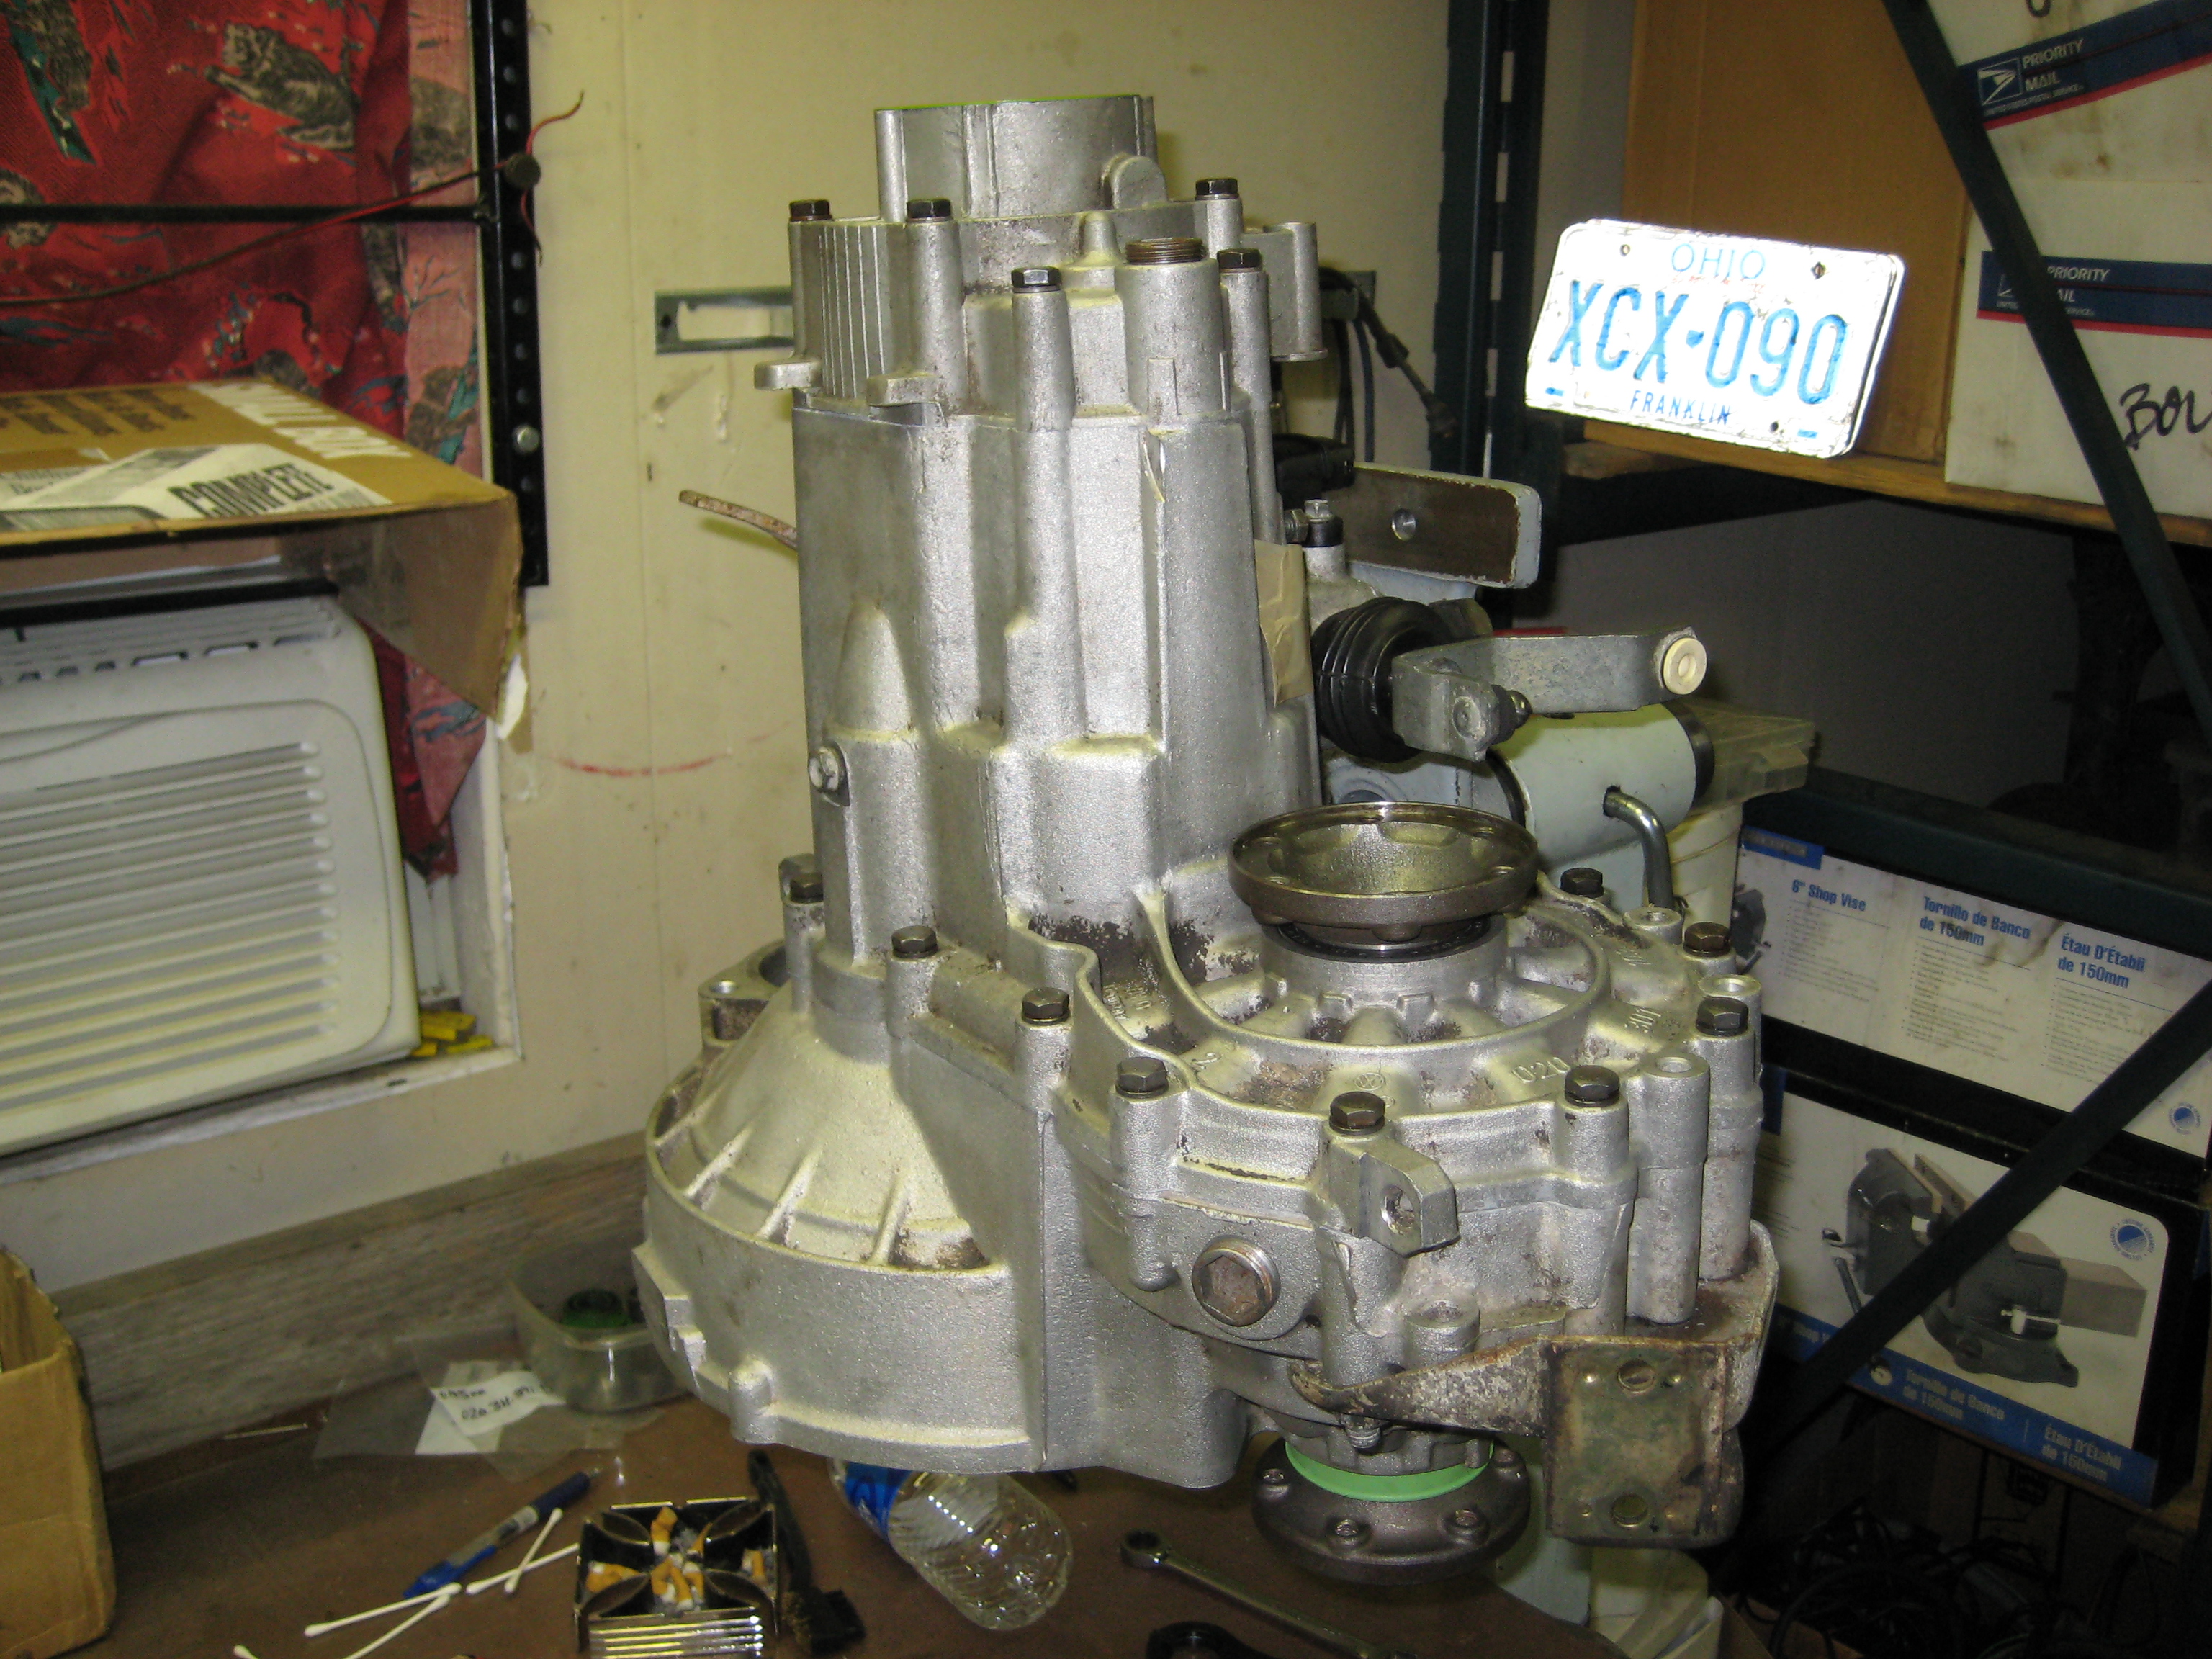
Your trans code and Mfg. Date - 4K built March 29, 1984...
A pic of the parts that have been removed from your trans so
far...
Sync ring for 3rd, input shaft bearings, output shaft bearings, diff carrier bearings, selector seal, release arm seal, green end cap, green sleeve, 5th bolt, 5th circlip, 4th circlip, 3rd circlip, input shaft circlip, flange seal kits, input shaft seal, diff circlips, output shaft thrust washer, diff plastic thrust, old style 3/4 sync hub, TO bearing, pushrod, pushrod bushing and seal, speedo clamping bolt.
The parts washer that decided to tear up today and start leaking
(fixed now), using up some rebuild time...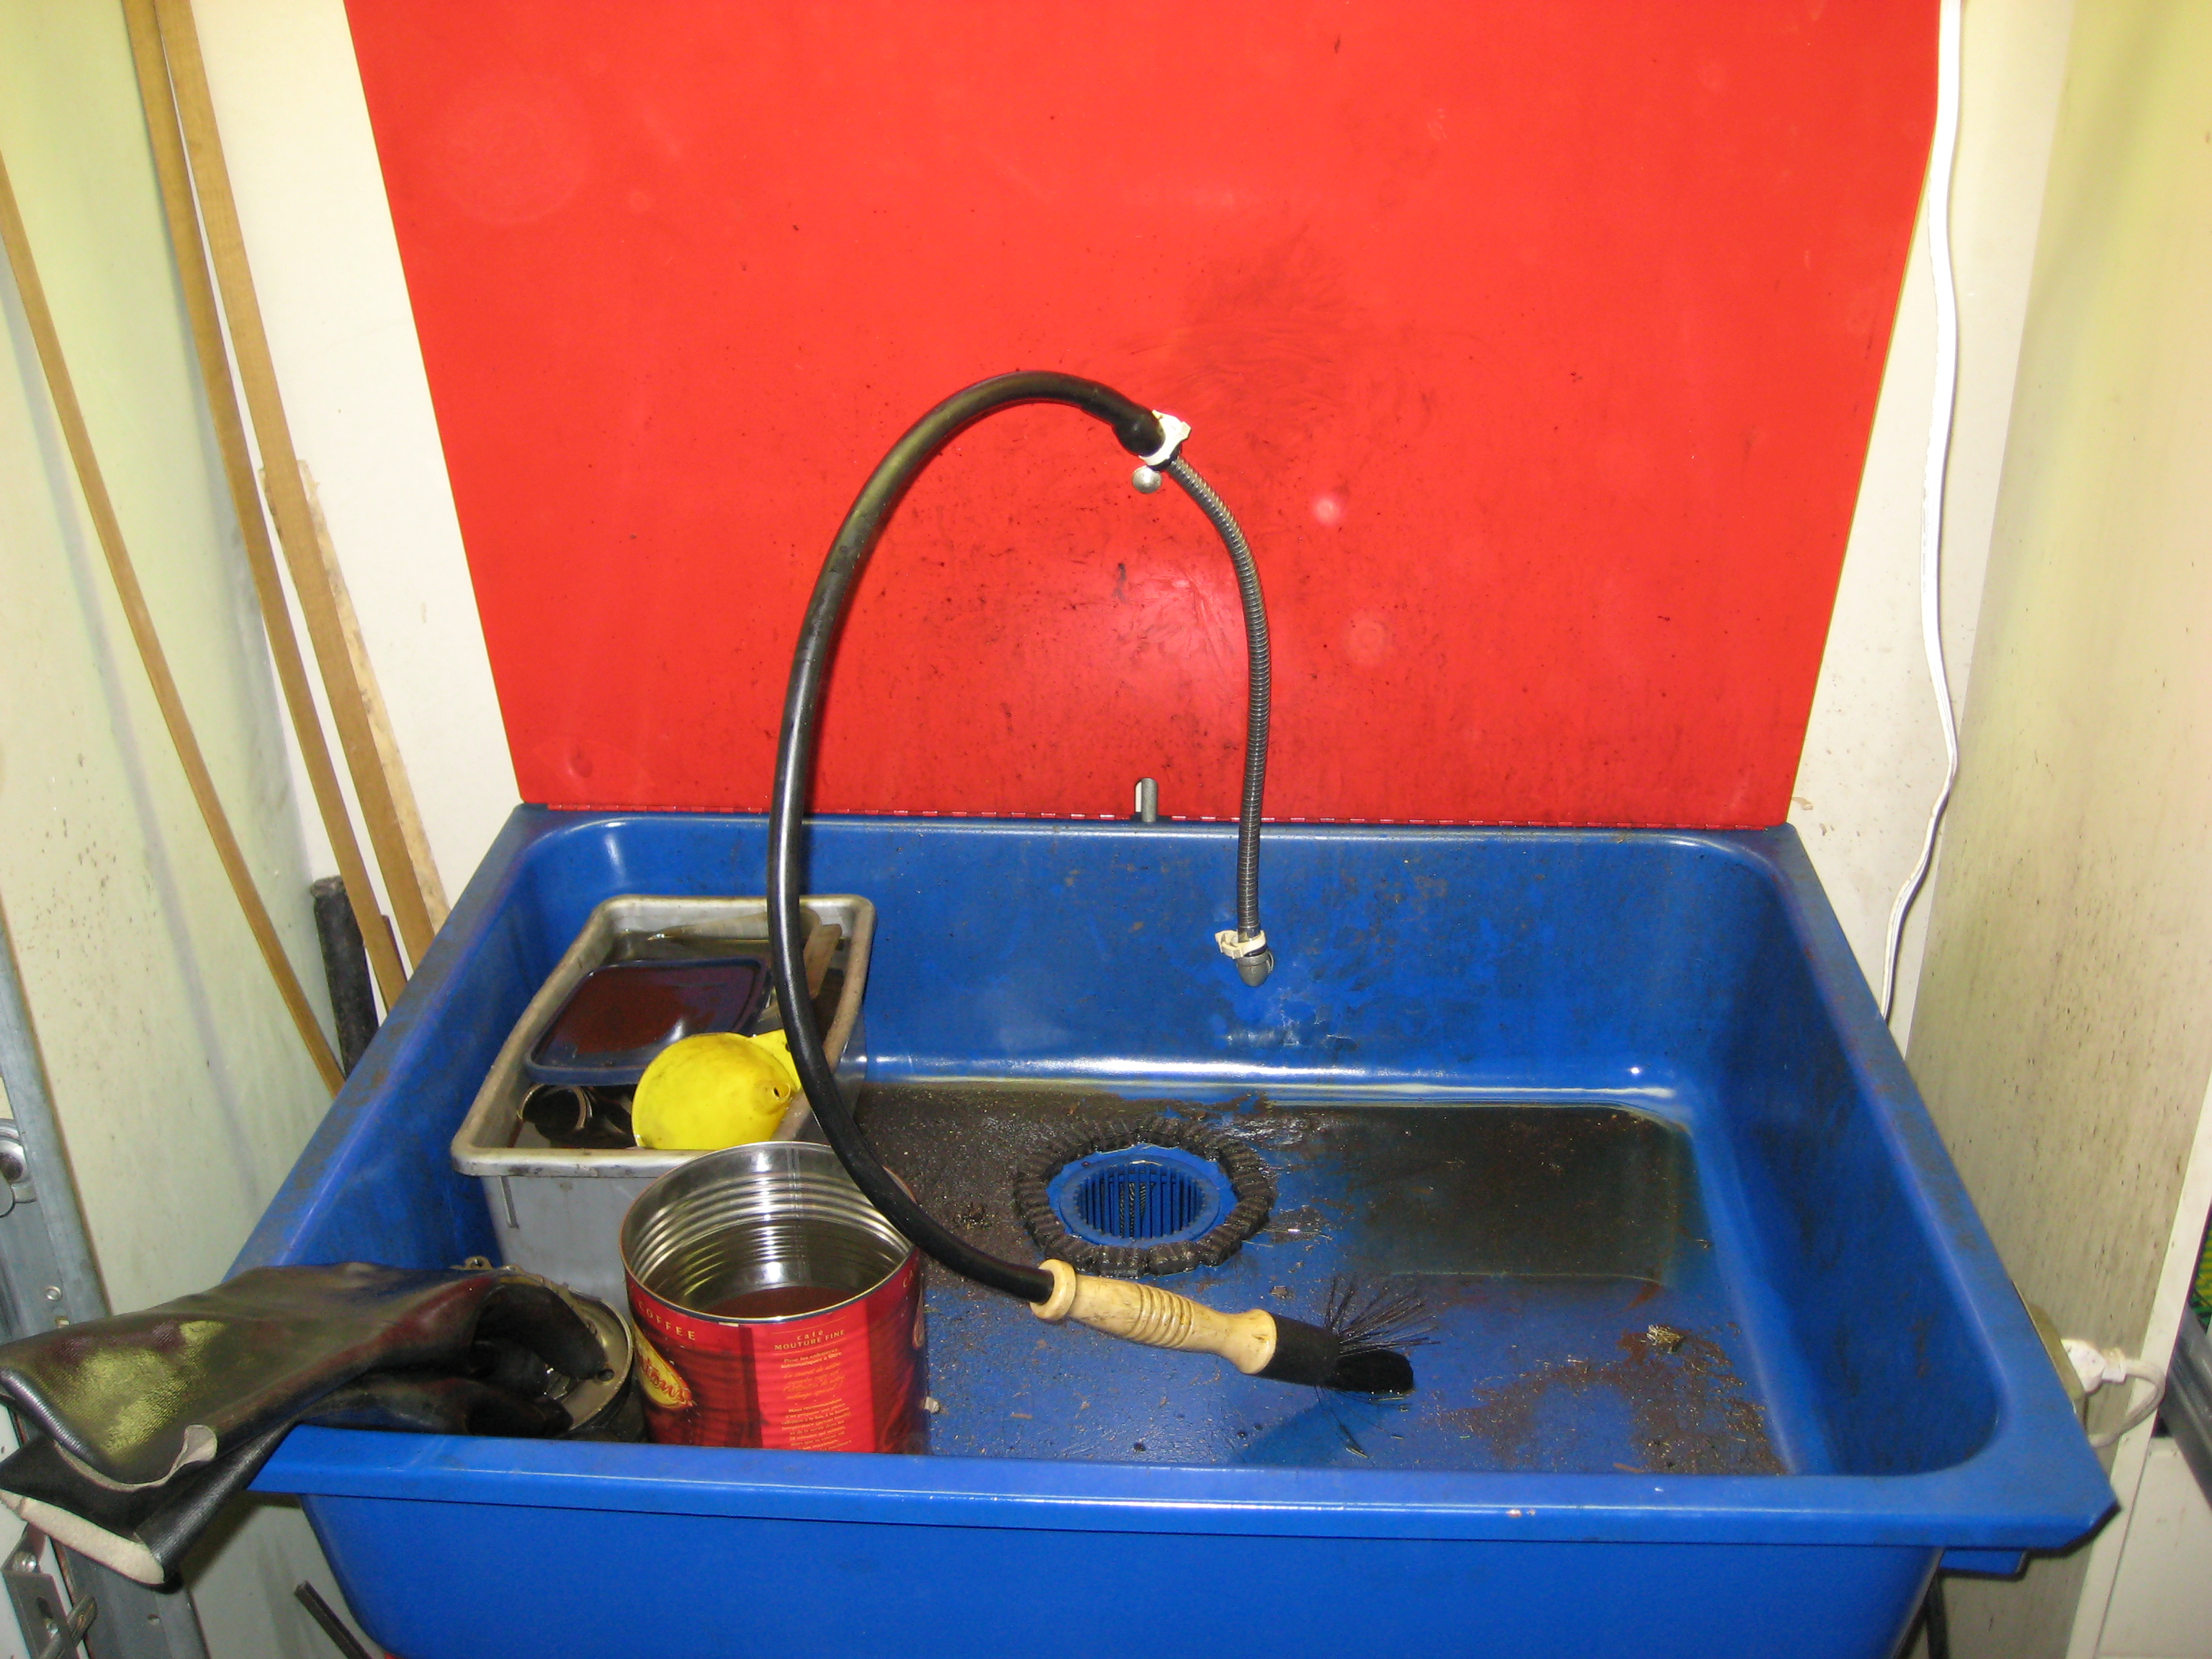
A pic of the new parts that still need to go into the trans...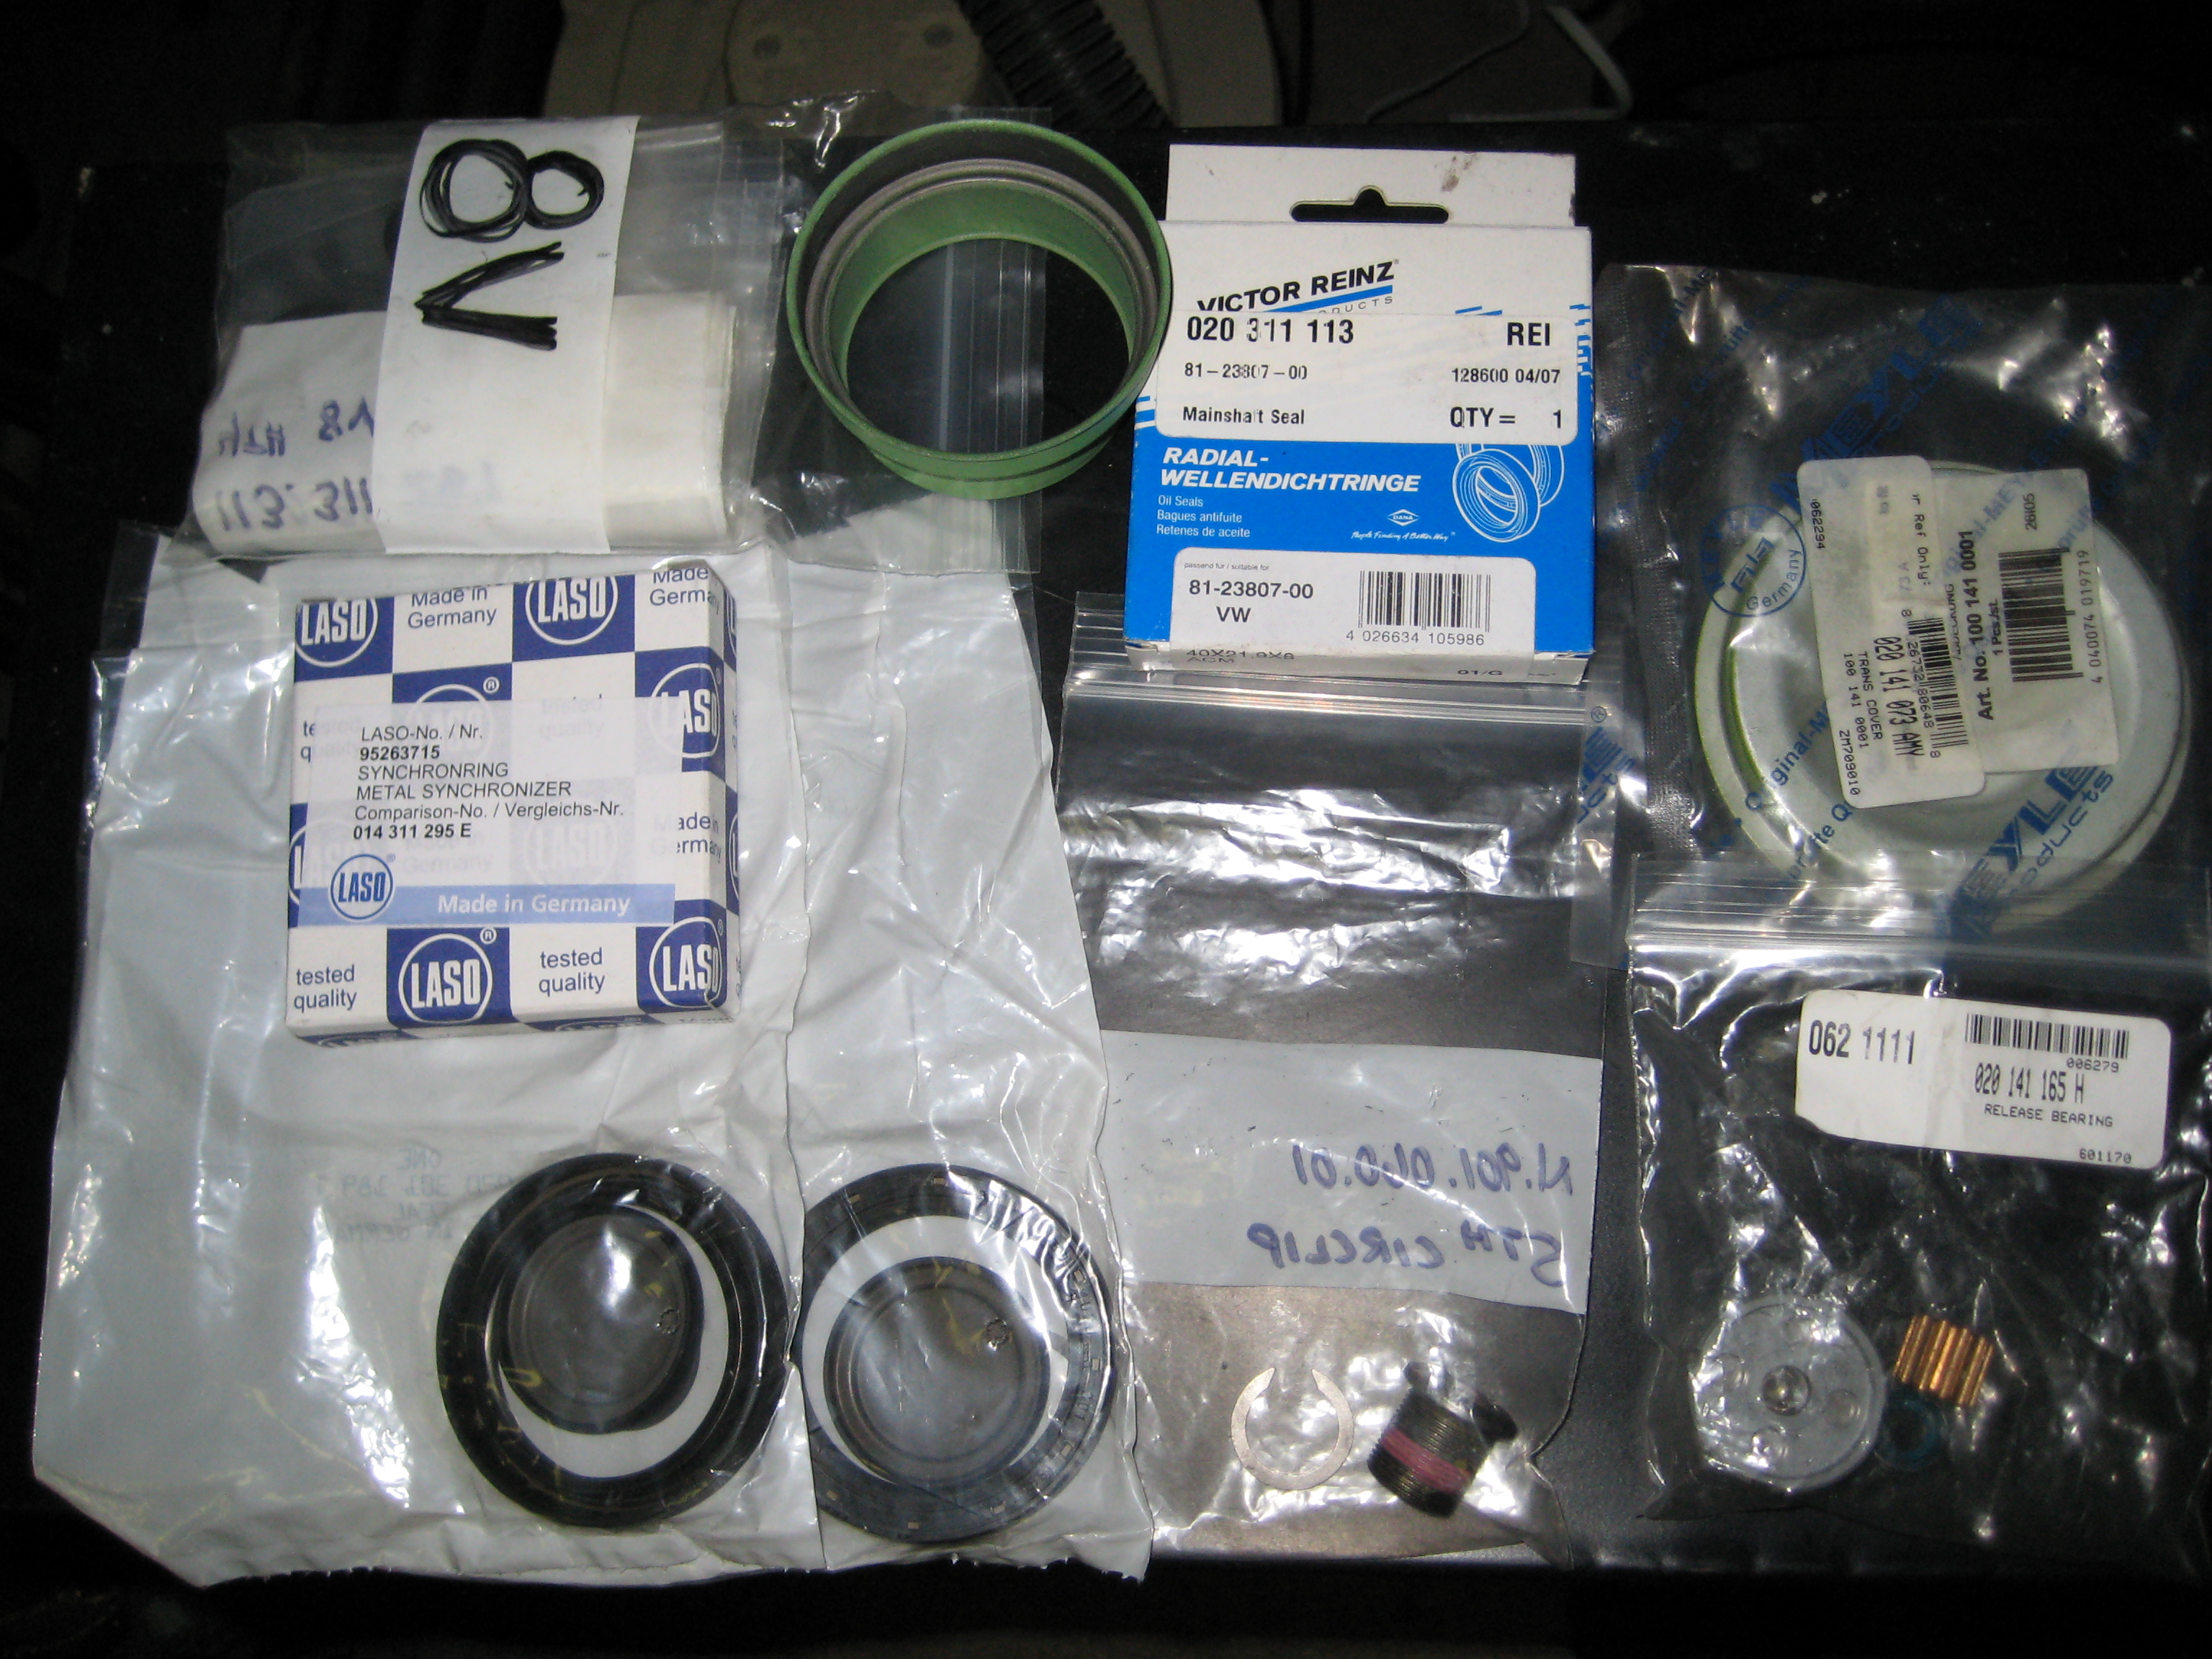
Bag of adjustment circlips for 3rd gear and the 4th gear circlip, 2nd sync ring, flange seal kits, 5th bolt and 5th circlip, green sleeve, and then your parts you brought with the trans, the green end cap, TO bearing, pushrod seal and bushing, and the input shaft seal.
Almost completed...
All done? No, sadly not it turns out, reverse is stiff, and needs
looked at again...
This was all I THOUGHT I had left to do on your trans...
The stiff reverse was in the relay lever brackets, They've been swapped out and everything is smooth and nice, as it should be. Still waiting on the pushrod, it should arrive Tuesday 11-6, and then the trans will be done.
The shift linkage bracket and both trans mount brackets have been re-attached, but I didn't put the speedo cable back in. The cable is shot, and has glass bead trapped in it. It would be best to replace the cable (possibly with a one piece unit to drop the OXS box), so the speedo hole is taped up for now.
The 17mm fill hole plug is only hand tight!