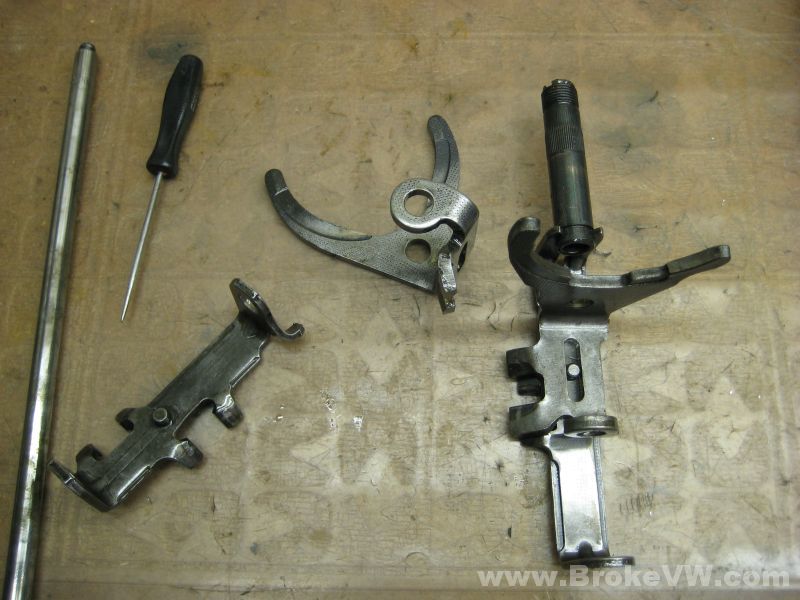
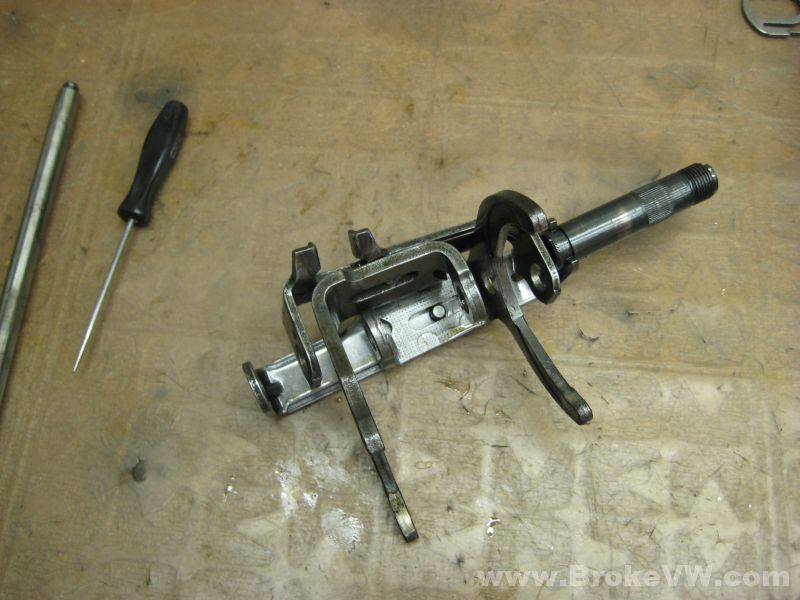
020 shift fork assembly
Start with the 6 pieces...
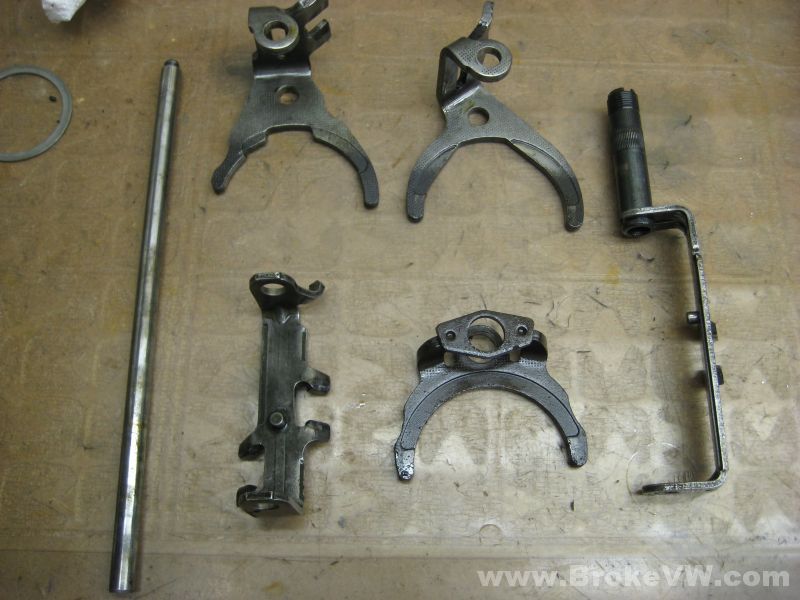
Locate the 5th fork, it is the only one with threads and remove it as it is used last...
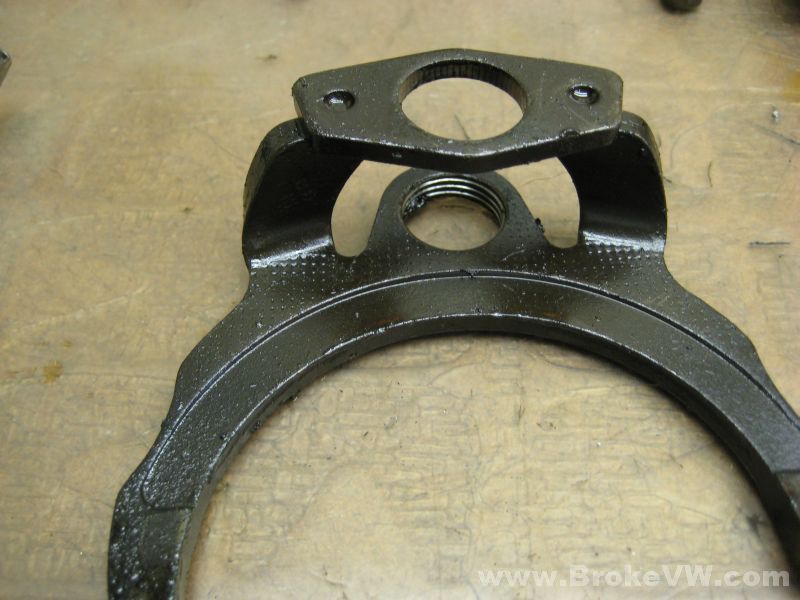
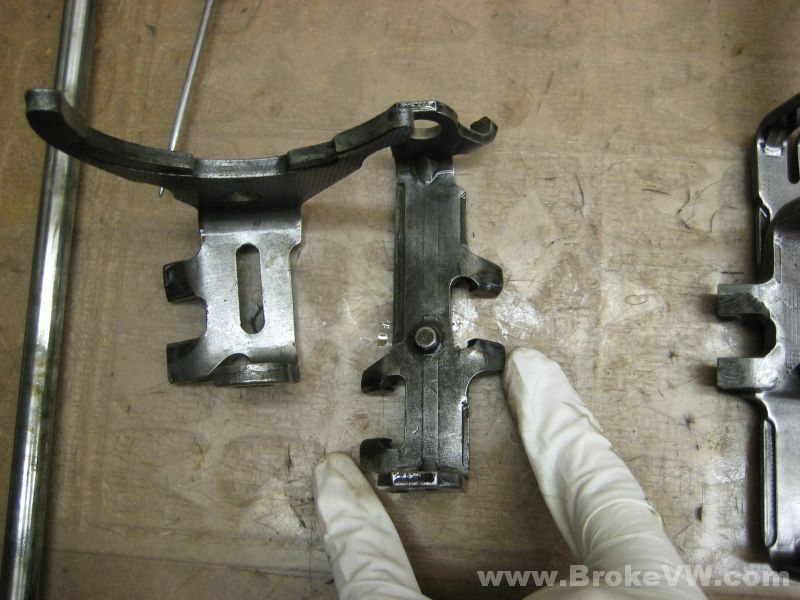
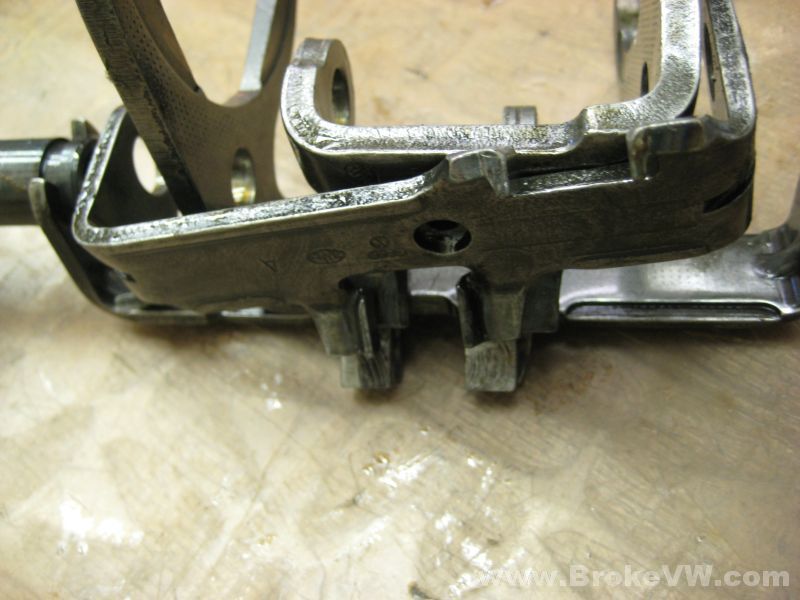
Notice the tabs being pointed at on the forks that are engaged by the selector. We need to line these all up. Start with the fork piece that has the threaded tube attached to it...
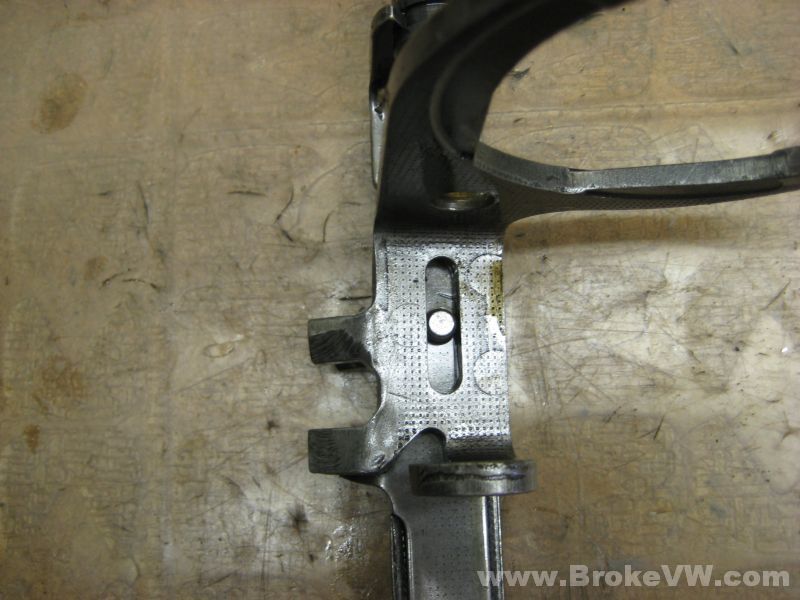
Locate the bump on the fork piece with the threaded tube...
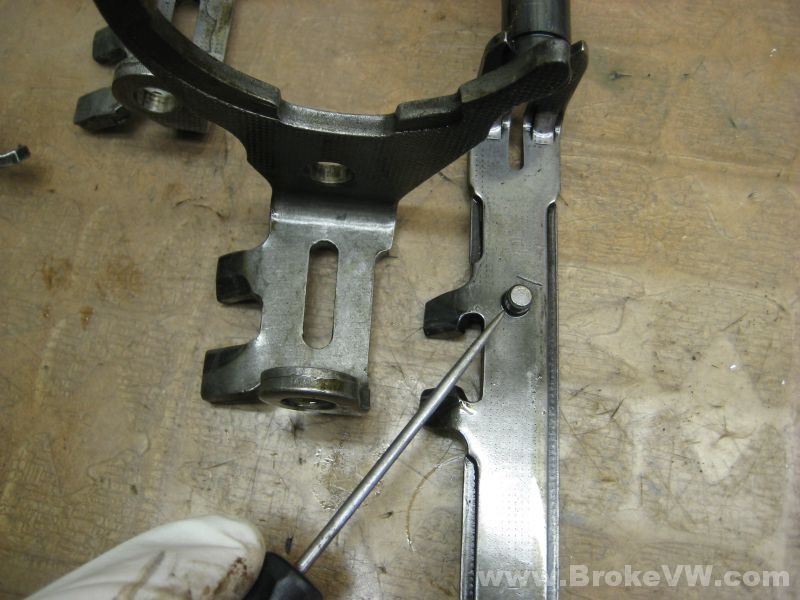
It will fit into the slot on one of the other forks...
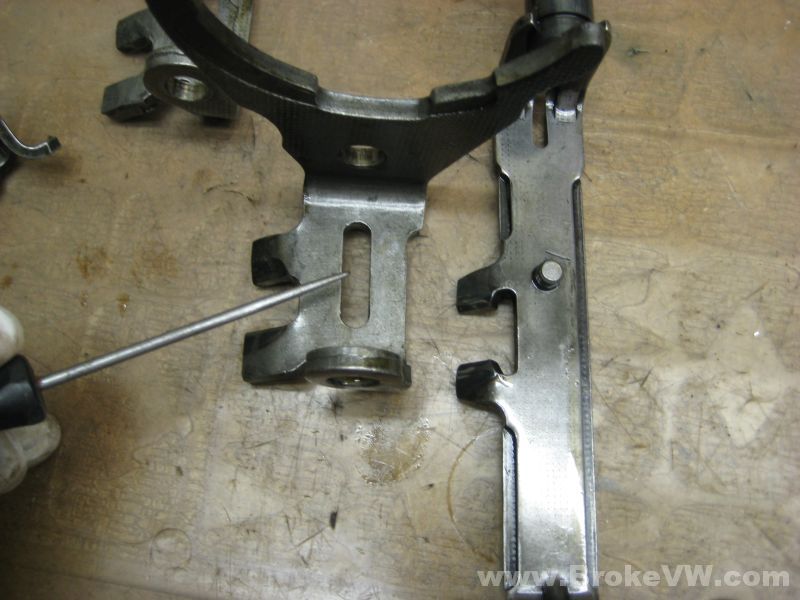
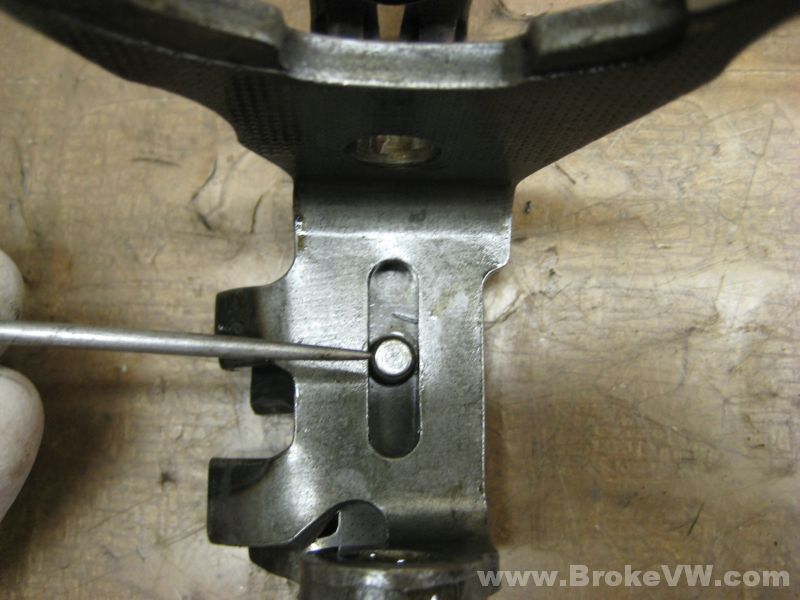
Position the forks as shown above, so both sets of tabs are on the same side, and at the same angle. In the pic above, it shows the tabs angled down. Put the fork on top of the other piece and slide it so the bump is in the middle of the slot as shown below...
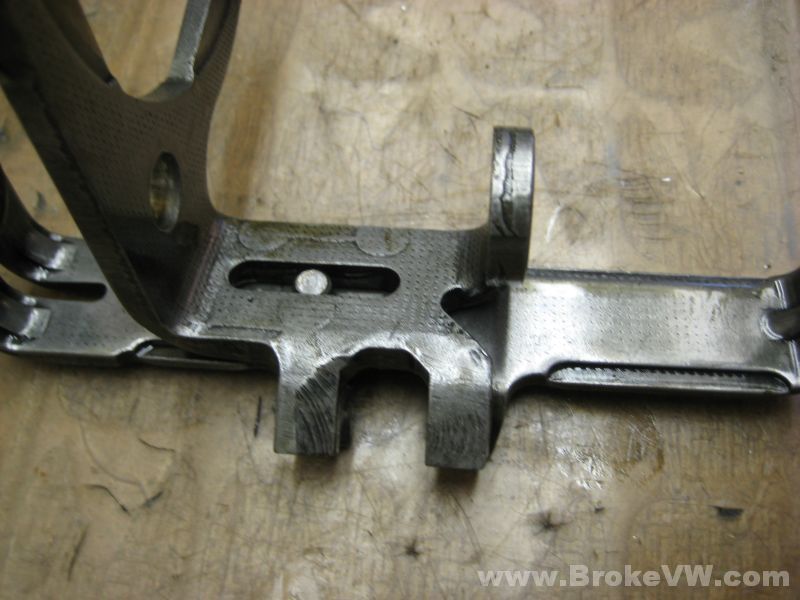
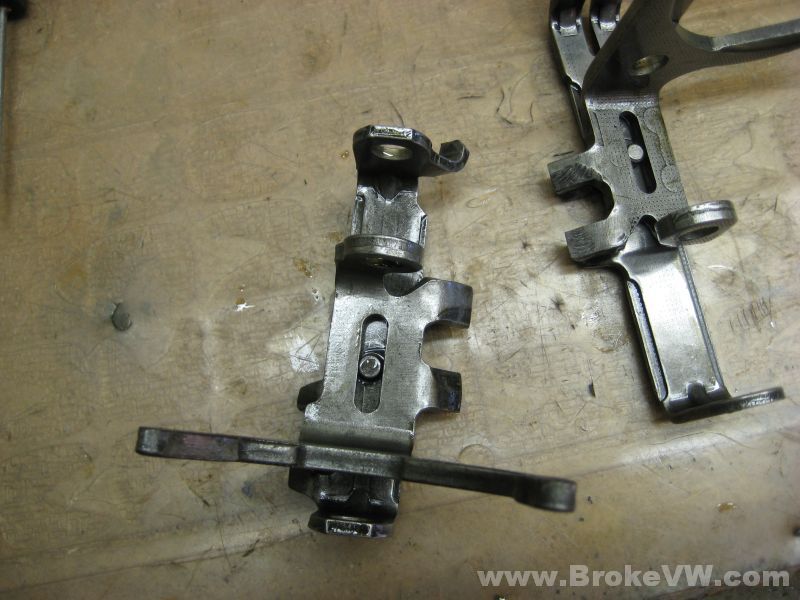
With it centered, look at the tabs. If it is the WRONG fork, it'll look like this... they are aligned...
The WRONG fork installed, you can see it doesn't line the tabs up properly. Grab the other fork and repeat the process of fitting it to the piece with the threaded tube...
Center the bump in the slot as before and check the alignment of the tab (hint: there are only 2 forks, so if the 1st one didn't work, the next one will!)
Check the alignment of the tabs, and if it looks like the pic below, you have it together correctly...
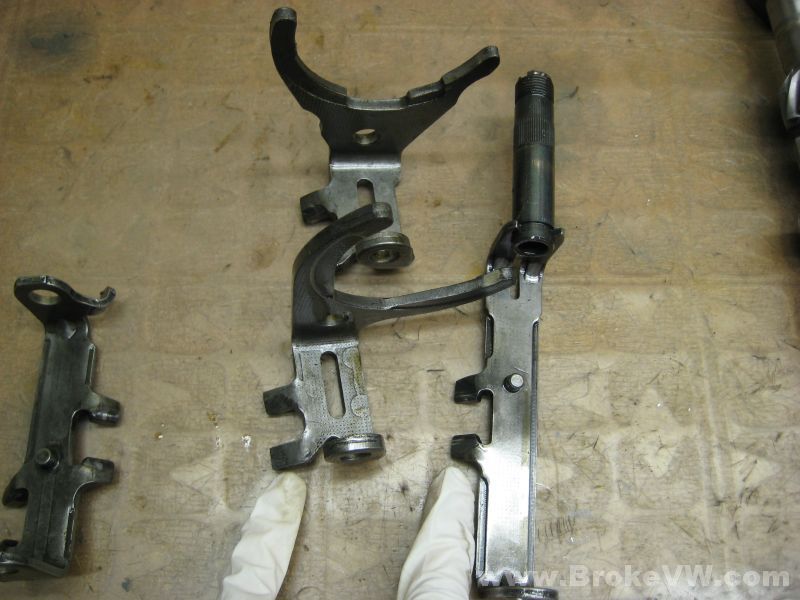
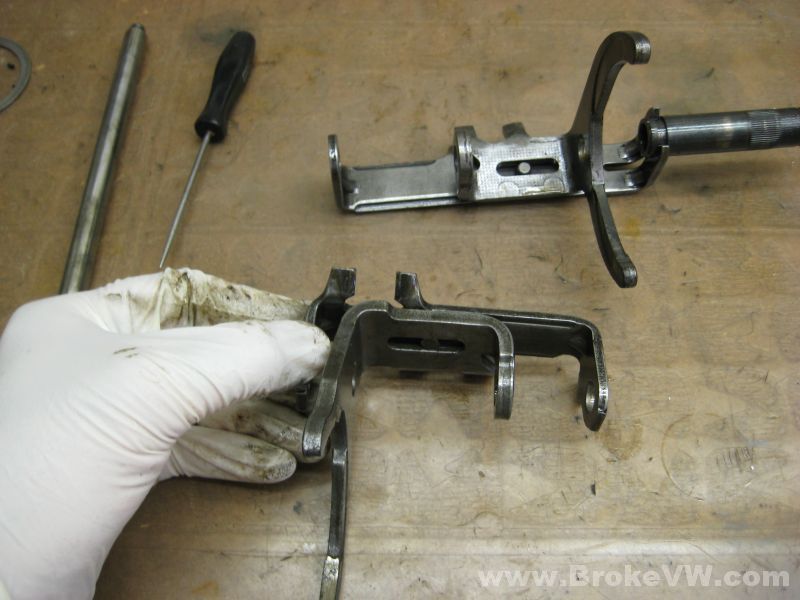
OK, so we've mated up 2 of the pieces together, leaving us with 2 fork pieces left...
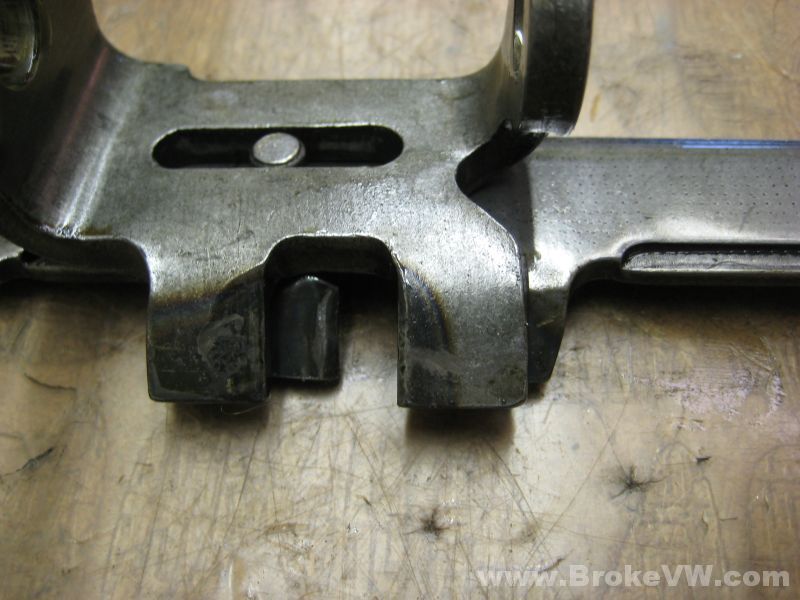
Notice the fork being pointed at has 2 sets of tabs... one of them engages the selector assembly, the other operates the reverse gear lever inside the trans. You want to focus on the set of tabs in the middle of this piece... not the set near the end (reverse tabs)...
Put your only loose fork on top of the reverse tab piece, and repeat the procedure from before of centering the bump in the slot, and see if the tabs line up (they should)...
All lined up and ready to carry on...

OK so now we have 2 sub-assemblies, one fork aligned on each of the other pieces, and it is time to join them up. Position them as shown in the pic, so the 2 sets of tabs are all angled the same way (down in this pic)
Bring the last sub-assembly you completed to the first set and put them together as shown below...
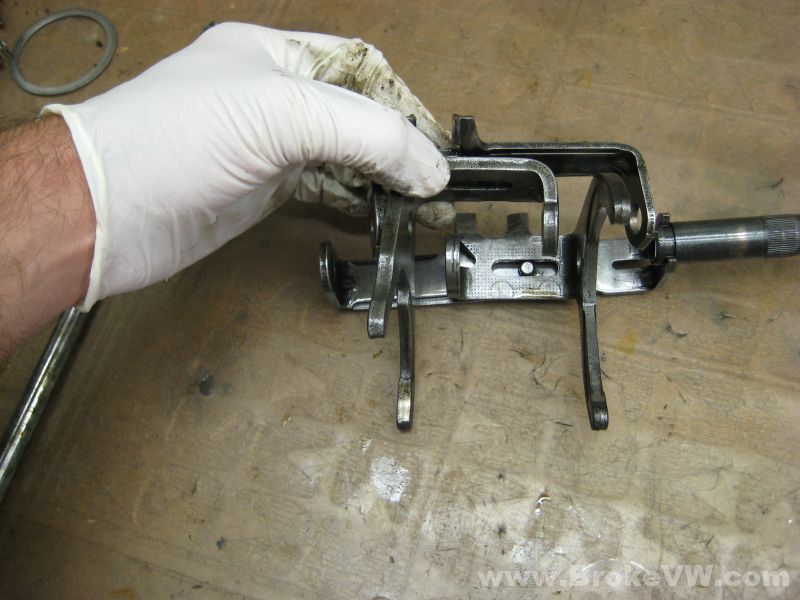
Looking behind the assembly above you can see there are 4 sets of tabs now all angled the same direction and pretty much lined up. They fell apart while taking the pic which is why they're all crooked, but they line up when held in place...
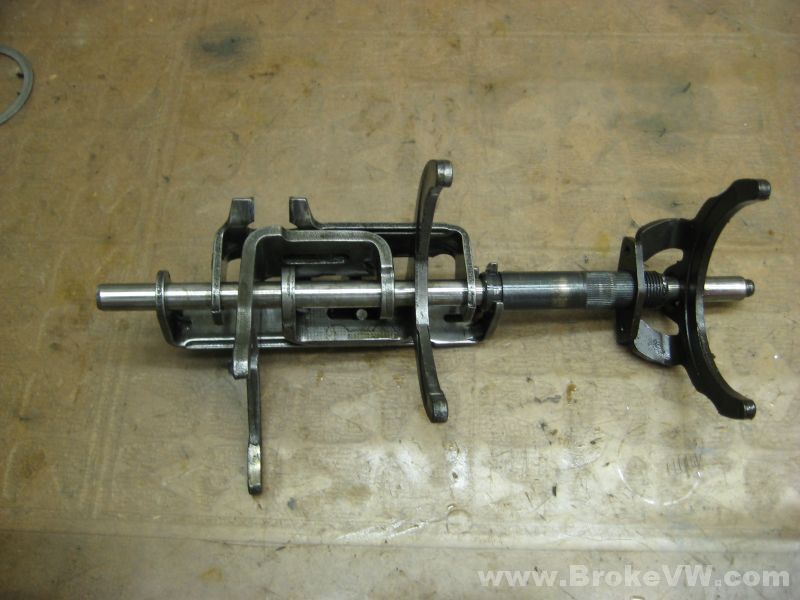
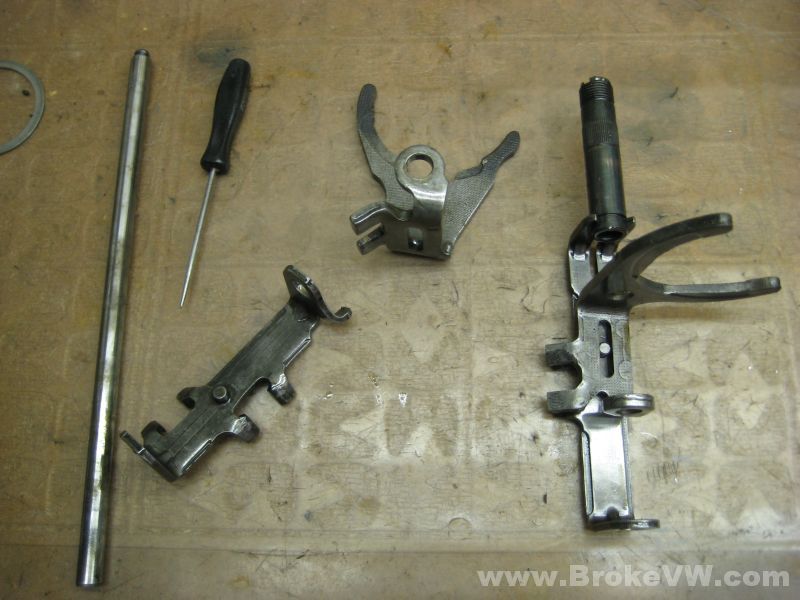
Start feeding the fork rod into the forks from either end, making sure it runs through all of the holes in each fork piece...
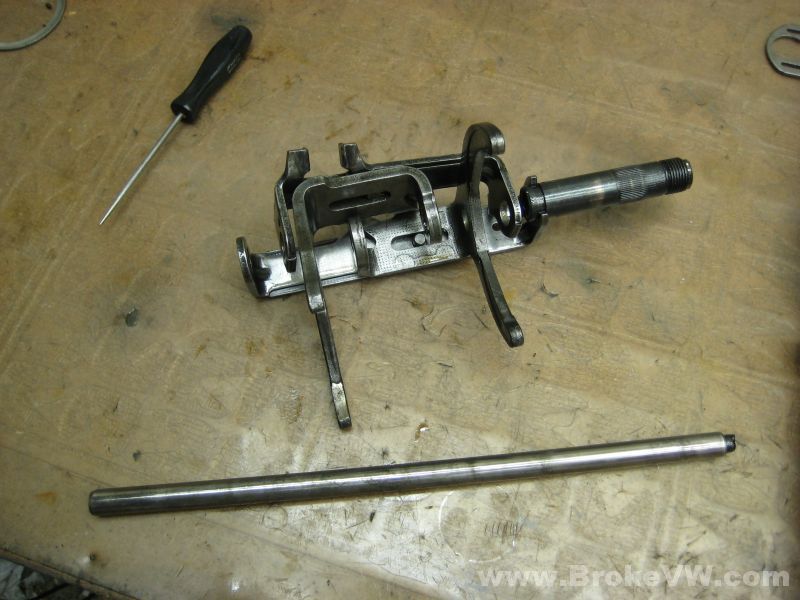
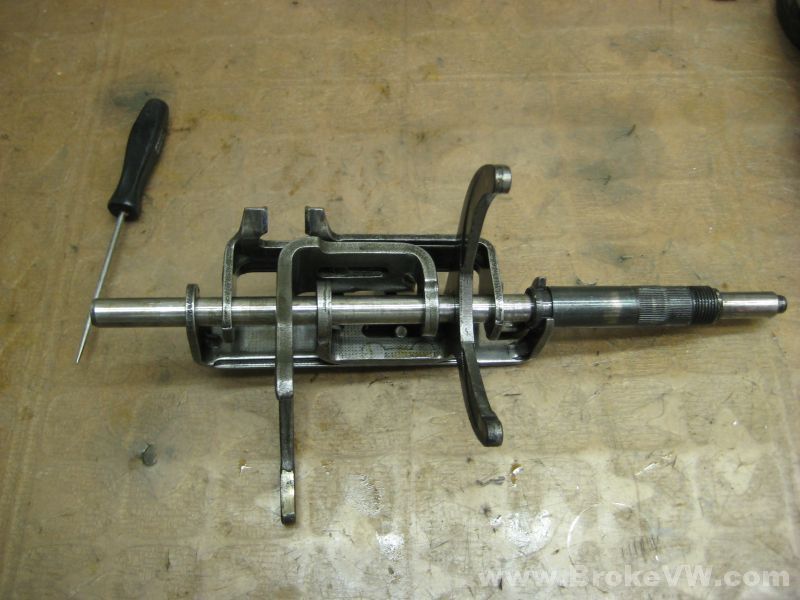
When properly assembled, it should allow all the tabs to line up neatly...
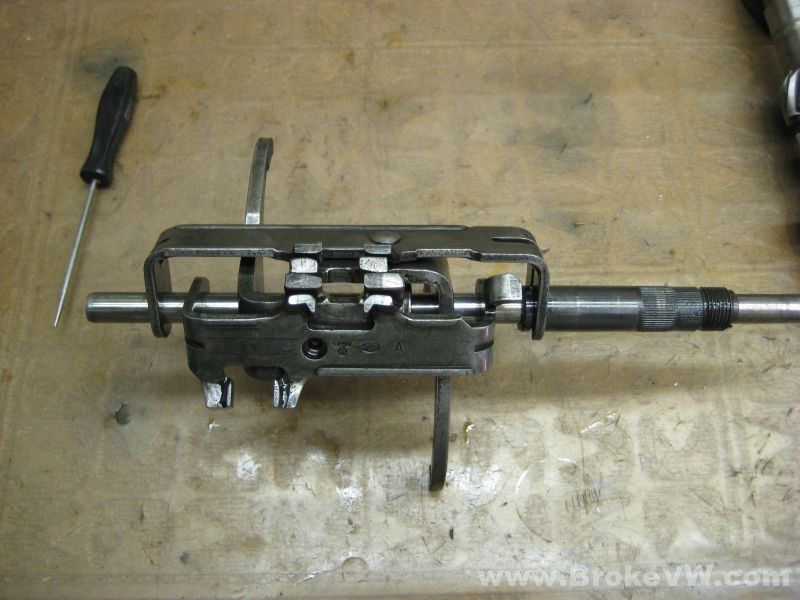
Find the 5th fork and thread it on (left hand threads!) and that is a completed fork assembly. The 5th fork will need to be removed before installing it into the trans, it is added later, but threading it onto the completed assembly now will prevent you from losing it and keeps the forks pieces all in one chunk.