Installing a Bolt Kit
Removing the rivets
Secure an axle stub shaft in a soft jaw vise... wood, copper, or aluminum etc....
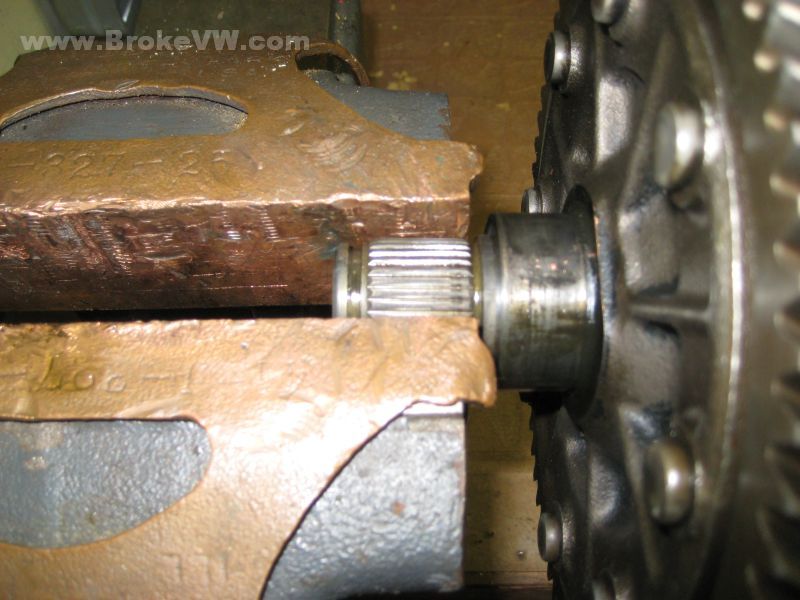
Here you can see the axle stub retention clip, these are stock 2.0mm thick, and are available in 2.3mm thick versions to pull the slop out of older parts. Nearly every trans I've opened has accepted the larger 2.3mm clips.
This pic shows how to pop the clip free from the shaft. Trying to remove it without holding the shaft in a vise just results in the shaft spinning. Use the screwdrivers to keep the clip from spinning in the groove, and at the same time, press them both to pop the clip off the shaft. Have a box or something under it, because it will snap off and zing through the garage when it comes loose!
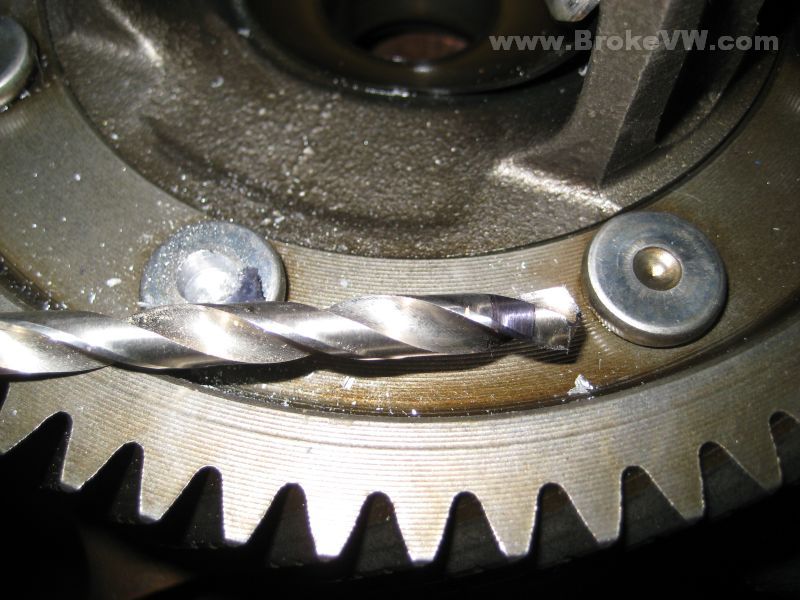
Mount the diff unit in the vise to prepare for drilling the rivets out. Use a 6mm and then a 12mm drill bit to remove them.
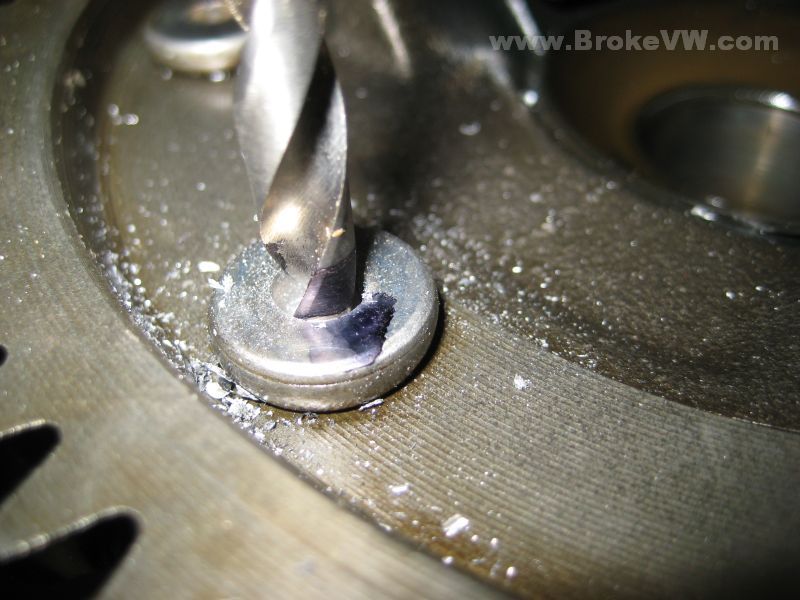
Drill into the rivets about 6mm or 7mm, and to mark the drill bit, use a black felt tip marker on the spinning drill bit to make a dark line on the bit. When it spins, you can see the black ring, and this is your depth gauge.
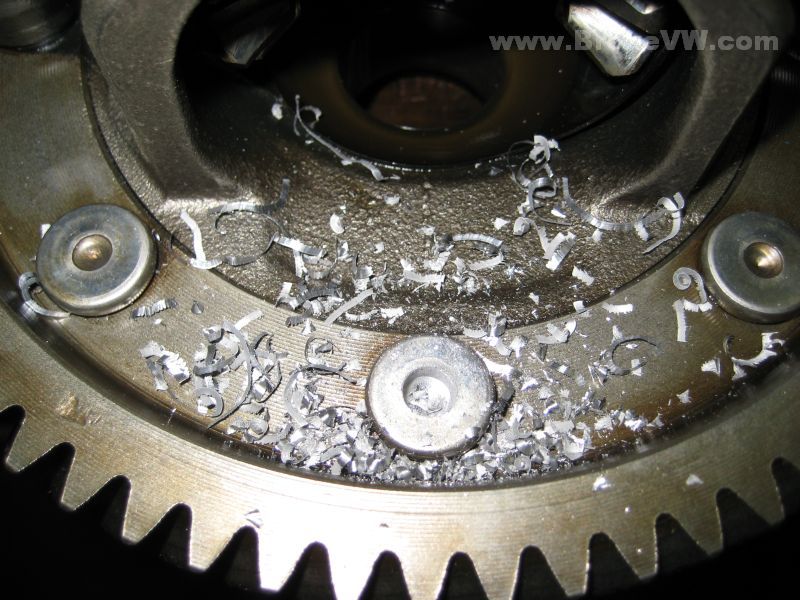
I use a vac to get any shavings I can. You can also turn the diff sideways and clamp the ring gear to drill it from that direction, and it'll allow the swarf to fall out of the work area. Be sure to sweep it up, any of that inside your rebuild could be a disaster!
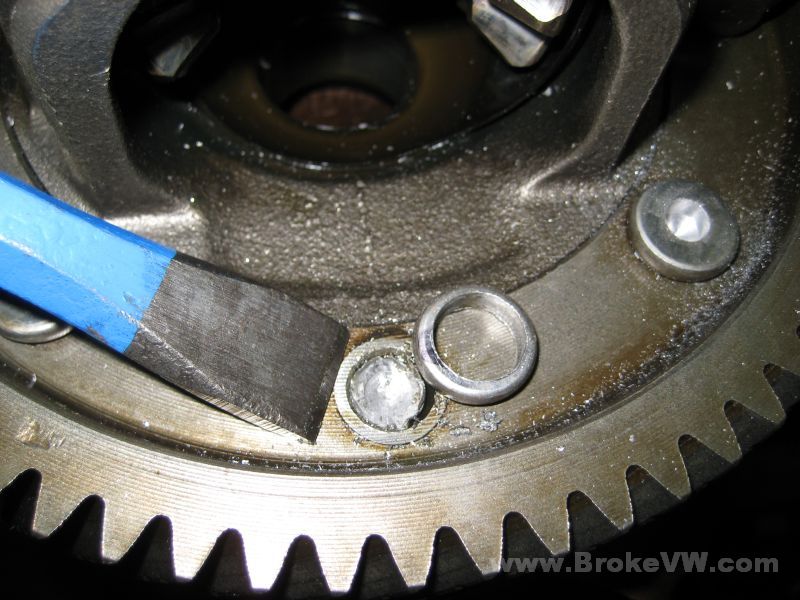
Drill the rivets with the 12mm bit after drilling the centers out with the 6mm bit. Use a chisel if needed to knock the heads free. If the rivet head bends much at all, the drill wasn't centered, or it wasn't deep enough to cut the rivet head free. Normally the rivet heads will come off and get stuck on the 12mm bit...
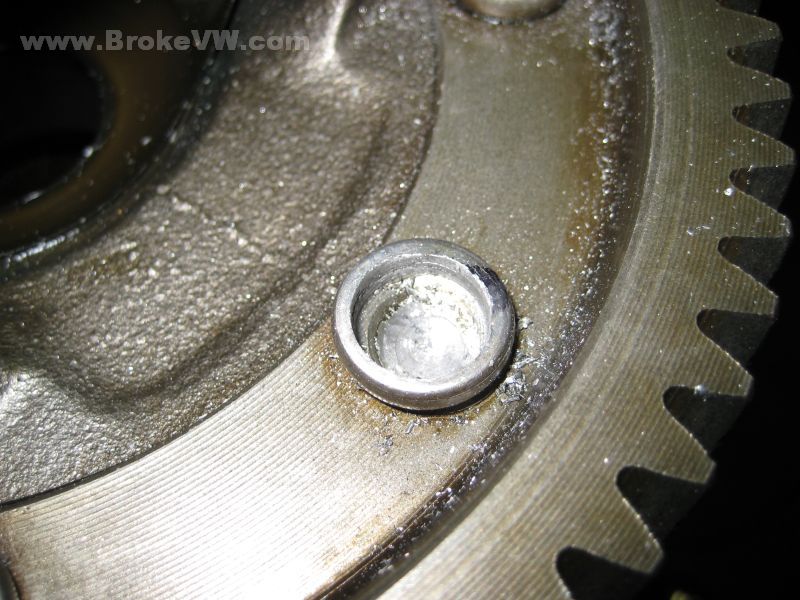
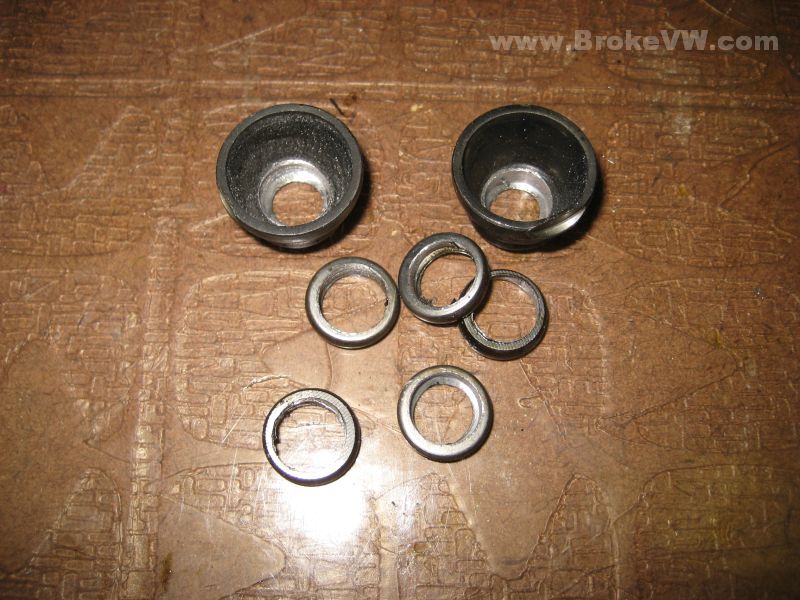
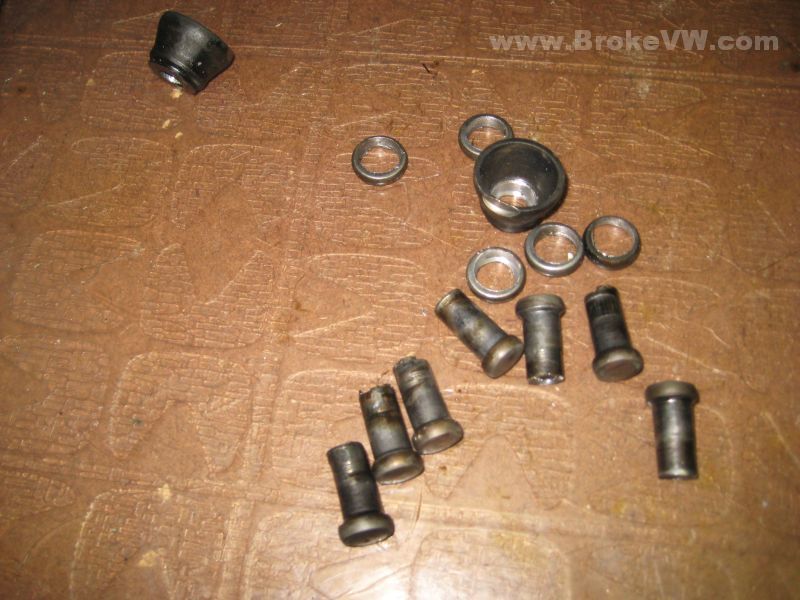
A pile of the rivet heads... there are 8 total, one is missing in the pic...
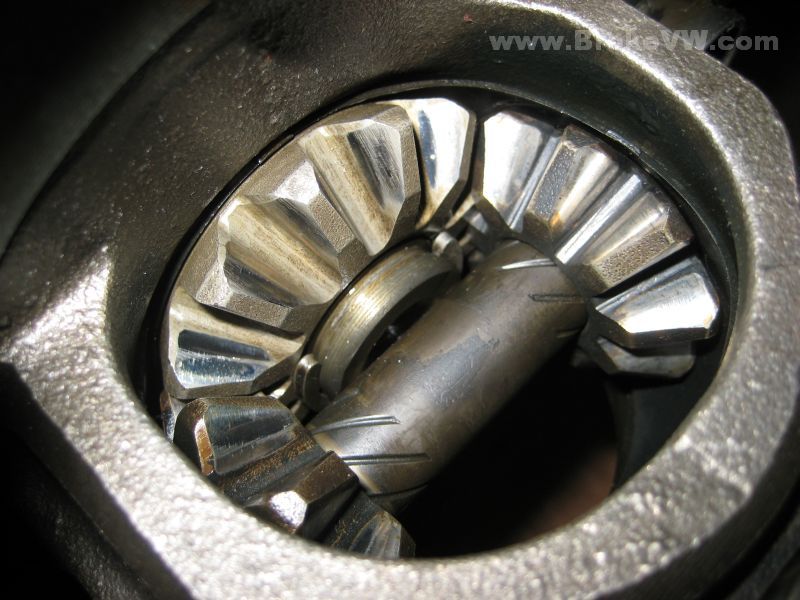
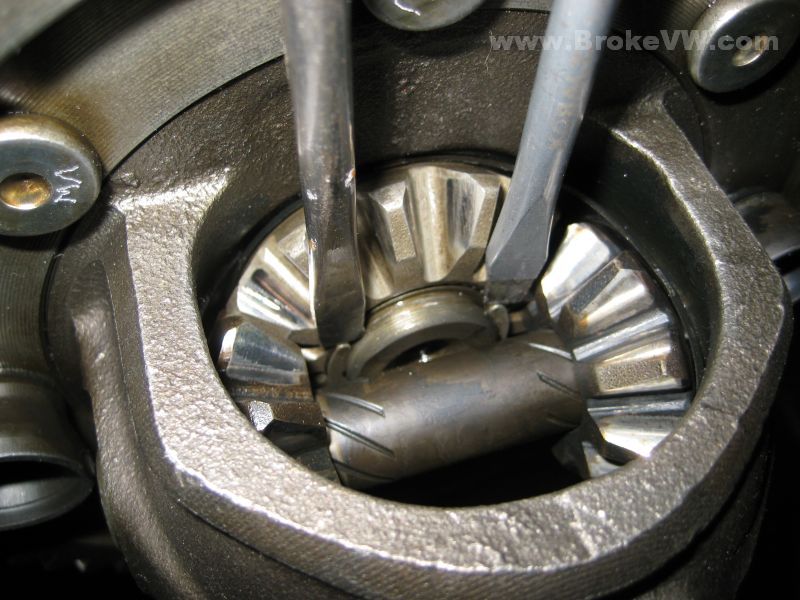
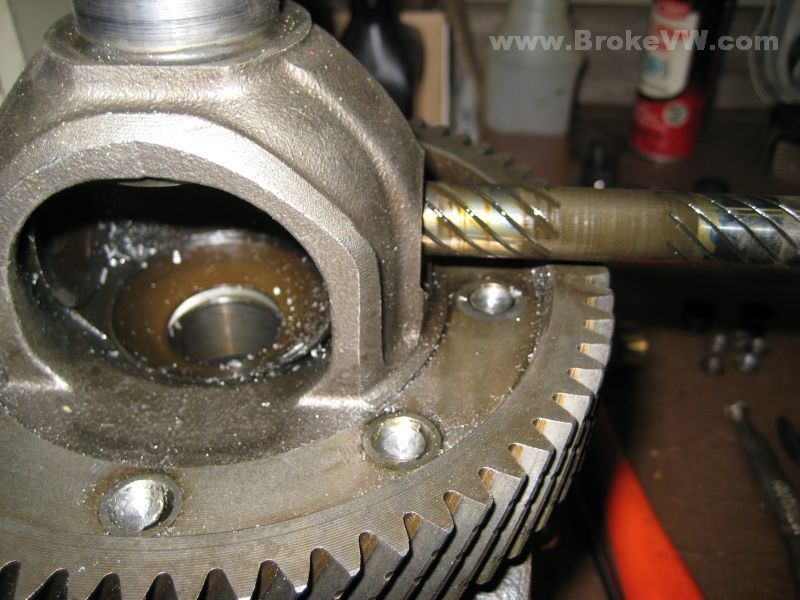
Now that all the rivet heads are gone, the cross shaft can be removed, and the small diff gears removed once the shaft is out...
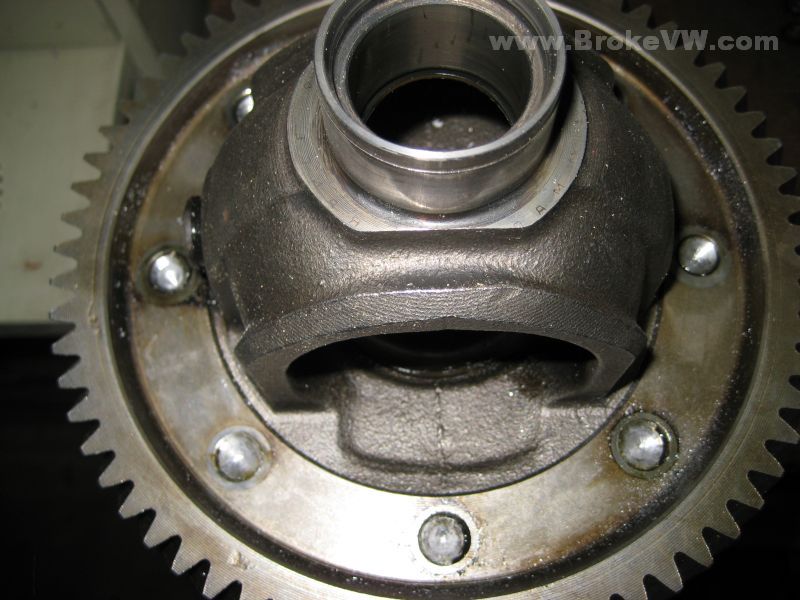
Flex and remove the plastic 1-piece thrust washer in the diff carrier housing...

Knock the rivet shanks out. I use an old bolt held with vise grips...
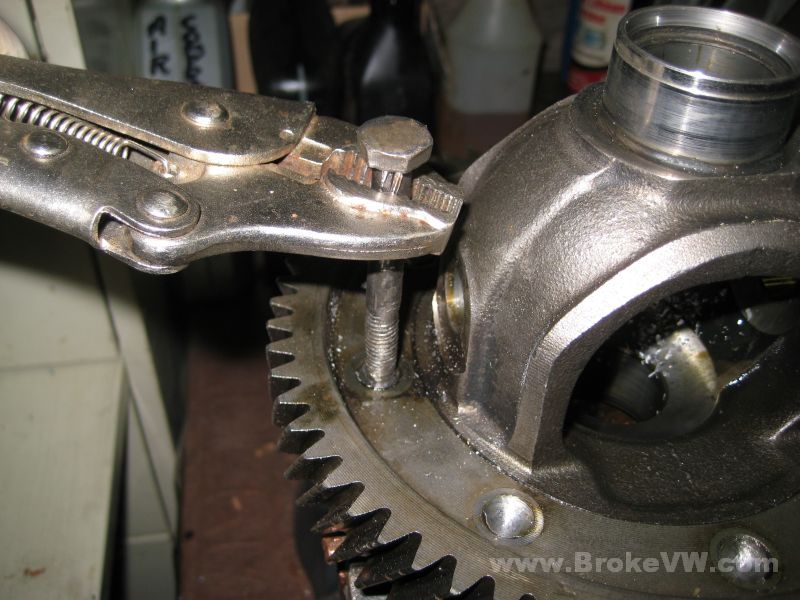
I've since started pressing the rivets out, but either method works...
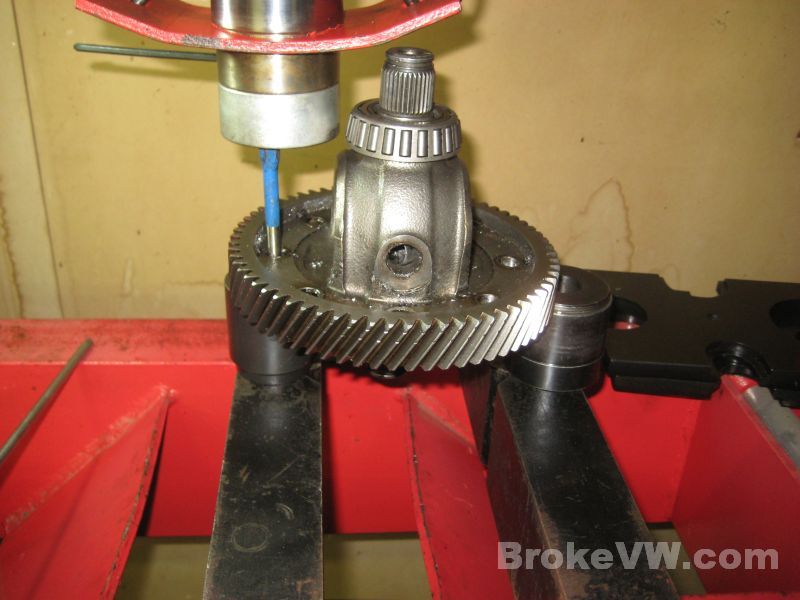
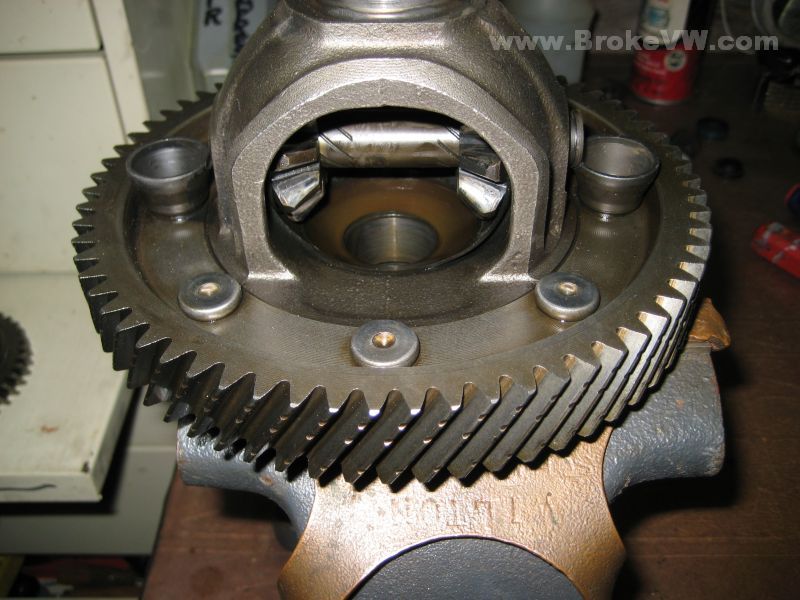
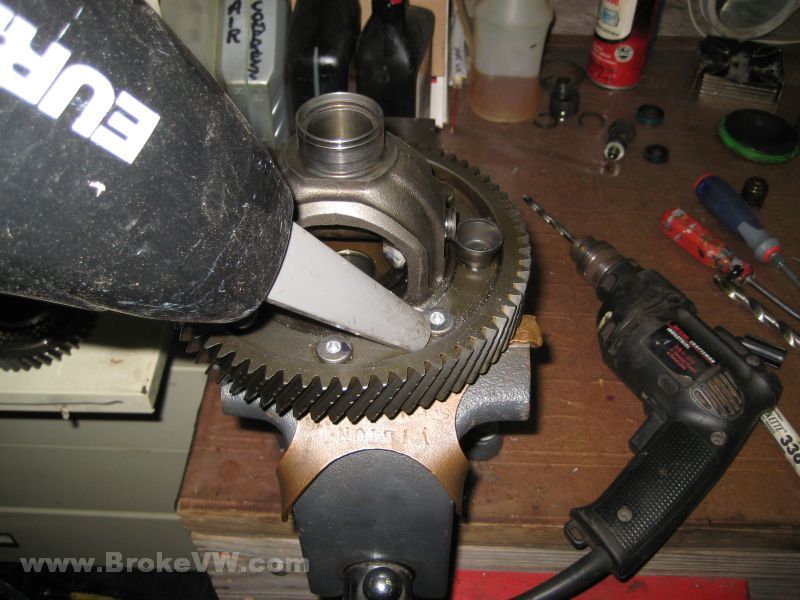
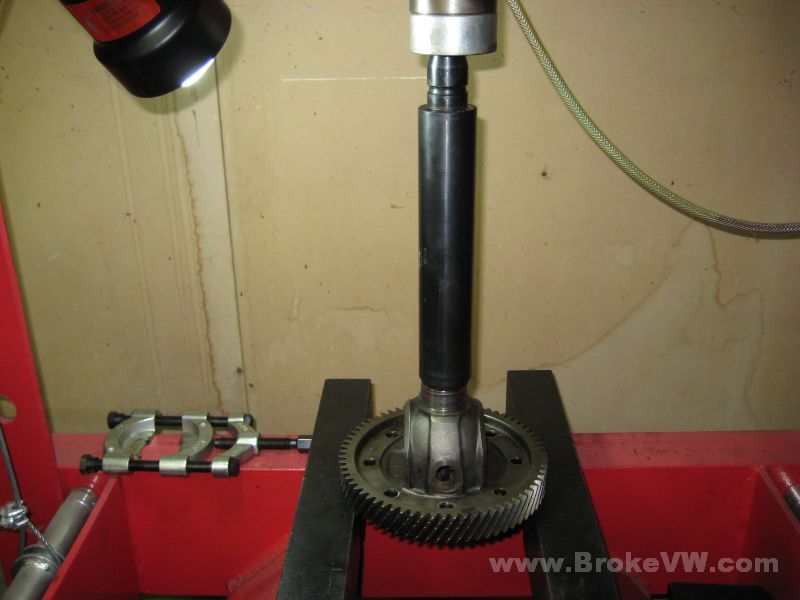
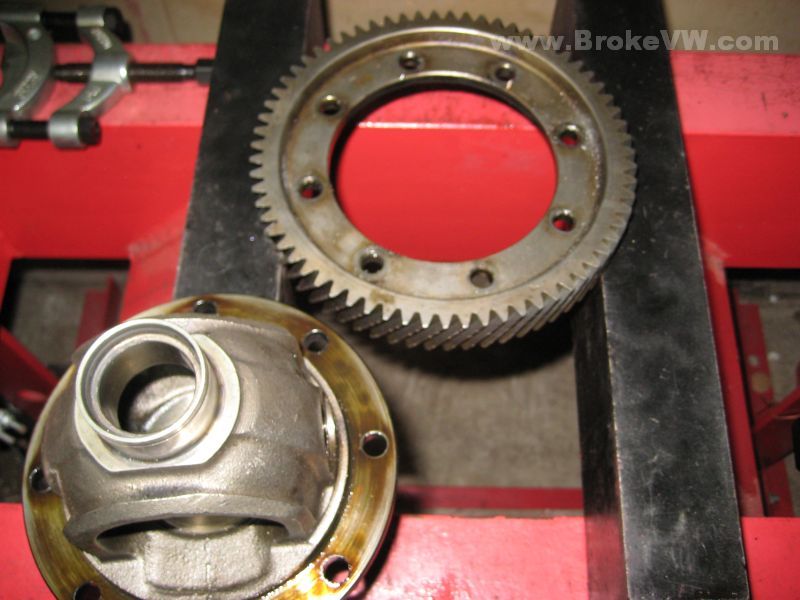
The ring gear is now ready to be pressed off of the diff carrier...
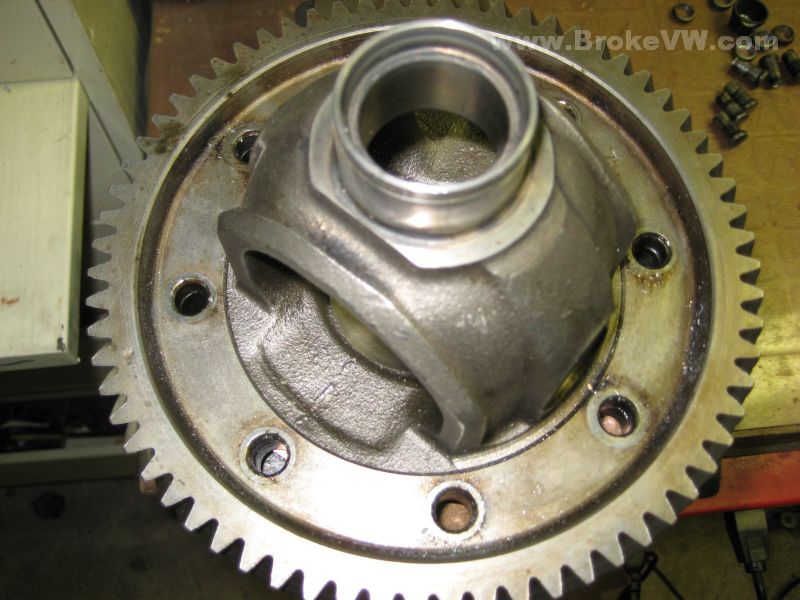

The ring gear removed from the diff, ready for cleaning and to have bolts installed.
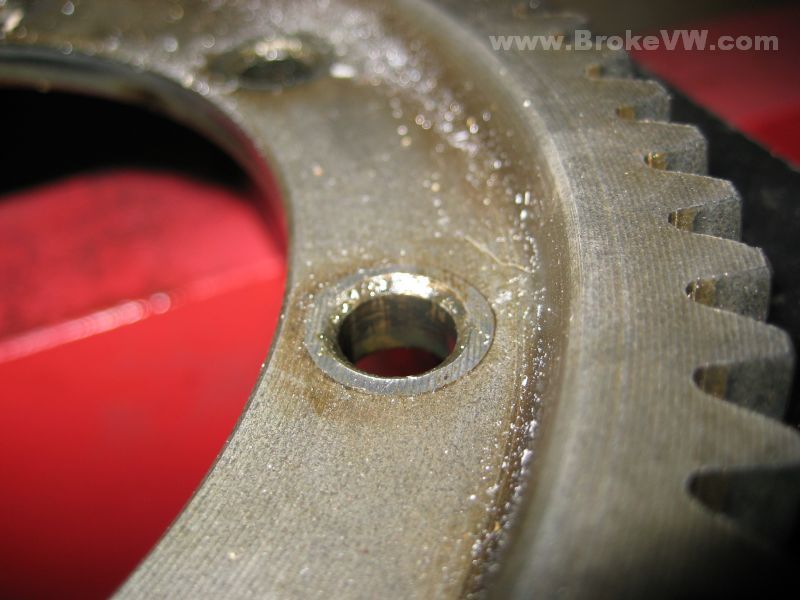
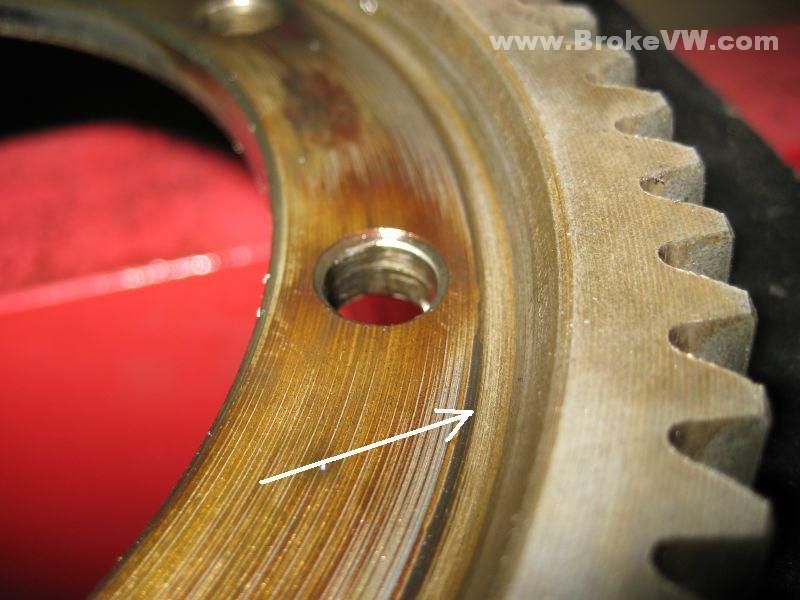
A couple pics showing the 2 sides of the ring gear. They are not the same. One side has a groove running around the edge of it (white arrow), and this side faces the carrier... the other side without the groove is the side the nuts tighten against in the bolt kit. This is easy to spot on an old gear because of the marking s showing the rivet heads, but with a new R&P set, you'll want to watch where the groove ends up...
Click here to go to Page 2 showing the install of the Bolt Kit.