020 Rebuild Page 2
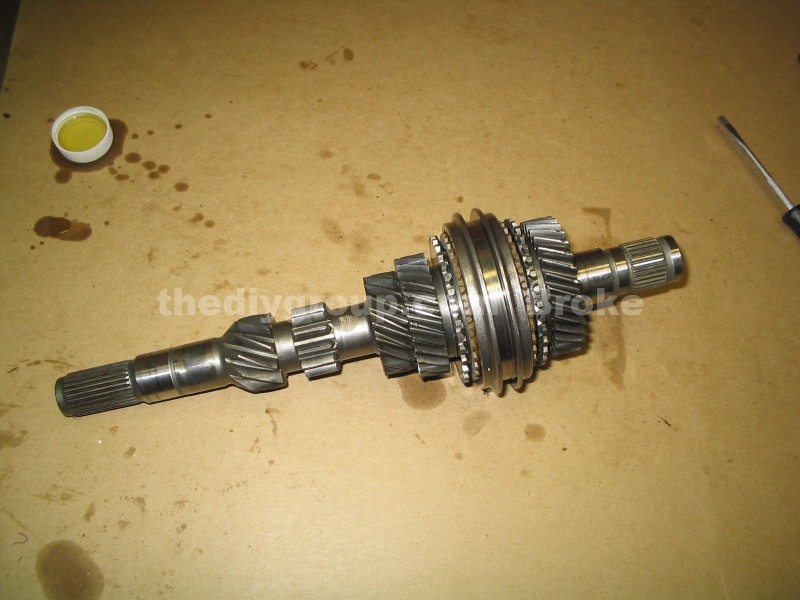
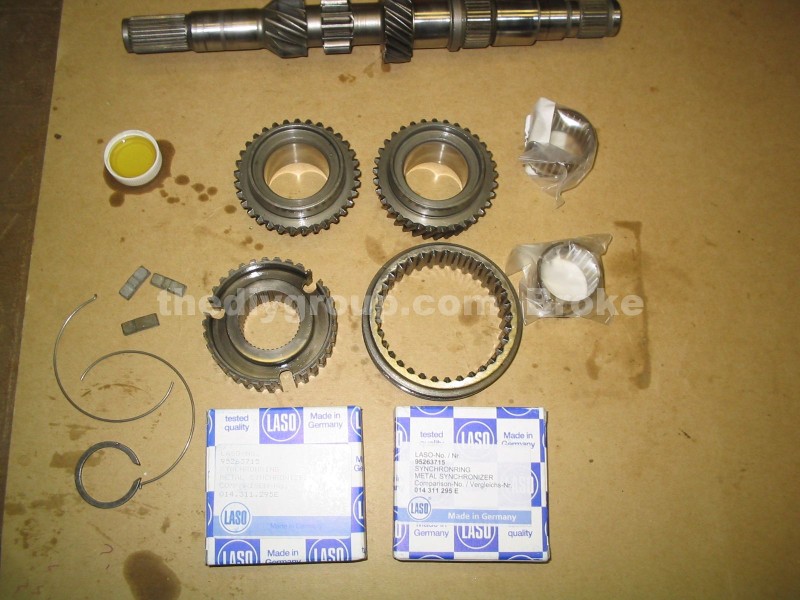
Assembling the input shaft. Parts are laid out...2 new sync rings, 2 new gear needle bearings, 3 new sync keys, 2 new sync springs, and a new circlip...
Start by sliding the needle bearing for 3rd gear down on top of the 2nd gear machined as part of the shaft. The bearing is split, and needs spread open to be able to slide down the shaft over the splines for the 3/4 sync hub.
Slide the 3rd gear down the shaft and onto the needle bearing....
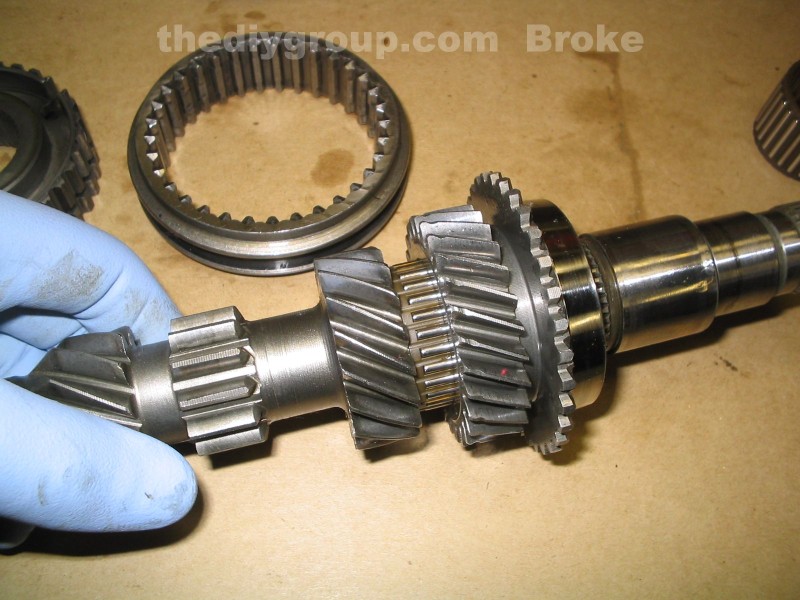
Add the sync ring as shown....
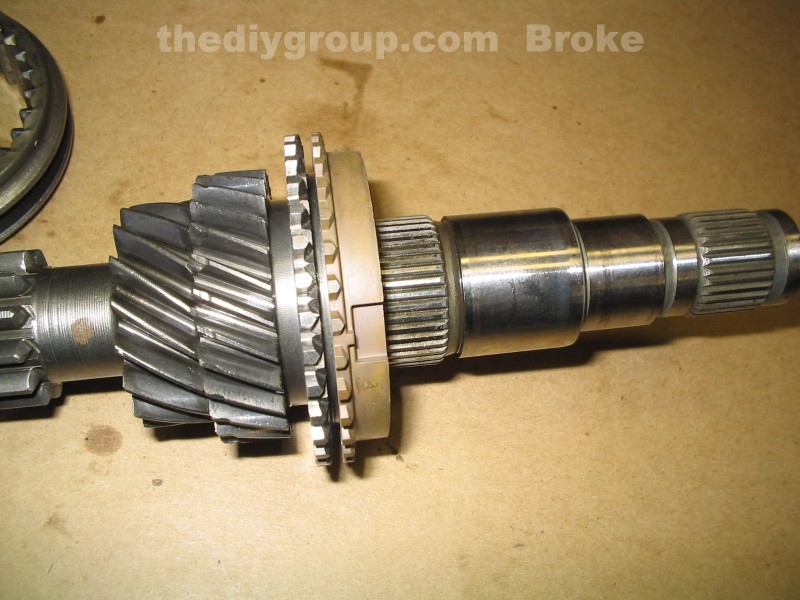
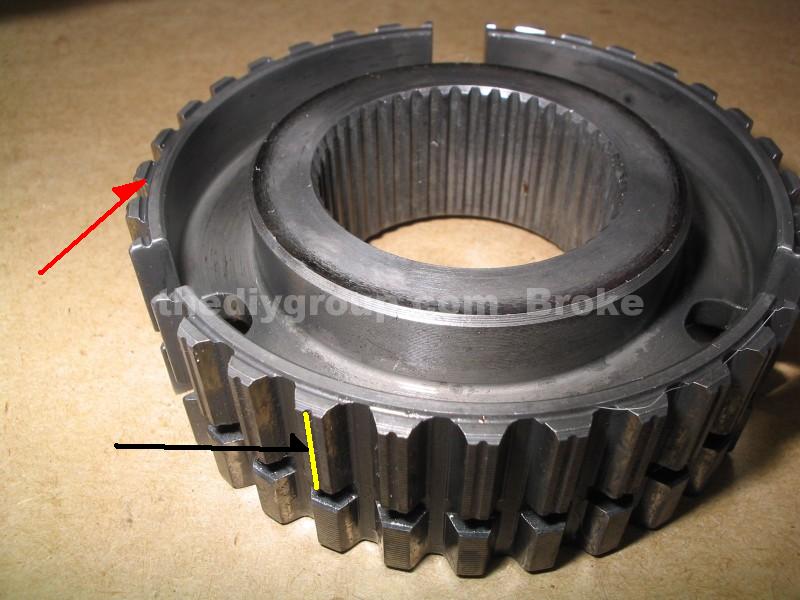
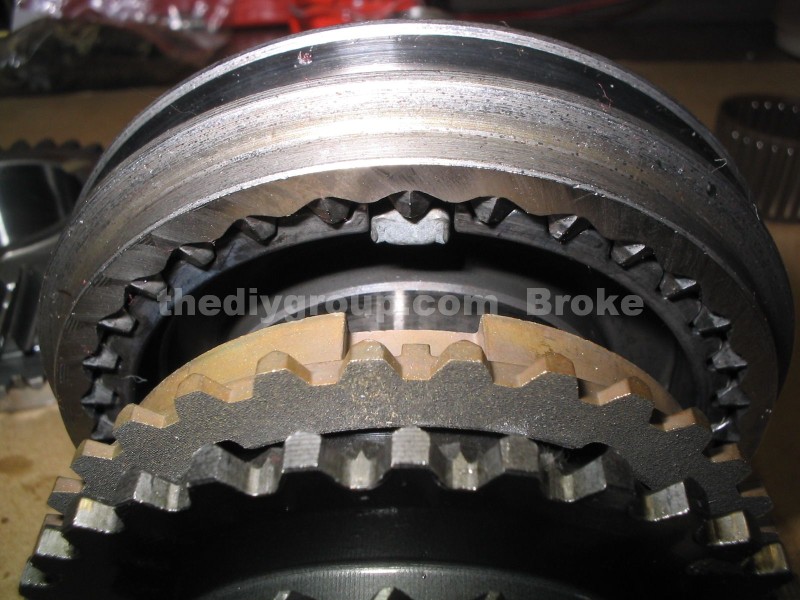
This pic shows the groove that runs along the top edge of the sync hub (red arrow), and also the grooves on the tops of each tooth (black arrow). They face 4th gear. Also very carefully check the slots in the sync hub where the 3 sync keys fit in. In early cars, the cuts were squared, with corners, and they crack in the corners. They can be very hard to see, I use a cheap Radio Shack 50x-100x hand held magnifier to examine them closely. Newer hubs as shown are not squared, but rounded, so the corners are gone and the cracks with them...
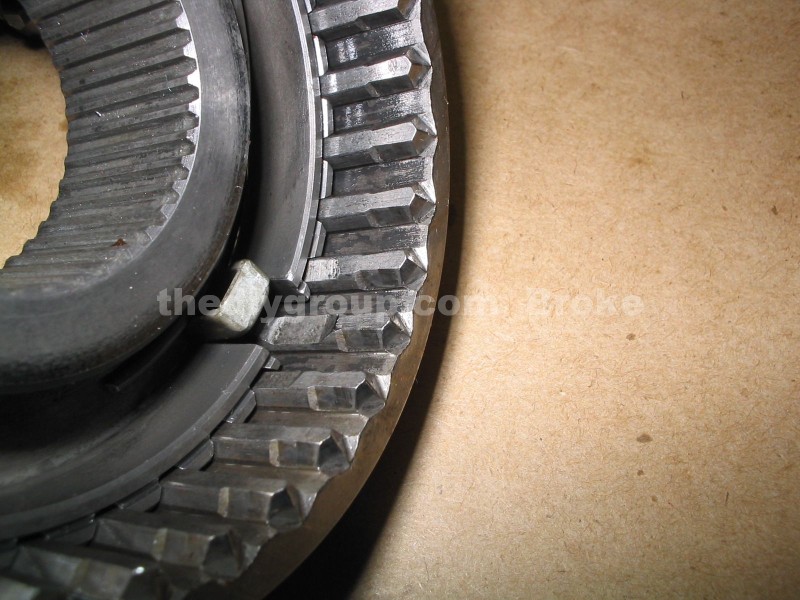
When installing the sync hubs and collars for all of the gears, make note of the 3 sets of 3 teeth on the sliding collar that are different. The sync key fits into the middle tooth with the deep flat spot as shown...
Slide the collar onto the hub after install the sync keys and springs as described earlier for the 5th gear assembly...
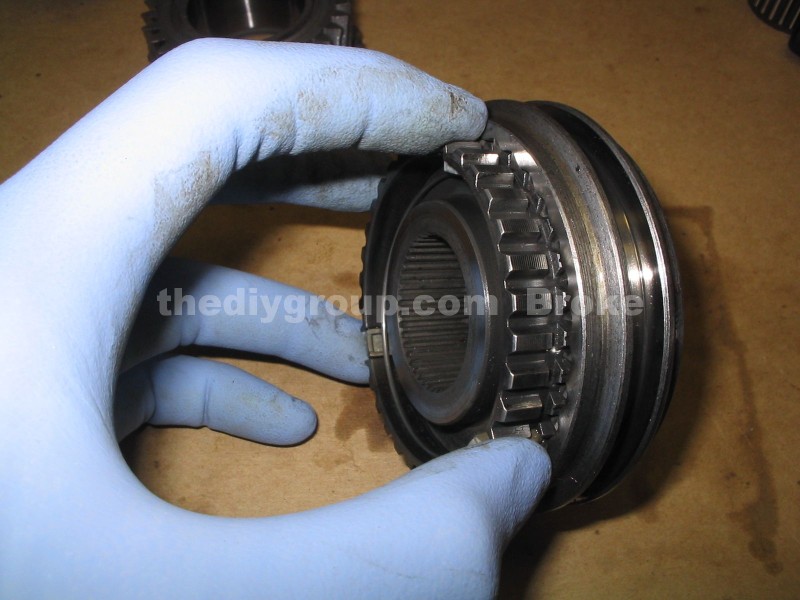
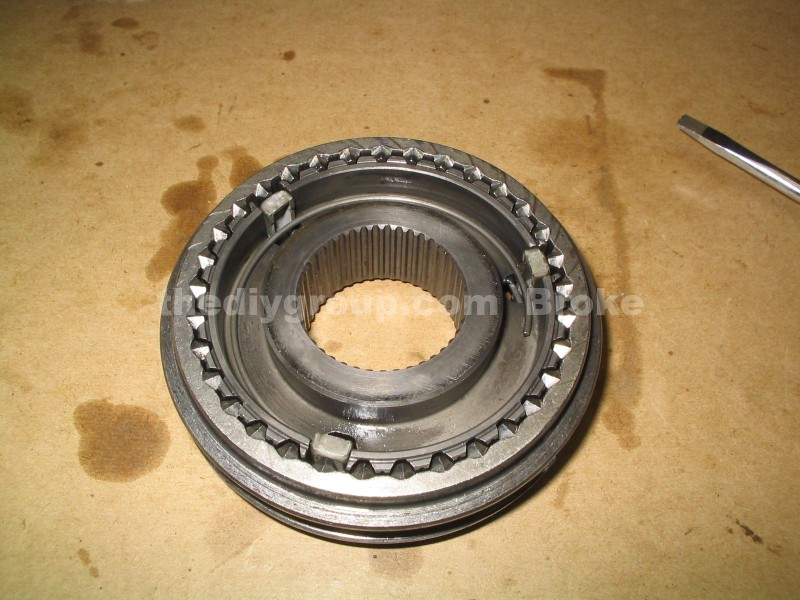
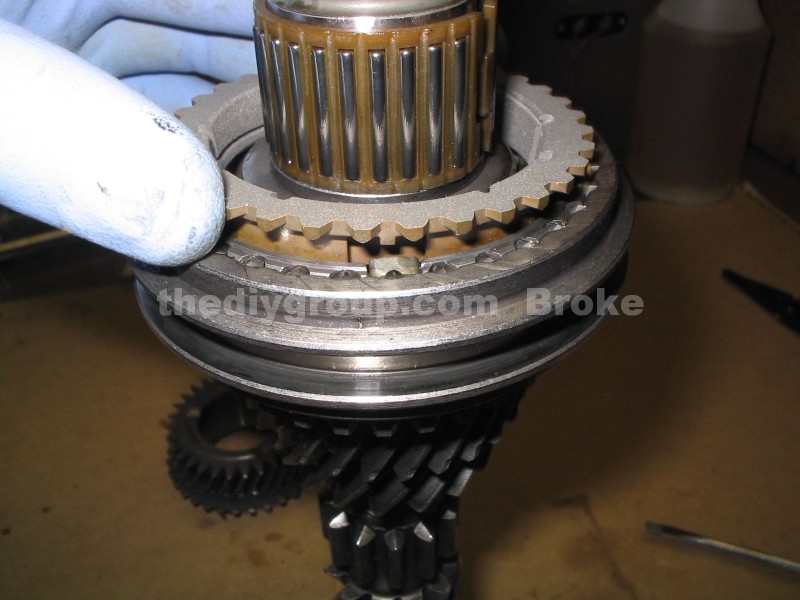
Here is the completed sync assembly for 3rd and 4th gears....
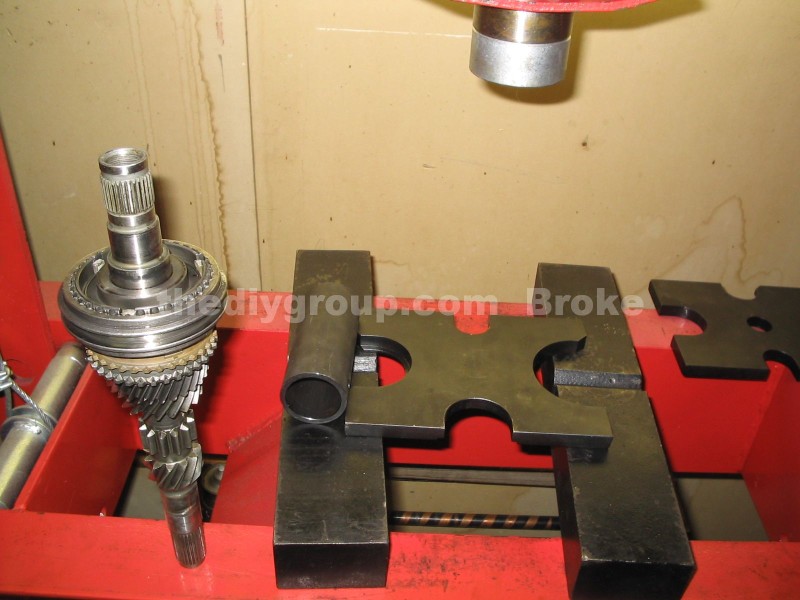
Slide the assembly onto the input shaft, making sure to align the sync ring notches with the sync keys...
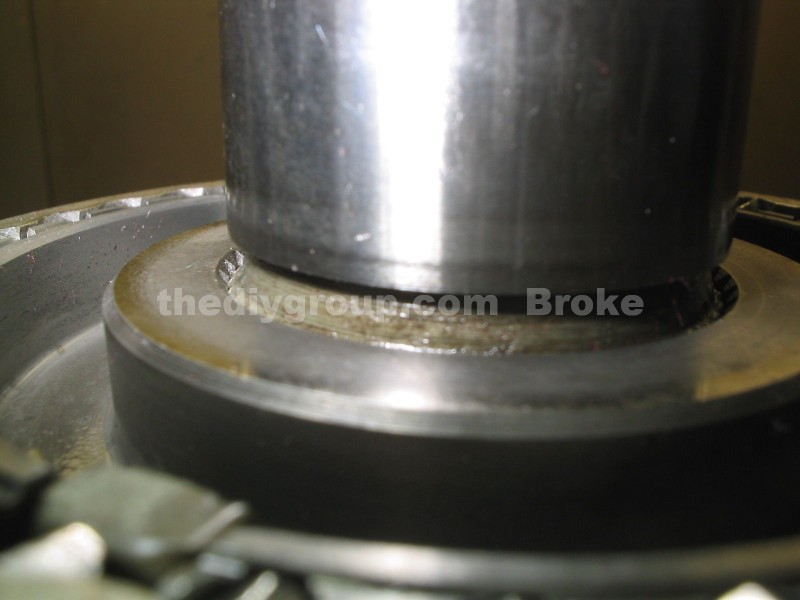
Use a tube that fits over the shaft and onto the sync hub and press it on as shown...
When pressing the hub on, be sure to keep the sync ring aligned with the keys...
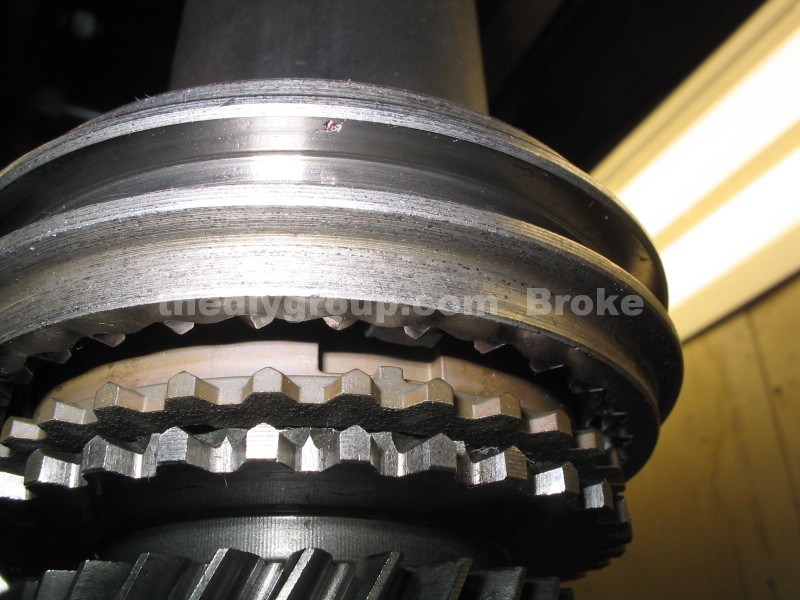
Press it until it stops....
If pressed on fully, the groove for the circlip will be exposed, and the new circlip can be installed....
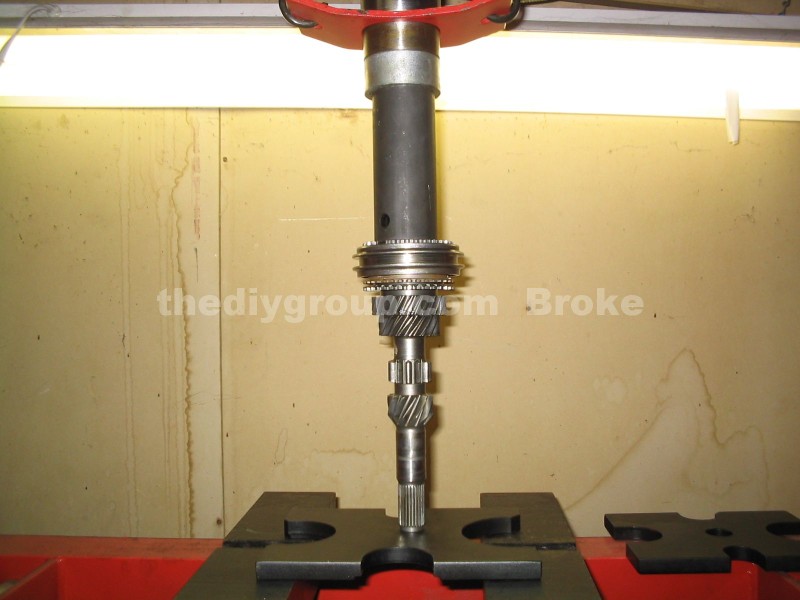
Slide on the 4th gear needle bearing, and drop the 4th gear sync ring onto the shaft assembly as shown...
Slide on 4th gear as shown, and the input shaft is completed at this stage in the rebuild....