020 Rebuild Page 4
Now it is time to press the bearings onto the differential assembly. But wait, we didn't build the diff yet! Yes, we did, but I forgot to take pics:D I'll take pics of another one later and update the page (and here it is, only a year or 2 late!! Diff Page), but for now, I'll continue on from it being assembled and the ring gear bolted on.
Install both bearings to the diff after heating them to 210F/100C...
Install a 1mm standard shim into the bell housing diff carrier bearing bore....
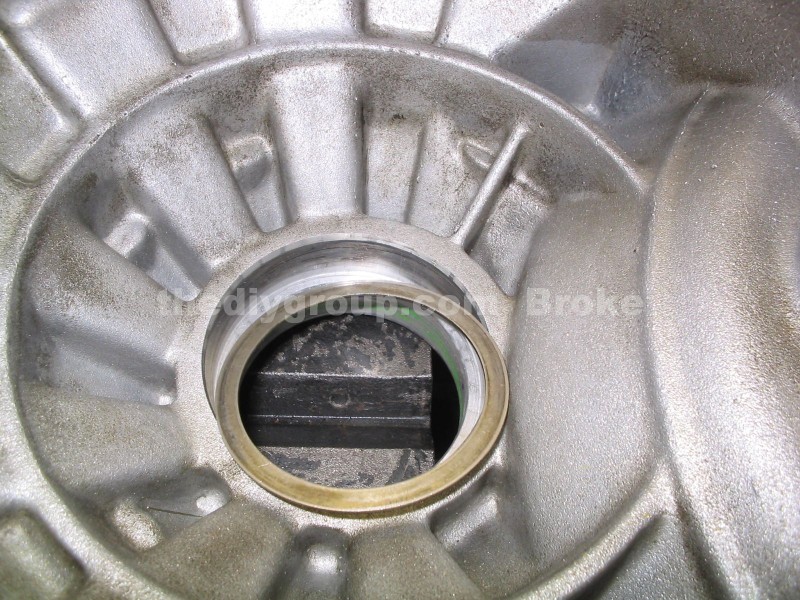
Press in the diff carrier bearing outer race as shown into the bell housing....
Press the race in fully until it stops...
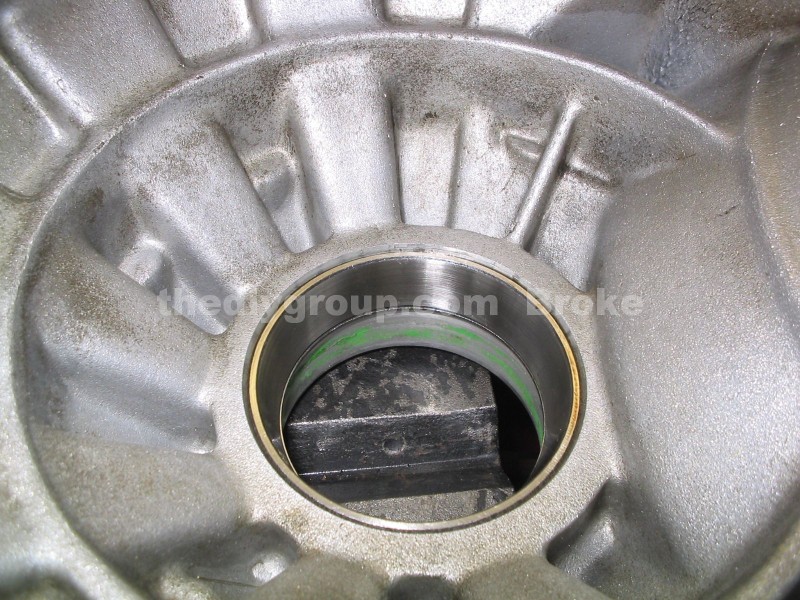
Press the other diff carrier bearing, without any shims, into the gearbox case as shown...
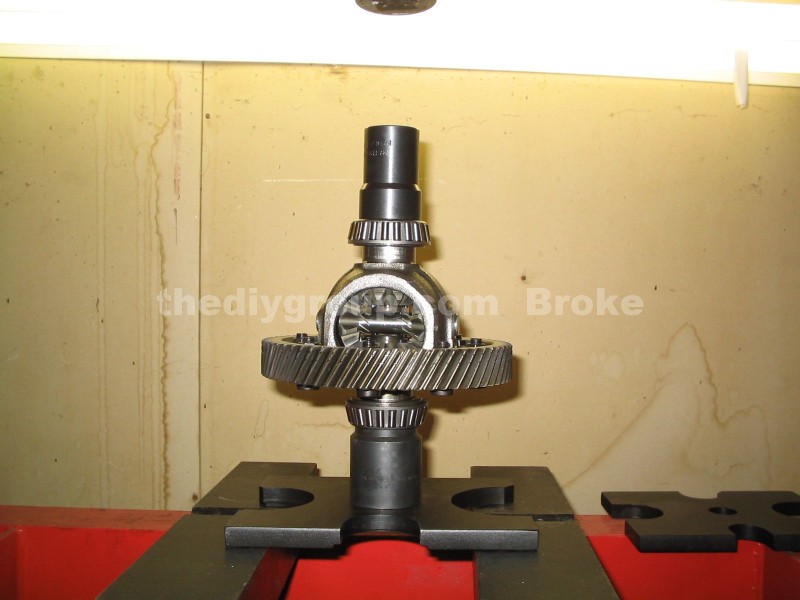
Install the diff into the bell housing, making sure not to spin the diff in the bearings from here until after the bearing play is measured...

Add the gasket if you are using one, if you are using the VW sealant, ignore this step...
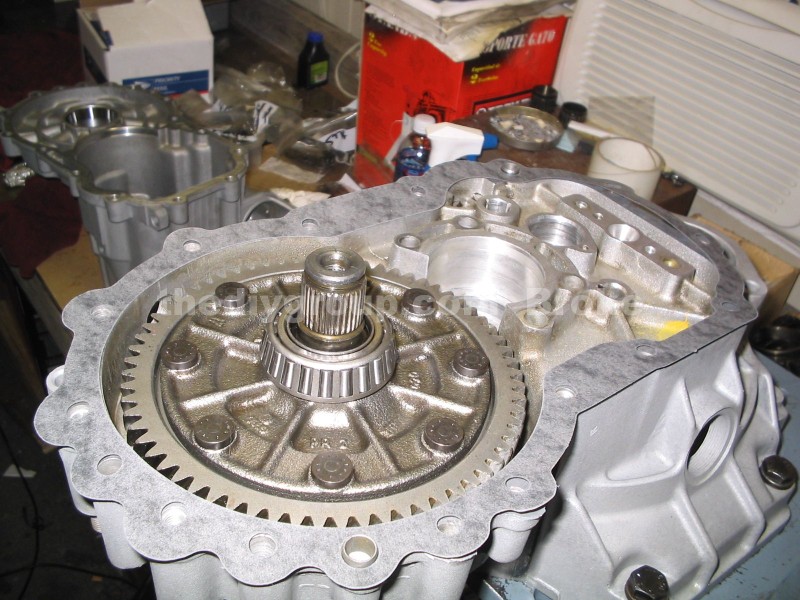
Install the gearbox onto the bell housing, and install and torque to spec (18 ft-lbs) five case bolts...
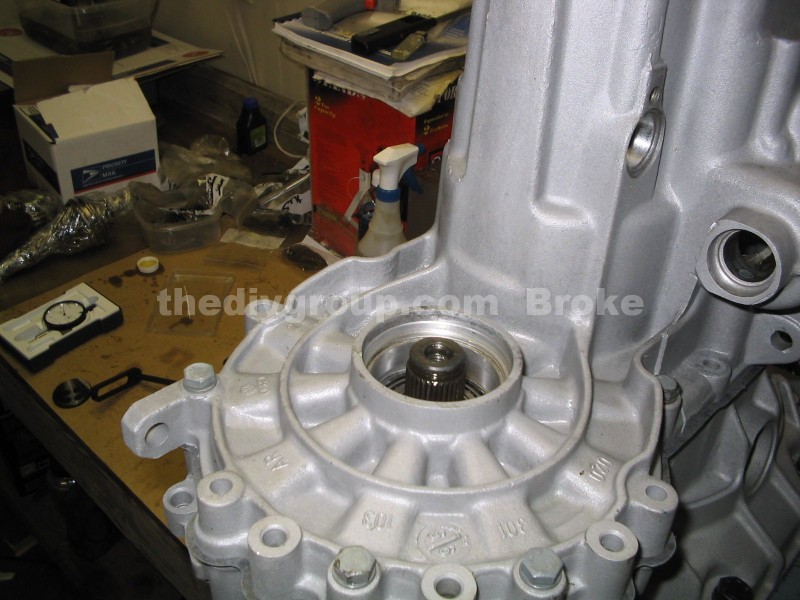
Install a dial test indicator as shown on a stand to accurately measure the bearing play. The dial shown is a German made Mahr with a 1mm to 10mm measuring range, in steps of 0.01mm, and the disk it is sitting on is a VW disk that has 4 small magnets on the other side of the disk to stick to a variety of shaft diameters, and both sides of the disk are "engineering flat" so the dial is as accurate as possible. The stand the dial is mounted on has to be fairly stiff as well, any deflection or bending will skew the results. Preload the dial to 1mm and zero it, and then lift the diff housing straight up without turning it, and note how much play was recorded. Use the formula in the Bentley to calculate the correct shim that is needed under the bearing race in the gearbox....
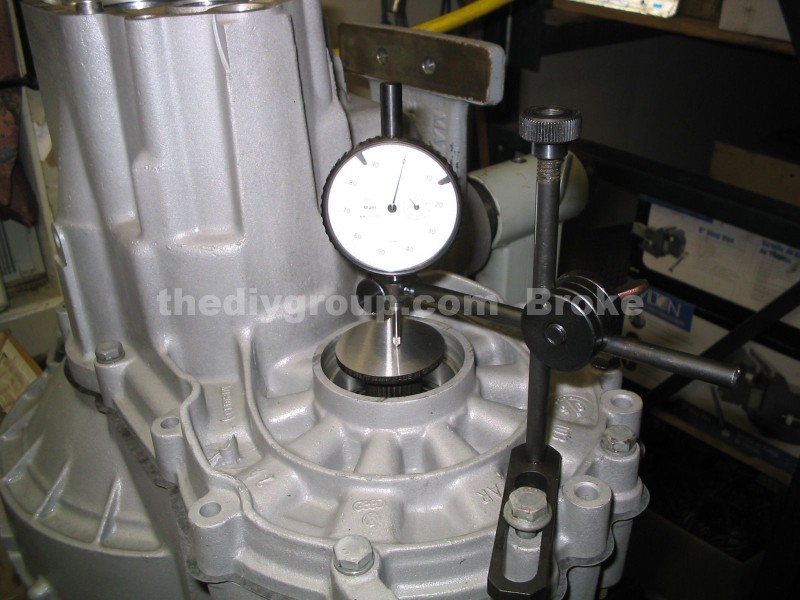
The formula is to measure the play, and add 0.40mm, and that gives you the shim size.
![]()
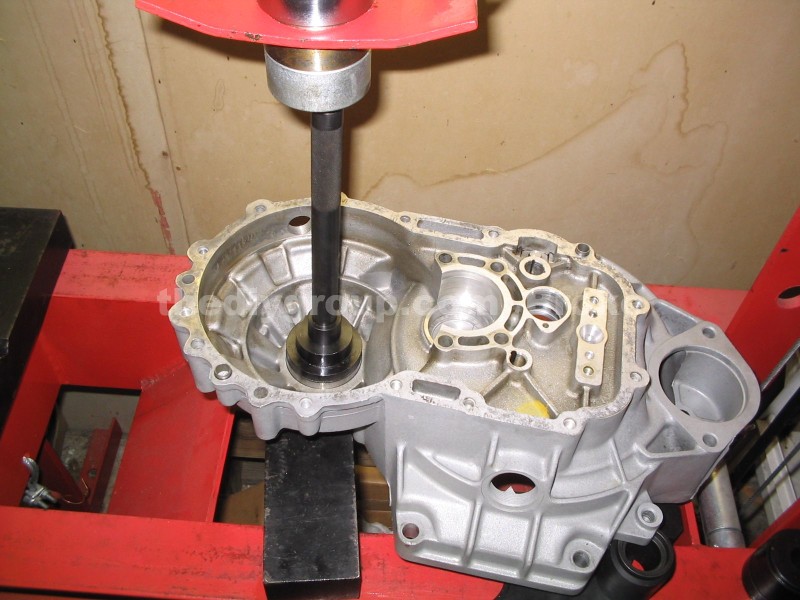
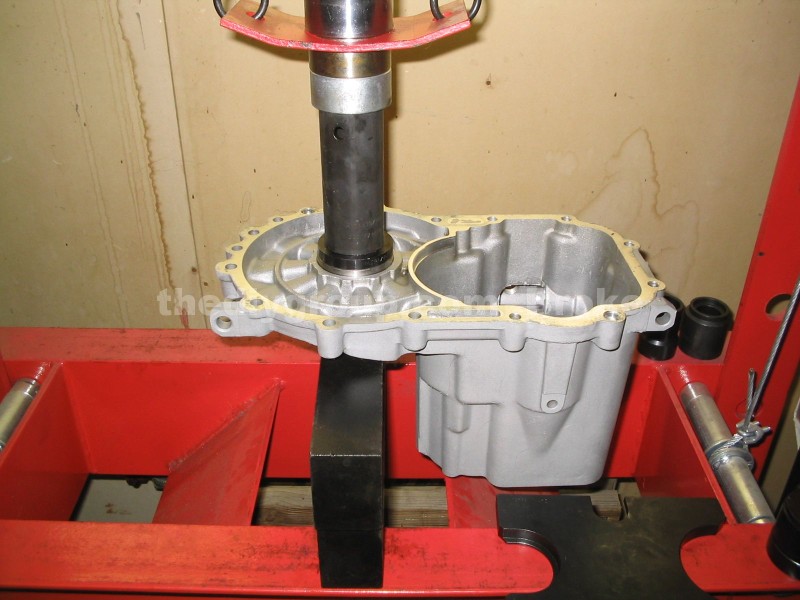
Press the bearing race out of the gearbox as shown.... the very perceptive will notice the trans suddenly got dirty. This is because the pics I had showing this process with the NEW trans have been lost, so this is a mock up using an old trans...
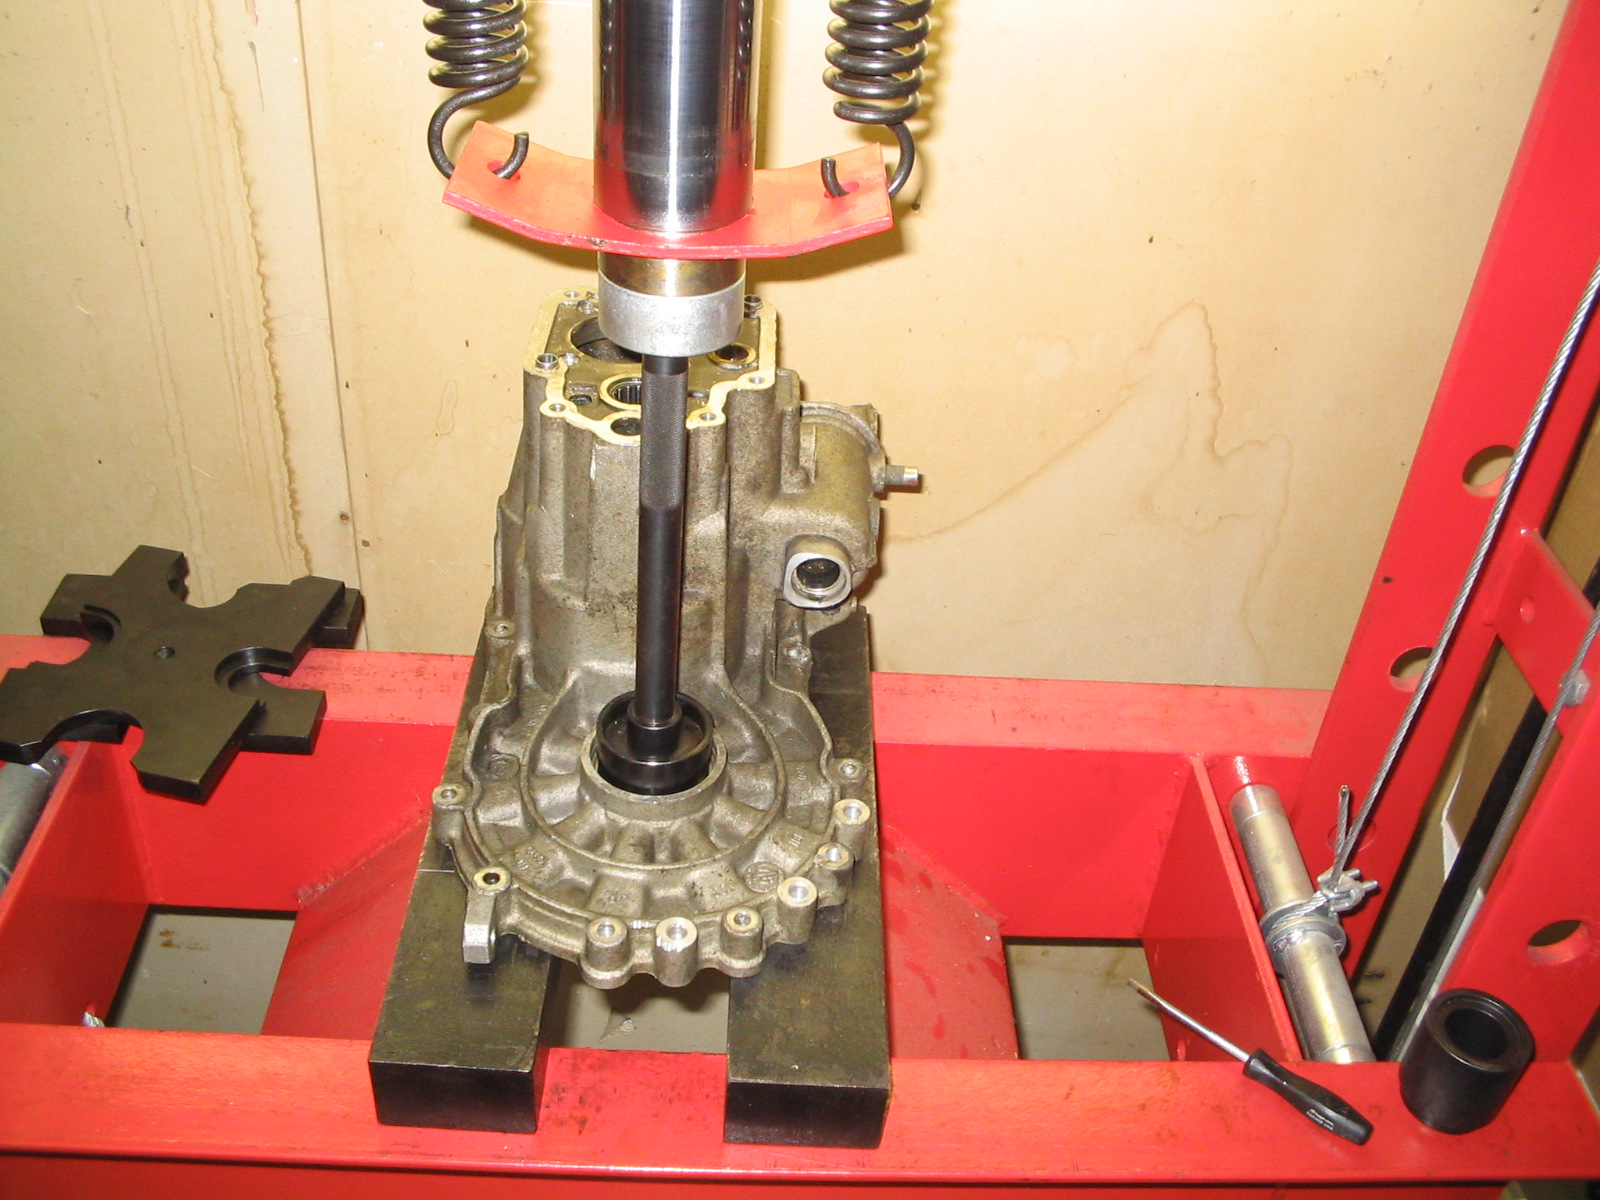
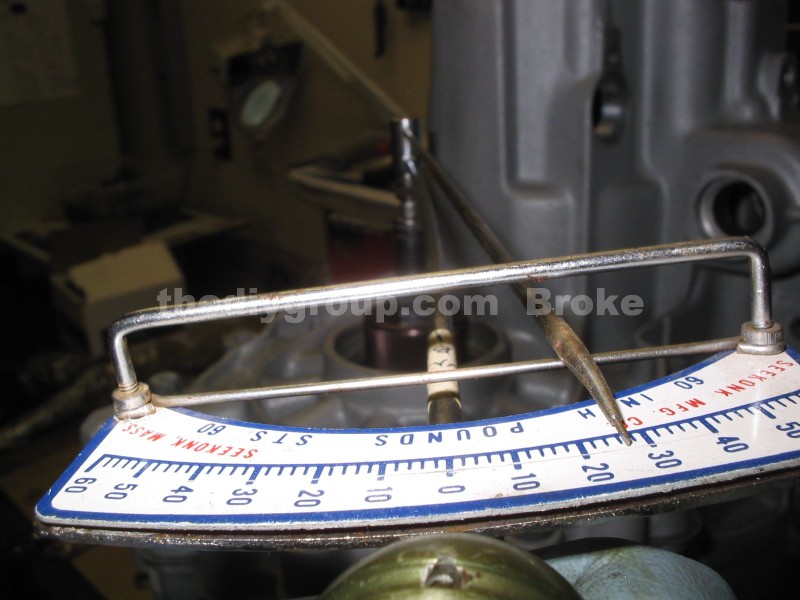
Install the correct shim, and press the race back into the gearbox, install the diff carrier, install and tighten the 5 case bolts, and measure the turning torque as a final test of the bearing preload.
The adapter used in this pic is the VW tool which locks the diff solid, so there is no planetary gear movement, and when you turn the shaft, you know the entire housing is spinning in the bearings we need to check. The adapter is attached to an inch-pounds torque wrench. Spec for new bearings is 11-31 in-lbs, and this one measured out at about 26 in-lbs, so we know the shim we selected is correct and everything is good. The bearings should be oiled for this test as well, otherwise the results won't be accurate. When installing more than one shim, install the larger shim into the bore first.